You can unlock the Level 60 trial The Limitless Blue (Extreme), also known as Bismarck EX, by accepting the Level 60 quest “The Diabolical Bismarck” from Unukalhai in The Rising Stones (X:6.1, Y:5.3).
This quest requires you to finish the final MSQ for patch 3.0 of the Heavensward expansion. And you’ll also need to finish the introductory quest for The Warring Triad questline, “Gods of Eld,” from Torsefers in The Pillars (X:11.7, Y:11.5).
TABLE OF CONTENTS
Step-by-Step Unlock Guide
- Finish the Level 60 MSQ “Heavensward” from the Guidance Node in Azys Lla (X:16.0, Y:22.0).
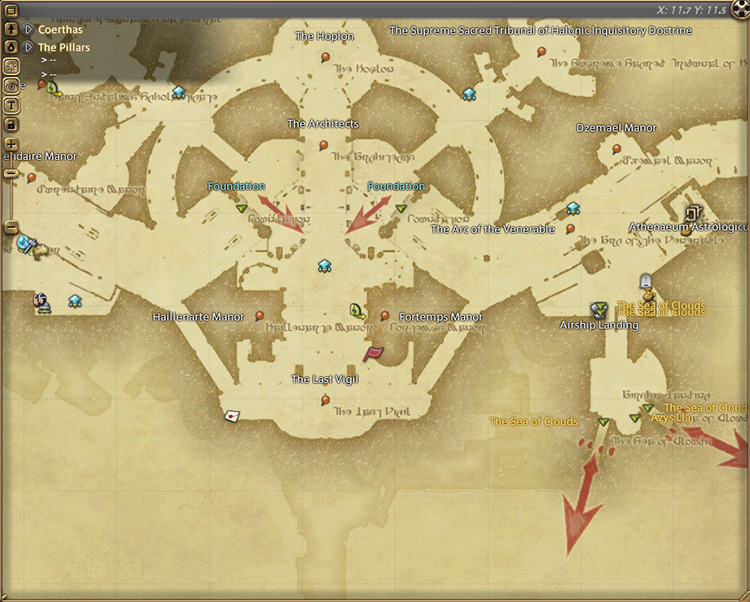
- Complete the Level 60 quest “Gods of Eld” from Torsefers in The Pillars (X:11.7, Y:11.5).
- Accept the quest “The Diabolical Bismarck” from Unukalhai in The Rising Stones (X:6.1, Y:5.3).
- Give the Weeping Eye of the Manukmanai to Sonu Vanu in The Sea of Clouds (X:11.7, Y:14.8).
- Speak with Cid in The Sea of Clouds (X:6.5, Y:25.6).
- Attune to the Aetheryte at the Whale’s Crown in The Sea of Clouds (X:29.4, Y:27.1).
Detailed Unlocking Guide
To begin unlocking the trial, you must finish the Level 60 MSQ “Heavensward” from the Guidance Node in Azys Lla (X:16.0, Y:22.0).
This is the final MSQ for patch 3.0 of the Heavensward expansion that wraps up the main story and unlocks the endgame content for the entire expansion.
Once you’re done with that, travel to The Pillars (X:11.7, Y:11.5) and accept the Level 60 quest “Gods of Eld” from Torsefers.
In this quest, you’ll be introduced to a mysterious stranger who has been looking for your aid regarding an important matter.
Head to The Rising Stones (X:6.1, Y:5.3) in Mor Dhona to continue.
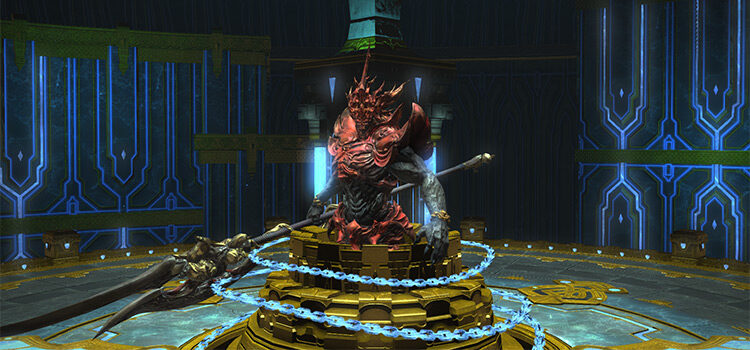
The white-robed stranger will introduce himself as Unukalhai and tell you about the eikons Sephirot, Sophia, and Zurvan, who have recently stirred from within their containment bays in Azys Lla.
While the storyline isn’t related to Bismarck EX, you’ll need to complete this introductory quest to continue.
After finishing “Gods of Eld,” accept the quest “The Diabolical Bismarck” from Unukalhai.
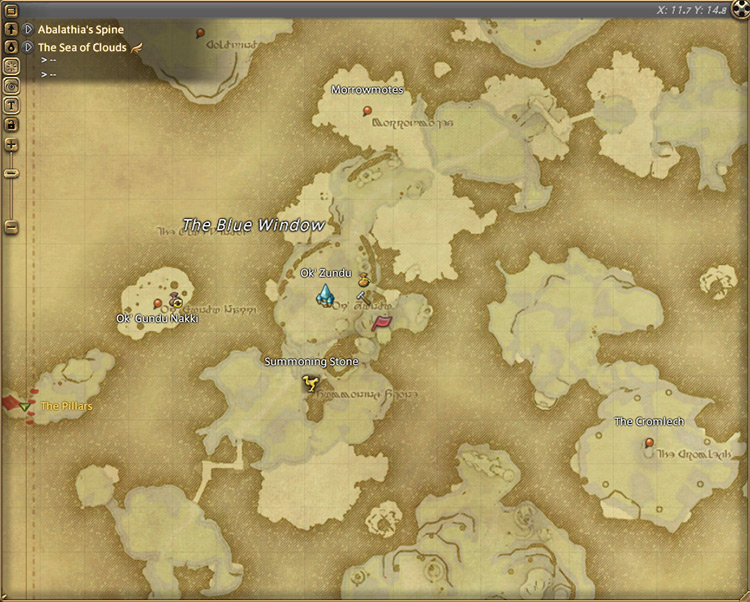
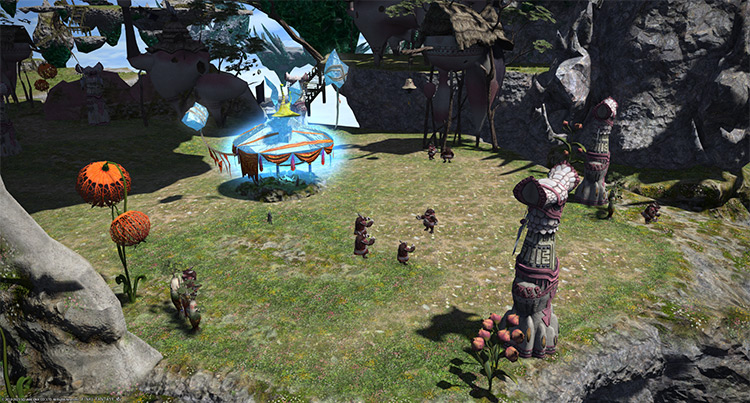
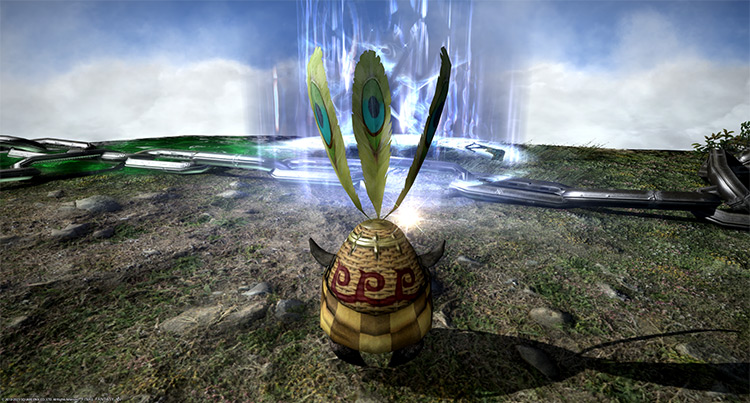
Unukalhai will warn you about the impending return of the primal Bismarck. To confront the Lord of the Mists once again, Unukalhai will have you present the Weeping Eye of the Manukmanai to the chieftain of the Zundu tribe. Talk to Sonu Vanu in The Sea of Clouds (X:11.7, Y:14.8) to proceed.
As it turns out, the resurrected Bismarck became invulnerable with the help of the storm clouds from the Vundu. The chieftain will instruct you to smash the gemstone onto the Aetheryte at Whale’s Crown to remove the primal’s newfound invincibility.
Talk to Cid in The Sea of Clouds (X:6.5, Y:25.6) to inform him of the situation before going to the Aetheryte at The Sea of Clouds (X:29.4, Y:27.1).
After using the gemstone and attuning to the Aetheryte, the Limitless Blue (Extreme) will be unlocked.
This trial requires at least a Level 60 Disciple of War or Magic job and an average item level of 165 to enter.
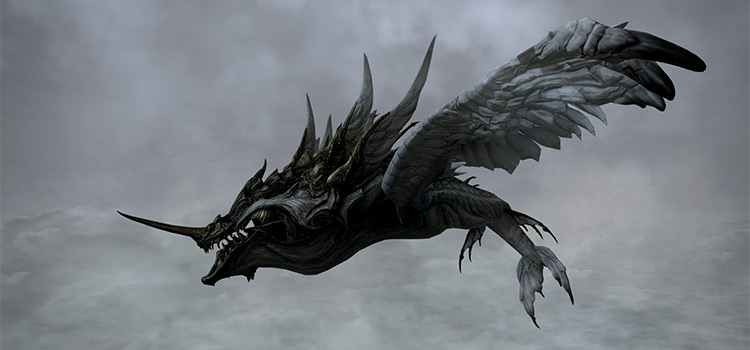
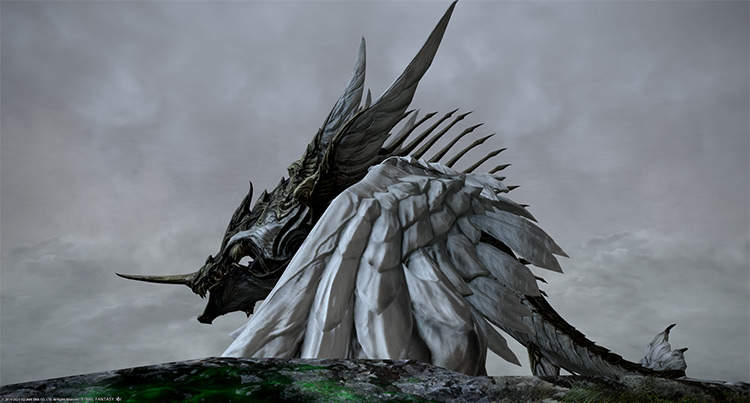
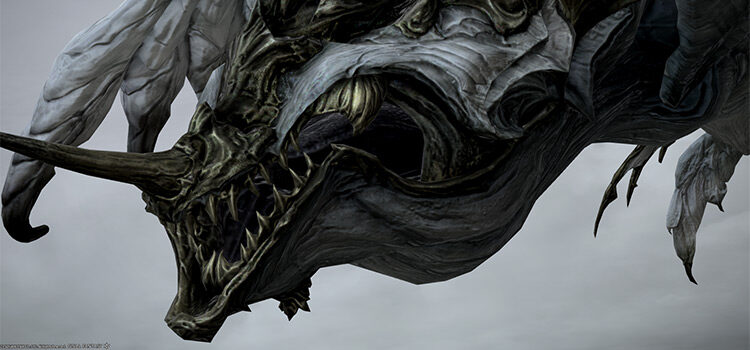
Trial Boss: Bismarck (Extreme)
Similar to other trials from previous expansions, Bismarck (Extreme) can be soloed quickly with a high-level character if you enter the trial while unsynced.
If you’re doing this trial for the first time and want to do it as intended, follow the mechanics and rotations below:
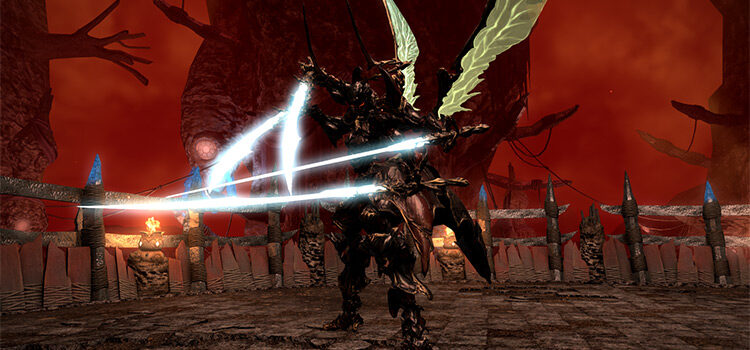
Phase 1: Cetacean Rage, Dragonkillers, and Chitin Carapace
Rotation:
Cetacean Rage > Vundu Mobs > Baleen Bomb > Use Magitek Field Generator > Cetacean Rage > Use Dragonkillers > Baleen Bomb > Attack Chitin Carapace > Repeat until the carapace is destroyed.
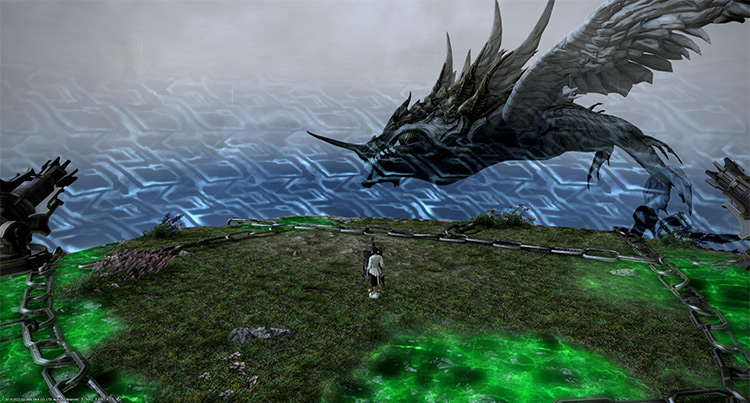
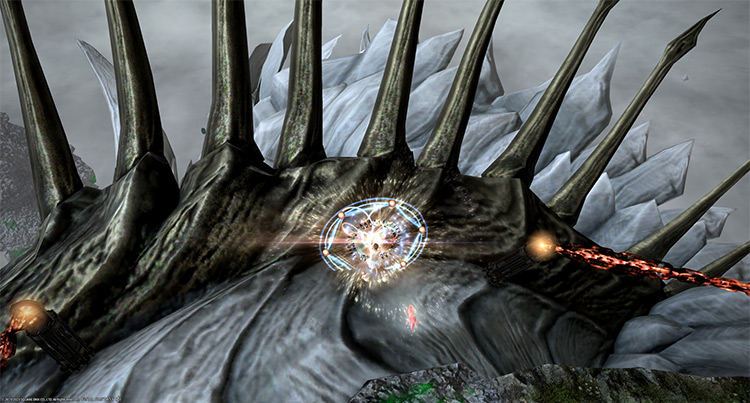
- Island Integrity bar: Throughout the fight, the boss will try to destroy the island using “Cetacean Rage.” If the island’s integrity reaches 0, you will wipe. Kill the boss before the integrity bar reaches 0 to avoid a wipe. Use the Magitek Field Generator before every “Cetacean” Rage to reduce incoming damage to the island.
- Bismarck Vitality bar: Represents the boss’ HP. Can only be reduced during Phase 3.
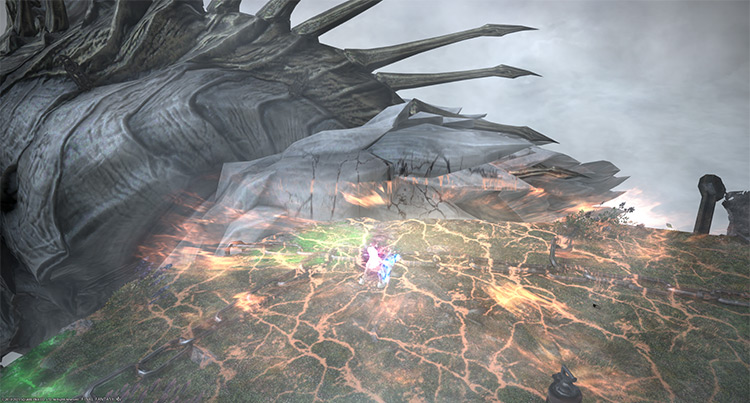
- Cetacean Rage: A room-wide AoE attack that staggers everyone and reduces the Island Integrity bar by 17. Use the Magitek Field Generator before the cast goes off to lower its damage to 7 and avoid the stagger.
- Baleen Bomb: Random players will be targeted with white circle AoEs.
- Vundu Mobs: The boss will spawn two Vundu mobs after “Cetacean Rage.” Kill these to unlock the Dragonkillers.
- Howling Wing (Lan’maii Vundu): A wide column attack on a random player.
- Powerful Gust (Vuk’maii Vundu): Basic ranged attack.
- Extreme Wind (Vuk’maii Vundu): Ground AoE on its primary target.
- Morrowmotes (Vundu Mobs): A “Damage Up” buff.
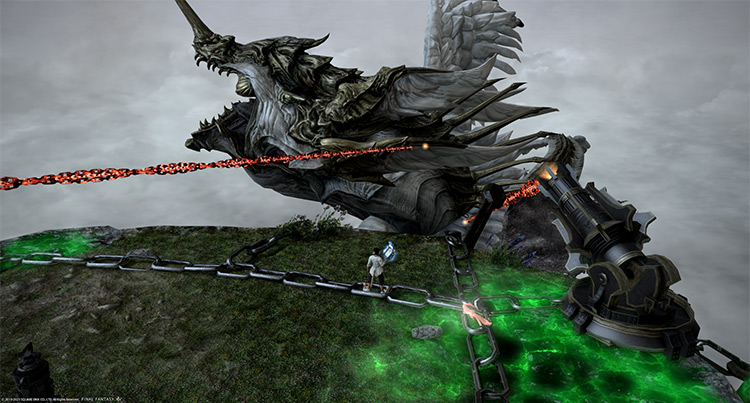
- Dragonkillers: Once available, interact with the Dragonkiller harpoons to pull the boss toward the island. The boss will try to disable these with “Baleen Bomb,” so use them as soon as possible.
- Chitin Carapace: Once the boss is pulled toward the floating platform, jump on top of it and attack its carapace. While on top of the boss, you’ll gradually receive stacks of “Turbulence” that deals minor damage over time and increases your vulnerability to the boss’ attacks.
Having more than three stacks can easily result in your death in a synced run. If you’re reaching the next “Chitin Carapace” too quickly with your “Turbulence” debuffs still up, try to buy some time by not killing the Vundu Mobs too fast or delay jumping on top of the boss’ back until the debuff falls off.
Phase 2: Sanuwa Mobs
Rotation:
Sanuwa Mobs > Dead Wind and Dead Water + Whirlwinds > Vacuum Wave > Breach Blast.
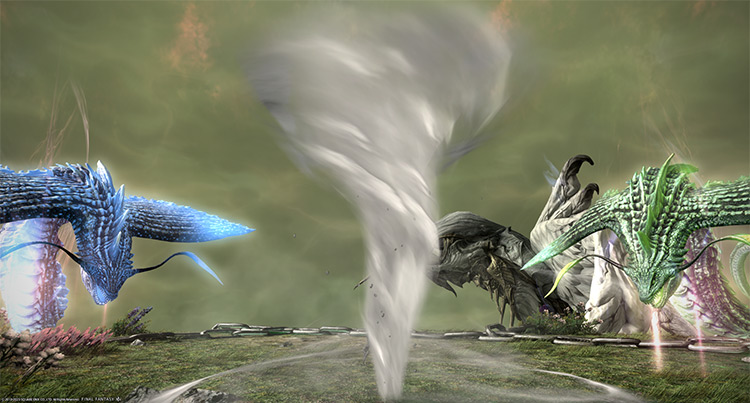
- Sanuwa Mobs: A blue and green sanuwa will spawn and must be killed before the boss uses its ultimate AoE attack. Pull the sanuwas away from one another to prevent them from tethering to one another and getting “Vulnerability Down” buffs.
- Dead Water and Dead Wind (Sanuwa Mobs): The sanuwas will apply either a “Will of the Wind” or “Will of the Water” status on each player for 50 seconds. If you attack the sanuwa with the same element as your status, your damage will be reflected.
Attack the sanuwa opposite of your elemental status and re-check your status every 50 seconds to ensure you’re hitting the correct sanuwa. - Dry Fin or Wet Fin (Sanuwa Mobs): Non-telegraphed frontal cone AoEs. Always face the sanuwas away from the group.
- Whirlwinds: Spawns throughout the phase that will knock players up on hit.
- Vacuum Wave: A constant room-wide AoE throughout the phase.
- Breach Blast: A room-wide ultimate attack that deals damage based on the number of sanuwa mobs still alive. This attack can easily wipe a synced party, so separate and burn down the sanuwas as quickly as possible.
Phase 3: Windcaller + Magicked Bubble
Rotation:
Vundu Mobs > Cetacean Rage > Windcaller > Magicked Bubble > Baleen Bomb > Use Dragonkillers > Attack Corona > Repeat until the boss or the island is destroyed.
The Magitek Field Generator will now be permanently disabled. Once the island’s integrity bar reaches 0, you will wipe.
- Baleen Bomb (Phase 3): More circle AoEs will spawn throughout Phase 3.
- Vundu Mobs (Phase 3): In Phase 3, a larger “Nat’maii Vundu” will spawn along with the initial two Vundu mobs.
- Death Blossom (Nat’maii Vundu): A point-blank AoE attack.
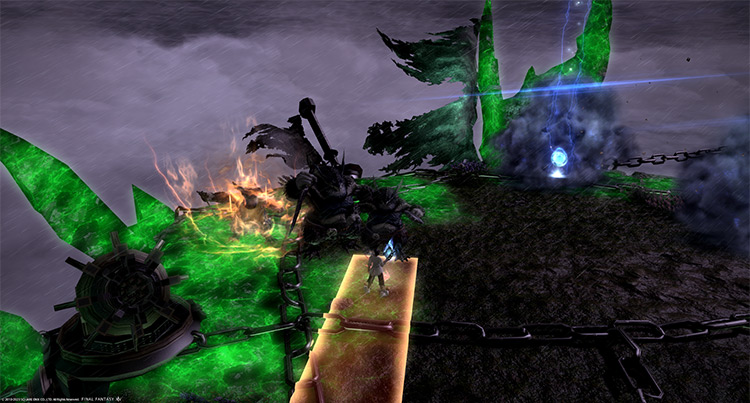
- Windcaller + Magicked Bubble: Similar to The Limitless Blue (Hard), knowing what to do for each weather pattern will greatly help your chances of survival. In Extreme mode, you’ll deal with three weather patterns with corresponding Vapor Bubbles.
| Weather | Mechanics |
|---|---|
| Thunderstorm (Thunder) | To handle this weather, don’t kill the Vapor Bubbles and spread out to avoid overlapping damage.
|
| Showers (Wind) | To handle this weather, kill the Vapor Bubbles immediately. Then stack in the center for “Sharp Gust” and “Rain Storm.”
|
| Rain (Water) | To handle this weather, kill the Vapor Bubbles immediately while staying away from the center to avoid “Primal Tears.”
|
- Deep Draught: The boss will buff the “Vapor Bubble” mobs with “Damage Up” if they stay alive for too long.
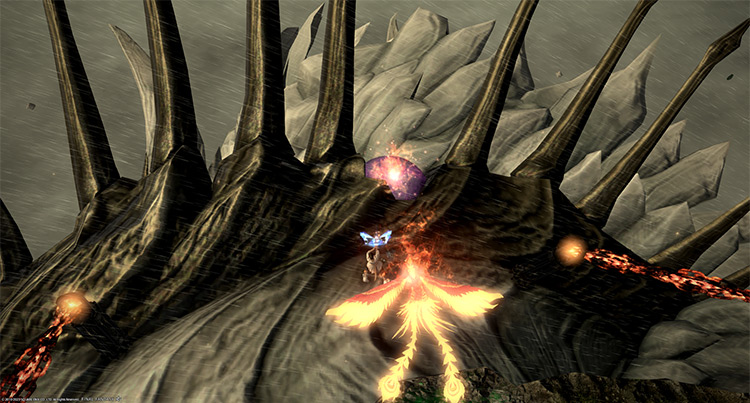
- Corona: After latching the Dragonkillers onto the boss, you’ll be able to attack its “Corona” to lower its Vitality bar. You may need to repeat Phase 3 multiple times depending on your party’s DPS. Use your DPS limit break on the “Corona” whenever it’s available.
Rewards
Note: Expanse Totems can be traded for weapon loot (10 fragments) or the White Lanner Whistle (99 fragments) with Bertana in Idyllshire (X:5.9, Y:5.2).
- 15 Allagan Tomestones of Poetics
- Bismarck Triple Triad Card (not guaranteed)
- Bismarck’s Baleen Crafting Material (not guaranteed)
- Expanse Totem (1 per clear)
| Name | Type | Quality |
|---|---|---|
| Expanse Grimoire | Book | Blue (Primal Gear) |
| Expanse Codex | Book | Blue (Primal Gear) |
| Expanse Longbow | Bow | Blue (Primal Gear) |
| Expanse Cane | Cane | Blue (Primal Gear) |
| Expanse Machetes | Daggers | Blue (Primal Gear) |
| Expanse Handgonne | Firearms | Blue (Primal Gear) |
| Expanse Patas | Fist Weapon | Blue (Primal Gear) |
| Expanse Battleaxe | Greataxe | Blue (Primal Gear) |
| Expanse Greatsword | Greatsword | Blue (Primal Gear) |
| Expanse Katana | Katana | Blue (Primal Gear) |
| Paladin’s Expanse Arms (IL 175) | Other | Blue (Primal Gear) |
| Expanse Partisan | Polearm | Blue (Primal Gear) |
| Expanse Rapier | Rapier | Blue (Primal Gear) |
| Expanse Longpole | Staff | Blue (Primal Gear) |
| Expanse Astrometer | Star Globe | Blue (Primal Gear) |
| Expanse Baleen | Crafting material | Basic |
| Faded Copy of Limitless Blue | Orchestrion Roll | Basic |
| Faded Copy of Woe That Is Madness | Orchestrion Roll | Basic |
| Expanse Weapon Coffer (IL 175) | Other | Basic |
| White Lanner Whistle | Other | Basic |
-
Final Fantasy XIV
- FFXIV The Limitless Blue (Extreme): Unlock + Trial Guide
Related Posts:
 FFXIV The Limitless Blue (Hard): Unlock + Trial Guide
 FFXIV Emanation (Extreme): How To Unlock + Trial Guide
 Zurvan EX Unlock & Trial Guide – FFXIV Containment Bay Z1T9 (Extreme)
 FFXIV Containment Bay S1T7 (Extreme): Unlock + Trial Guide
 FFXIV Thok ast Thok (Extreme): How To Unlock + Trial Guide
 The Akh Afah Amphitheatre (Extreme): Unlock + Trial Guide (FFXIV)
 FFXIV The Minstrel’s Ballad: Thordan’s Reign – Unlock + Trial Guide
 Sophia EX Unlock & Trial Guide – FFXIV Containment Bay P1T6 (Extreme)