You can unlock the Level 70 trial The Royal Menagerie, also known as Shinryu NM, by accepting the Level 70 MSQ “Stormblood” from Pipin in The Lochs (X:32.6, Y:22.9) and clearing the Level 70 dungeon Ala Mhigo.
Stormblood is the final MSQ for patch 4.0 of the FFXIV Stormblood expansion.
TABLE OF CONTENTS
Unlocking Quest: Stormblood
“Stormblood” is the final MSQ of the Stormblood expansion. You’ll need to clear every MSQ leading up to it before it can be unlocked, including the MSQs from A Realm Reborn and Heavensward.
Once that’s all set, talk to Pipin in The Lochs (X:32.6, Y:22.9) to begin.

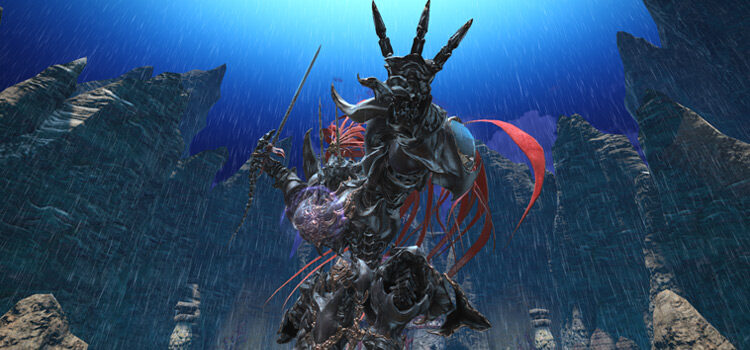
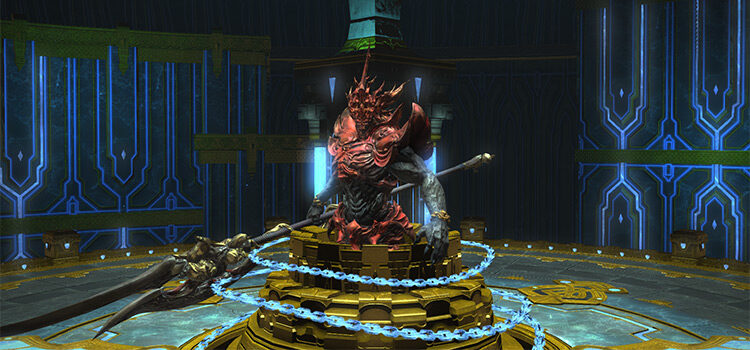
In this part of the MSQ, the resistance forces are now ready to storm the Ala Mhigan castle in pursuit of Zenos yae Galvus.
After accepting the quest from Pipin, you’ll be able to unlock the Level 70 dungeon Ala Mhigo.
Clear the dungeon to proceed.
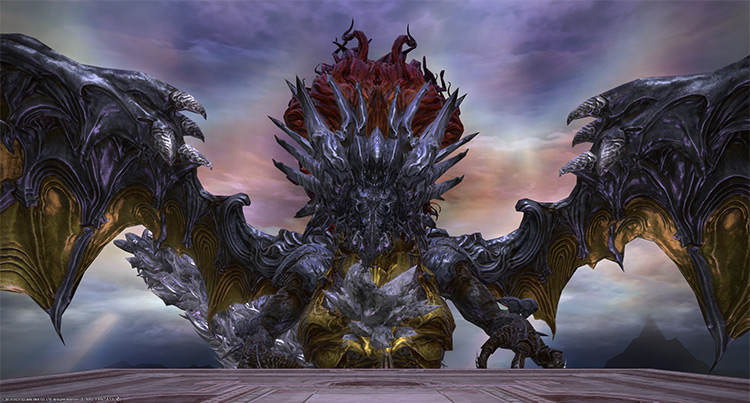
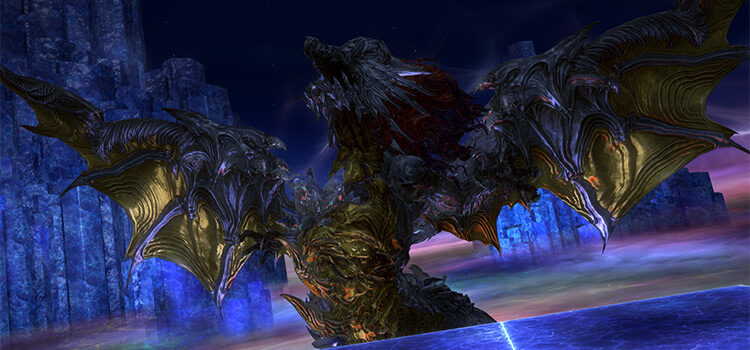
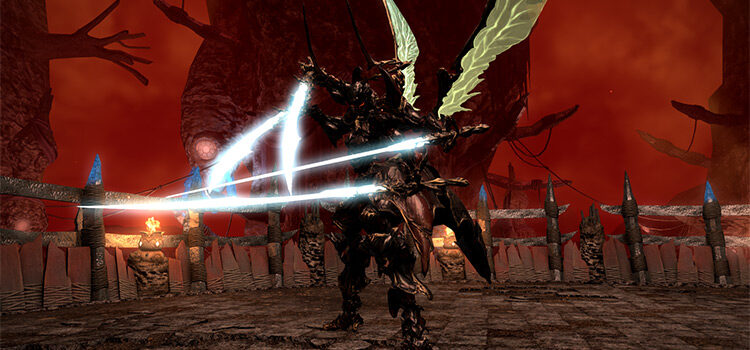
After completing the dungeon, a cutscene will trigger showing Zenos’ transformation into Shinryu. Then The Royal Menagerie will be unlocked.
This trial requires at least a Level 70 Disciple of War or Magic job and an average item level of 280 to enter.
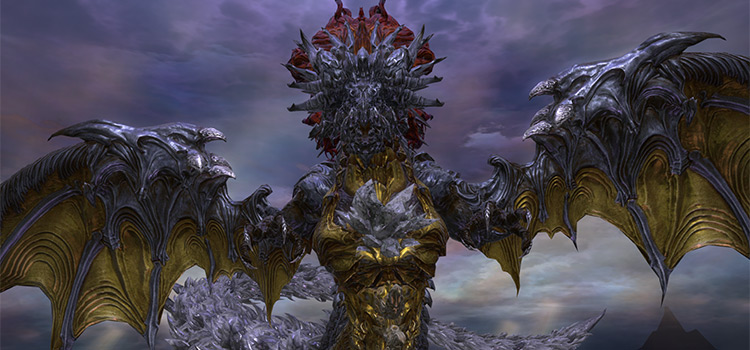
Trial Boss: Shinryu
The Royal Menagerie can be safely soloed using a high-level character with up-to-date gear. It’ll be easier to clear alone using DPS characters with self-healing such as Summoner, Red Mage, or any of the tanks and healers.
If you’re doing this trial for the first time and want to do it while synced, follow the mechanics below to clear it smoothly.
Corrupted Aether Ultimate Attacks
Throughout the fight, the boss will charge its “Corrupted Aether” gauge. Once it reaches 100, it’ll use one of six ultimate attacks:
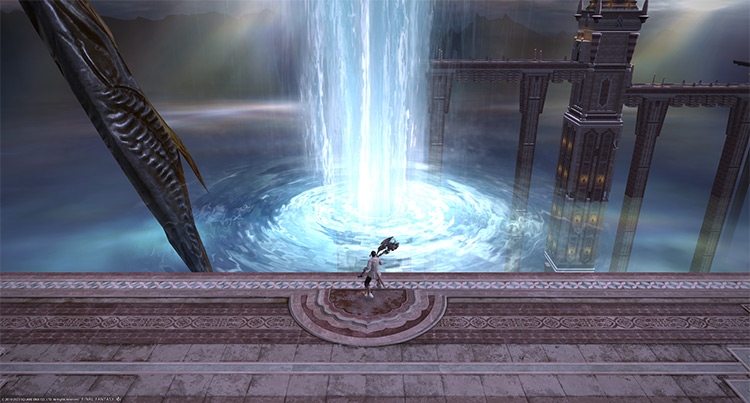
- Tidal Wave (From Phase 1): A strong knockback AoE from the side where a giant whirlpool appears. Run right next to the whirlpool or use knockback-immunity skills. This ultimate will also spawn water puddles that grant “Fire Resistance Up” and “Lightning Resistance Down II.”
- Hellfire (From Phase 1): A room-wide AoE attack that applies a 20-second “Burns” DoT. Mitigate incoming damage by standing in the water puddles. After this attack goes off, the water puddles will disappear.
- Judgment Bolt (From Phase 1): A room-wide ultimate AoE attack. Mitigate and heal through the damage. Don’t stand inside the water puddles, or you’ll get hit harder.
- Aerial Blast (Phase 3 and 4 only): A large tornado will spawn in the center platform and use four room-wide knockback attacks in a row. The final knockback will be much stronger than the first three. Run toward the tornado for each knockback, or use knockback-immunity skills.
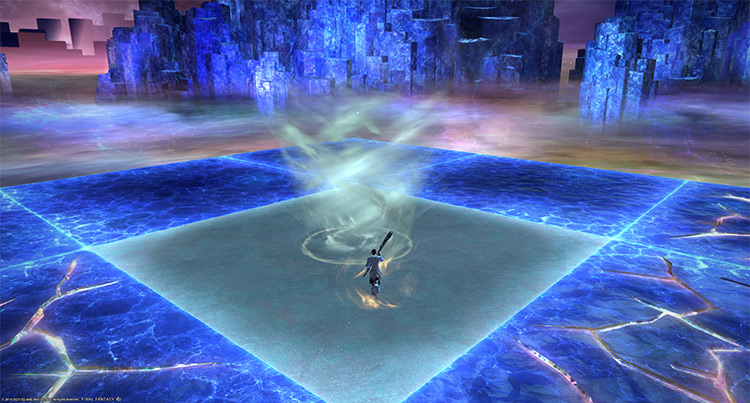
- Diamond Dust (Phase 3 and 4 only): Another room-wide AoE attack that turns the floor into ice. Avoid unnecessary movement.
- Earthen Fury (Phase 3 and 4 only): A room-wide AoE attack that will destroy one damaged platform.
Phase 1: Levinbolt, Hypernova, and Earth Breath
Rotation:
Tidal Wave > Levinbolt or Hypernova > Akh Morn > Summon Icicle > Ice Storm > Earth Breath > Judgement Bolt or Hellfire.
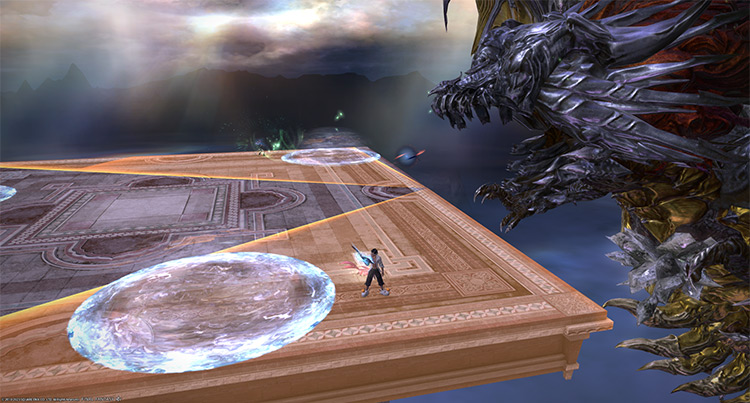
- Levinbolt: Five players will receive lightning-aspected circle AoE markers. Spread out and avoid the water puddles.
- Hypernova: A stack marker on a random player. Stand inside the marker to share incoming damage.
- Akh Morn: A three-hit tankbuster on the primary target that must be shared with the other tank. Have the tanks stand together to mitigate incoming damage.
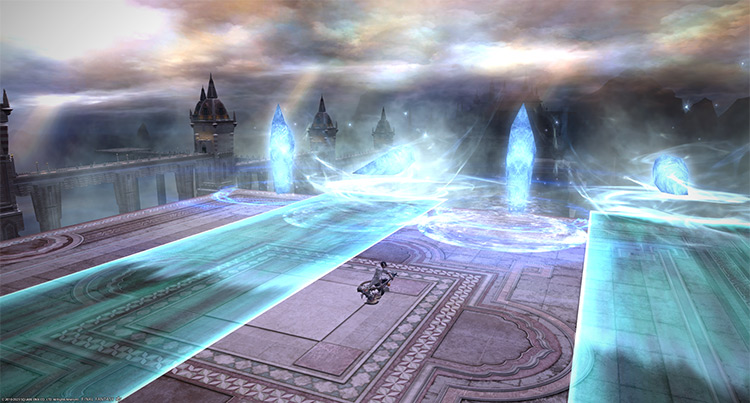
- Summon Icicle: Two sets of icicles will appear from the south and rush through the arena, knocking players back on hit and applying 120-second “Vulnerability Up” debuffs.
- Ice Storm: A room-wide AoE attack. Mitigate and heal through the damage.
- Earth Breath: Two players will receive orange markers for large frontal cone AoEs that apply a “Sludge” DoT for 16 seconds. Place the markers on the flanks to avoid overlap.
Phase 2: Hakkinryu + Ginryu, Protostar, and Dark Matter
Rotation:
Hakkinryu + Ginryu x2 > Hakkinryu + Ginryu x3 > Ginryu x5 > Protostar > Dark Matter.
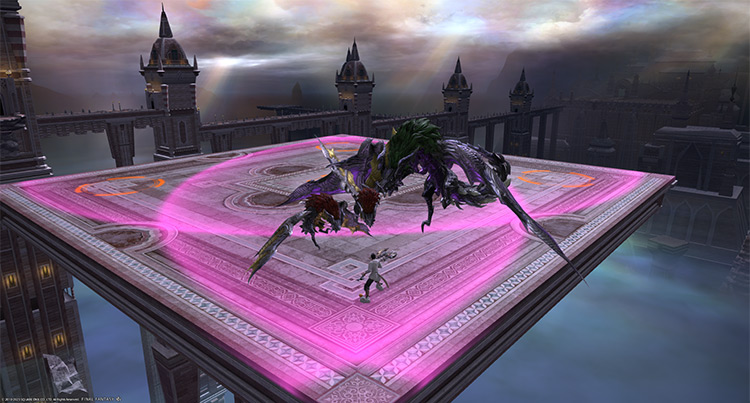
- Hakkinryu + Ginryu: The boss will summon minions through proximity markers that will eventually crash into the arena. Run away from the markers and burn down the minions before the “Accumulated Aether” gauge fills up, or your party will die.
- Spiked Tail (Ginryu): A single-target attack that applies a 30-second “Poison” DoT. Dispel the DoTs as necessary.
- Death Sentence (Hakkinryu): A heavy-hitting tankbuster attack on the primary target.
- Collapse (Hakkinryu & Ginryu): A non-telegraphed frontal cone AoE.
- Blazing Trail (Hakkinryu & Ginryu): Both minions can use a large column attack that applies a stacking “Suppuration” debuff for 120 seconds.
- Fireball (Hakkinryu & Ginryu): Targeted circle AoEs on random players.
- Double Dive (Hakkinryu & Ginryu): A non-telegraphed column attack that knocks players back.
- Protostar: A room-wide ultimate AoE attack that deals damage based on the “Accumulated Aether” gauge. Kill the minions before the gauge reaches 100.
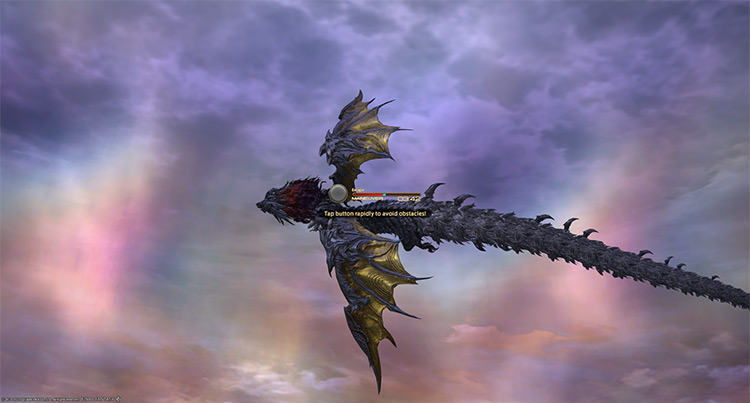
- Dark Matter: After “Protostar,” the boss will fetter the group, and an Active Time Maneuver will occur. Fill up your gauge by spamming your keyboard or mouse buttons before the timer runs out to avoid the attack.
Phase 3: Tail Slap, Burning Chains, and Dragonfist
Rotation:
Gyre Charge > Tail Slap > Burning Chains + Ice Storm > Tail Slap > Ice Storm > Dragonfist > Random Ultimate Attack > Summon Icicle + Tail Slap > Ice Storm > Levinbolt or Hypernova > Tail Slap > Burning Chains.
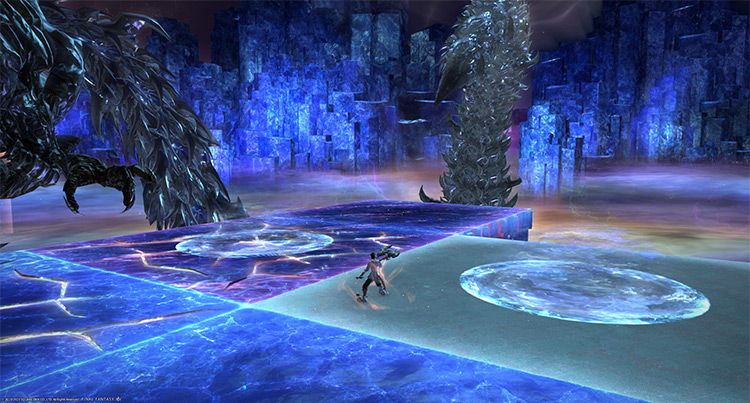
Starting from Phase 3, the arena will be divided into nine connected platforms.
Every platform apart from the center can be damaged by “Tail Slap” and can take up to two hits before they’re destroyed. Whenever the boss’ “Corrupted Aether” Gauge reaches 100, it’ll now randomly use one of the six ultimate attacks listed earlier.
- Gyre Charge: The boss will fly to a random corner and cover most of the arena with a large column attack that knocks players back and applies a stacking “Vulnerability Up” debuff for 120 seconds. Determine which corner the boss will attack from, then sprint toward the flanks to avoid.
- Tail Slap: The boss will slam its tail onto the arena, covering an area two platforms long. This slam will destroy cracked platforms. Afterward, the tail will become targetable. Burn the tail down to deal massive damage to the boss. If the tail crashes onto two cracked platforms, it’ll crash through the platforms and won’t become targetable.
- Burning Chains: Two players will be chained together and receive a “Burning Chains” DoT for 20 seconds. Run away from your partner until the chains break.
- Dragonfist: A large circle AoE in the center platform that stuns players for two seconds and applies a stacking “Vulnerability Up” debuff for 120 seconds.
Phase 4: Akh Rhai and Repeating Mechanics
Rotation:
Random Ultimate Attack > Akh Morn + Akh Rhai > Gyre Charge > Burning Chains + Ice Storm > Dragonfist + Levinbolt or Hypernova > Random Ultimate Attack > Burning Chains + Summon Icicle + Tail Slap > Levinbolt or Hypernova > Akh Morn + Akh Rhai > Earth Breath > Ice Storm > Repeat from the first Random Ultimate Attack.
- Akh Rhai: During “Akh Morn,” a random DPS player will also be targeted with a fixed, multi-hit AoE. Move out as necessary.
- Tail Slap (Targeted): Starting from Phase 4, “Tail Slap” will now target random players with a green marker. Drop the marker on an undamaged platform, preferably the center, so the tail can be attacked.
Rewards
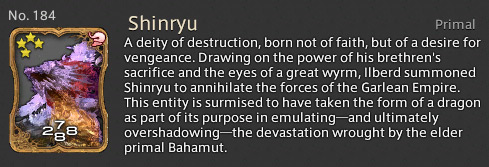
- Shinryu Triple Triad Card (not guaranteed)
-
Final Fantasy XIV
- FFXIV The Royal Menagerie: How To Unlock + Trial Guide
Related Posts:
 FFXIV The Minstrel’s Ballad: Shinryu’s Domain – Unlock + Trial Guide
 FFXIV The Minstrel’s Ballad: Thordan’s Reign – Unlock + Trial Guide
 FFXIV Pool of Tribute (Extreme): How To Unlock + Trial Guide
 FFXIV Minstrel’s Ballad: Nidhogg’s Rage – Unlocking + Trial Guide
 The Akh Afah Amphitheatre (Extreme): Unlock + Trial Guide (FFXIV)
 Zurvan EX Unlock & Trial Guide – FFXIV Containment Bay Z1T9 (Extreme)
 FFXIV Thok ast Thok (Extreme): How To Unlock + Trial Guide
 FFXIV Containment Bay S1T7 (Extreme): Unlock + Trial Guide