Moschet Manor is a dungeon accessible from Year 2 onwards.
It’s located west of Alfitaria in the Vale of Alfitaria region and houses both Fire and Water elemental Hot Spots.
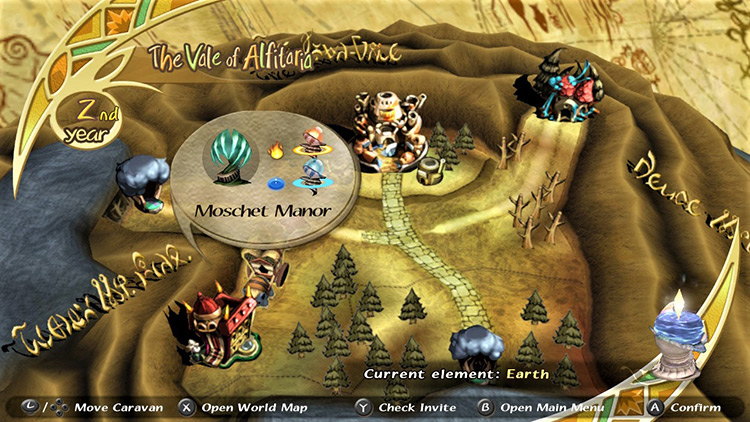
It can be the 5th or 6th dungeon you tackle in Final Fantasy Crystal Chronicles, depending on whether you visited Tida first.
Despite the strong boss, this is also one of the shortest and easiest dungeons in the game.
Here’s all you need to do:
- Get all the main magicites.
- Collect your Moogle Stamp (left side, second door).
- Defeat Tonberry Chefs in every room.
- Defeat Gigas Lord & Maggie.
Let’s break it down.
TABLE OF CONTENTS
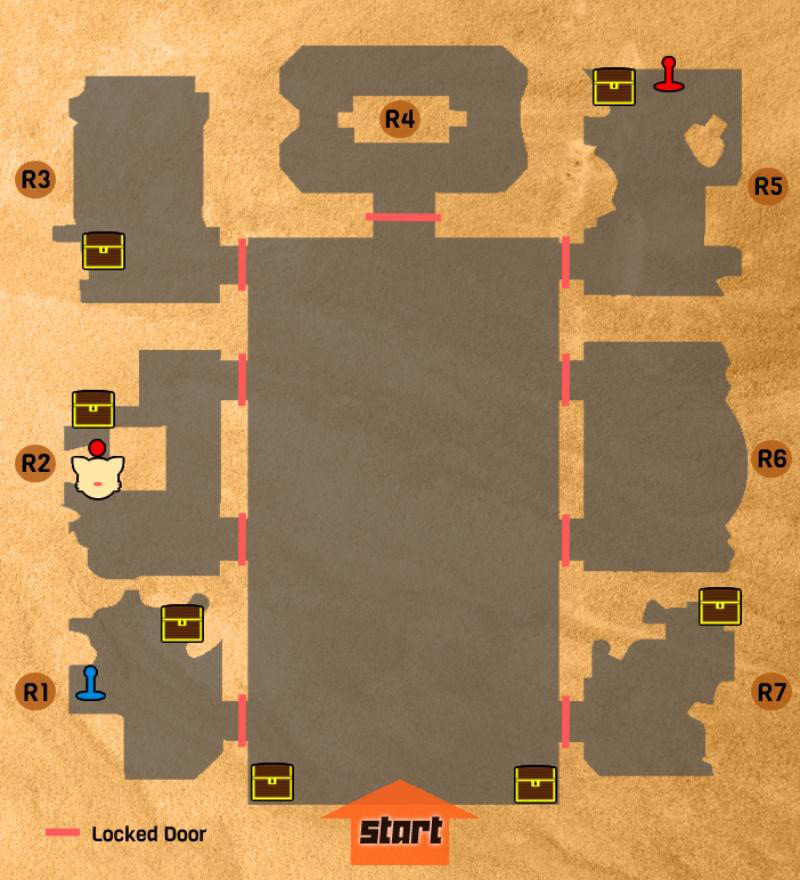
Map
Walkthrough
Mechanic: How to Open the Doors
The main mechanic in Moschet Manor has to do with opening the doors to each room.
You’ll find a pressure plate with a glowing symbol in front of every door. It rotates in a sequence of four glowing crests, each corresponding to a different race.
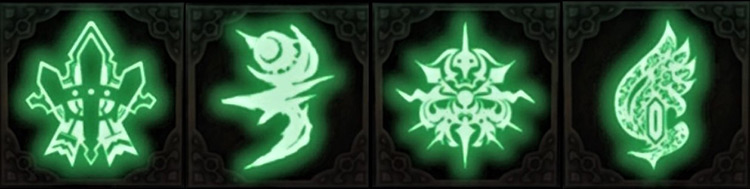
When a character of the right race stands over the corresponding symbol, the doors will open.
If you’re unsure which one is yours, stand on the pressure plate until it sinks, and take note of the last crest you saw.
Tip: Don’t miss a chance to open the door back outside when you enter a room if you immediately notice your race’s symbol glowing on the plate.
Step #1: Get All Main Magicites
Now that you know how to open doors, we can start making some progress.
First up, you’re going to need some magicites.
You’ll find Raise in a chest immediately to the left of your starting position and Cure in a chest on the opposite side of the dungeon’s entrance.

Fire and Blizzard can be obtained from the monsters inside the first room on the right side, next to where you found Cure.
- The Gremlin drops Fira
- The Tonberry Cook drops Blizzard
Now that you’re locked and loaded head out into the courtyard and defeat the monsters there.
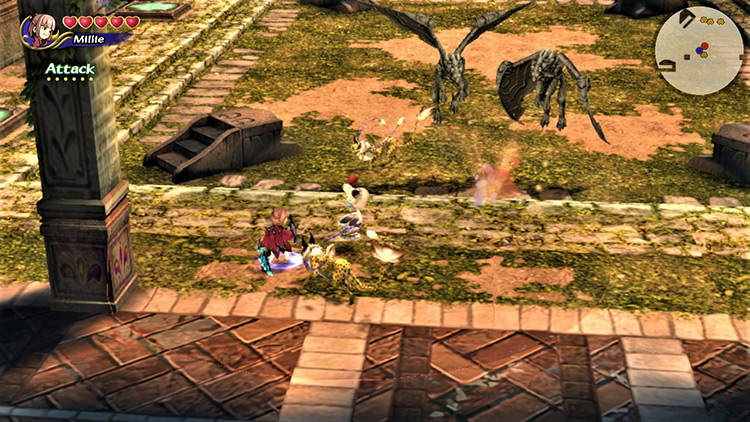
There are two Gargoyles and two Coeurls.
- Coeurls are spellcasters able to use Fire, Blizzard, and Thunder. They’re vulnerable to melee damage.
- Gargoyles are resistant to all elemental magic, but Gravity (Fire + Blizzard) can bring them down to earth so that you can beat them up with your weapon.
Before moving on to the next step, visit the first room on the left side for an unguarded chest near a Water Hot Spot.
Step #2: Collect your Moogle Stamp
The next place you want to visit in Moschet Manor is the second room to the left.
After eliminating the lone Tonberry near the southern edge and collecting the Artifact chest up top, approach the back of the enormous wooden desk to find a Moogle Nest.

Collect your Moogle Stamp and head back out to continue.
Step #3: Rout the Tonberry Chefs
This dungeon doesn’t have a boss room.
Instead, you must lure the boss to the courtyard by killing all 10 Tonberry Chefs in the manor.
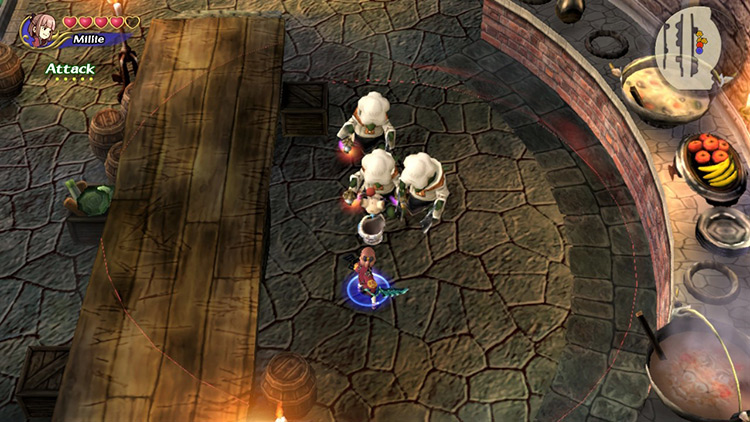
You’ve already killed two in Rooms 2 and 7 (counting from left to right).
The rest are distributed as follows:
- Room 3: 2 Tonberry Chefs.
- Room 4: 2 Tonberry Chefs (+ 2 Gargoyles).
- Room 5: 1 Tonberry Chef (hiding behind the divan).
- Room 6: 3 Tonberry Chefs.
The boss fight will begin the moment you exit the final room, having defeated the last of the 10 Tonberry Chefs.
Tip: Leave one alive if you want to double-check whether you got all chests and the Moogle Stamp.
Boss: Gigas Lord & Maggie
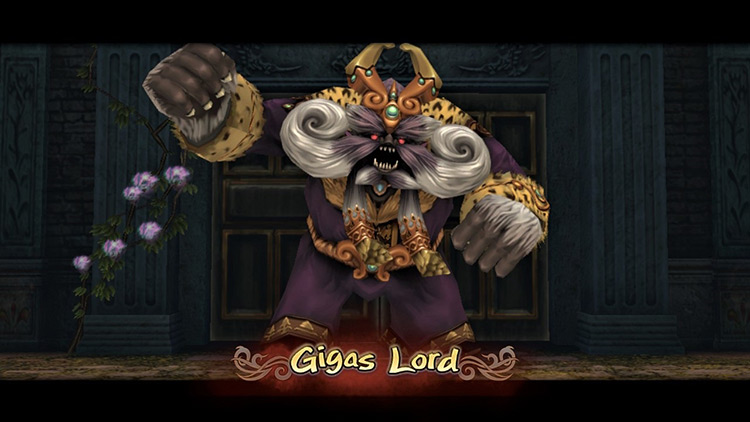
The Gigas Lord hits hard, but the real threat is the combined strength of his melee damage and Maggie’s debuffs.
Follow these tips for an easier battle:
Tip #1: Focus on Maggie
After you land the first hit on the Gigas Lord, the lamia Maggie will come out in support of her partner.
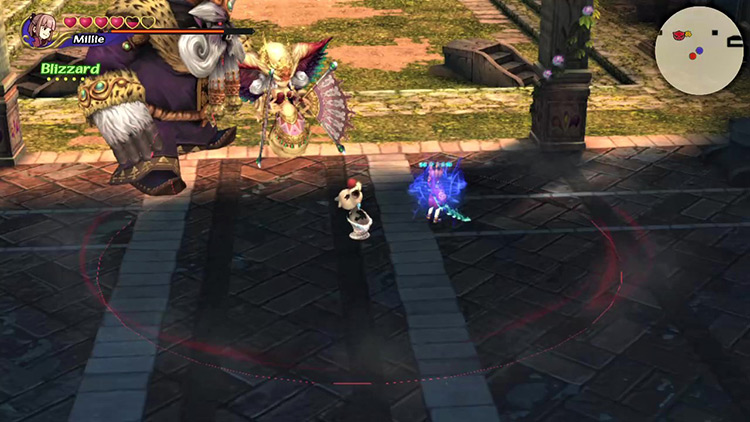
She won’t try to harm you directly. Instead, she’ll cast Slowga and prevent you from dodging the Lord’s attacks.
Use Blizzard or Focus Attacks to damage Maggie until she gives up and goes cry in front of her room.
She’ll return after a few minutes, prompting the Lord to heal himself and Maggie.
Tip #2: Use Fire or Melee on Gigas Lord
Due to his powerful and lightning-fast melee attacks, it’s better to take on the Gigas Lord from a distance.
Spells – especially Fire – are the best way to deal with the Gigas Lord without taking that much damage.
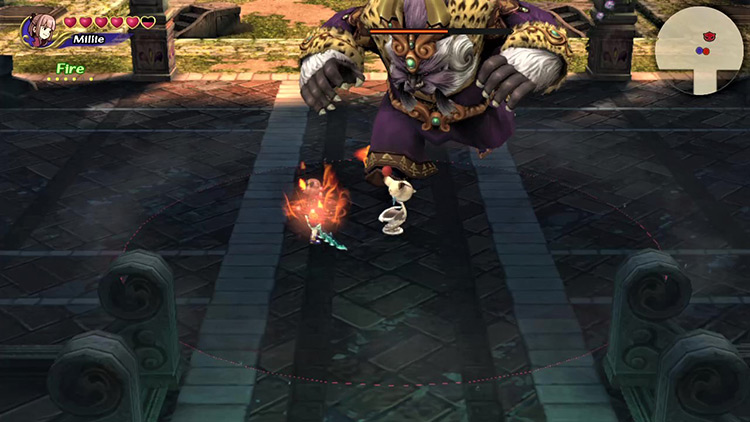
Alternatively, you can try to aim your Focus Attacks so that you’re almost out of range immediately after hitting. This should help you get away safely.
Ultimately, always keep Cure or a Phoenix Down in your Command List.
Tip #3: Strike During Breath Attacks
The best time to hit the Gigas Lord is when it tries to Freeze you with its icy breath.
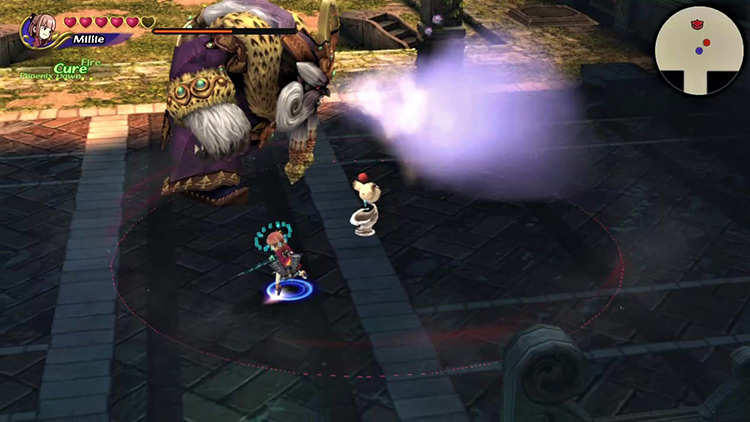
This move is much easier to dodge than his melee moves and leaves him open to a counter-attack for a long time.
He’ll do this more often if you keep a medium distance. It’s another reason to put Fire on your Command List.
Changes with Dungeon Cycles
Other than some stronger monsters, the main change to Moschet Manor has to do with the boss.
Maggie will start casting Stop along with Slowga. This can immobilize your character, leaving you 100% open to the Lord’s attacks.
Keep Clear on your Command List in multiplayer or a Phoenix Down if you’re playing alone.
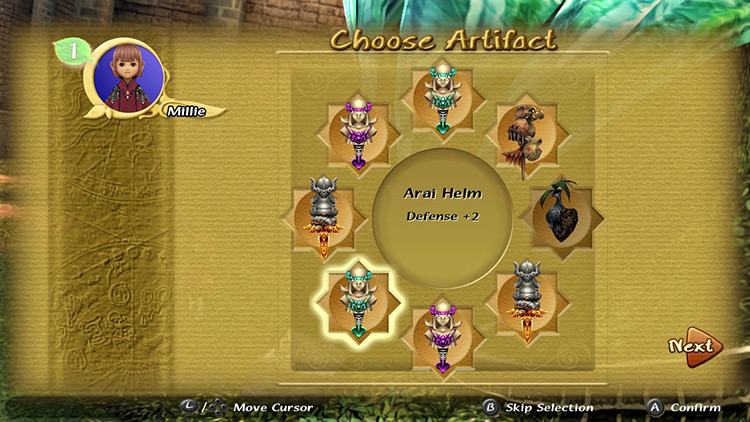
Obtainable Items
You’ll find Artifacts, crafting Recipes, and Materials throughout the dungeon. You get to keep all Recipes and Materials, but you can only choose one Artifact to take with you.
Chest Items
SCROLL
| Cycle | First | Second | Third |
|---|---|---|---|
| Recipes | Fashion Kit Lady’s Accessories |
Fashion Kit Lady’s Accessories |
Fashion Kit Lady’s Accessories |
| Artifacts | Ashura Faerie Ring Flametongue Helm of Arai Kaiser Knuckles Rune Staff Shuriken Sparkling Bracer Winged Cap Wonder Wand |
Candy Ring Elven Mantle Fang Charm Flametongue Helm of Arai Kaiser Knuckles Ogrekiller Red Slippers Winged Cap Wonder Wand |
Candy Ring Dark Matter Elven Mantle Engetsurin Fang Charm Mjollnir Noah’s Lute Ogrekiller Red Slippers Wonder Bangle |
Monster Items
SCROLL
| Cycle | First | Second | Third |
|---|---|---|---|
| Coeurl | Chocobo Pocket (A) Earth Pendant (A) |
Coeurl’s Whisker Earth Pendant (A) Ruby Silver |
Coeurl’s Whisker Earth Pendant (A) Holy Water Moon Pendant (A) Ruby Silver |
| Gargoyle | Alloy Bronze Iron |
Alloy | Alloy Mythril |
| Ochu | None present | None present | Mythril Tiny Crystal |
| Tonberry Chef | No drops | No drops | Yellow Feather |
Boss Items
Each boss has four drop pools per cycle.
Your Bonus Points determine which rewards you qualify to get. The higher your points, the more chances you have to get good rewards.
Higher ranks can randomly get any of the previous reward pools. There’s also a tiny chance that the contrary might happen, giving you higher-level rewards at low scores.
SCROLL
| Cycle | First | Second | Third |
|---|---|---|---|
| 0+ BP | Buckler Chocobo Pocket Flametongue Rune Staff |
Black Hood Book of Light Fang Charm Moon Pendant |
Chocobo Pocket Ice Brand Moon Pendant Sage’s Staff |
| 84+ BP | Earth Pendant Green Beret Red Slippers Silver Spectacles |
Chocobo Pocket Faerie Ring Helm of Arai Kaiser Knuckles |
Engetsurin Helm of Arai Noah’s Lute Orichalcum (M) |
| 105+ BP | Black Hood Book of Light Fang Charm Moon Pendant |
Chocobo Pocket Ice Brand Moon Pendant Sage’s Staff |
Chocobo Pocket Legendary Weapon Lord’s Robe Power Wristband |
| 132+ BP | Chocobo Pocket Faerie Ring Helm of Arai Kaiser Knuckles |
Engetsurin Helm of Arai Noah’s Lute Orichalcum (M) |
Candy Ring Chocobo Pocket Gekkabijin Legendary Shield |

-
Final Fantasy Crystal Chronicles Remastered
- Moschet Manor Dungeon Guide + Map (FFCC Remastered)