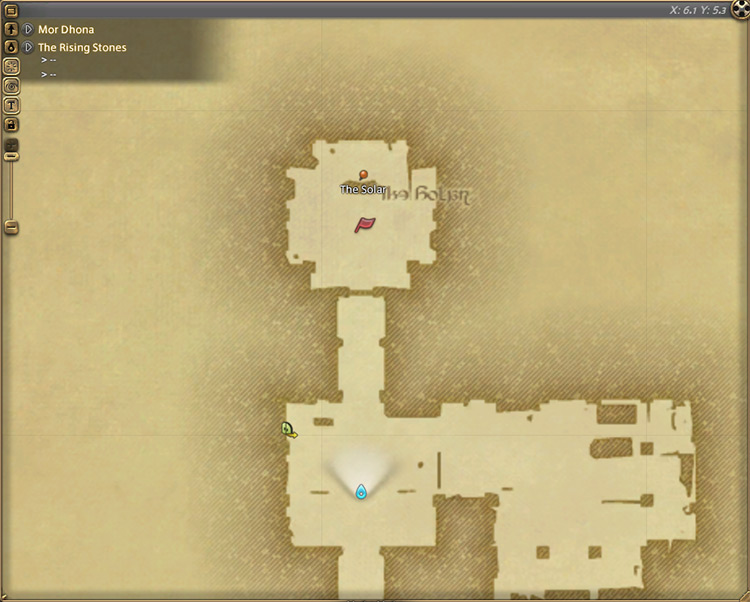
To unlock Containment Bay P1T6, also known as Sophia NM, you need to accept the Level 60 quest “Balance Unto All” from Unukalhai in The Rising Stones (X:6.1, Y:5.3).
But this quest only becomes available after finishing the main story for patch 3.0 of the Heavensward expansion, and after starting The Warring Triad questline and then defeating Sephirot in Containment Bay S1T7.
TABLE OF CONTENTS
Step-by-Step Unlock Guide
- Complete the Level 60 MSQ “Heavensward” from the Guidance Node in Azys Lla (X:16.0, Y:22.0).
- Finish the Level 60 introductory quest for The Warring Triad storyline “Gods of Eld” from Torsefers in The Pillars (X:11.7, Y:11.5).
- Accept the quest “When the Bough Wakes” from Unukalhai in The Rising Stones (X:6.1, Y:5.3) and defeat Sephirot in Containment Bay S1T7.
- Complete the quest “The Fate of Stars” from Unukalhai in The Rising Stones (X:6.1, Y:5.3).
- Accept the quest “Balance Unto All” from Unukalhai in The Rising Stones (X:6.1, Y:5.3).
- Talk to Unukalhai at The Flagship in Azys Lla (X:26.7, Y:22.6).
Detailed Unlocking Guide
First off, make sure you’ve completed the Level 60 MSQ “Heavensward” from the Guidance Node in Azys Lla (X:16.0, Y:22.0). This is the final MSQ for patch 3.0 of the Heavensward expansion and it unlocks endgame content in that expansion, including The Warring Triad questline.
Once that’s done, accept the quest “Gods of Eld” from Torsefers in The Pillars (X:11.7, Y:11.5) to begin.
In “Gods of Eld,” Torsefers will direct you to a mysterious stranger waiting for you in The Rising Stones (X:6.1, Y:5.3).
Upon talking to this stranger, he’ll introduce himself as Unukalhai and warn you about the impending return of the ancient beings known as the eikons, which includes Sophia.
You’ll need to do the following prerequisite quests from Unukalhai before the trial can be unlocked:
SCROLL
| Quest | Dungeon/Trial | Boss | Requirements |
|---|---|---|---|
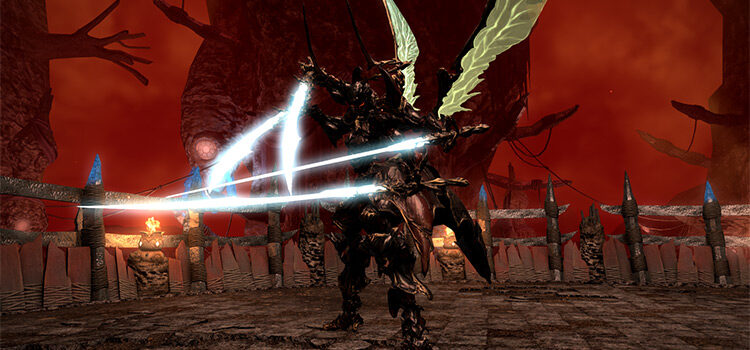
| 1. “When the Bough Wakes” | Containment Bay S1T7 | Sephirot | Level 60 Disciple of War or Magic job and Item Level 190+ |
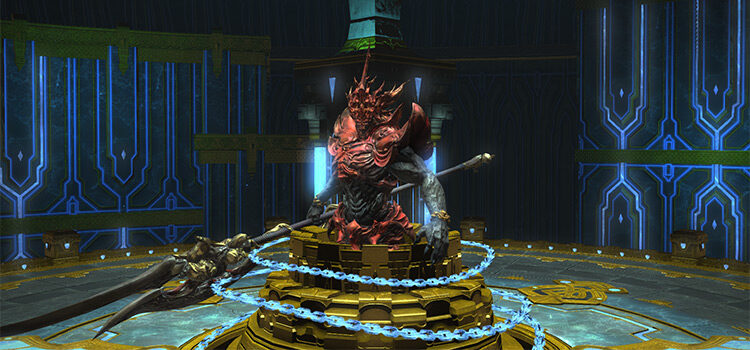
| 2. “The Fate of Stars” | Single-player instance | Regula Van Hydrus | Level 60 Disciple of War or Magic job |
After doing so, you’ll be able to accept the quest “Balance Unto All.”
Follow Unukalhai to Azys Lla (X:26.7, Y:22.6) and watch the cutscene to unlock Containment Bay P1T6. This trial requires at least a Level 60 Disciple of War or Magic job and an average item level of 220 to enter.
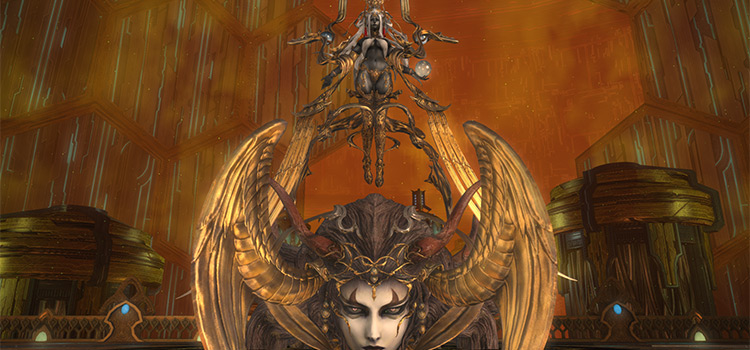
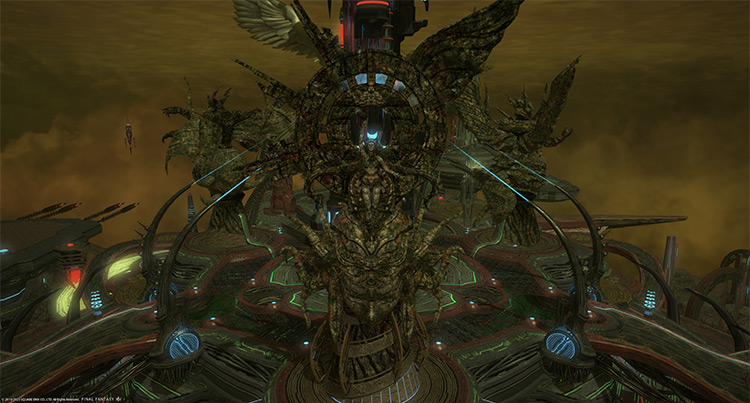
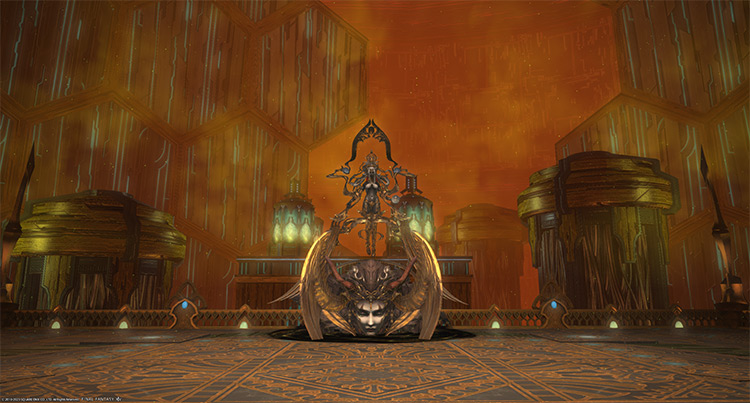
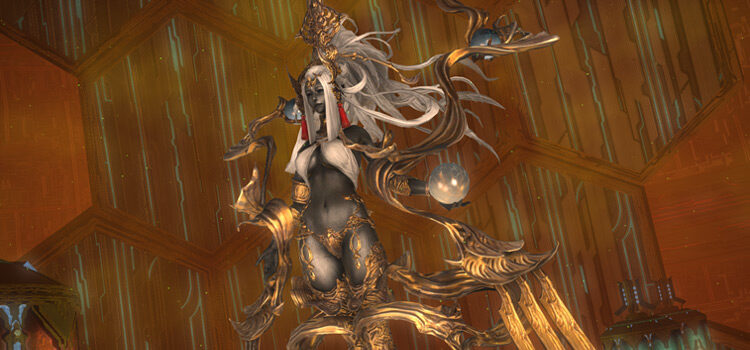
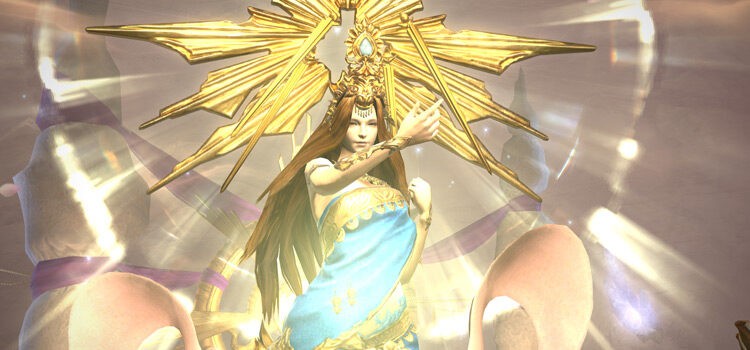
Trial Boss: Sophia
Since this trial was released way back in the Heavensward expansion, it can be easily soloed with a high-level character.
But if you’re doing this trial for the first time, you’ll probably do it through the Duty Finder. Check out the mechanics in each phase to avoid falling off the arena during the fight and clear it quickly.
Phase 1: Quasar (Proximity), Light Dew, and Onrush
Rotation:
Aero II > Thunder III > Light Dew > Quasar (Proximity) > Onrush > Cintamani > Thunder II.
Tank the boss toward the southern edge of the arena to reduce the area covered by “Thunder III.”
- Aero II: A point-blank AoE attack that knocks players back on hit.
- Thunder III: A massive donut AoE that applies a 120-second “Vulnerability Up” debuff. Move inside the boss’ hitbox or far away from the boss to avoid.
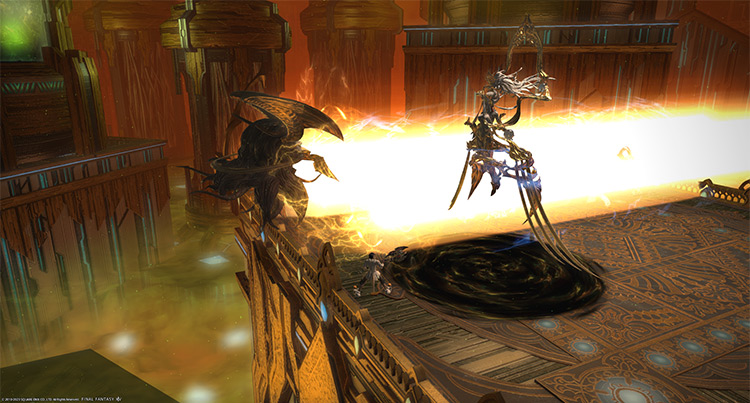
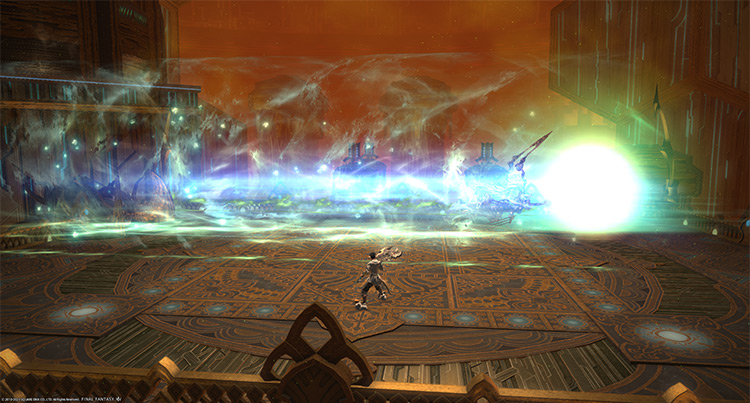
- Light Dew: The boss will detach from her daughter and send it toward one area of the arena to do a non-telegraphed line attack.
- Quasar (Proximity): Proximity markers will spawn underneath multiple players. Run away as a group toward one direction away from the markers and heal through the damage.
- Onrush: The boss will teleport to a random side and perform a rushing attack. This attack also applies a 120-second “Vulnerability Up” debuff on hit.
- Cintamani: A room-wide AoE attack. Shield and heal through the damage.
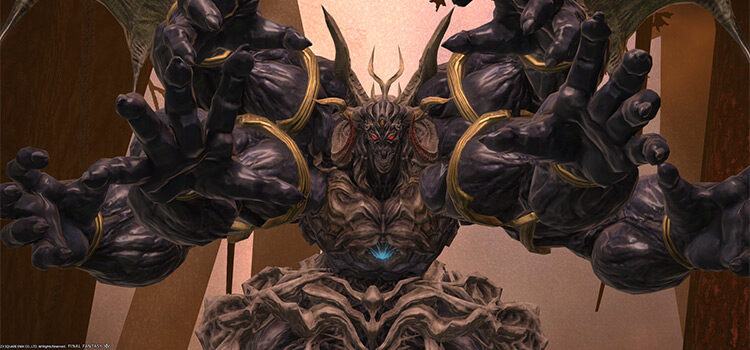
Phase 2: Cloudy Heavens and Demiurges
Rotation:
Cloudy Heavens > Demiurges > The Scales of Wisdom.
- Cloudy Heavens: The boss will apply the “Eternal Doom” status to everyone, which turns people into zombies for 20 seconds should they die during the duration of the status or when the timer reaches 0. Kill the Demiurges before the timer runs out to avoid the debuff.
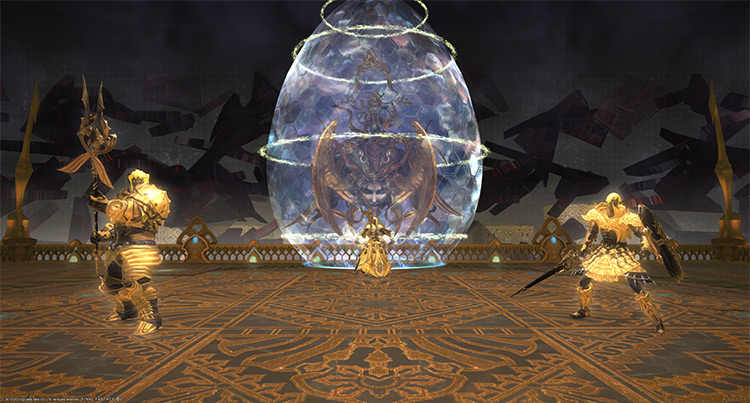
- Demiurges: Tank the Demiurges toward the south of the boss and kill them in this order: Second > Third > First.
| Demiurge Minion | Mechanics |
|---|---|
| First Demiurge (Tank) | Vertical or Horizontal Kenoma: The Demiurge will put up a 5-second shield on its front and back (Vertical) or its flanks (Horizontal) that reflect damage and knock the attacking player back. |
| Second Demiurge (Healer) | Divine Spark: A look-away attack that applies an 8-second “Confused” debuff. Face your character away from the “Second Demiurge.” Cure II: Heals wounded Demiurges. |
| Third Demiurge (Lancer) | Ring of Pain: A point-blank AoE attack that drops a DoT puddle that applies “Frostbite” for 15 seconds. Gnostic Spear: A column attack toward a random player that applies a stacking “Vulnerability Up” debuff for 120 seconds. |
- The Scales of Wisdom: The boss will tilt the arena twice (left then right), then cast her room-wide ultimate AoE attack. This attack deals damage based on the number of Demiurges still alive. Kill the Demiurges before this attack goes off to mitigate incoming damage.
Phase 3: Quasar (Slide) and Dischordant Cleansing
Rotation:
Quasar (Slide) > Cintamani x2 > Quasar (Proximity) + Quasar (Slide) > Dischordant Cleansing > Thunder III > Cintamani x2 > Quasar (Proximity) + Quasar (Slide) > Thunder II > Light Dew > Cintamani x2 > Onrush > Thunder II > Quasar (Proximity) + Quasar (Slide) > Spawn 1 Random Demiurge > Aero II > Thunder III > Cintamani x2 > Dischordant Cleansing > Cintamani x2 > Quasar (Slide) > Cintamani x2 > Repeat from Light Dew until death.
In Phase 3, you can now fall off the arena, so watch your step.
Keep tanking the boss on the southern edge of the arena.
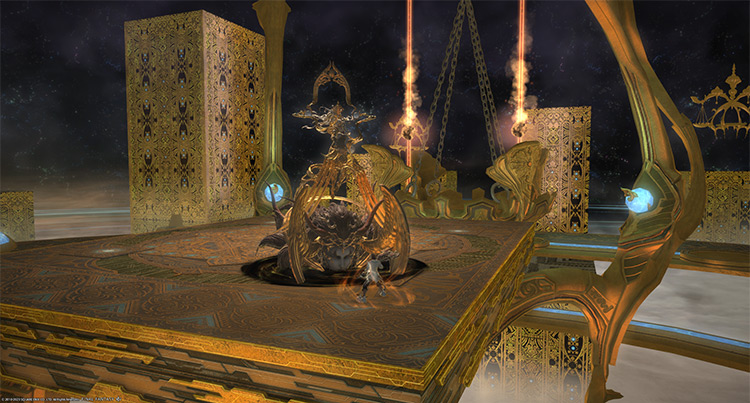
- Quasar (Slide): The boss will tether to the scales outside and prepare to tilt the arena by dropping meteors into her scales. Run away from the side with the most meteors/tethers, or use knockback-immunity skills to avoid falling off.
- Quasar (Proximity) + Quasar (Slide): To handle this Quasar combo, keep tanking the boss toward the southern edge of the arena and wait for the proximity markers to drop. After the proximity markers drop, run opposite from the side with more tethers to avoid sliding off the arena.
- Dischordant Cleansing: Two pairs of players will be marked with black and white circles that will slowly shrink around them. Pair up with a player opposite your colored marker to avoid the 20-second “Bleeding” DoT (white marker) or the 20-second “Reduced Immunity” debuff (black marker).
Rewards
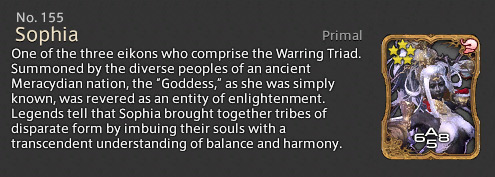
- Sophia Triple Triad Card (not guaranteed)
-
Final Fantasy XIV
- FFXIV Containment Bay P1T6 (Normal): Unlock + Trial Guide
Related Posts:
 Sophia EX Unlock & Trial Guide – FFXIV Containment Bay P1T6 (Extreme)
 Zurvan EX Unlock & Trial Guide – FFXIV Containment Bay Z1T9 (Extreme)
 Zurvan Normal Unlock & Trial Guide – FFXIV Containment Bay Z1T9 (Normal)
 FFXIV Containment Bay S1T7 (Extreme): Unlock + Trial Guide
 FFXIV Containment Bay S1T7 (Normal): Unlock + Trial Guide
 FFXIV Emanation (Extreme): How To Unlock + Trial Guide
 FFXIV Thok ast Thok (Extreme): How To Unlock + Trial Guide
 FFXIV The Minstrel’s Ballad: Shinryu’s Domain – Unlock + Trial Guide