
You can unlock the Level 70 trial Kugane Ohashi, also known as Yojimbo NM, by accepting the Level 70 quest “The Past Is Never Past” from Nashu Mhakaracca in Kugane (X:10.5, Y:8.1).
This quest is part of the comedic Hildibrand Adventures questline from patch 4.56 of the Stormblood expansion.
TABLE OF CONTENTS
Unlocking Quest: The Past Is Never Past
The Kugane Ohashi trial is part of the Hildibrand Adventures questline for the Stormblood expansion. You’ll need to finish every Hildibrand quest leading up to it, going all the way back to the A Realm Reborn base game, before it can be unlocked.
After that, talk to Nashu Mhakaracca in Kugane (X:10.5, Y:8.1) to begin unlocking the trial.
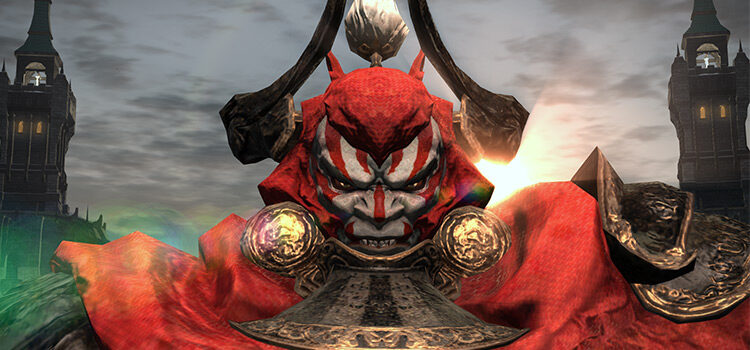
At this point in the story, Inspector Hildibrand is chasing the fugitive Yojimbo, who stole the Soboro Sukehiro.
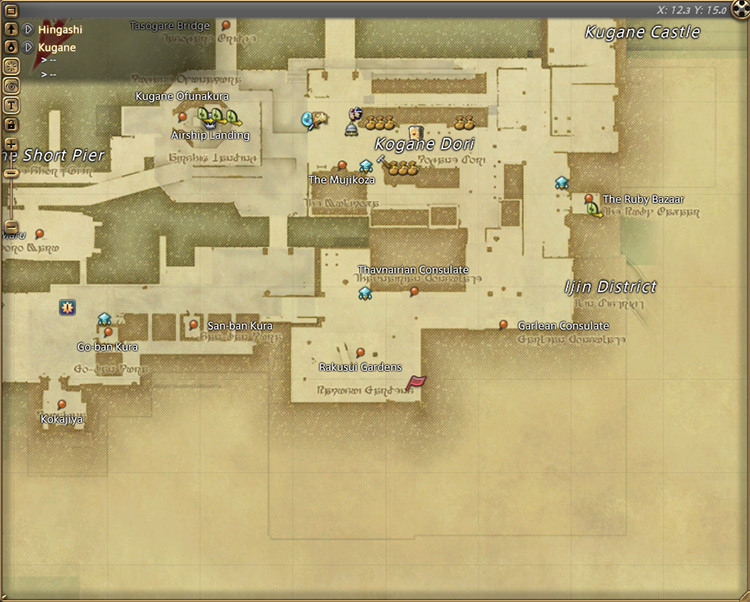
Watch the ensuing cutscene to understand the current situation and enjoy a few laughs before talking to Hildibrand in Kugane (X:12.3, Y:15.0) to unlock Kugane Ohashi. This trial requires at least a Level 70 Disciple of War or Magic job and an average item level of 365 to enter.
Trial Boss: Yojimbo

This trial can be soloed with proper AoE DoT placement for the “Iron Chain” mechanic. Examples include Ninja’s “Doton” or Dark Knight’s “Salted Earth,” but this method is not recommended.
Grab a full party to skip some mechanics completely and clear the trial smoothly.
We’ll cover the mechanics and their rotations below to help out – especially if you want to do this trial through the Duty Finder:
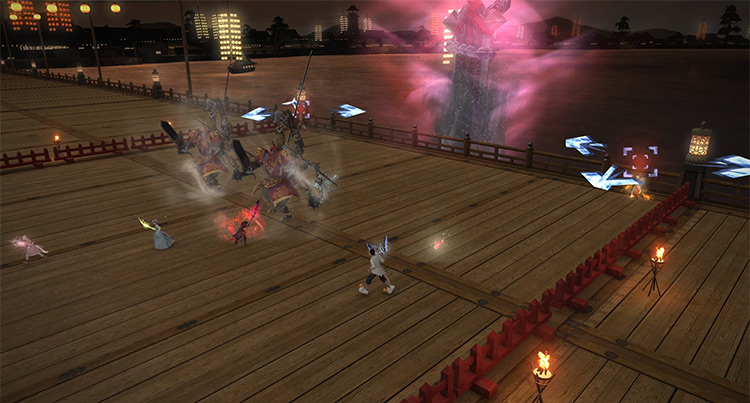
Phase 1: Yojimbo
Rotation:
Wakizashi > Inoshikacho > Metta-giri > Unveiling
- Wakizashi: A single-target attack on the primary target that deals moderate damage.
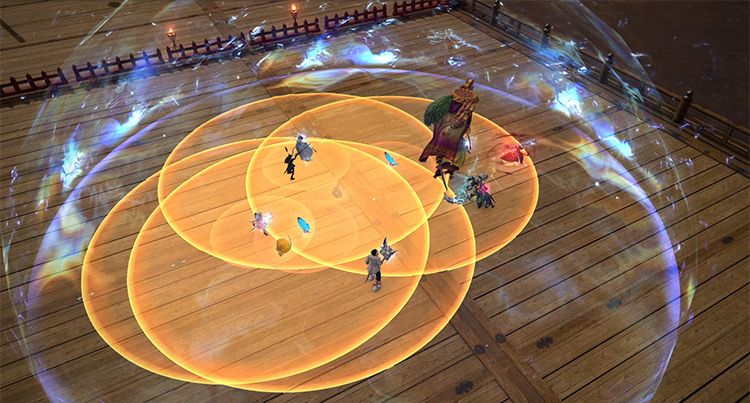
- Inoshikacho: Butterflies will drop from the sky depending on each player’s current position. Then, the butterflies will spawn ground AoEs. Stay close together to bait the AoEs in one area.
- Metta-giri: A room-wide AoE attack.
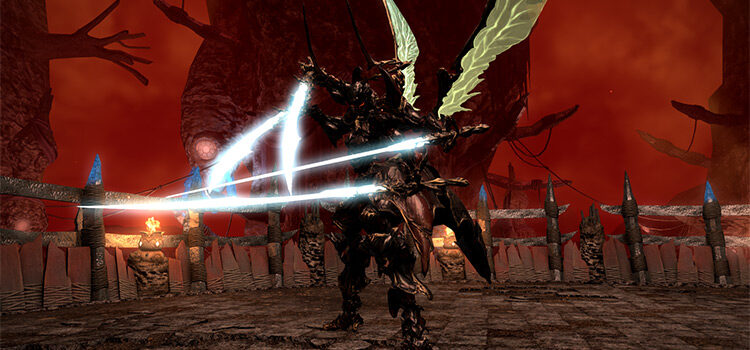
- Unveiling: The boss will transform into his true form: Gilgamesh.
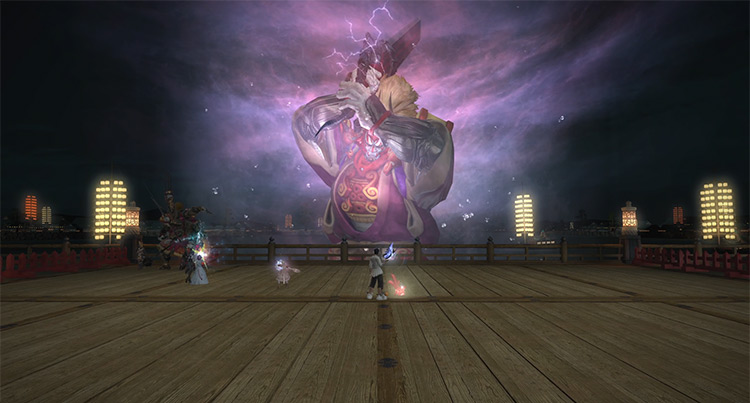
Phase 2: Gilgamesh Transformation, Yukikaze + Gekko, and Tiny Song
Rotation:
Yukikaze > Gekko > Kasha > Bitter End > Tiny Song > Dragon’s Lair > Bitter End > Dragon Night > Tiny Song > Yukikaze > Gekko > Kasha > Bitter End
- Yukikaze: Two sets of criss-cross AoEs throughout the arena.
- Gekko: Targeted circle AoEs on all players. Spread out to avoid overlap.
- Kasha: After each “Gekko” AoE goes off, they will change into donut AoEs.
- Bitter End: A cleaving tankbuster attack on the primary target. Face the boss away from the party.
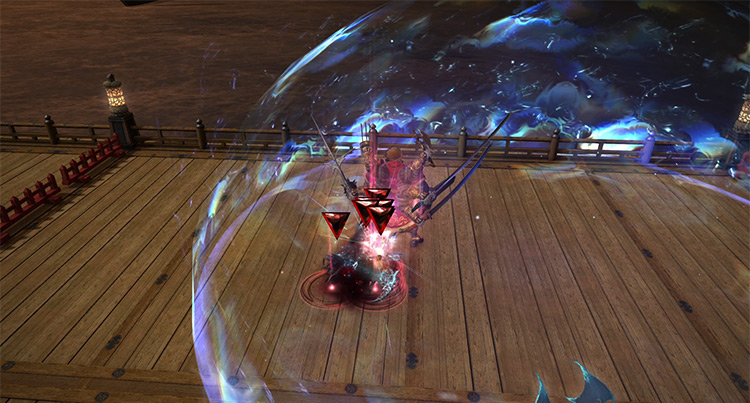
- Tiny Song: All players will receive red markers that eventually apply a 20-second “Minimum” debuff. Stand next to at least one other player to avoid getting debuffed.
- Dragon’s Lair: Dragonheads will appear on one side of the arena and slowly float to the other side, damaging players in its paths and applying a stacking “Vulnerability Up” debuff for 40 seconds.
- Dragon Night: A room-wide AoE attack.
Phase 3: Embodiment Clones
Rotation:
Bunshin + Giga Jump x2 > Embodiment > Ame-no-Murakumo
- Bunshin: The boss will split into two “Embodiment” clones that need to be destroyed before his “Divine Epicness” gauge reaches 100 to avoid a party wipe.
- Giga Jump: As the boss splits into two, both tanks will be marked with proximity-based room-wide AoE markers. Move away from the rest of the group and mitigate through the damage.
- Embodiment: Both “Embodiment” mobs will use most of the boss’ attacks from Phase 2, so handle them accordingly as you burn them down.
- Ame-no-Murakumo: Once both clones are destroyed or the “Divine Epicness” gauge reaches 100, the boss will use its room-wide ultimate AoE attack – a throwback to Susano’s ultimate attack from The Pool of Tribute. Kill the clones before the gauge reaches 100, or you will wipe.
Phase 4: Electromagnetic Force, Enchain, and Epic Stormsplitter
Rotation:
Giga Jump > Electromagnetic Force > Enchain + Hells’ Gate > Masamune > Zanma Zanmai > Epic Stormsplitter > Dragon’s Lair + Electromagnetic Force > Bitter End > Dragon Night > Bitter End > Repeat Phase 2 mechanics.
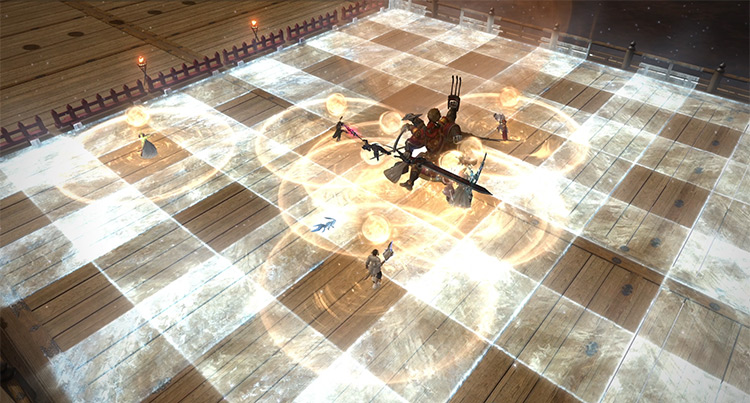
- Electromagnetic Force: Lightning orbs will cover most of the arena with ground AoEs. Use “Sprint” to run to the small safe zone near the edges.
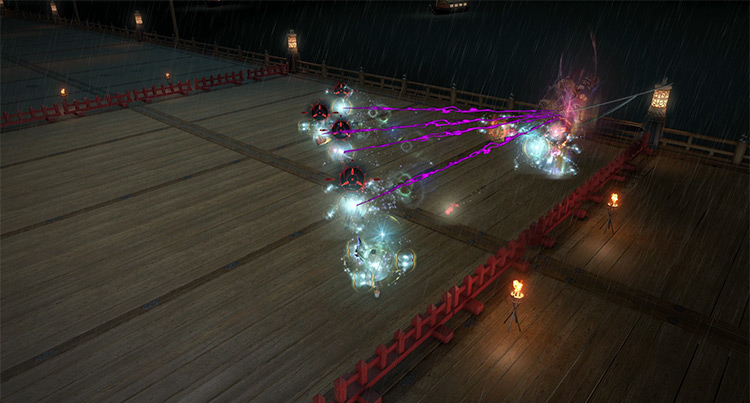
- Enchain + Hells’ Gate: Both tanks and healers will be tethered and eventually fettered by targetable iron chains that need to be destroyed before the boss finishes casting “Hells’ Gate” or they will die. Affected players must move as far away from the boss as possible to avoid getting a stacking “Damage Reduction” buff on their iron chain.
- Masamune: A massive column attack as the boss rushes toward one edge of the arena.
- Zanma Zanmai: A room-wide AoE attack that reduces everyone’s HP to 1. Spam AoE heals immediately after this goes off.
- Epic Stormsplitter: A narrow line AoE followed by room-wide AoEs on both sides of the initial AoE. Getting hit by either AoE will result in a 40-second “Vulnerability Up” debuff. Move out of the initial line attack, then move into the safe zone.
Rewards
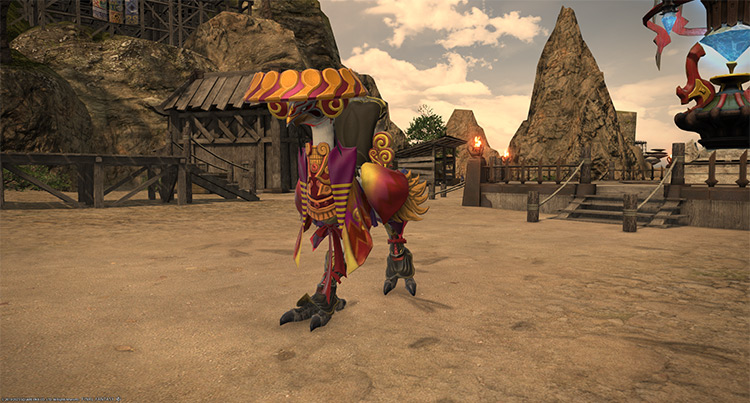
| Name | Type | Quality |
|---|---|---|
| Yojimbo Barding | Other | Basic |
-
Final Fantasy XIV
- FFXIV Kugane Ohashi (Yojimbo): Unlock + Trial Guide
Related Posts:
 FFXIV Battle on the Big Bridge: How To Unlock + Trial Guide
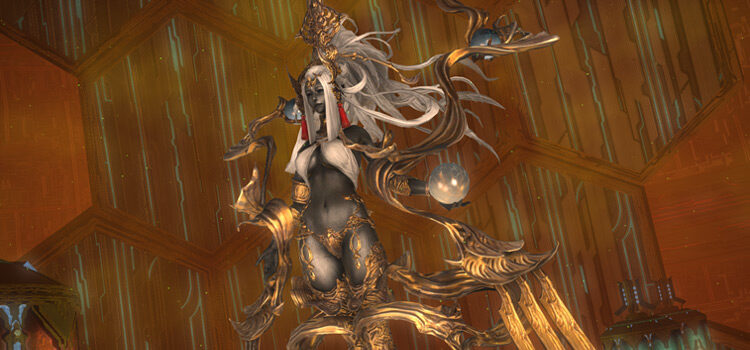 Sophia EX Unlock & Trial Guide – FFXIV Containment Bay P1T6 (Extreme)
 FFXIV Thok ast Thok (Extreme): How To Unlock + Trial Guide
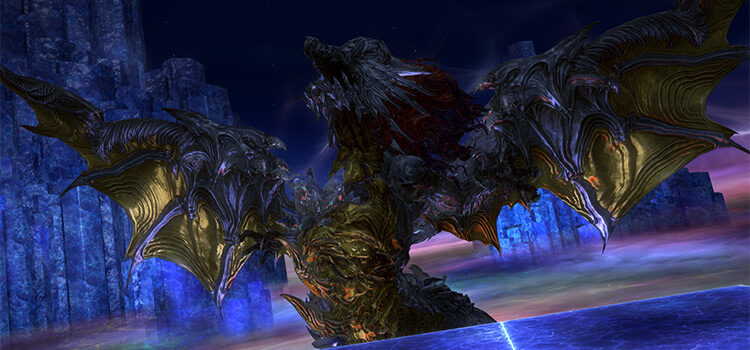 FFXIV The Minstrel’s Ballad: Shinryu’s Domain – Unlock + Trial Guide
 FFXIV The Minstrel’s Ballad: Thordan’s Reign – Unlock + Trial Guide
 FFXIV Kugane Castle: How To Unlock + Boss Guide
 FFXIV Hells’ Kier (Extreme): How To Unlock + Trial Guide
 FFXIV Containment Bay S1T7 (Extreme): Unlock + Trial Guide