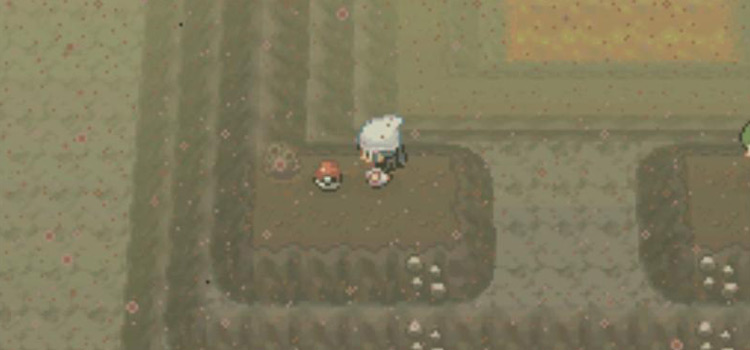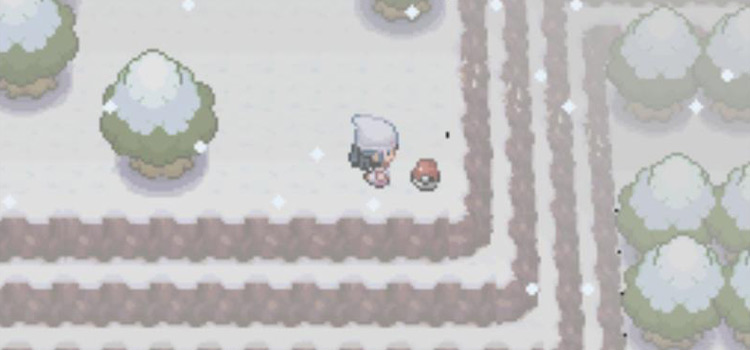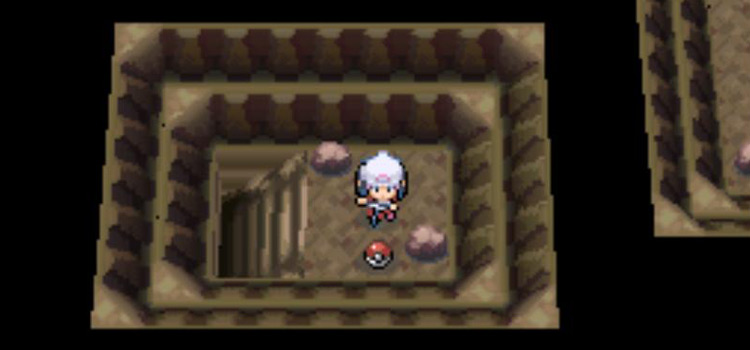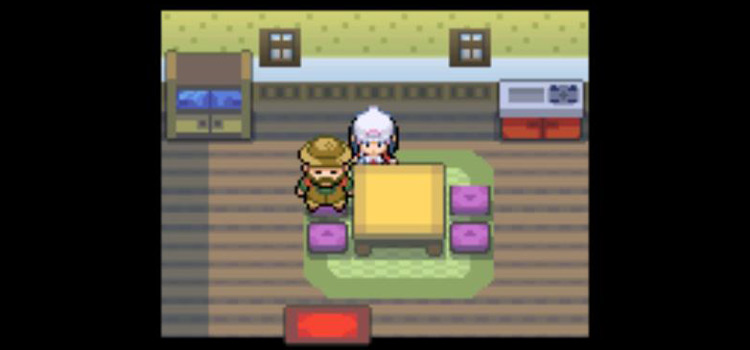
| Iron Ball Acquisition Methods | ||
|---|---|---|
| # | Location | Repeatable? |
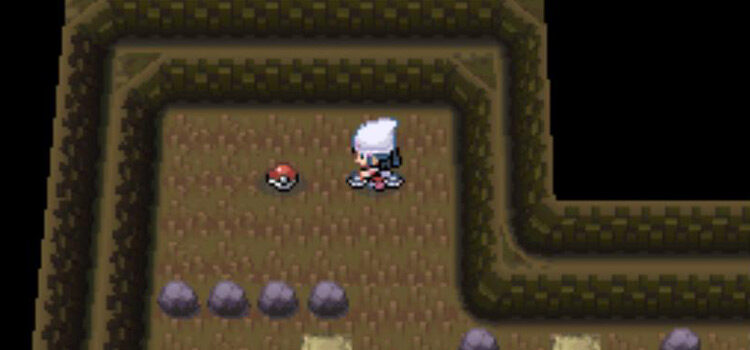
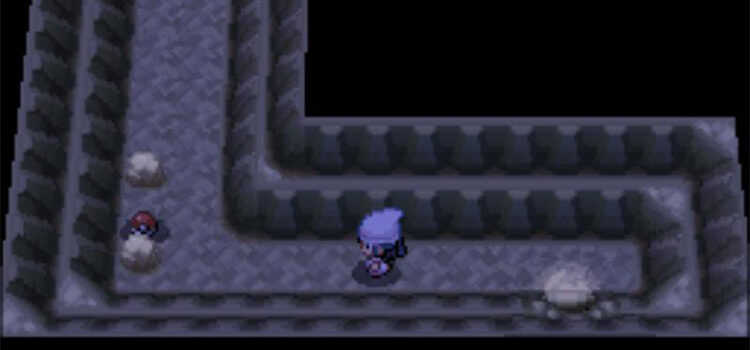
| 1 | Stark Mountain — At the west end of a pit in the southeastern corner of the main cavern. Requires the National Pokédex and the HMs for Rock Climb, Rock Smash, Surf, and Strength. | No |
| 2 | The Underground — Occasionally found by digging into bulging walls. | Yes |
The easiest way to get an Iron Ball is to pick one up in Stark Mountain. Or they can be obtained much earlier by digging for them in the Underground, but this is a highly unreliable and tedious method.
The Iron Ball is a held item that grounds the holder and halves its Speed stat.
Acquiring Iron Balls
Method 1: Stark Mountain (Step-by-Step)
The Iron Ball inside Stark Mountain is by far the easiest one to acquire, but it can only be accessed at the end of the game. This means you’ll need to already have defeated the Pokémon League and received the National Pokédex.
Stark Mountain is located north of Route 227 in the Battle Zone. It requires Pokémon that know the following HMs:
Once you’re prepared to head for Stark Mountain, Fly to the Survival Area and head east.
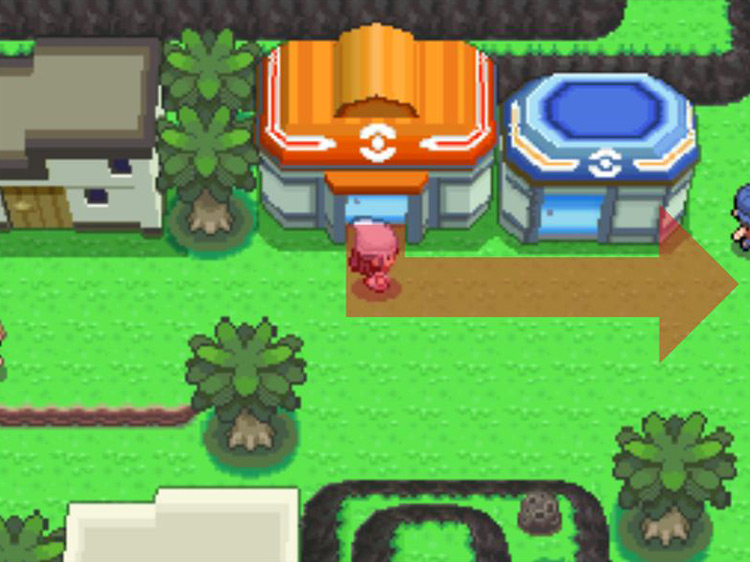
When you reach the mountains, move southeast to get in front of them.
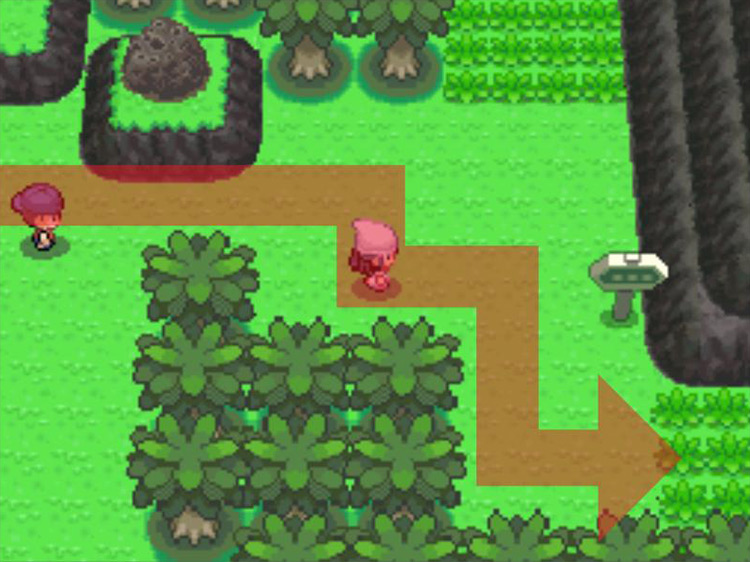
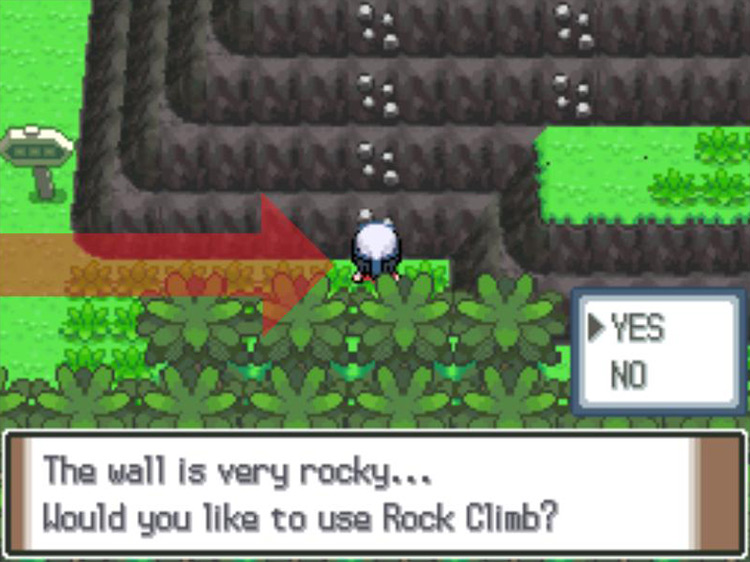
Use Rock Climb on the first rocky wall you encounter.
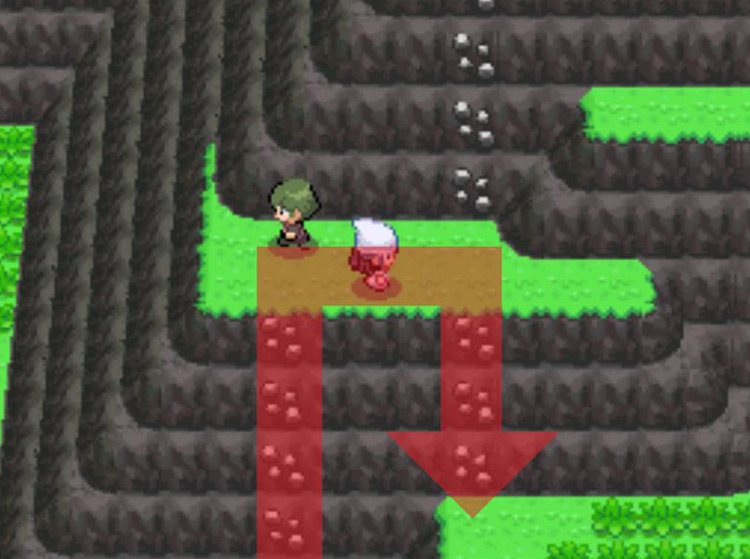
After Rock Climbing onto the terrace, climb down the rocky wall to the immediate east.
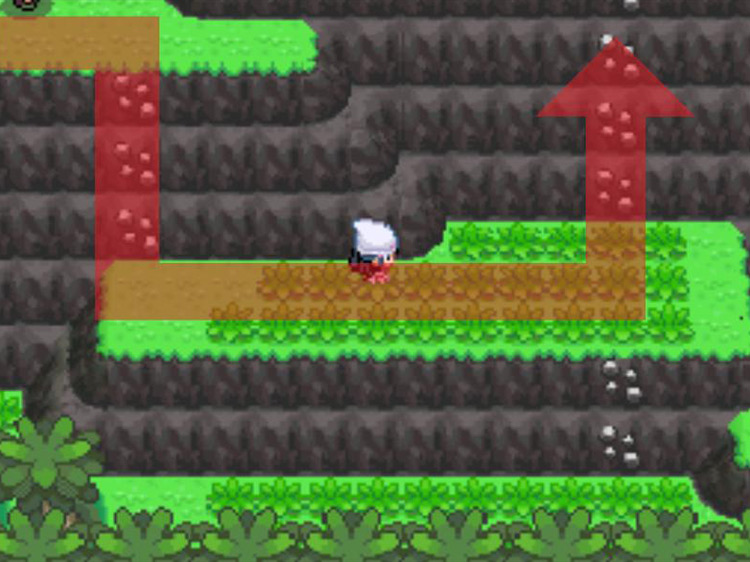
Move to the opposite end of the terrace, where there are two more rocky walls. Use Rock Climb on the one going up to the north.
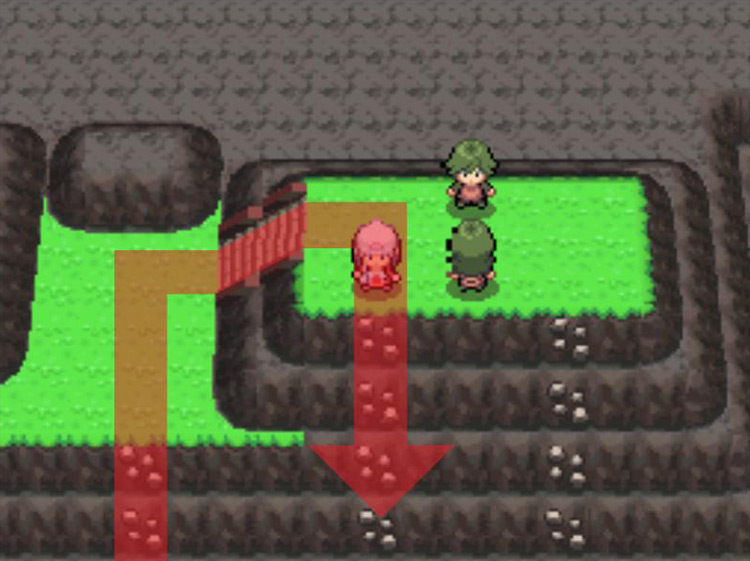
Head up the nearby staircase and then climb down the next rock wall you come to (on the left-hand side of the NPCs).
Once you’re down, turn eastward and move through the grassy strip to the east.
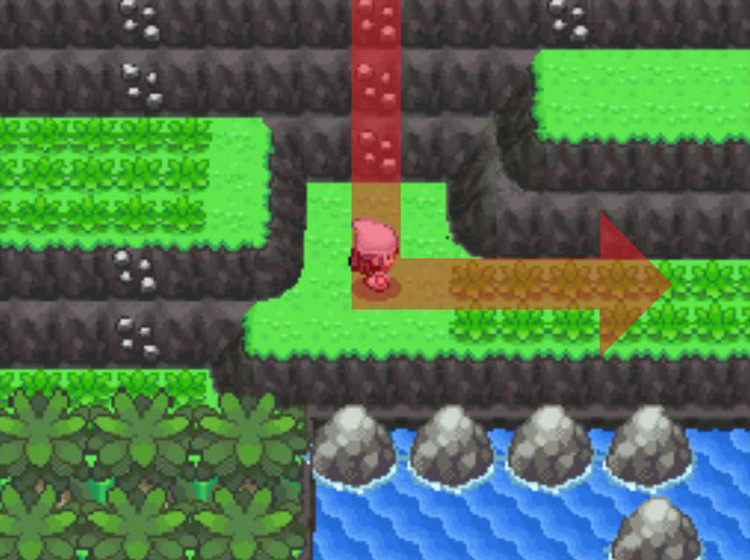
When you reach the ocean, use Surf and start heading northeast.
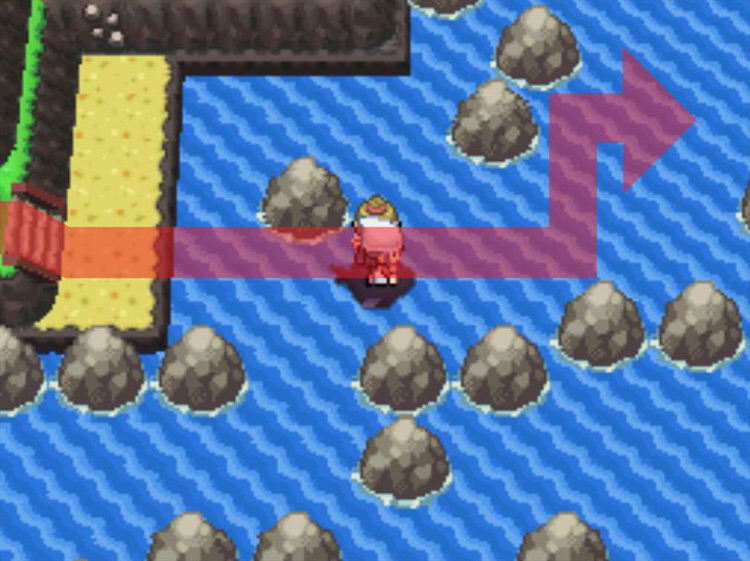
When you reach the island with the house on it, step ashore and run across the island to reach the other side.
Then use Surf on the water to go east.
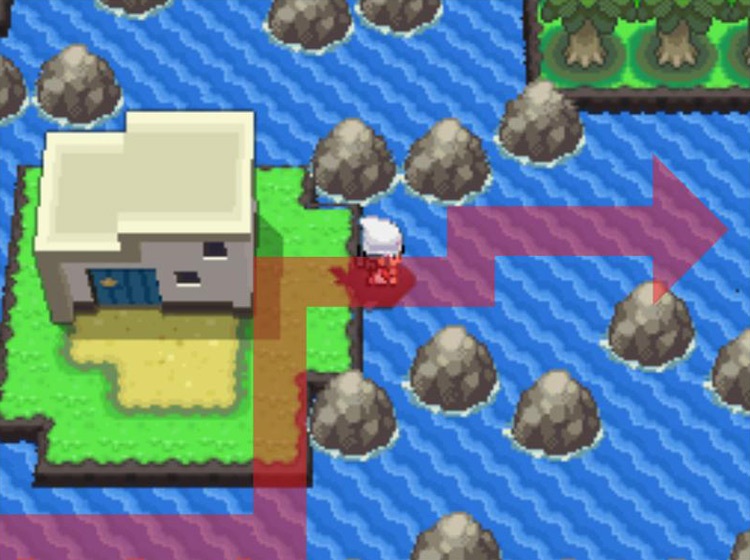
At the dead end, step onto the land and head north through the grass.
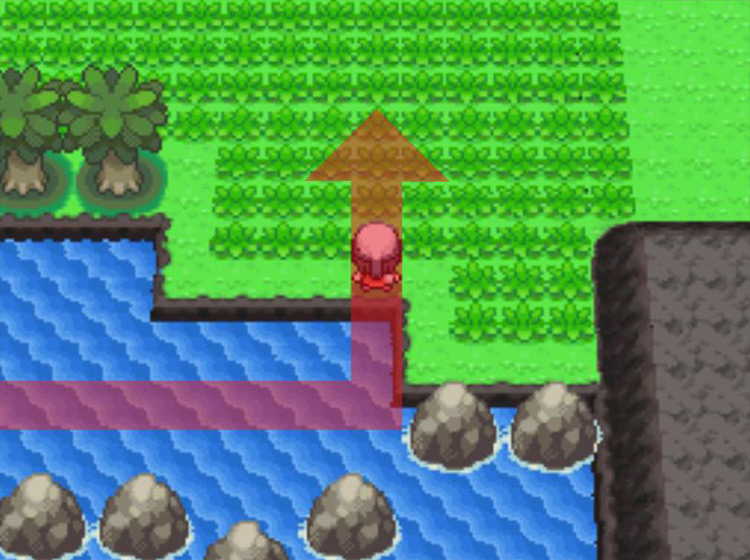
Then turn to head northeast to enter Route 227.
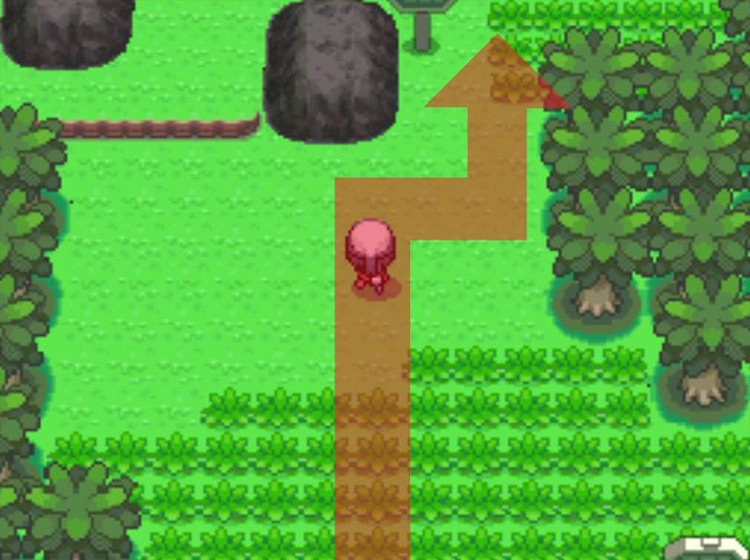
You’ll soon reach the top of a mountainside at the end of the path.
Ride your Bicycle in fourth gear to jump the ramp on the left and clear the boulders.
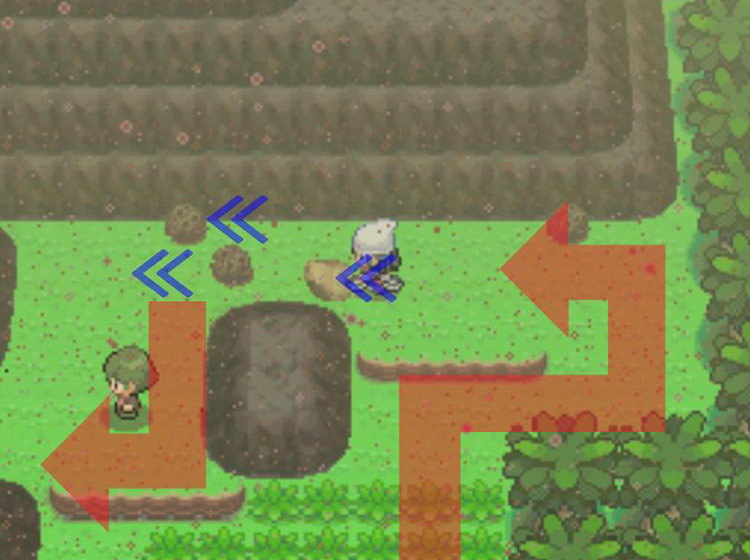
Jump the second ramp, then drop down the nearest ledge. Be sure to only drop down 1 ledge here (ignore the next ledge) and then head westward.
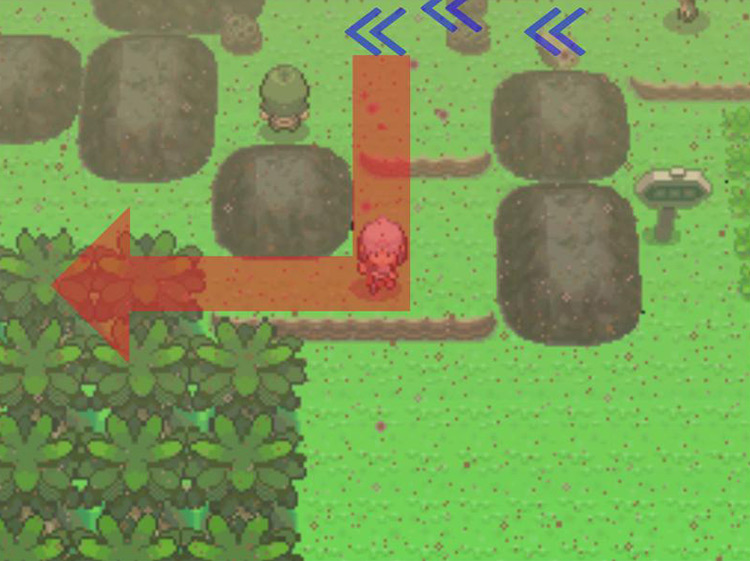
Once you reach the treeline on the western side, turn north and approach the white house.
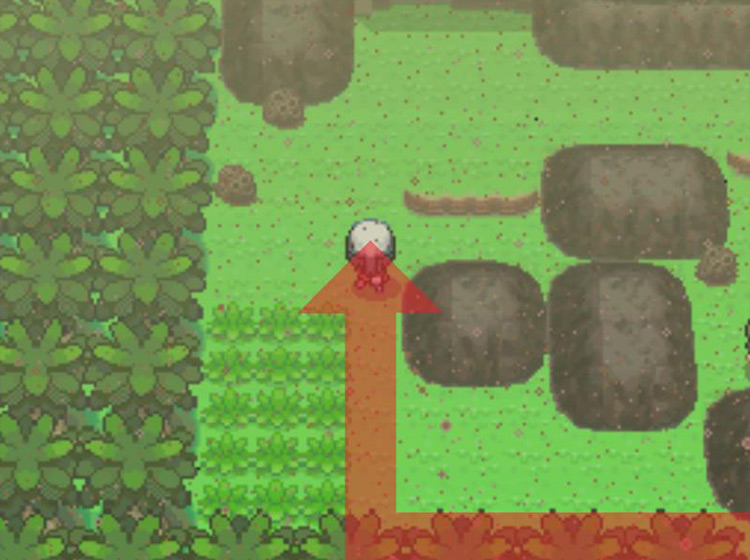
Take a right turn at the house and head up the long staircase to the east.
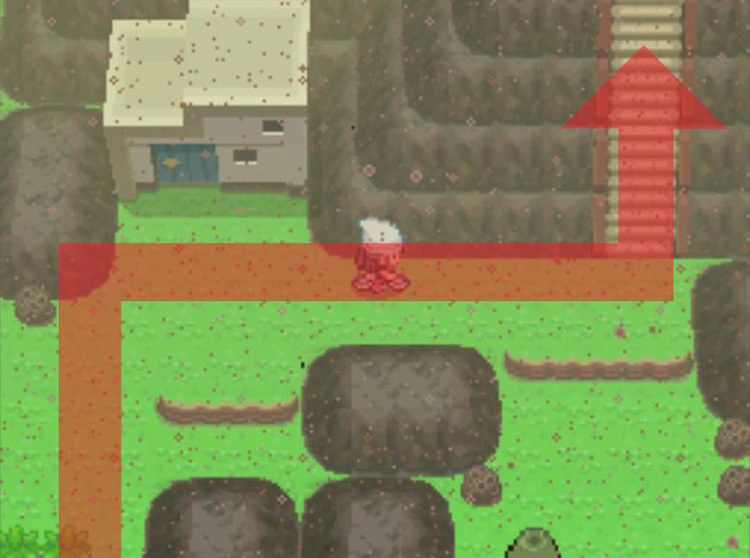
Turn right at the top of the stairs. Then ride your Bicycle over the fallen log all the way on the right-hand side.
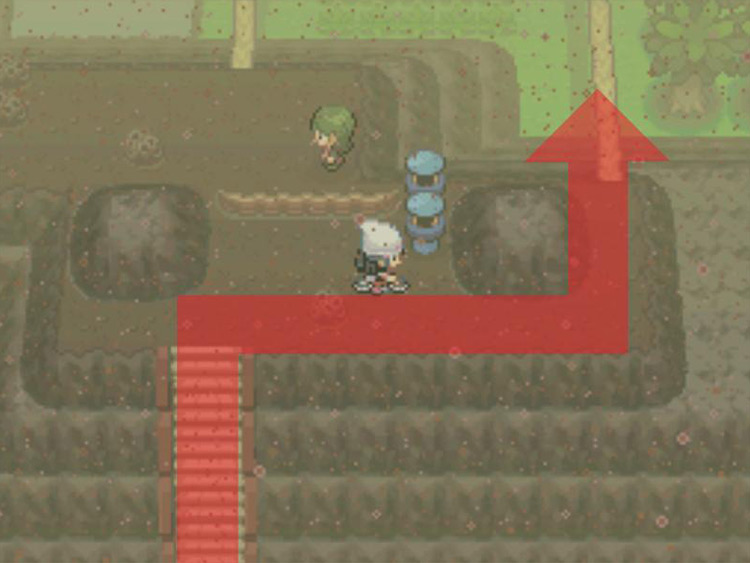
On the other side of the log just continue northward through the tall grass.
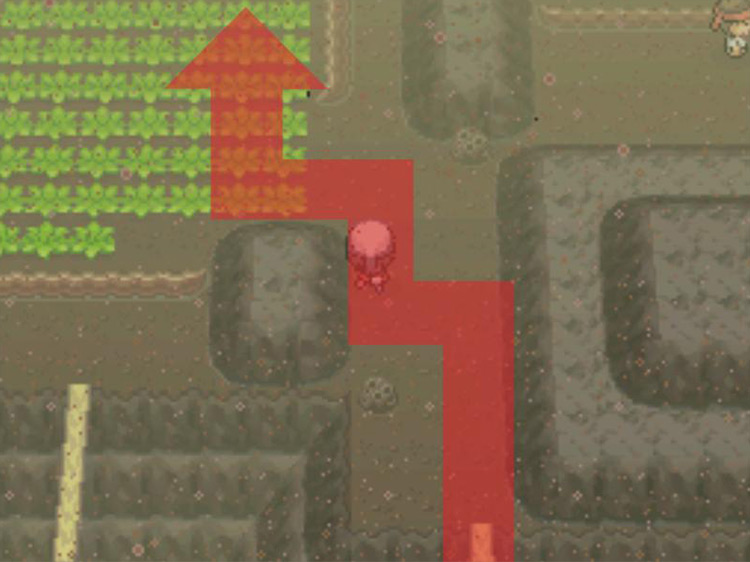
Ride up until you see a small area where you can make a u-turn to wrap around the wall and hop down two ledges to the south.
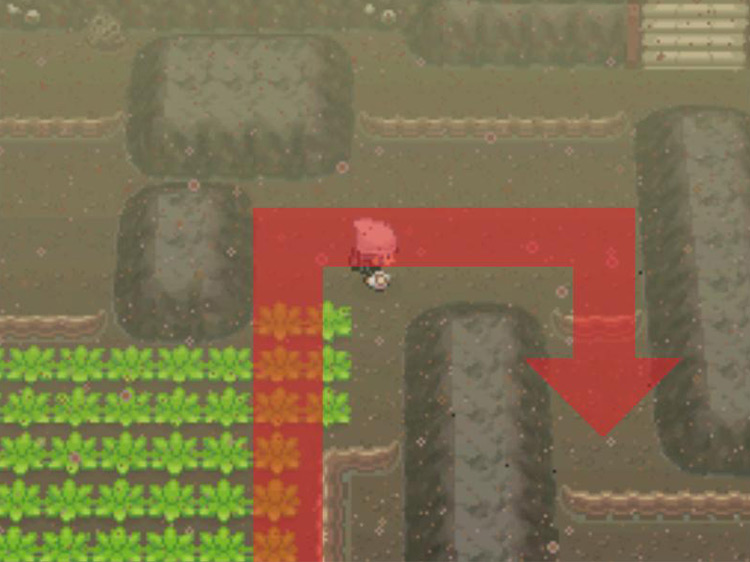
After jumping the ledges, head northward up the grassy path to the right of the Black Belt trainer.
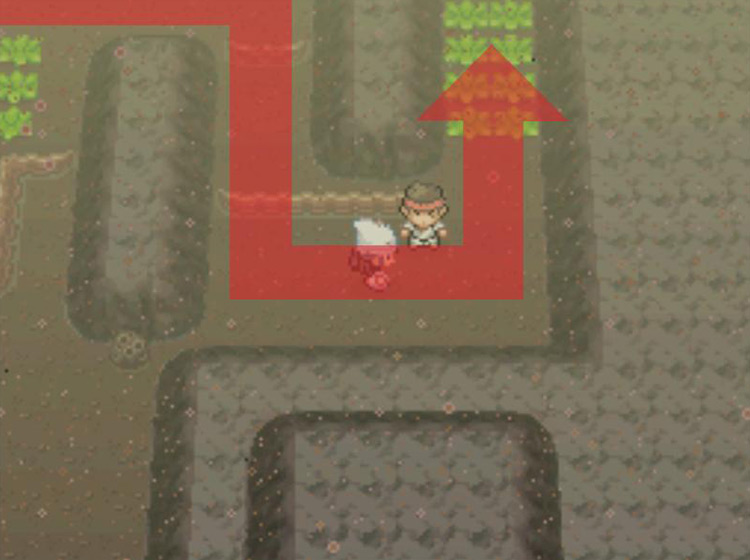
Head up the large staircase to the north.
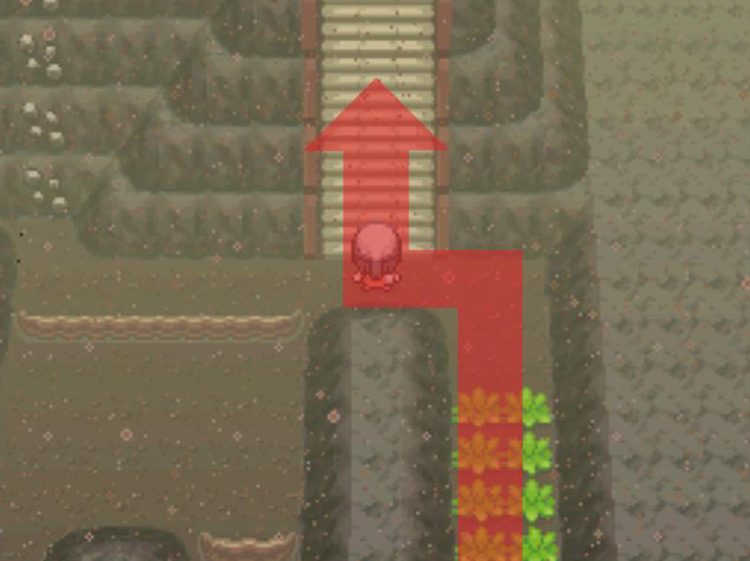
Cut diagonally northwest across the grassy field.
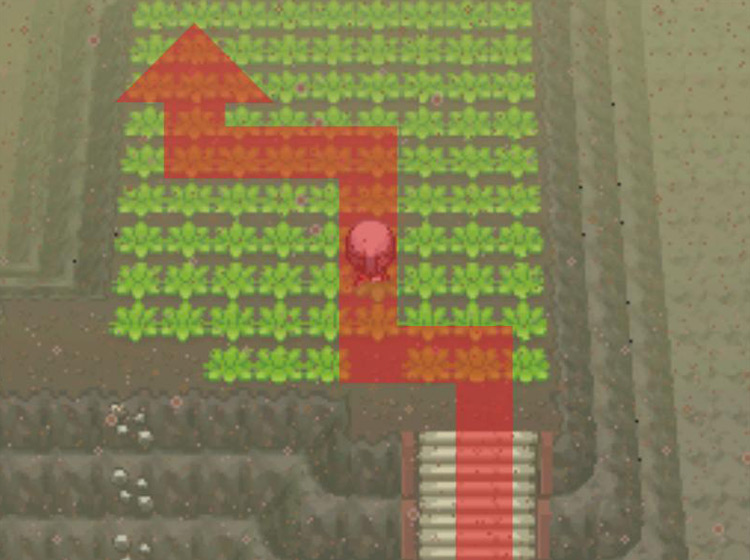
Climb down the two staircases you’ll run into, and then follow the path to the southwest.
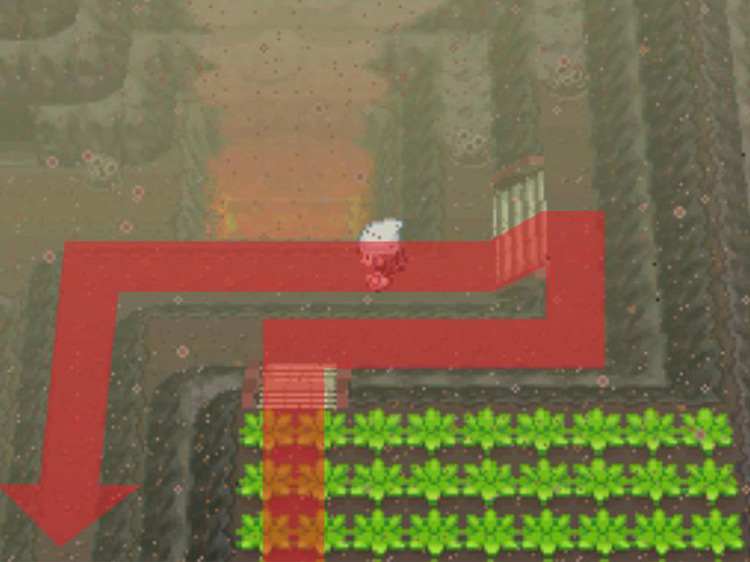
Continue following the path as it skirts around the lava pool.
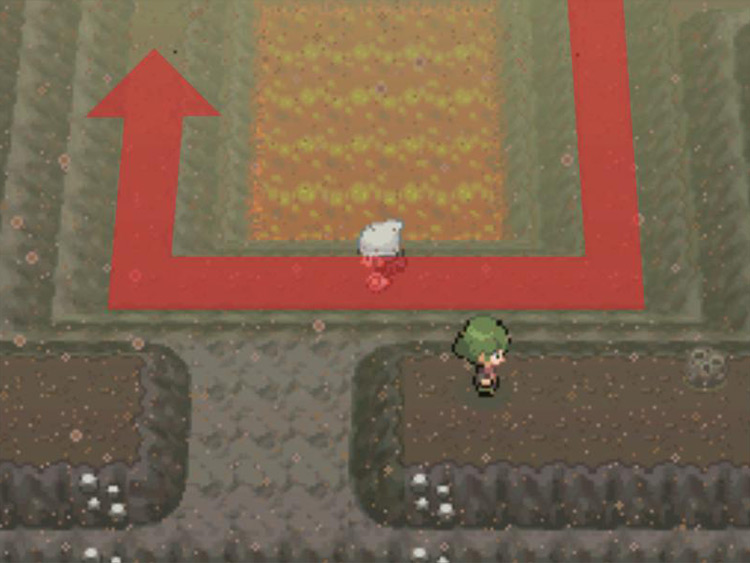
Enter the cave at the end of the twisting path.
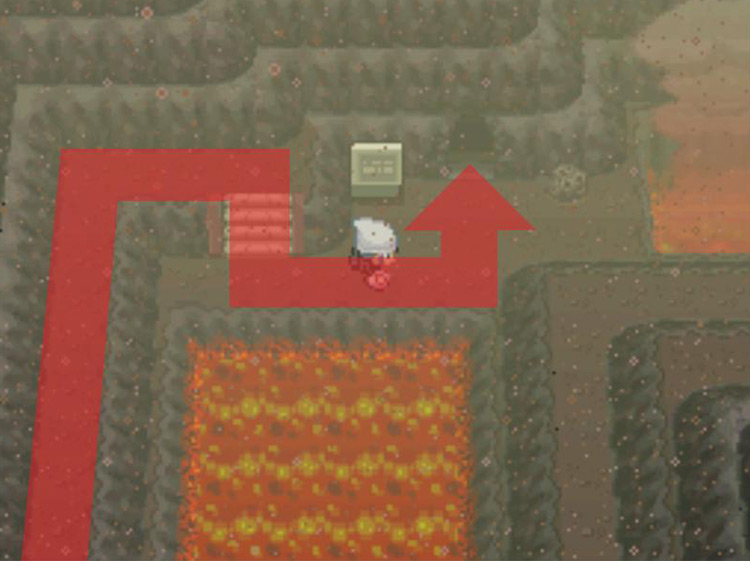
Once you’re inside, head down the long staircase.
Then turn right and head for the column of moveable boulders.
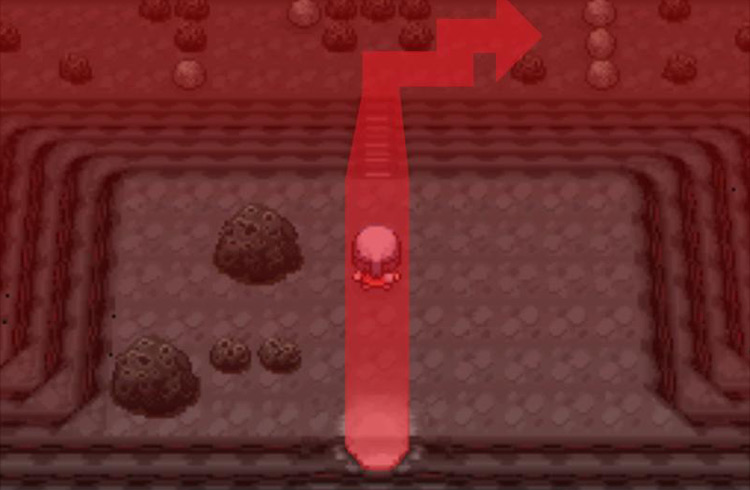
Stand to the left of the top boulder and use Strength to push it to the right.
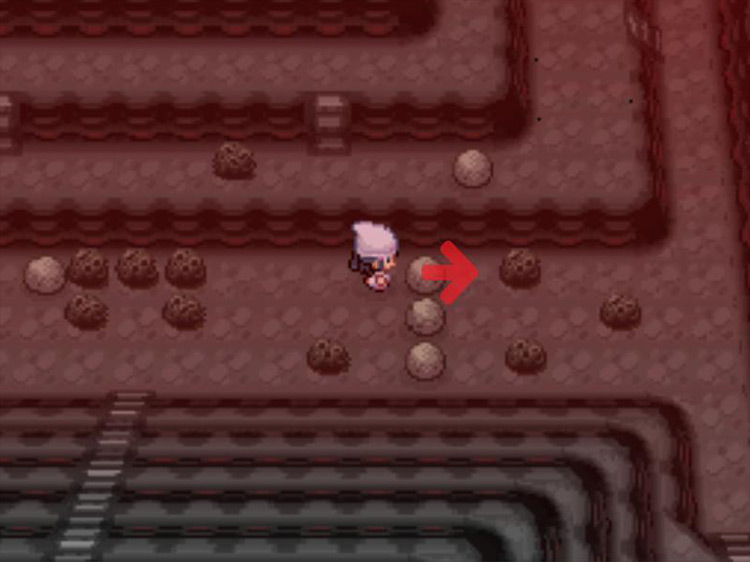
Push the bottom boulder right as well.
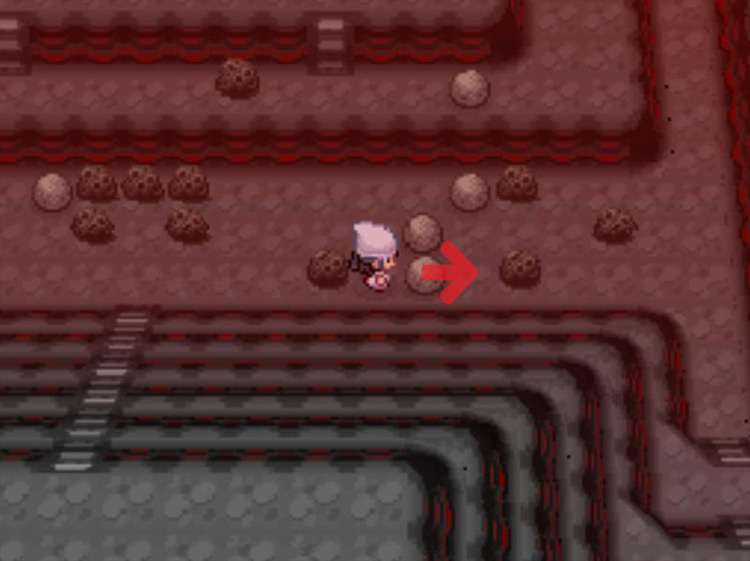
Now push the middle boulder to the north or south to move it out of the way.
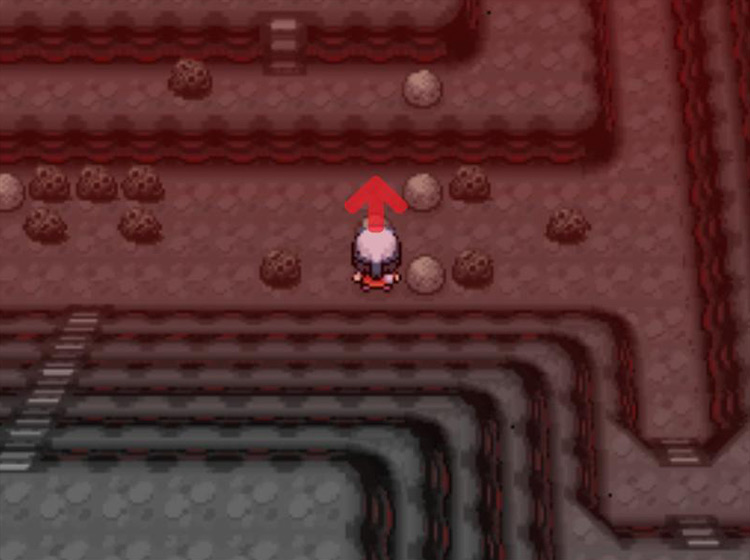
Move through the new gap in the boulders by heading east. Then turn to the north, climb the staircase, and push the next boulder all the way to the west.
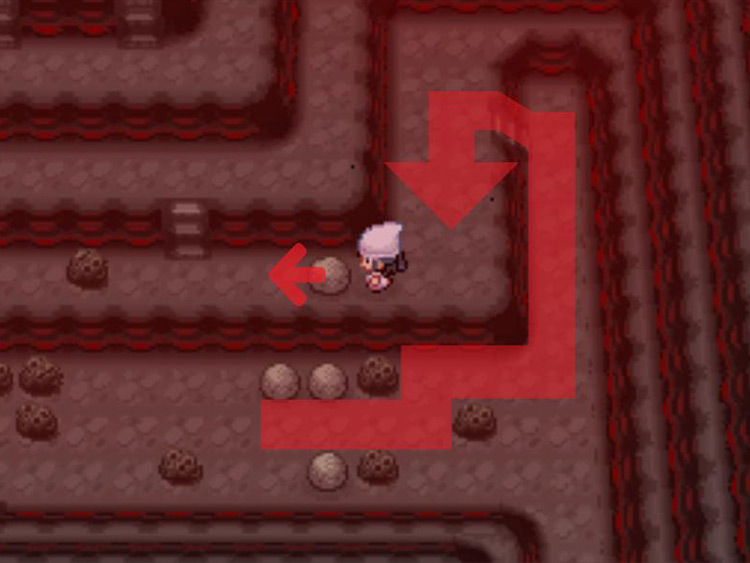
Climb up the staircase that was blocked by the boulder, then head west and climb down the next staircase.
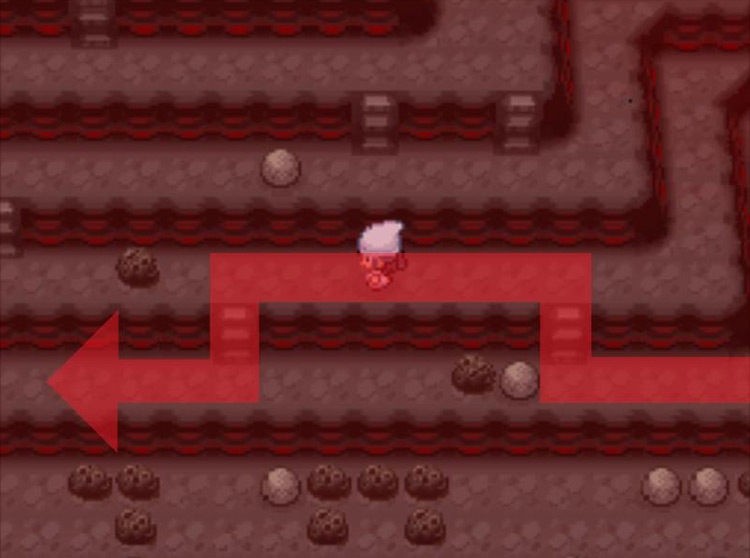
Climb the far western staircase once you see it.
Then use Rock Smash on the obstacle to head up the next staircase and turn right.
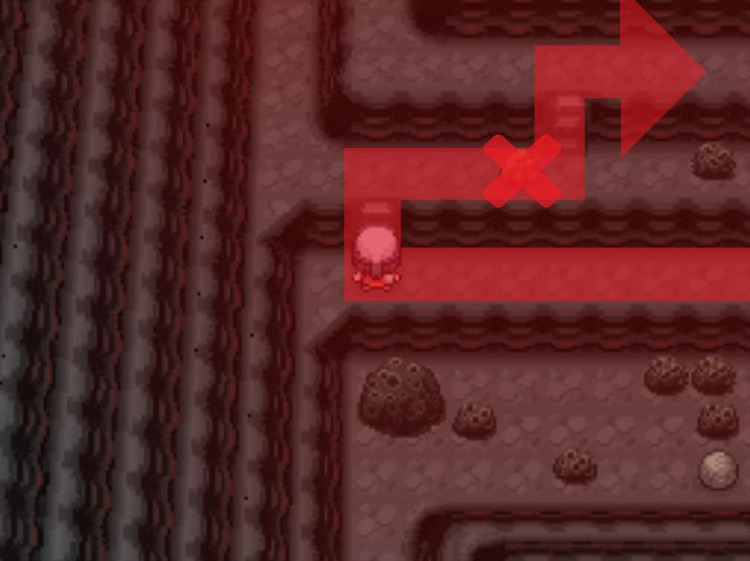
Move eastward to the next moveable boulder and use Strength to shove it to the side.
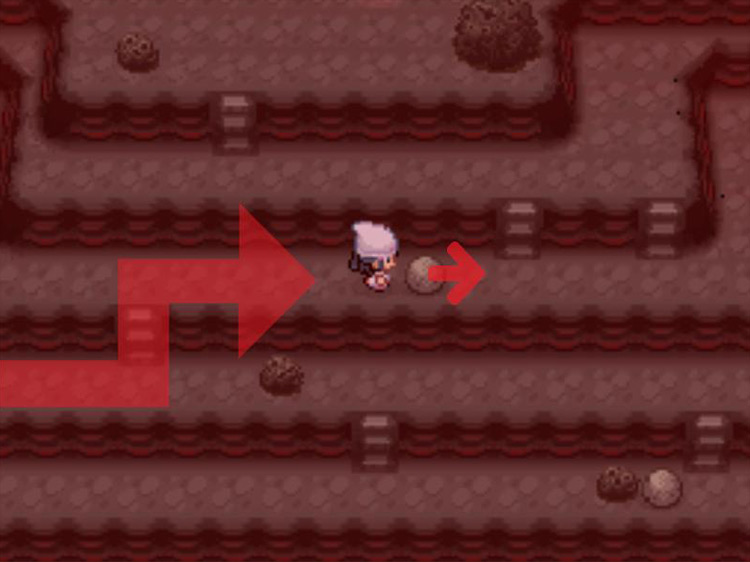
Head up the now-unblocked staircases and enter the doorway to the north.
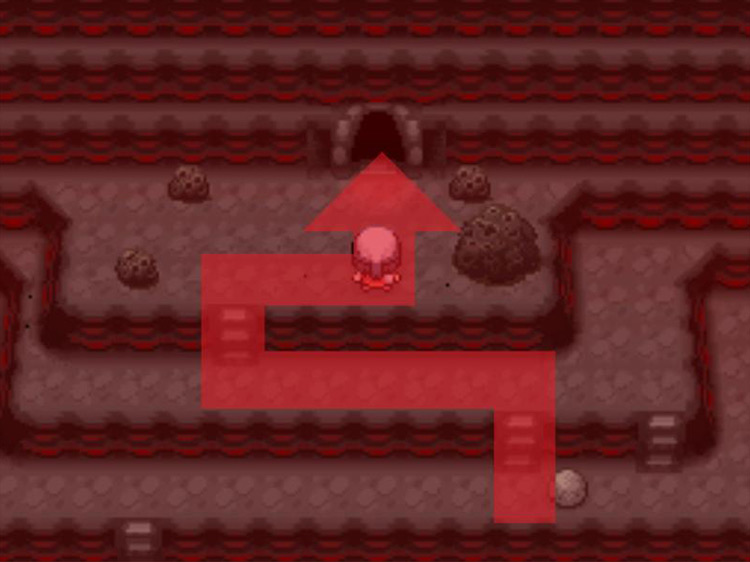
You will find yourself in Stark Mountain’s main chamber.
From here, head straight north along the narrow path.
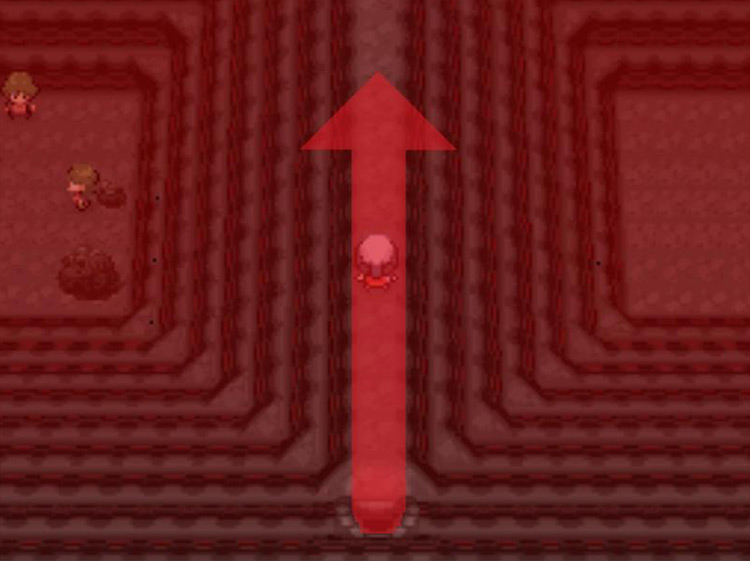
At the T-split, turn right.
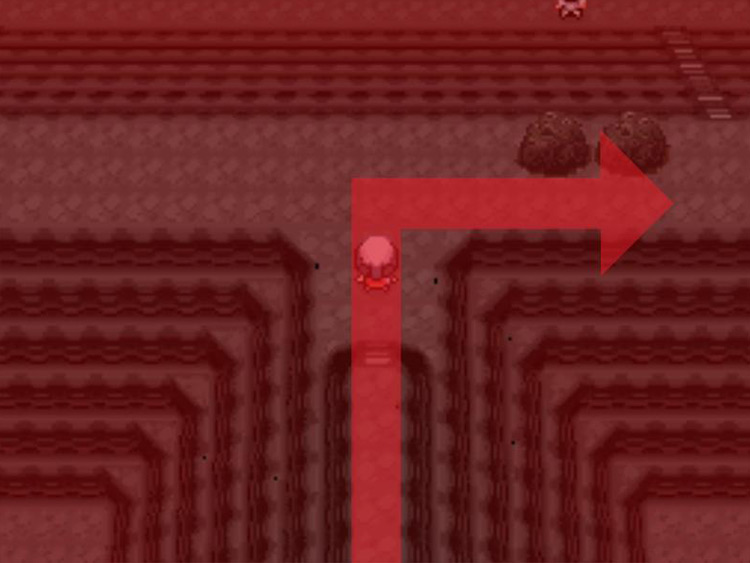
Head east and climb down the staircase to the south.
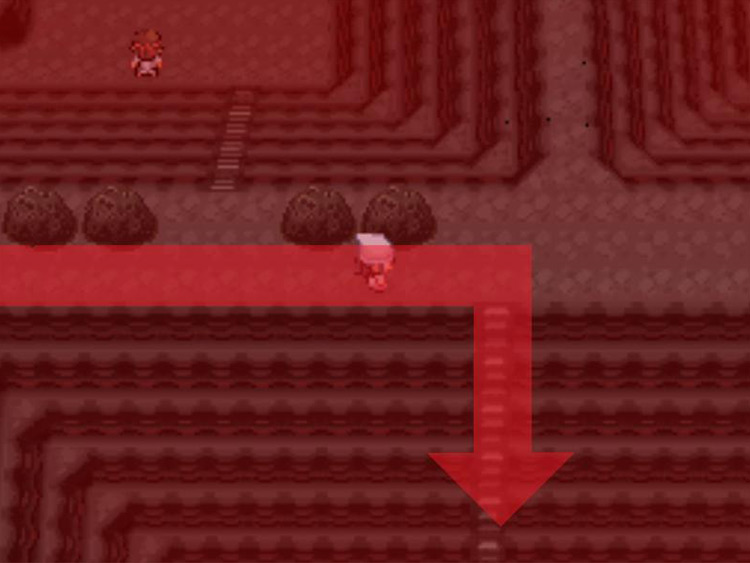
Turn east at the bottom of the stairs.
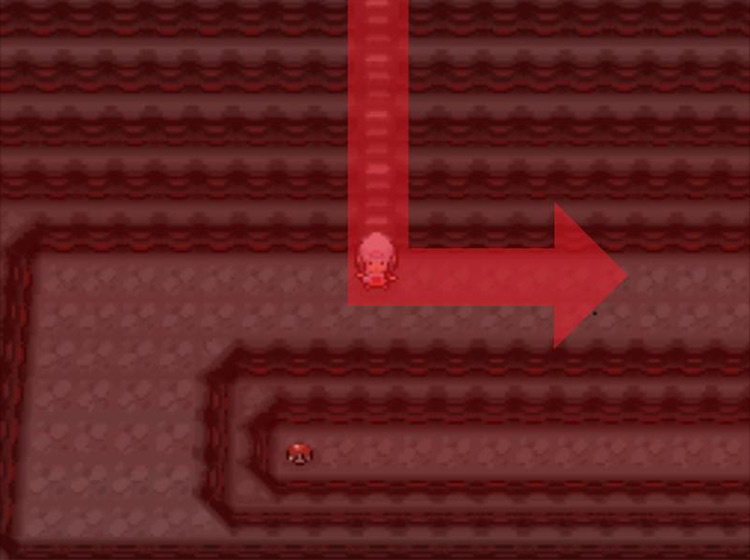
Pass the Psychic trainers, then circle around to climb down the staircase.
Now you can move west across the pit.
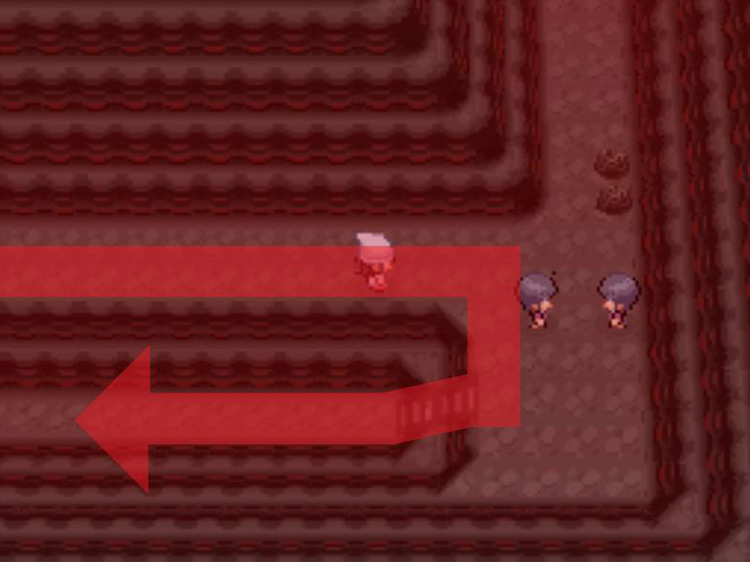
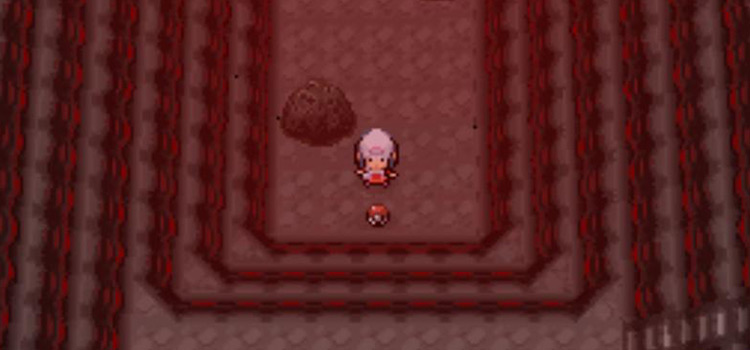
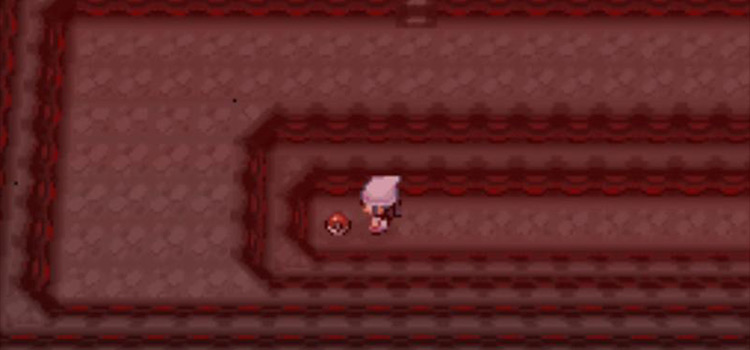
At the western end of this path you should see an item on the ground.
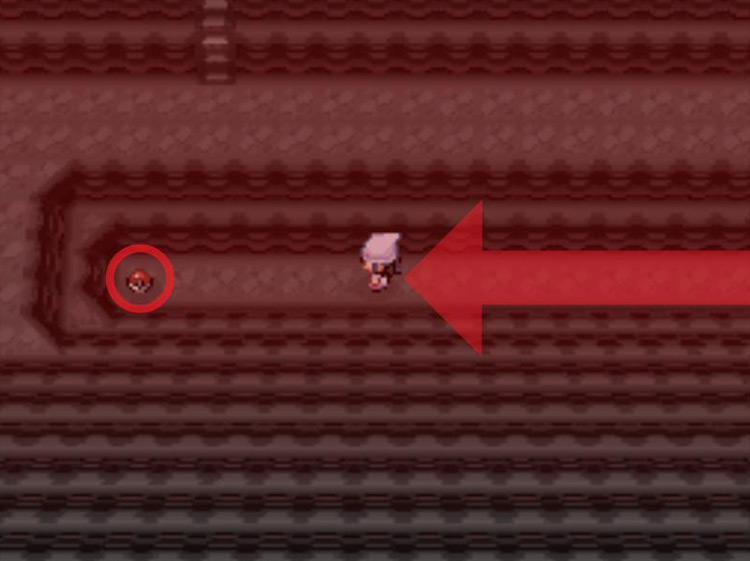
Pick up the Poké Ball to add the Iron Ball to your Bag.
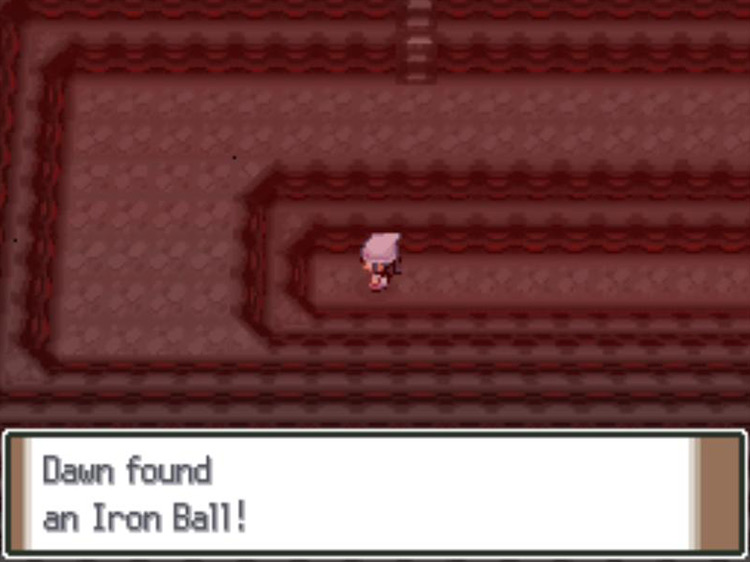
Method 2: The Underground (Repeatable)
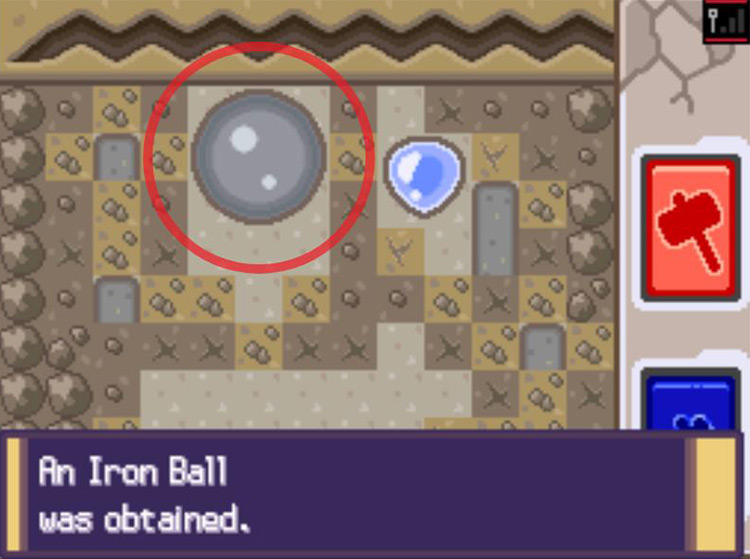
An unlimited number of Iron Balls can be unearthed in the Underground, although it is a random and time-intensive process.
To start, use the Explorer Kit anywhere in Sinnoh to start searching for Iron Balls in the Underground.
When you have control of your character, head for one of the glittering areas shown on the map.
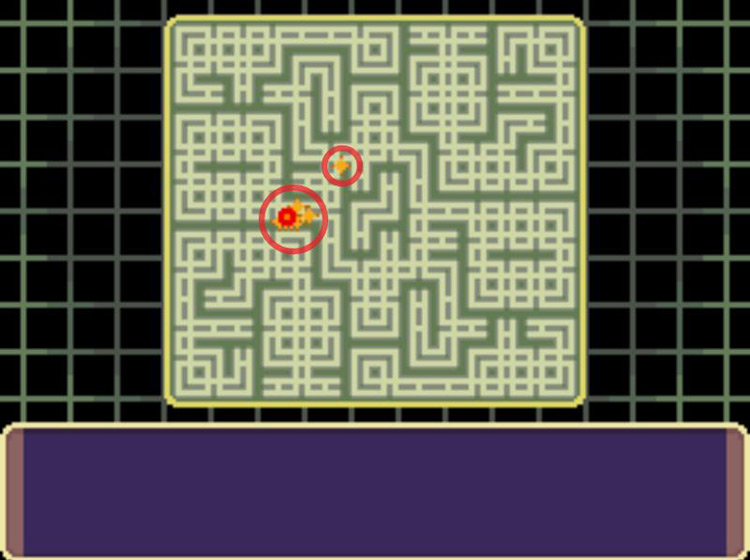
Tap the touch screen to sense hidden treasures lodged in the wall. These spots will sparkle when your sensor reaches them.
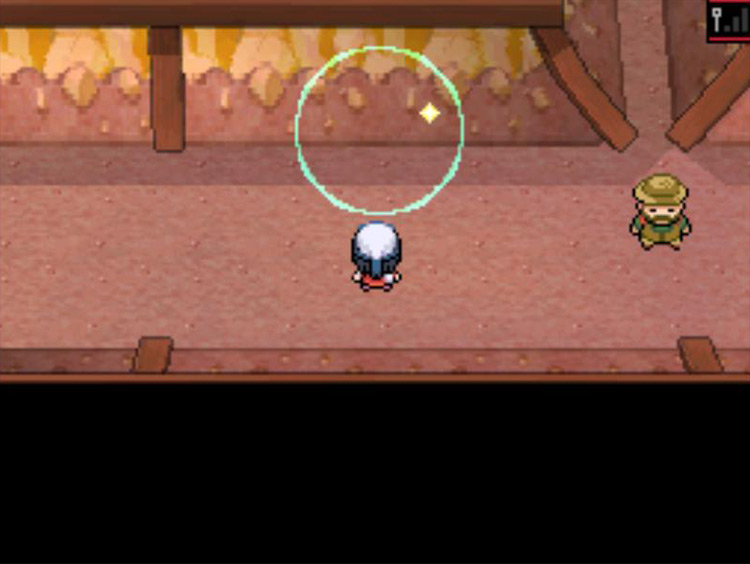
Walk up to one of these spots and Press A.
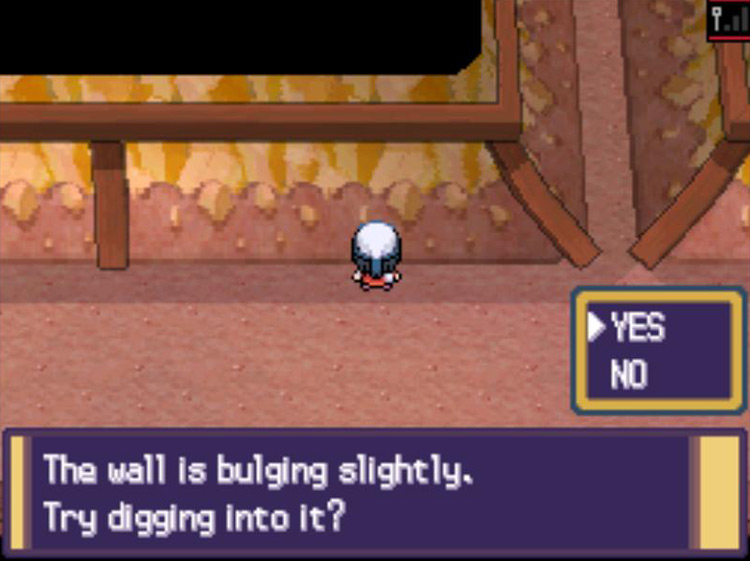
Digging into bulging walls will begin a minigame.
Here’s how it works:
Alternate between your hammer and your pickaxe to dig as many treasures out of the wall as possible before the wall comes crashing down from the repeated banging.
- The hammer breaks more rocks and dirt per hit, but it causes the minigame to end quicker.
- The pickaxe is weaker, but more precise and less strenuous on the wall.
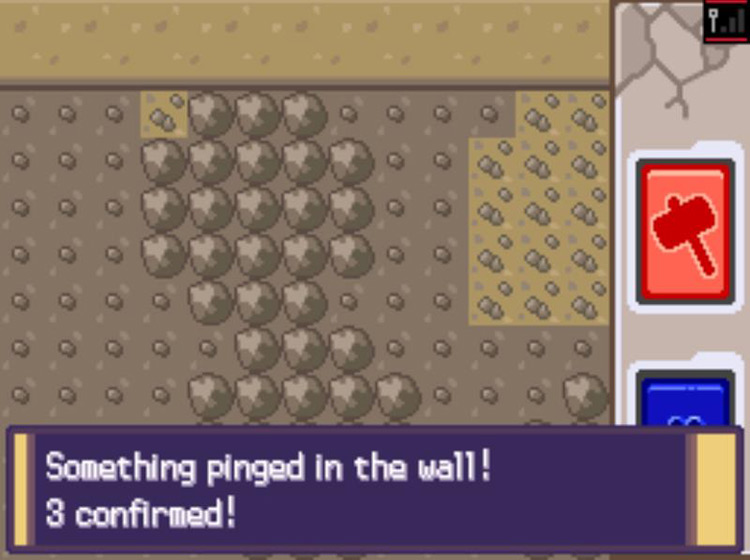
Every time you start a new digging minigame in the Underground, there is only a 20% chance that a non-sphere item will be hidden beneath the rocks and dirt.
Because there are close to 50 different non-sphere item types that can be uncovered, the odds of finding one Iron Ball in a single puzzle are miniscule. You can prepare to spend hours searching for one using this method.
Iron Ball Details and Uses
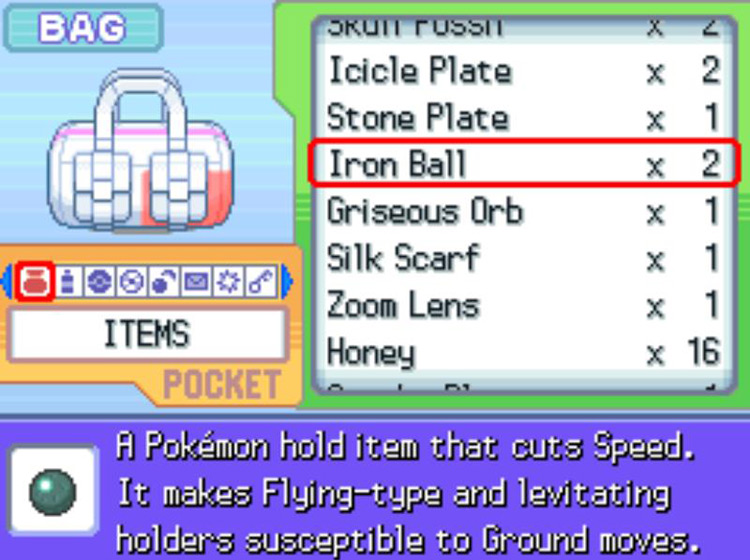
The Iron Ball is a held item that grounds the holder and halves its Speed stat. This seems counterintuitive at first glance, but the Iron Ball can be highly useful in battle when paired with other moves.
The most common Iron Ball strategy is to force an opponent to hold it by using a move like Trick or Switcheroo. This has a number of benefits:
- It slows the foe down
- If it’s a Flying-type or Levitating Pokémon then it becomes susceptible to Ground-type moves
- And it also allows you to use your opponent’s held item.
And then there’s Gyro Ball, a move with a base power that changes depending on the Speed difference between your Pokémon and your opponent’s. This is a move that relies on your Pokémon being as slow as possible for the greatest damage output – up to an incredible base power of 150 (if the opponent’s Speed is at least 5.96 times greater than your Pokémon’s).
If used by a bulky Steel-type Pokémon like Steelix, this combo can translate to a potential 200 base power for each attack — as long as your opponent doesn’t knock out your extremely slow Pokémon first.
-
Pokémon Platinum
- How To Get Iron Balls in Pokémon Platinum

