This guide will walk you through the entire Besaid cloister puzzle step-by-step, including where you’ll find the Destruction Sphere & how to get the treasure with it.
Step-By-Step Walkthrough
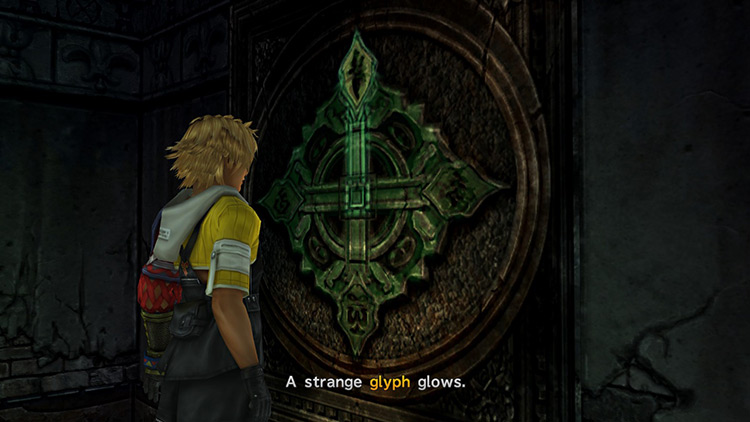
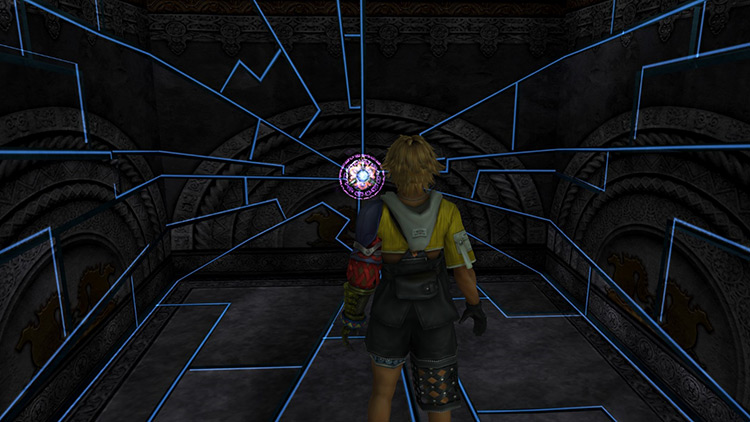
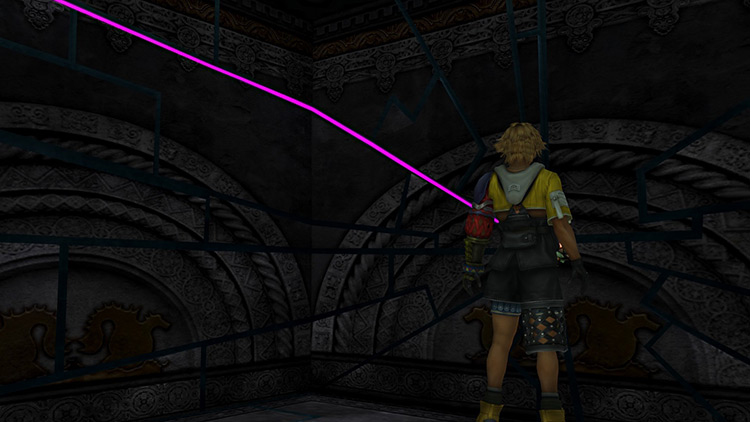
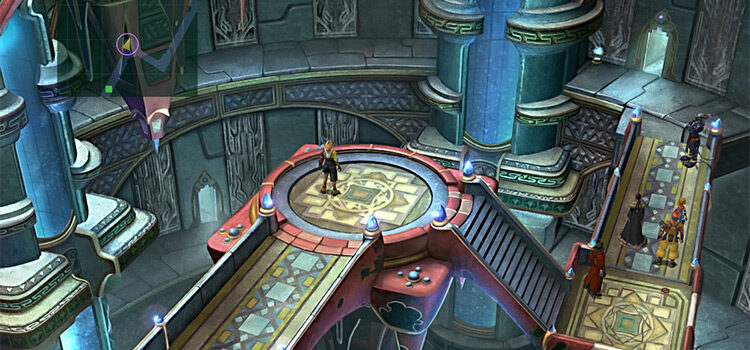
Step 1: Approach the glyph you see on the wall and interact with it.
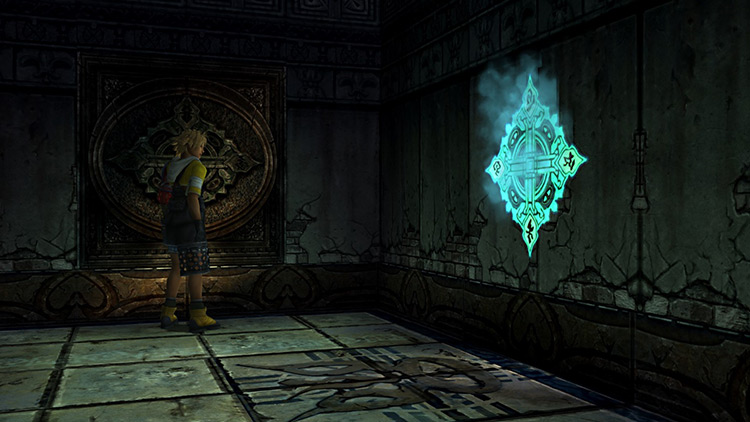
Step 2: Touch the glyph that appears on the wall to the right to reveal some stairs.
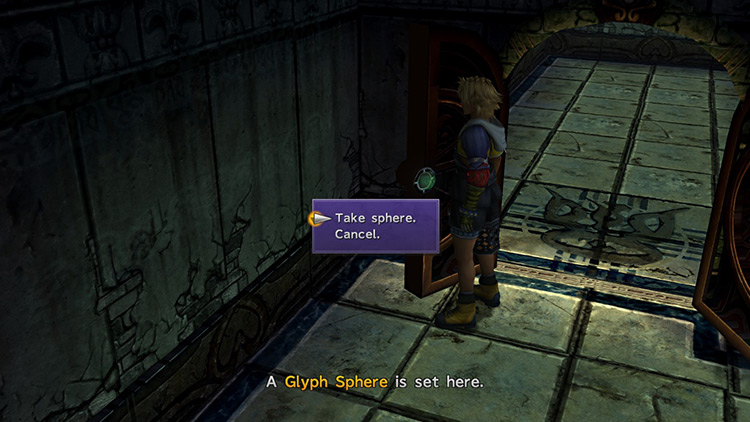
Step 3: Go down the stairs and you’ll find a Glyph Sphere on the landing.
Step 4: Take the Glyph Sphere and continue going down the stairs.
Step 5: Place the Glyph Sphere on the locked door at the bottom of the stairs.

Step 6: Take the Glyph Sphere back after unlocking the door.
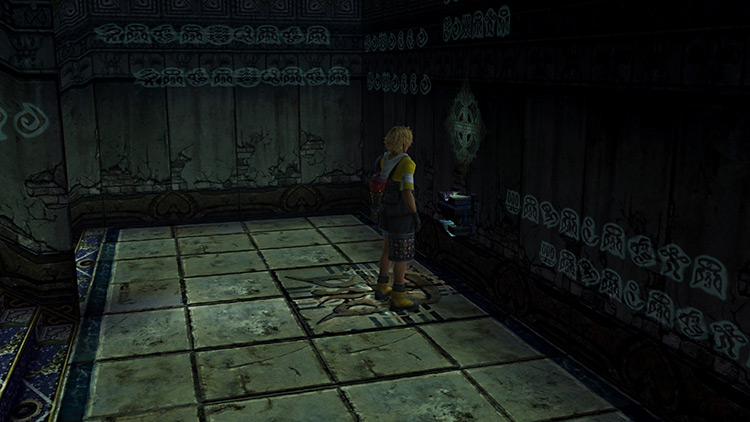
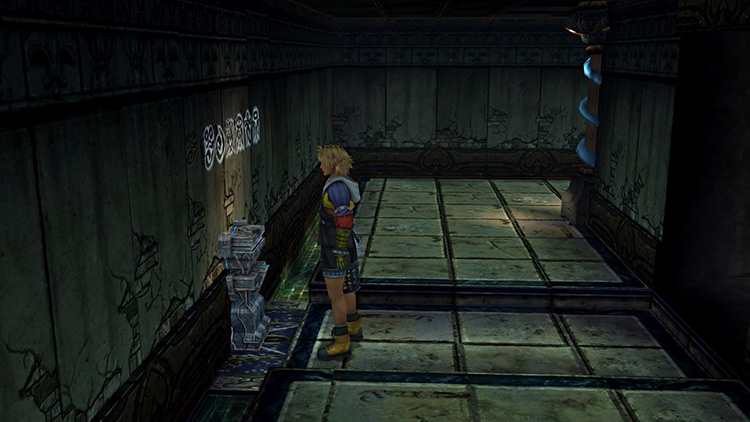
Step 7: Move into the next hallway and place the Glyph Sphere on a wall to your left.
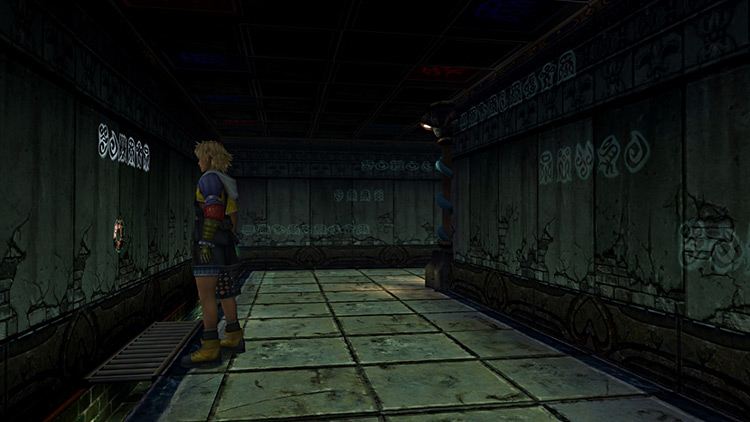
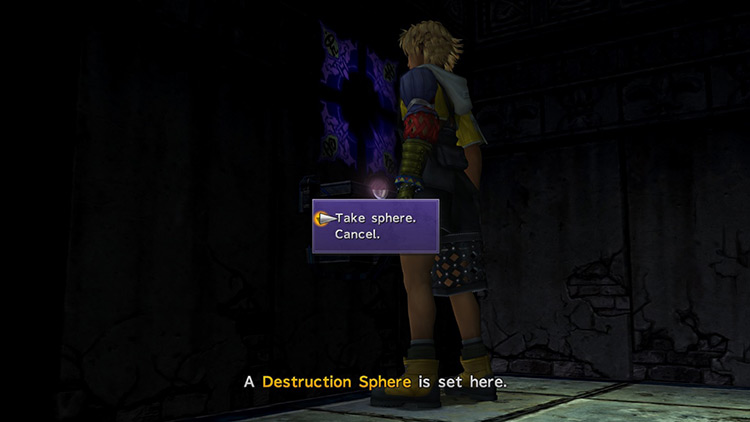
Step 8: You’ll find a Destruction Sphere here, but you can leave it alone for now.
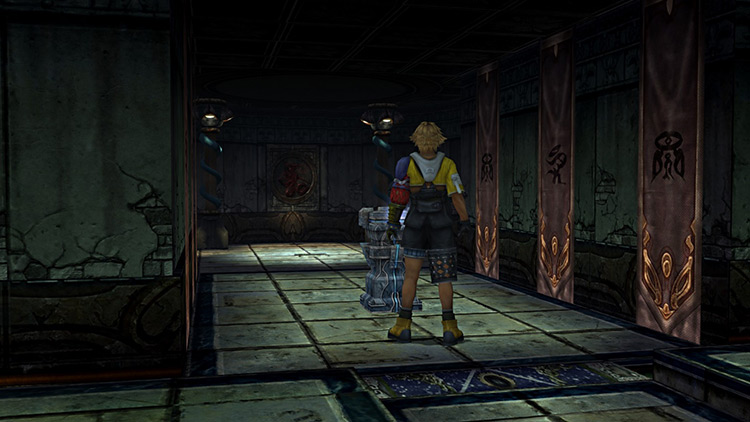
Step 9: Continue going through the hallway and you’ll find another set of glyphs on a wall to your right.
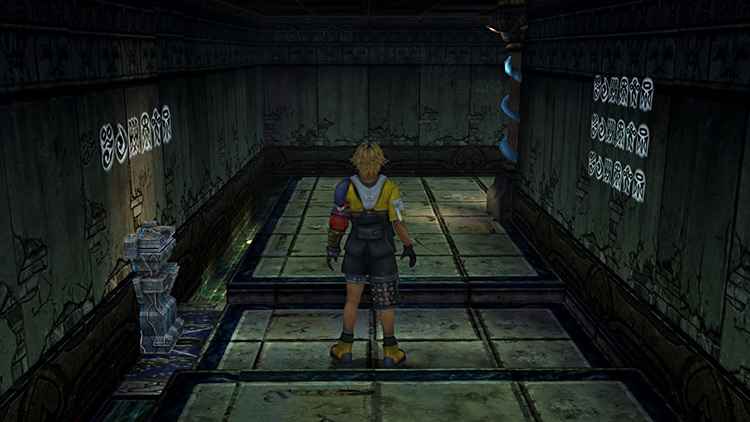
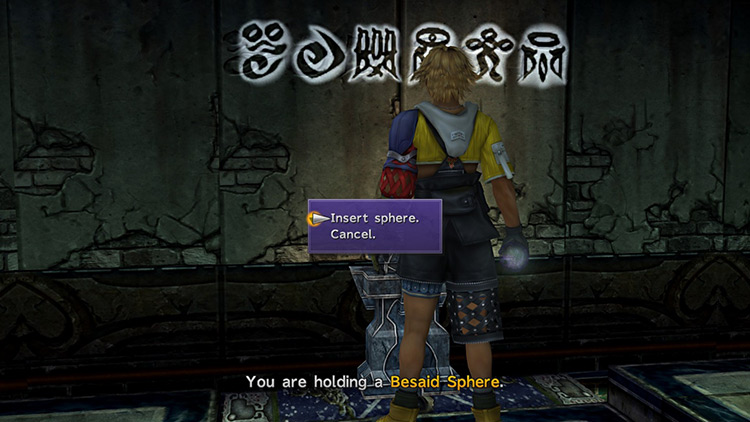
Step 10: Touch the glyphs to reveal a room with a Besaid Sphere.
Step 11: Take the Besaid Sphere and place it on the pedestal right across the hall.
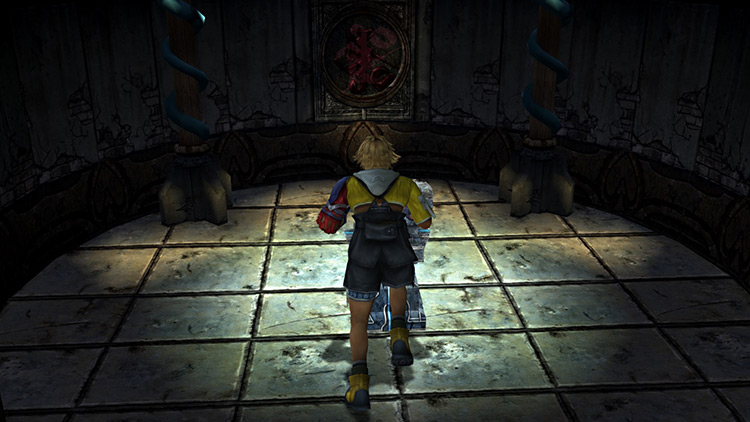
Step 12: Another room will reveal itself, but do not proceed just yet.
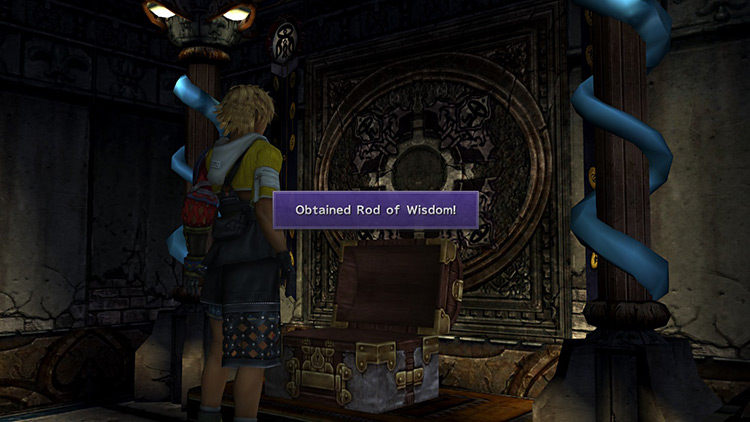
Step 13: Return to the Destruction Sphere and take it.
Step 14: Place the Destruction Sphere on the groove where you took the Besaid Sphere (across from the pedestal).
This will reveal the hidden treasure at the end of the hallway – this chest will contain the Rod of Wisdom for Yuna.
Step 15: After obtaining the treasure, return to the pedestal containing the Besaid Sphere and push it forward to complete the trial.
Additional Notes + Tips
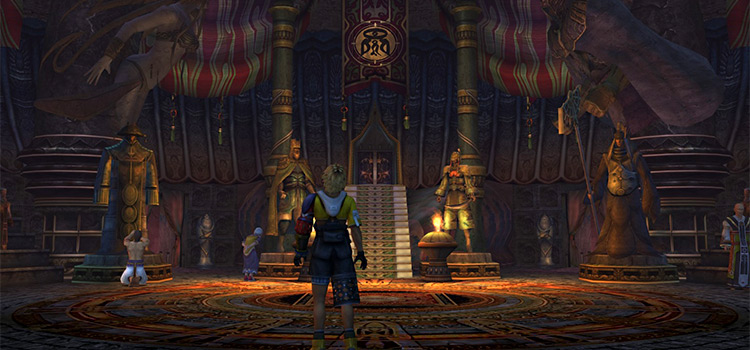
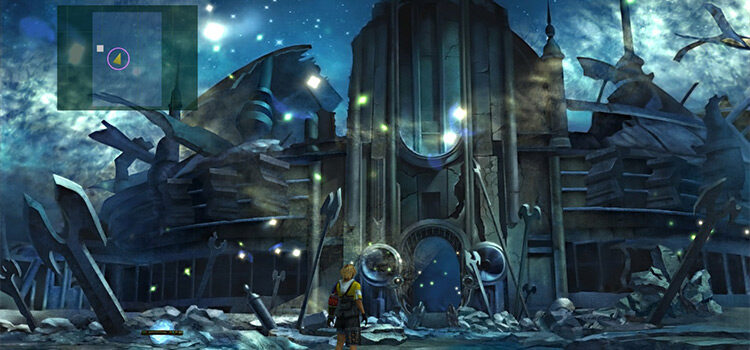
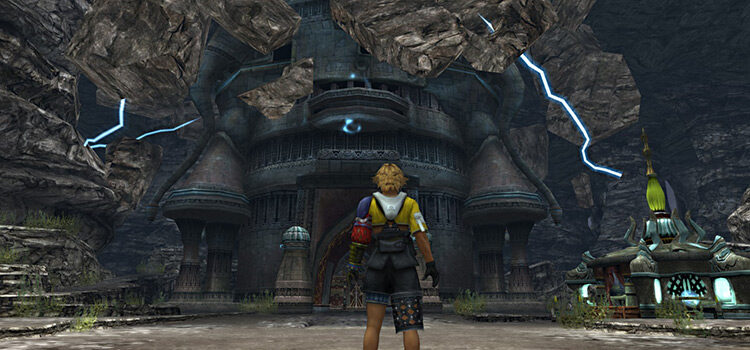
Being the first Cloister of Trials you encounter, Besaid Temple is pretty simple and straightforward.
In fact, it serves as a tutorial on how to use the different spheres found in the trials.
Your main objective in Besaid Temple is to find a way deeper into the temple to find the summoner that is supposedly stuck inside.
Each Cloister of Trials has a unique sphere that is named after the temple it’s in. These spheres have different effects, and the Besaid Sphere will simply open up the way to the Chamber of the Fayth.
The steps involving the Destruction Sphere can be skipped, but you’ll miss out on the temple’s hidden treasure. You’ll also need to obtain this treasure to unlock an optional Aeon later in the game, so it’s worth getting.
Note: If you do skip or miss the portion of the trial with the Rod of Wisdom from the Destruction Sphere, you can return to Besaid Temple later on at any time to complete it.

-
Final Fantasy X
- Besaid Cloister of Trials Guide + Destruction Sphere (FFX)
Related Posts:
 Macalania Cloister of Trials Guide + Destruction Sphere (FFX)
 Bevelle Cloister of Trials Guide + Destruction Sphere (FFX)
 Zanarkand Cloister of Trials Guide + Destruction Sphere (FFX)
 Djose Cloister of Trials Guide + Destruction Sphere (FFX)
 FFX Cheer Ability: How It Works & Is It Worth Using?
 FFX: What is Good Morning! & How Does It Work?
 FFX: How Do You Gain Experience in Blitzball?
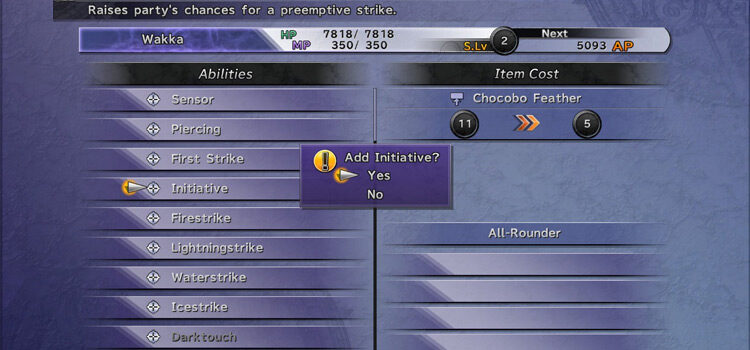 FFX Initiative: What It Does & How To Get It