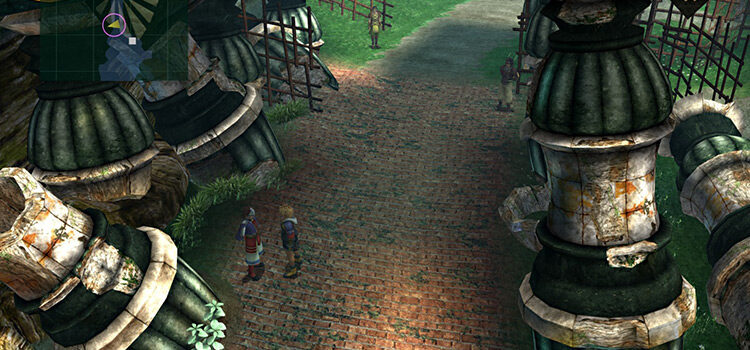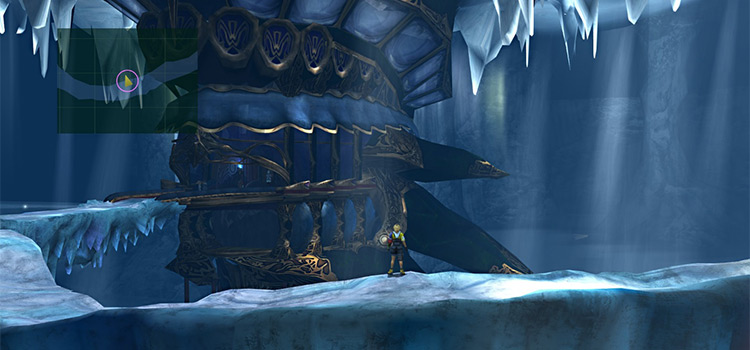
This guide will walk you through the entire Macalania cloister puzzle step-by-step, including where you’ll find the Destruction Sphere & how to use it to get the hidden treasure (a Luck Sphere).
Step-By-Step Walkthrough
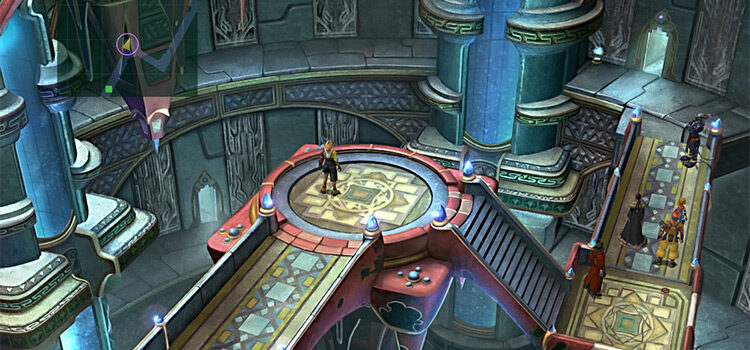
Step 1: Start by traveling down the ramp to your left.
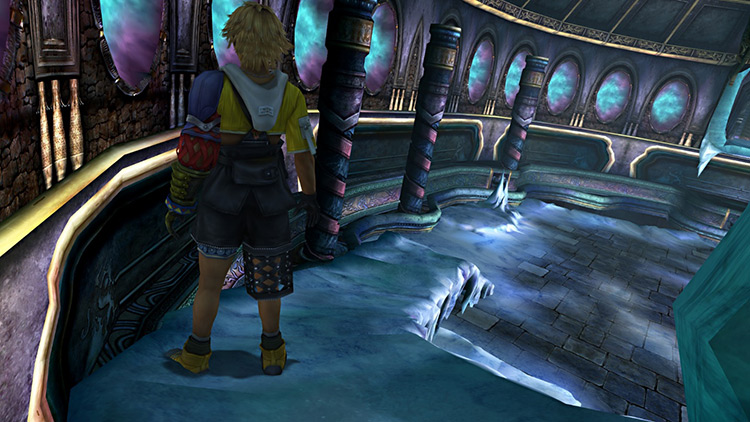
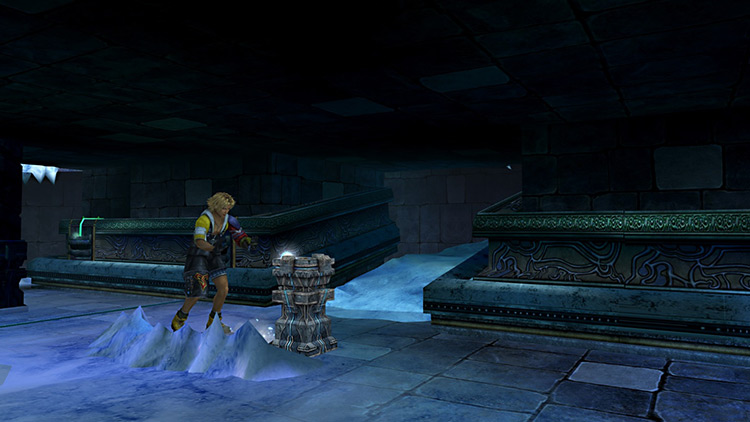
Step 2: In this first area beneath the walkway that just vanished, you’ll find a pedestal similar to the ones you’ve encountered in previous trials. Push it towards the mound of ice to the right.
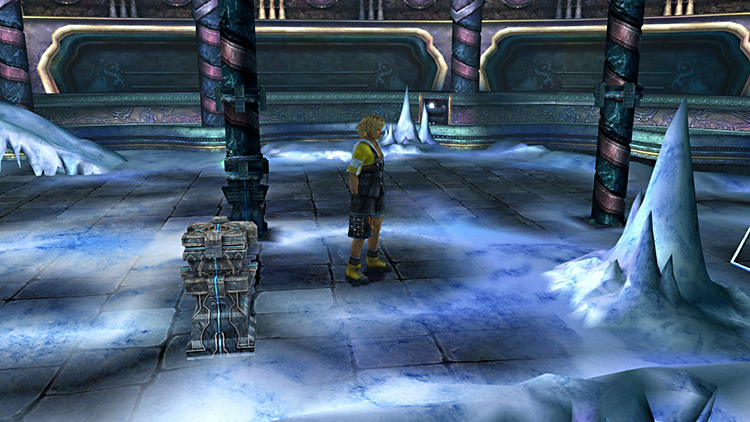
Step 3: The first mound of ice will disappear, and the pedestal will stop in its place.
Then push the pedestal towards the second mound of ice on the north side of the room.
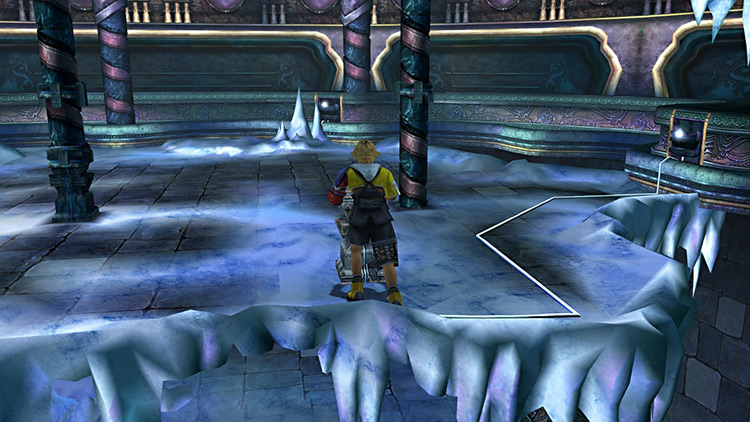
Step 4: When the second mound of ice disappears, another ramp will be revealed, because the pedestal will continue sliding into the lower level of the room.
Pick up the Glyph Sphere on the center pillar of the level you’re currently on, then head down the ramp.
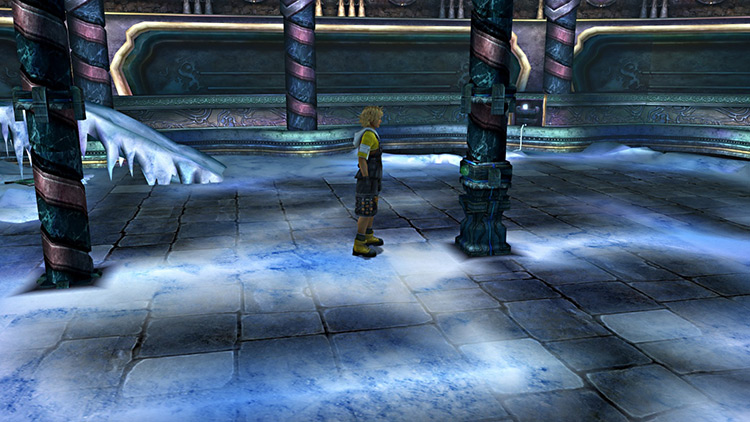
Step 5: Take the Glyph Sphere to the lower level and place it on the recess on the left side of the room to reveal a Macalania Sphere.
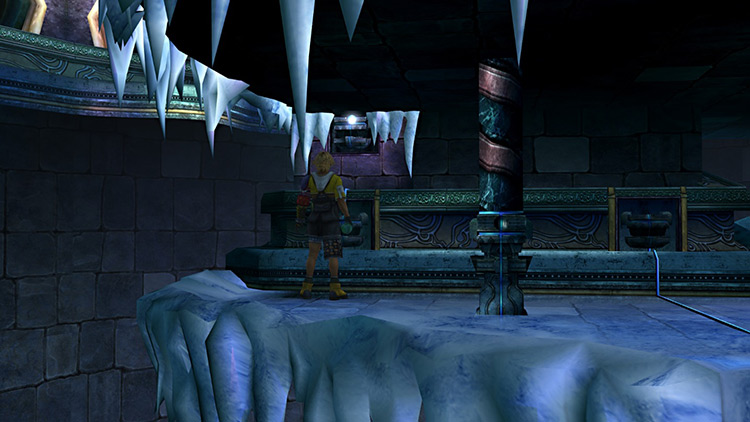
Step 6: Go up the ramp to retrieve the Macalania Sphere we just revealed (pictured below).
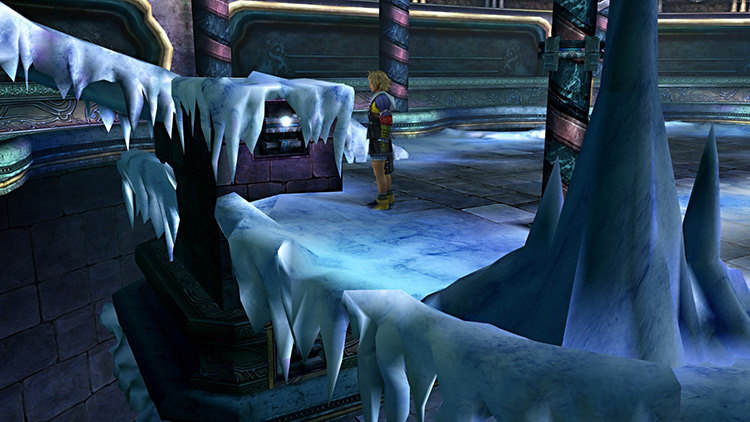
Step 7: Return to the lower level and place the Macalania Sphere on the pedestal.
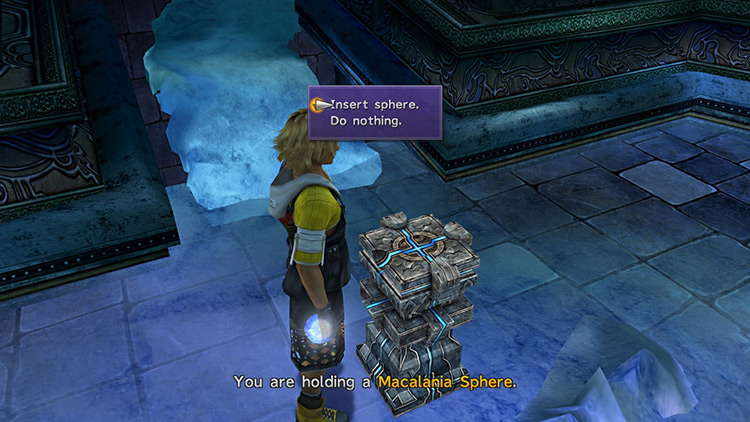
Step 8: Push the pedestal towards the right side of the room.
Step 9: Go back up the ramp and pick up the Macalania Sphere on the wall to your right.
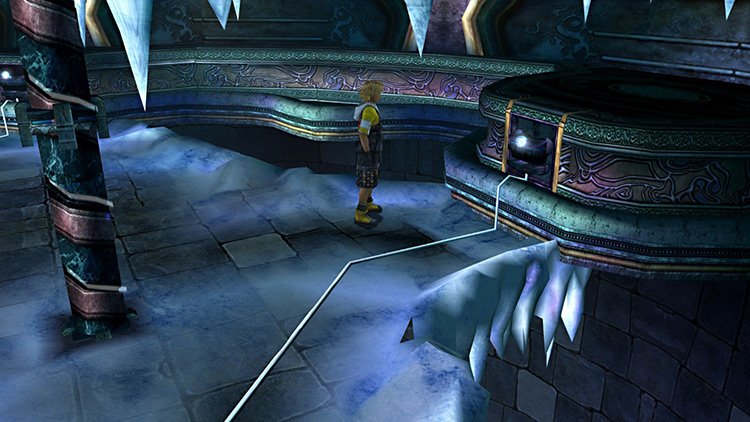
Step 10: Go back down to the lower level and place that Macalania Sphere on the pillar with a vacant recess (pictured below).
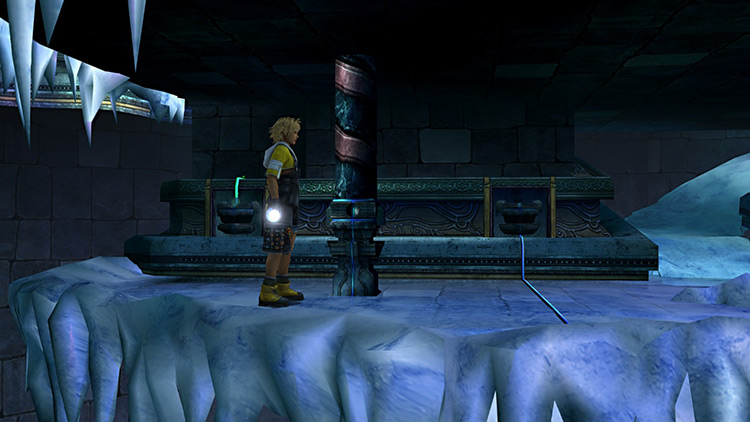
Step 11: Go back up to the first area and pick up the Macalania Sphere that’s located at the top end of the ramp (pictured below).
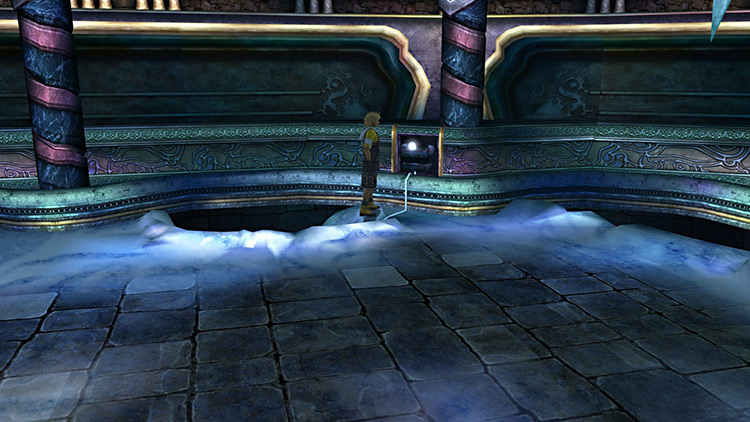
Step 12: Place this Macalania Sphere on the pillar in the center of the room downstairs.
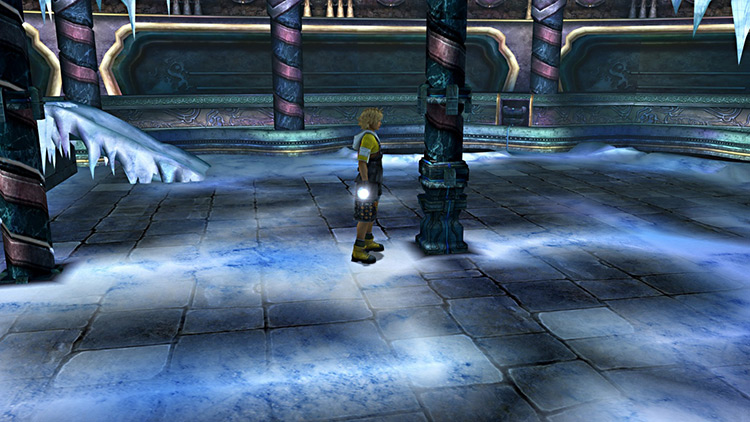
You can technically leave the Cloister at this point and complete the trial. But if you want the destruction sphere prize, then continue following the rest of the steps below.
Step 13: Run up the first ramp back to the walkway that has just been restored. Then step on the shining tile in this walkway.
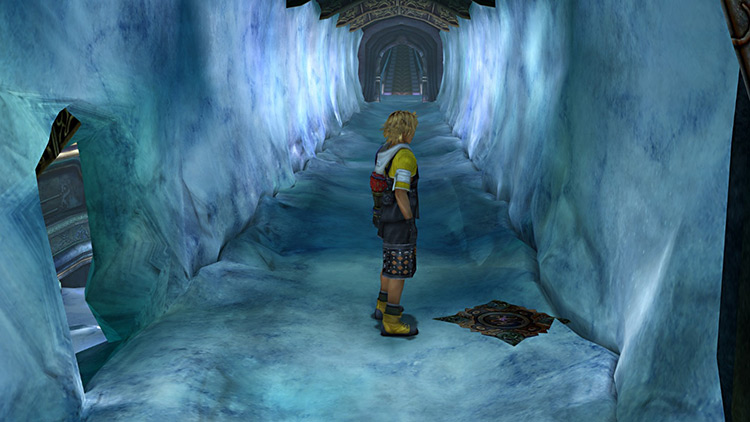
Step 14: The pedestal will appear at the side entrance to the walkway. Push it down the ramp.
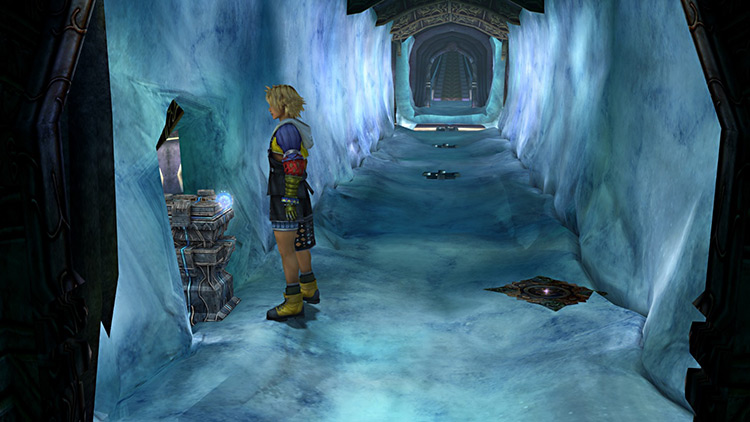
Step 15: At this point, the Macalania Sphere on the pedestal will have been converted into a Destruction Sphere.
Go back to the first area and go just below the walkway, then step on the shining tile there to teleport the pedestal.
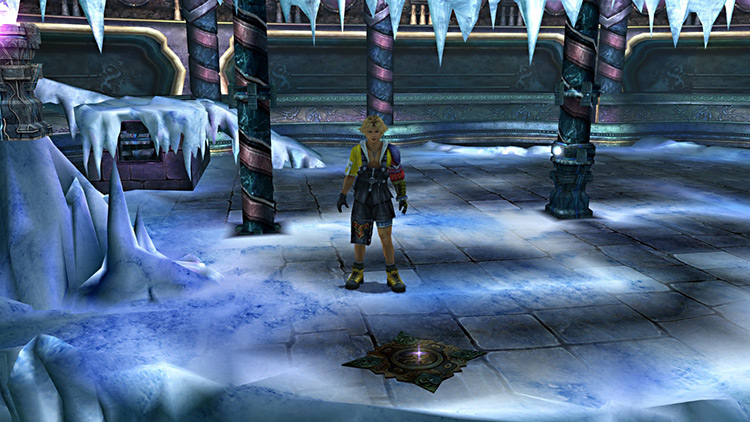
Step 16: Pick up the Macalania Sphere in the center pillar of the first room.
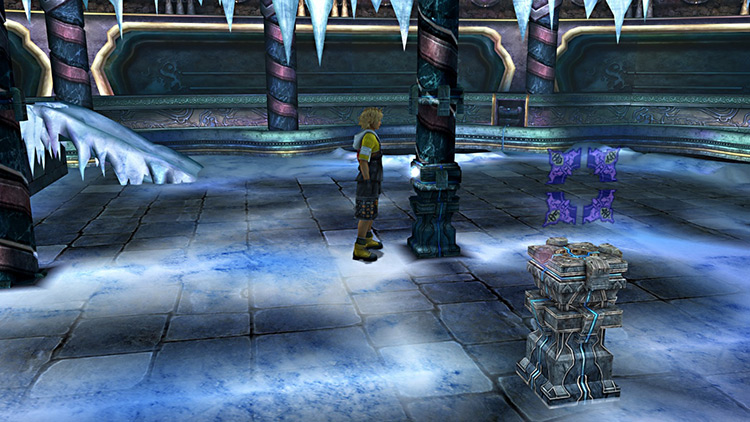
Step 17: Place this sphere on the wall to the right of the room to restore the first mound of ice.
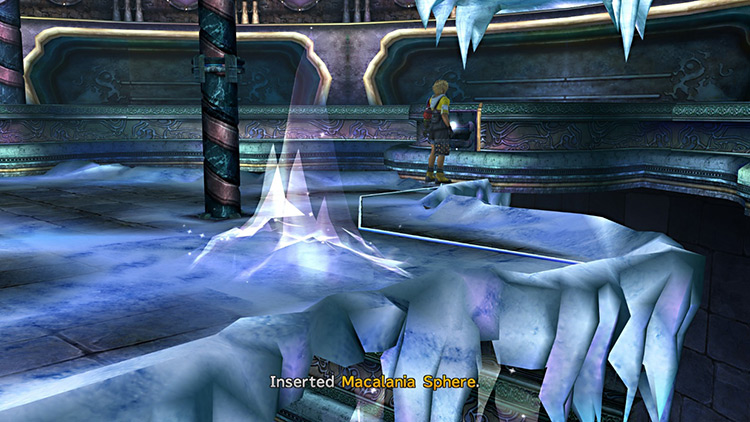
Step 18: Return to the pedestal and push it towards the new mound of ice you just created.
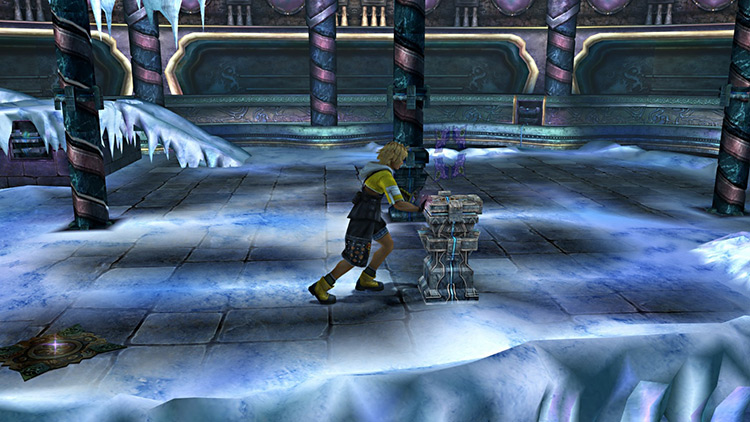
Step 19: Retrieve the Macalania Sphere on the wall to your right, and then place it on the north wall to restore the ramp that leads to the lower level.
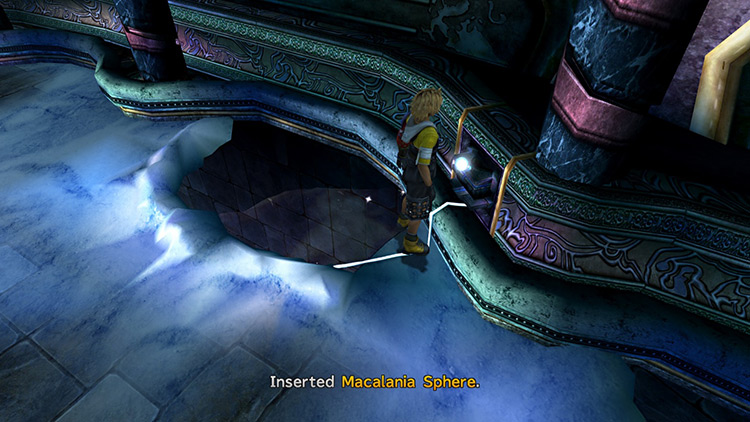
Step 20: Return to the pedestal and push it towards the north wall to let it slide down to the lower level.
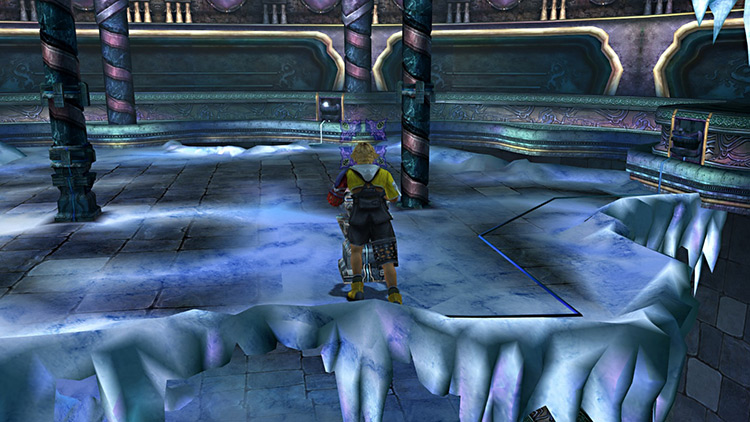
Step 21: Pick up the Destruction Sphere from the pedestal and place it on the recess that’s located to the left of the ramp. This will reveal a chest containing a Luck Sphere – Macalania’s hidden treasure.
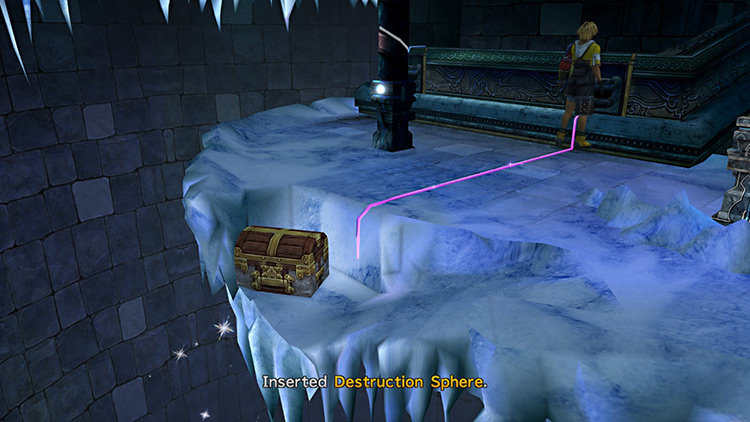
Step 22: Once you get the treasure, pick up the Destruction Sphere and return it to the pedestal.
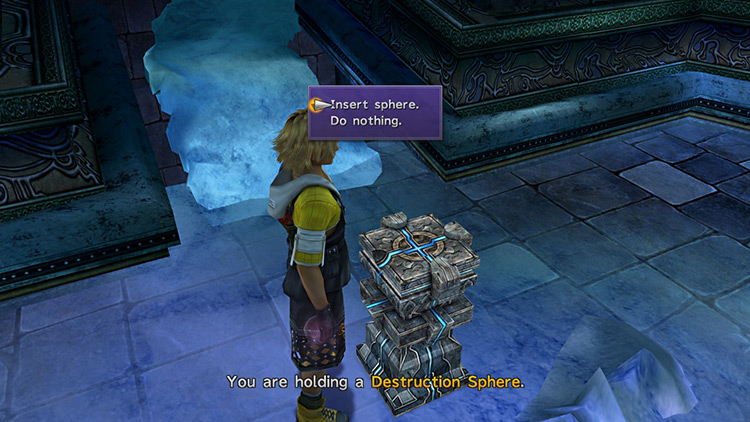
Step 23: Go back up both ramps to the walkway above the first room. Step on the shining tile there.
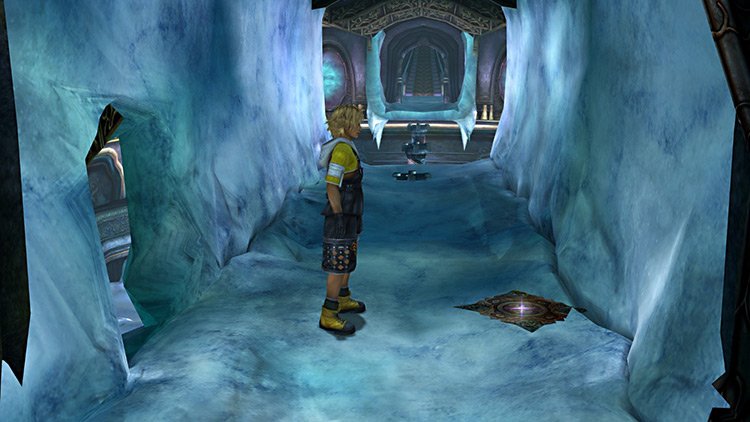
Step 24: Push the pedestal back down the ramp to convert the Destruction Sphere back into a Macalania Sphere.
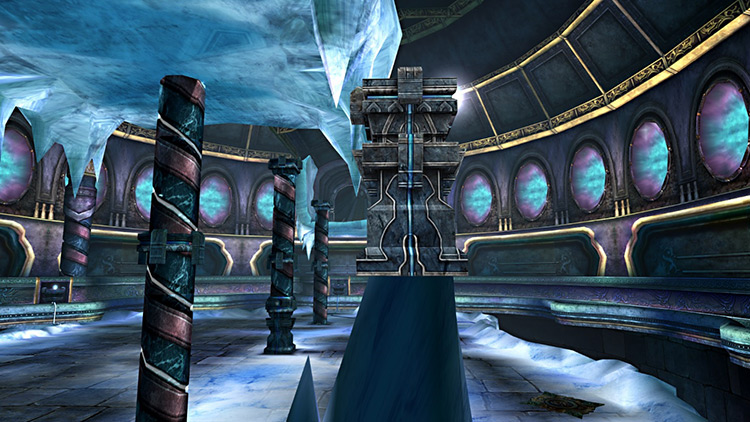
Step 25: Step on the shining tile in the upper area of the room, and then take the Macalania Sphere.
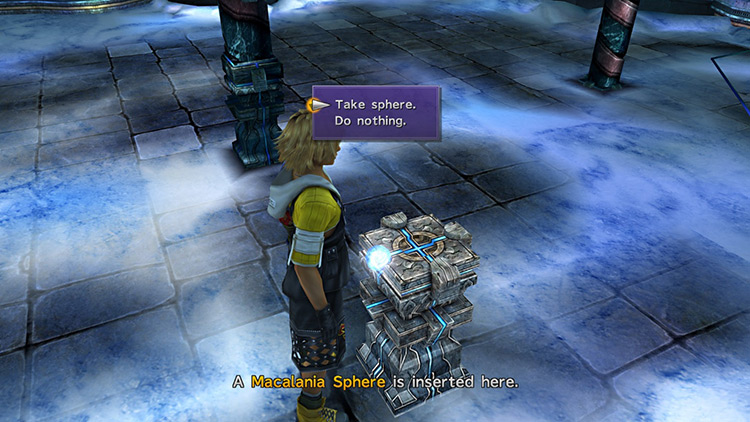
Step 26: Place this Macalania Sphere on the wall to the right. This will restore the mound of ice again.
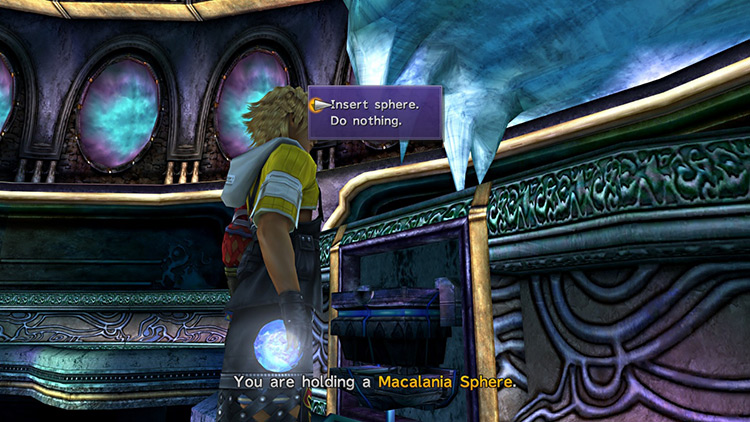
Step 27: Go back to the pedestal and push it towards the ice, just like the previous times.
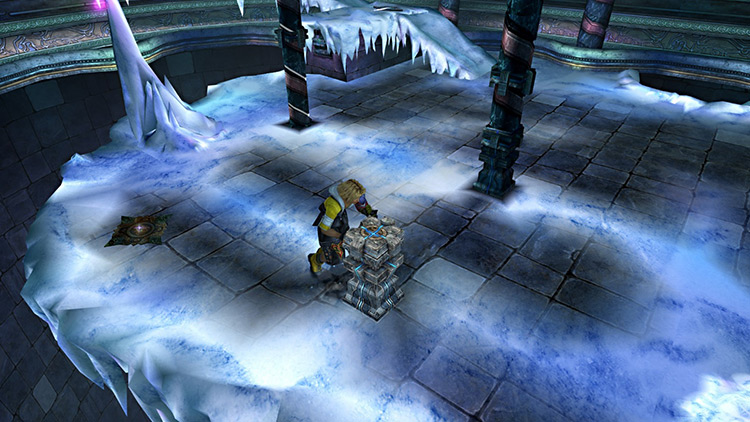
Step 28: Push the pedestal towards the north wall once again to have it slide down to the lower level.
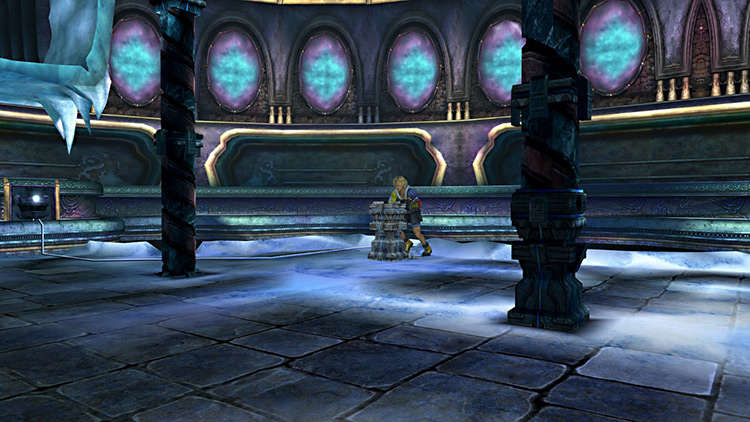
Step 29: Retrieve the Macalania Sphere from the wall (which you used to restore the ice mound once), and with this Sphere in hand, head down to the lower level.
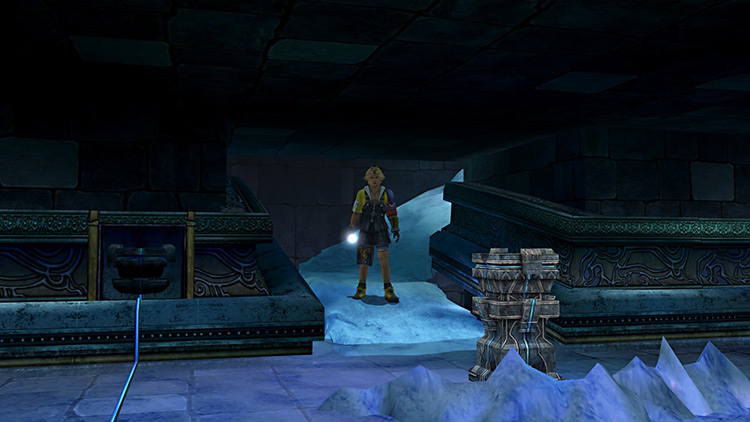
Step 30: Place the Macalania Sphere back on the pedestal.
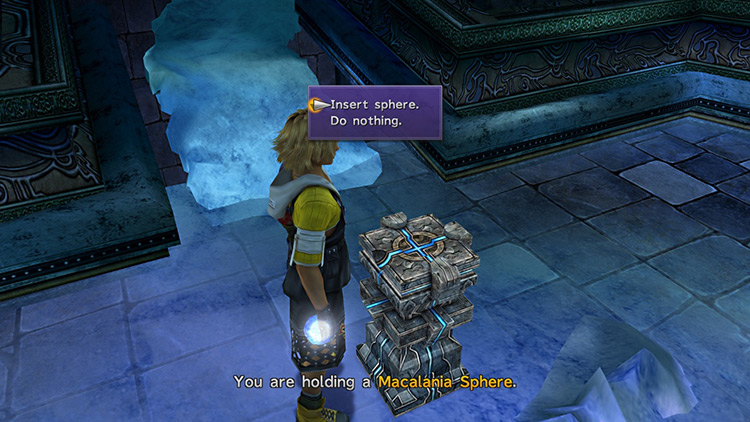
Step 31: Push the pedestal towards the right side of the room, just like you did in Step 8.
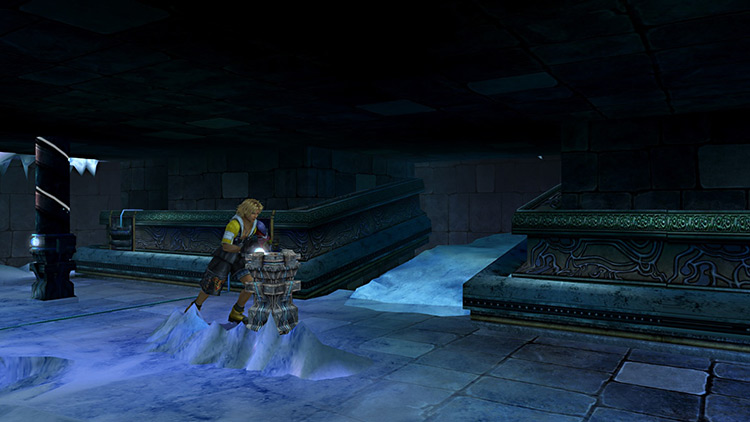
Step 32: Return to the upper level and pick up the Macalania Sphere that’s in the wall near the top of the ramp.
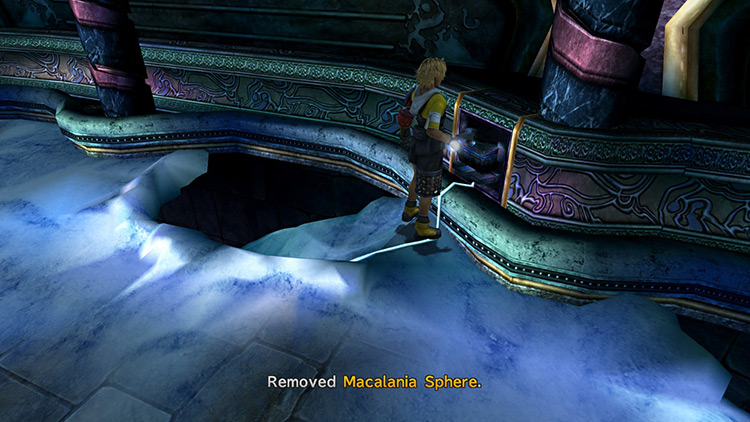
Step 33: Place that Macalania Sphere back onto the pillar in the center of the room.
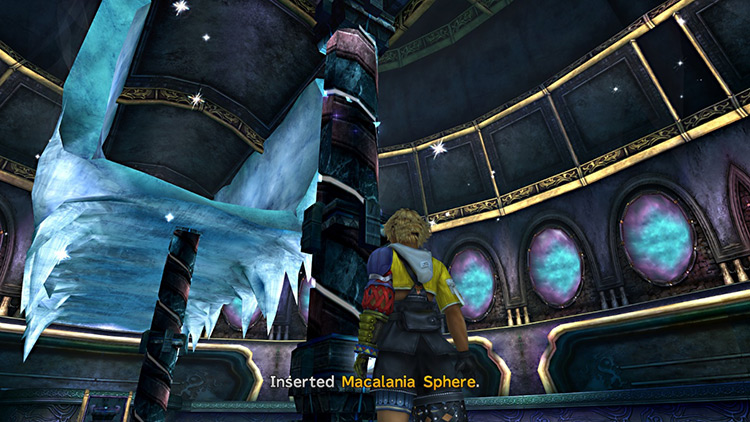
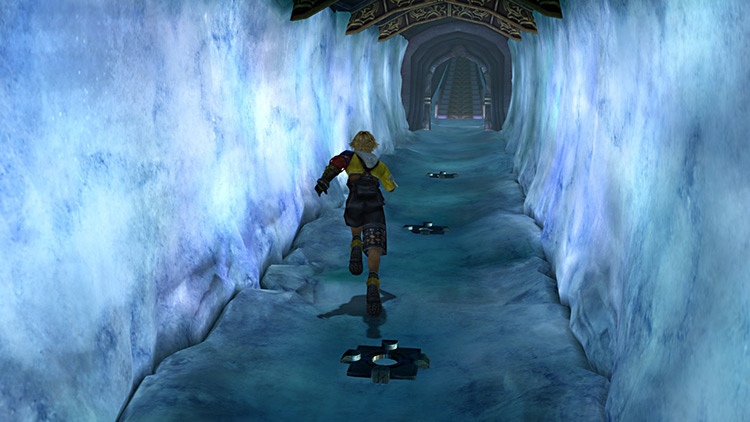
Step 34: Go back up the first ramp to return to the walkway. You can now exit the Cloister of Trials by walking across the upper tunnel of ice.
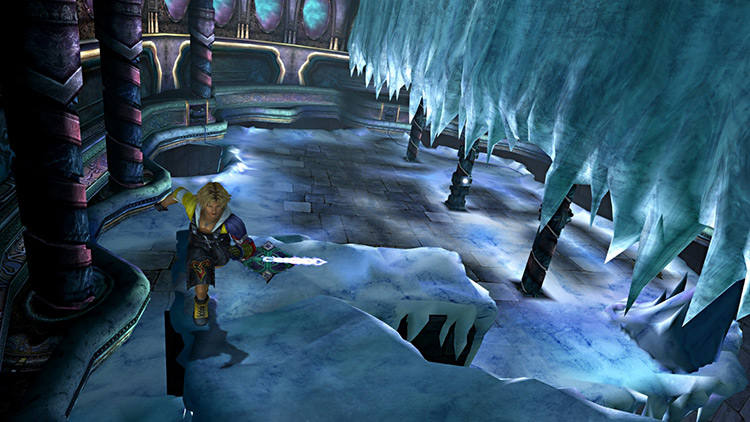
Additional Macalania Cloister Tips
You can actually exit this trial after step 12. All the extra steps after that are to obtain the Luck Sphere, Macalania’s hidden treasure, which is something you can come back for later on if you skip it the first time.
Luck Spheres are used on the Sphere Grid to convert empty nodes into luck nodes. Luck nodes can be activated with Fortune Spheres to raise a character’s Luck stat by 4 points.
While an additional 4 points of luck may not have the biggest impact, obtaining Macalania’s treasure is a requirement for unlocking an optional Aeon further into the game.
Tip: When exiting the trial, be careful not to step on the shining tile in the upper walkway. Doing so will force you to repeat steps 14 and onward.
-
Final Fantasy X
- Macalania Cloister of Trials Guide + Destruction Sphere (FFX)


