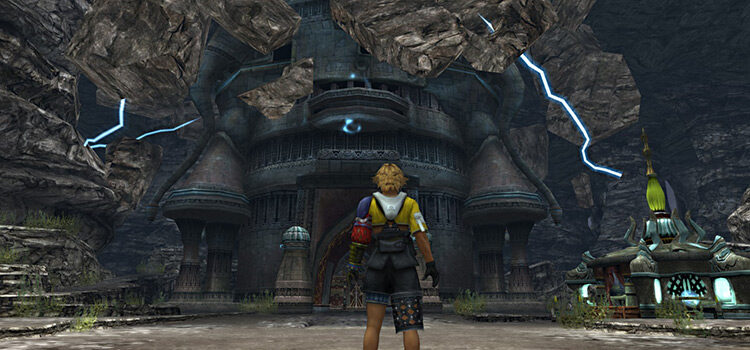
This guide will walk you through the entire Bevelle cloister puzzle step-by-step, including where you’ll find the Destruction Sphere & how to use it.
Bevelle’s Trial actually has two hidden Destruction Sphere treasures: an HP Sphere & a Knight Lance weapon for Kimahri.
Step-By-Step Walkthrough
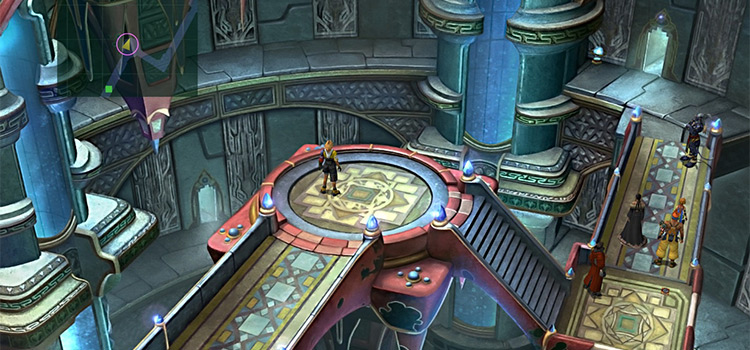
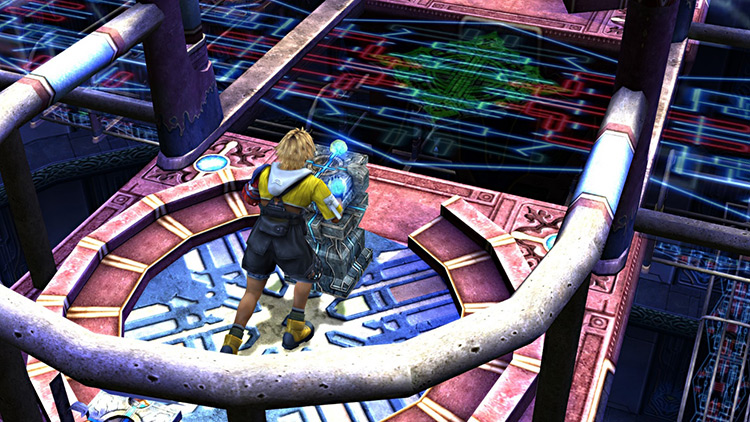
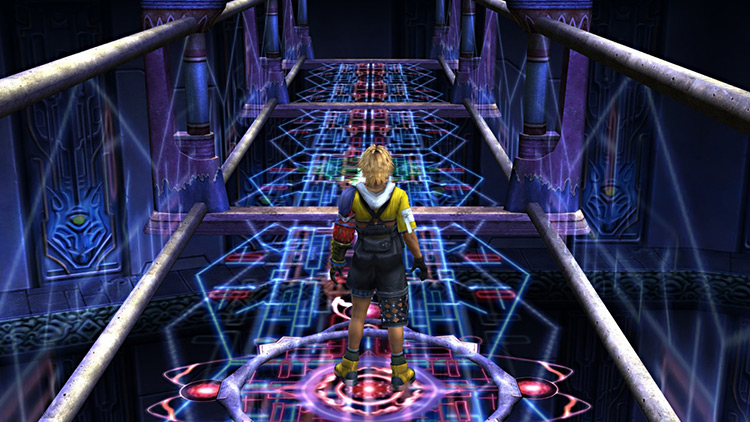
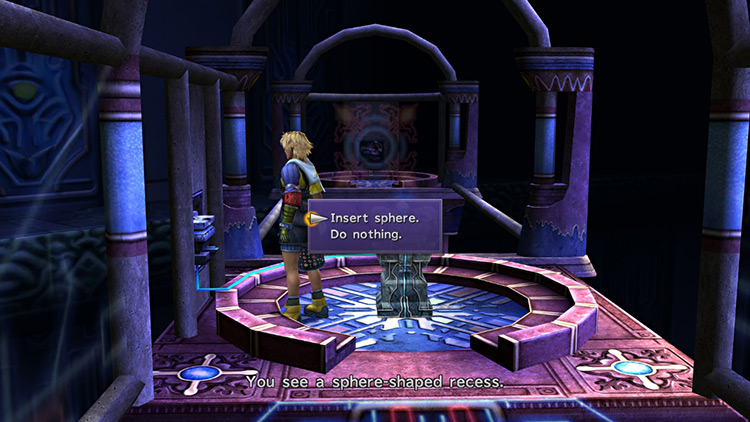
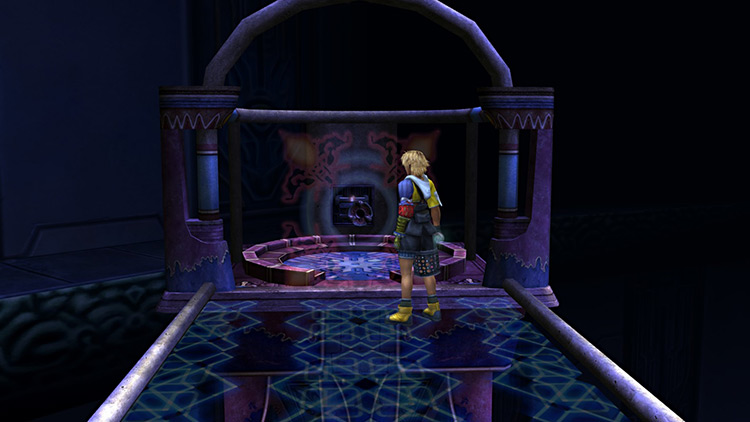
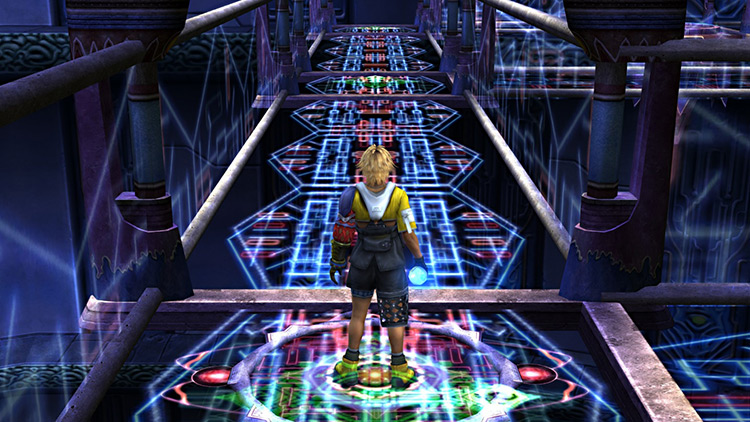
Step 1: You will begin in a small section of a room with nothing but a pedestal with a sphere on it in front of you.
Push the pedestal forward and it will become a platform that takes you down to a lower level.
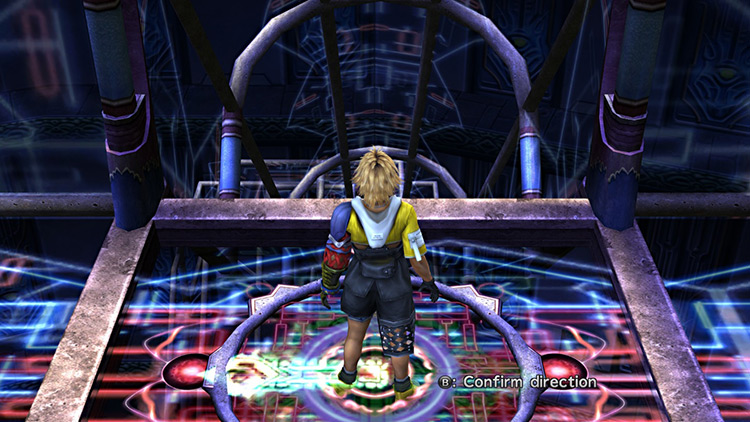
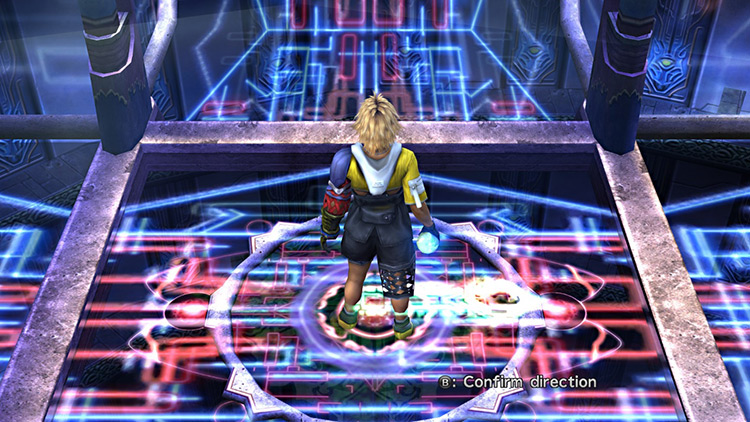
Step 2: You will be prompted to confirm which direction the platform will go next. This first instance only has one option so just hit the confirm button.

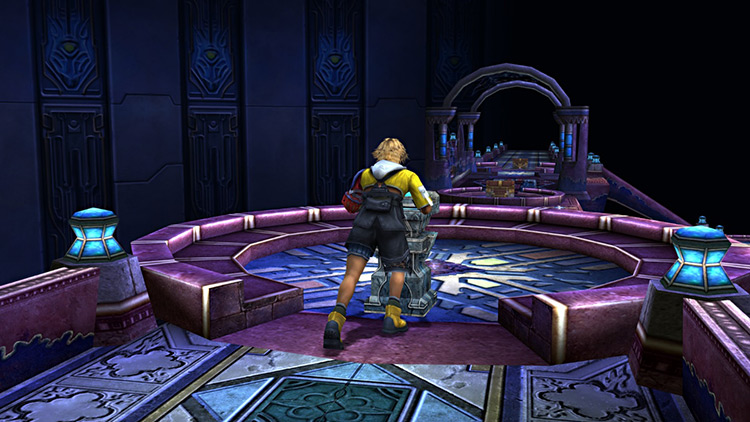
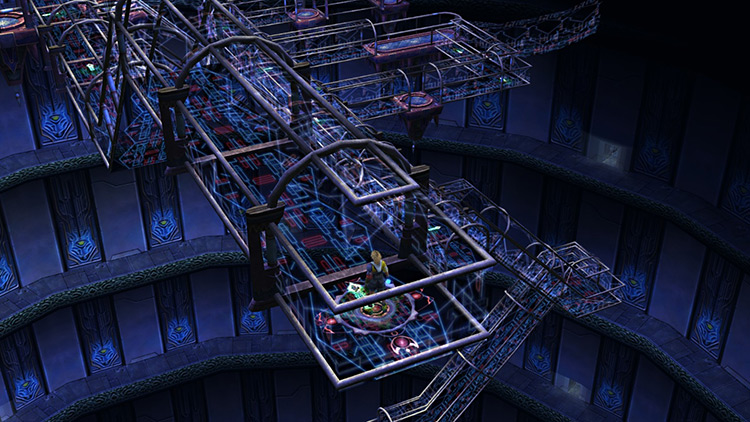
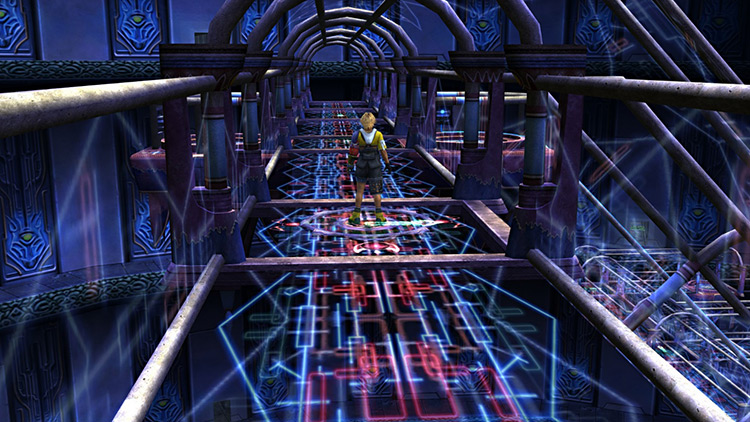
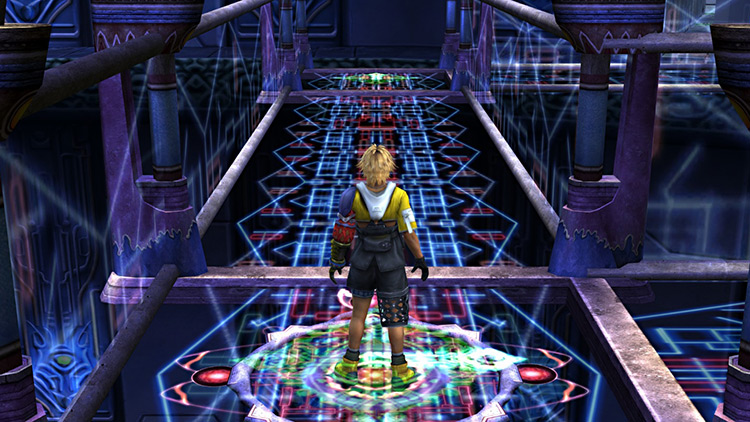
Step 3: The platform will begin moving and you’ll see glyphs with arrows that change directions along the path. You’ll need to time pressing the confirm button as you pass over it while it’s pointing in the direction you want to go.
Step 4: Ignore the first glyph. On the second glyph, hit confirm while it is pointing to the left. This will lead you to a pedestal with a Bevelle Sphere.
Step 5: Take the Bevelle Sphere and return to the moving platform in the corridor.
Step 6: Back in the main corridor, you can time the third glyph to send you back in the opposite direction, or let the platform go all the way to the end.
Either way, you’ll end up back at the start of the corridor with the Bevelle Sphere still in your hand.
Step 7: Travel down the corridor and ignore the first glyph again.
This time, press confirm on the second glyph while it is pointing to the right. This will bring you onto the platform right across the one where you took the Bevelle Sphere.
Step 8: Place the Bevelle Sphere in the empty recess on the wall, restoring a missing section of a second corridor below.
Step 9: Go back into the main corridor and return to the start by using the third glyph or letting the platform travel all the way to the end & resetting you back to the beginning.
Step 10: Take the first glyph along the corridor, the one you’ve been ignoring so far. Hit confirm while it is pointing to the right.
Step 11: You will be led to the second corridor below, and you’ll stop on a glyph that rotates the direction it’s pointing in. Choose to go in the direction you’re already facing.
Step 12: You will be led down a ramp that leads to a dead end. Pick up the Bevelle Sphere here and head back up the ramp.
Step 13: You will stop at the intersection in the second corridor once again. Having come directly from the dead end below, choose to go to the right.
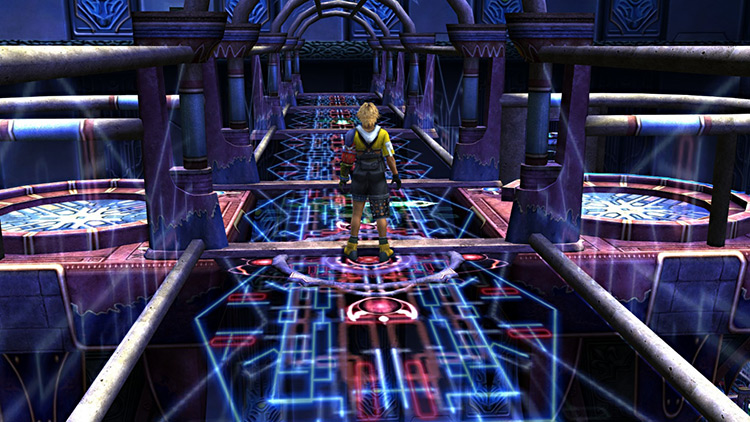
Step 14: From here you’ll find that this second corridor has a set of glyphs similar to the first corridor, but with the arrows changing faster.
Skip the first two glyphs you come across and hit confirm while the third glyph is pointing to the right.
Step 15: Once you land, place the Bevelle Sphere onto the vacant receptacle on the wall to your left. This will form a bridge to another platform.
But don’t cross it just yet, instead return to the second corridor.
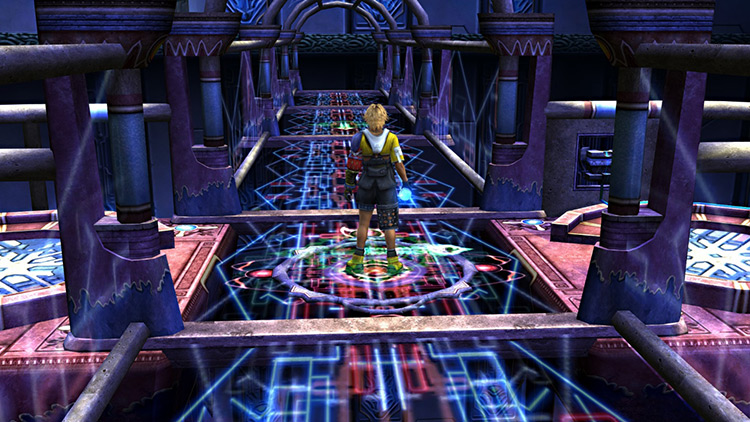
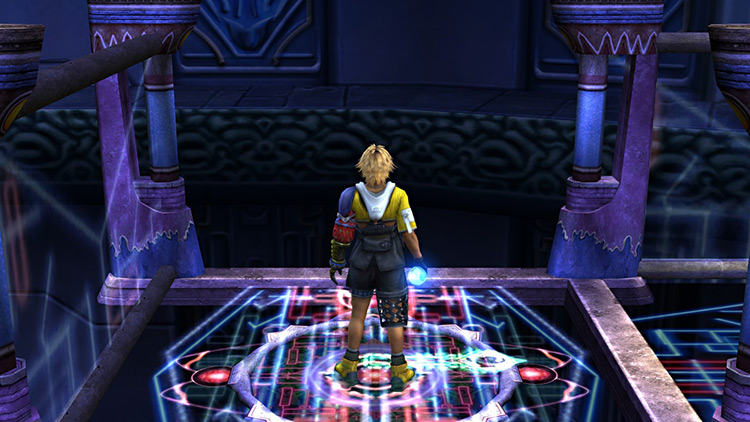
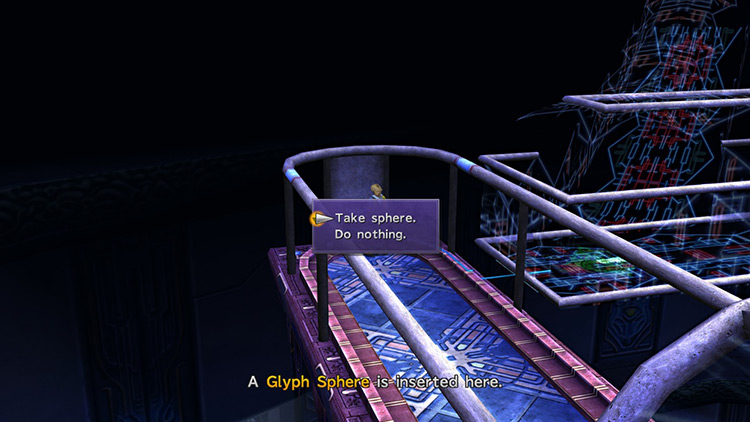
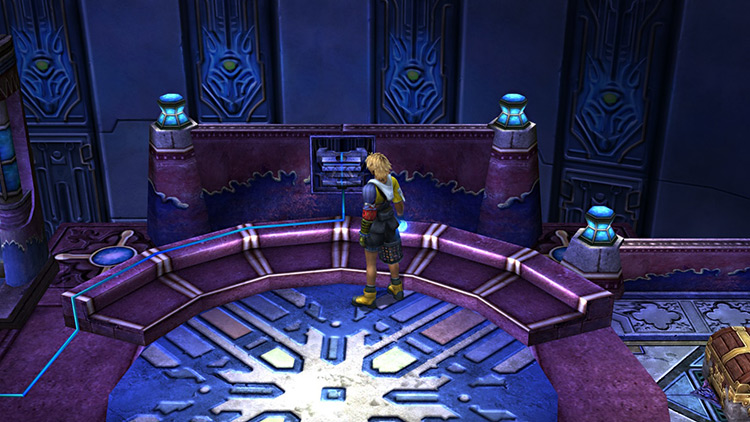
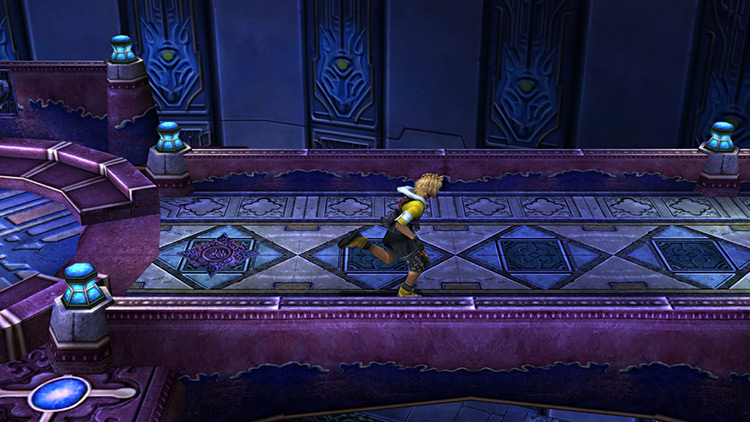
Step 16: Starting from the intersection in the second corridor once again, use the second glyph while it’s pointing to the right (pictured below).
Step 17: This will lead you to a Glyph Sphere. Pick it up and return to the platform where you formed a bridge.
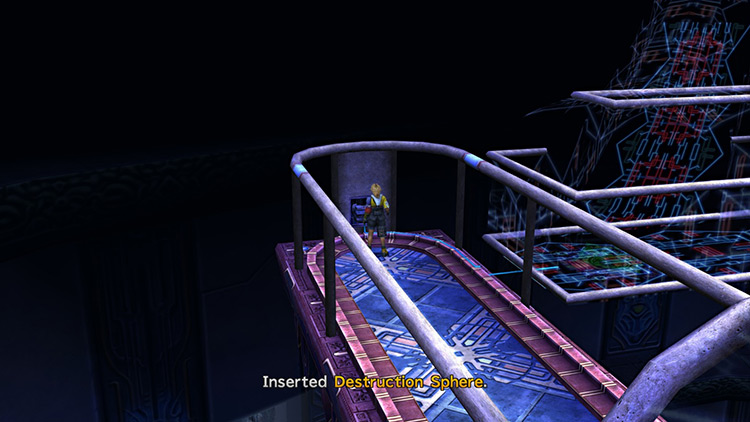
Step 18: Cross the bridge and place the Glyph Sphere on the barrier that’s blocking you from the end of this hallway.
Step 19: You’ll find a Destruction Sphere here.
Pick it up and return to the platform where you took the Glyph Sphere (this would be the second glyph in the second corridor). Once you’re here, place the Destruction Sphere in the empty spot in the wall.
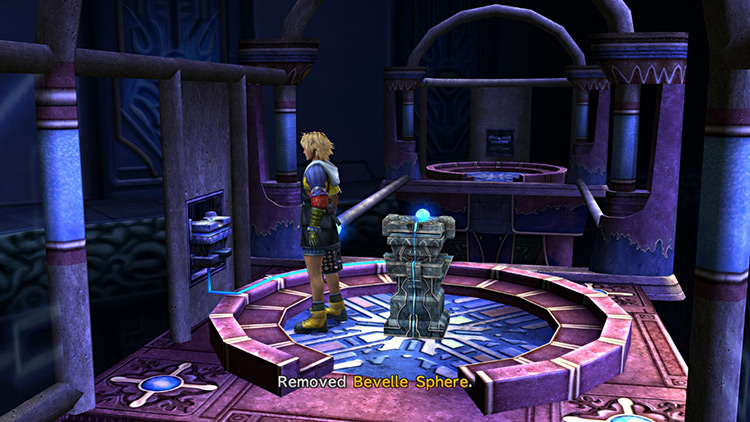
Step 20: Go back into the second corridor and stop by the third glyph once more. Retrieve the Bevelle Sphere you used to form the bridge here.
Step 21: You’ll be going down the second corridor yet again, but this time you want to take the first glyph. Make sure to hit confirm while it’s pointing to the right.
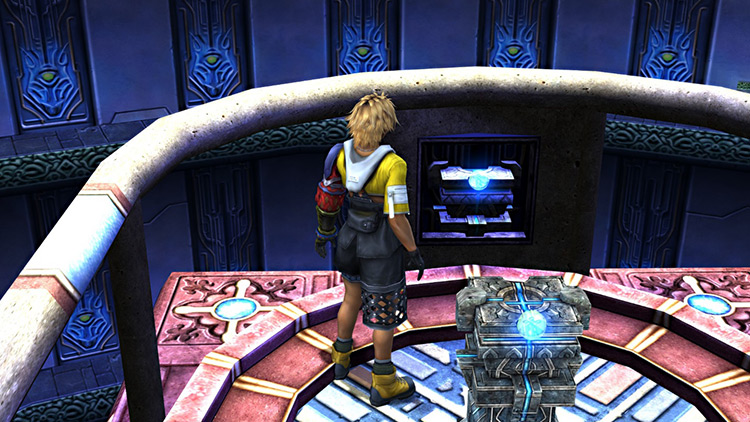
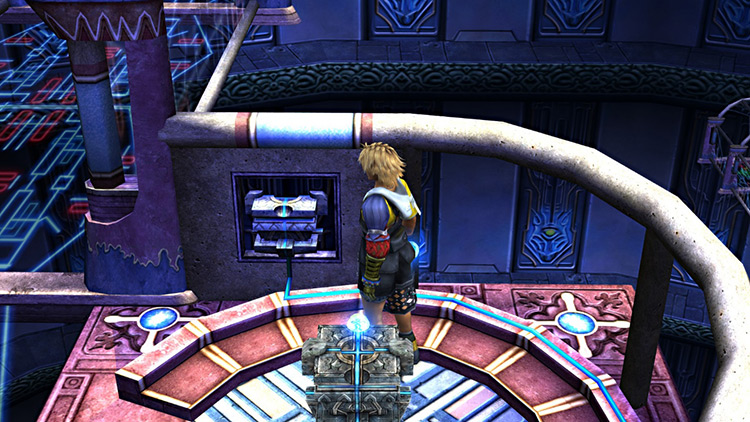
Step 22: This will bring you to a new area. From here, go up the stairs and place the Bevelle Sphere on the vacant recess at the top.
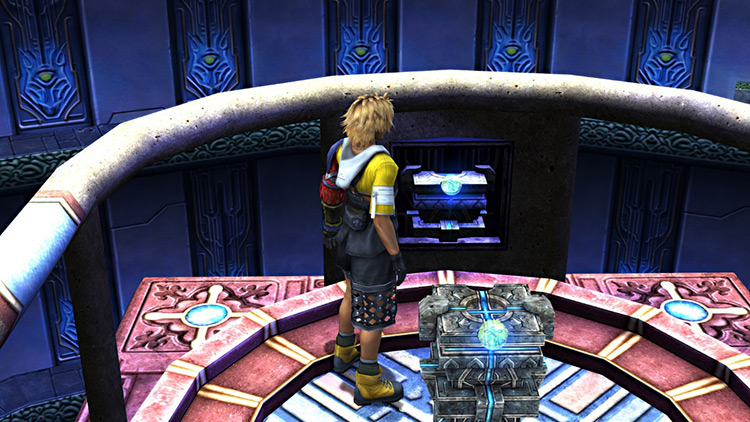
Step 23: Open the chest to your right to obtain the destruction sphere prize: an HP Sphere. The chest will open automatically when you approach it.
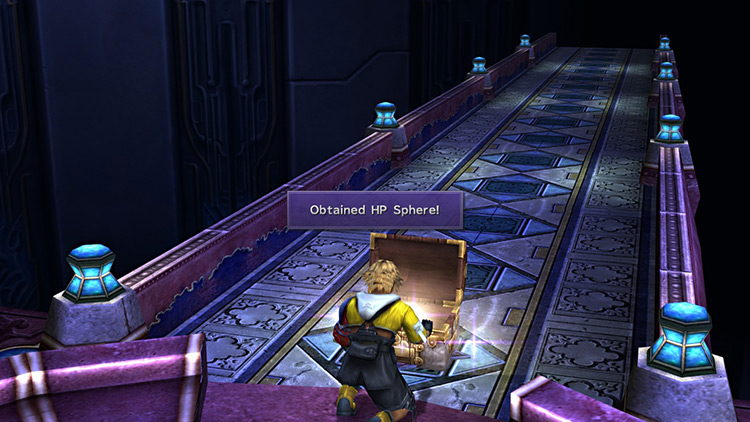
Step 24: After obtaining the HP Sphere, the chest will disappear, revealing a shining tile underneath it.
Step on the shining tile, but be careful not to go too far past it – doing so will start a cutscene and you will not be able to return to the Bevelle Temple afterwards.

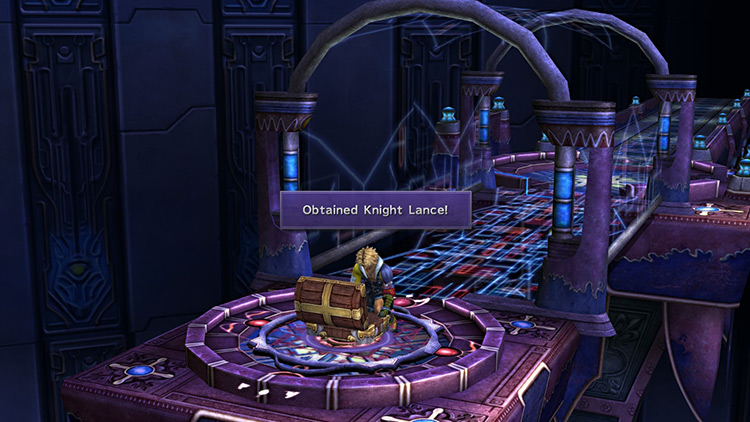
Step 25: Once you step on the shining tile, the pedestal you have been using will teleport to the top of the stairs. Push it towards the short corridor to the left to obtain a Knight Lance.
Step 26: You can now exit the Trial by running down the walkway past the shining tile.
Additional Notes + Tips
The Bevelle Cloister of Trials is unique in that it’s the only one where using the Destruction Sphere and obtaining its hidden treasure is required to progress through to the end.
The trial was designed this way since you will not be able to return to Bevelle later on.
Bevelle’s hidden treasure is an HP Sphere. This item is used on the Sphere Grid to convert empty nodes into HP nodes.
Note that there is a second treasure chest you can find in Bevelle’s Cloister of Trials that contains a Knight Lance. You can miss this treasure by skipping steps 24 and 25, but it will not affect the requirements for obtaining an optional Aeon that can be found later on.
The Knight Lance is a decent piece of equipment for Kimahri. It has the abilities Strength +3%, Strength +5%, and Strength +10% attached to it. However, it does not have the Piercing ability that Kimahri’s weapons usually have.

-
Final Fantasy X
- Bevelle Cloister of Trials Guide + Destruction Sphere (FFX)
Related Posts:
 Macalania Cloister of Trials Guide + Destruction Sphere (FFX)
 Besaid Cloister of Trials Guide + Destruction Sphere (FFX)
 Djose Cloister of Trials Guide + Destruction Sphere (FFX)
 Zanarkand Cloister of Trials Guide + Destruction Sphere (FFX)
 FFX Cheer Ability: How It Works & Is It Worth Using?
 FFX Donating to the Crusaders: What You Get + Is It Worth It?
 FFX: How Do You Gain Experience in Blitzball?
 FFX Tough Bangle Location (Step-by-Step Guide)