
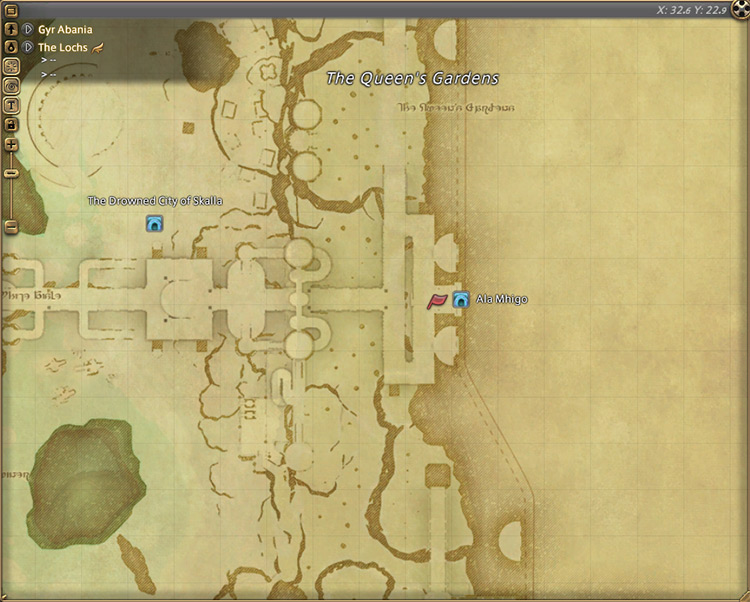
The Level 70 normal-difficulty dungeon Ala Mhigo can be unlocked by accepting the Level 70 MSQ “Stormblood” from Pipin in The Lochs (X:32.6, Y:22.9).
This is the final MSQ of the storyline for patch 4.0 of the Stormblood expansion.
TABLE OF CONTENTS
Unlocking Quest: Stormblood
The Level 70 MSQ “Stormblood” wraps up the main story for patch 4.0 of the Stormblood expansion.
To unlock this quest, you’ll need to clear every MSQ leading up to it, including MSQs from the previous expansions.
Once you’ve done that you can speak with Pipin in The Lochs (X:32.6, Y:22.9) to begin.
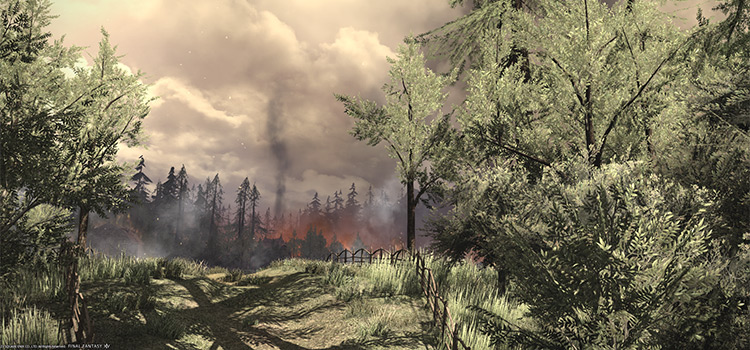
The Ala Mhigan Resistance forces are ready to drive the Garleans out of the royal castle and put an end to the brutal occupation.
After a brief conversation with Pipin, Ala Mhigo will be unlocked.
This dungeon requires at least a Level 70 Disciple of War or Magic job and an average item level of 280 to enter.
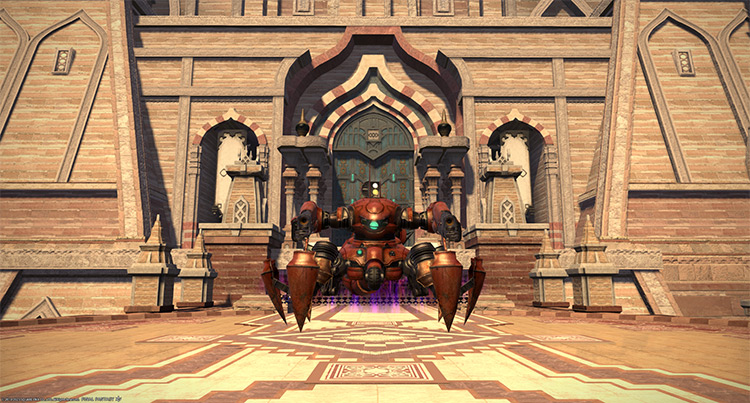
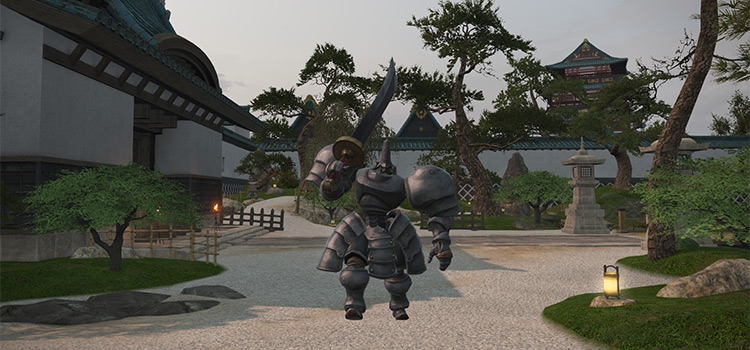
Boss #1: Magitek Scorpion
Mechanics
- Electromagnetic Field: A room-wide AoE attack. Shield and heal through the damage.
- Target Search: Multiple players will be targeted with ground AoEs that follow them for six seconds. Then, the AoE will be locked-in and go off, leaving a fiery puddle that applies a “Burns” DoT for 15 seconds should anyone stand inside it. Bait the AoEs in one area to preserve safe zones.
- Tail Laser: A wide column AoE in front and behind the boss that persists for a few seconds.
Rewards
- 4 Allagan Tomestone of Poetics
| Name | Type | Rarity |
|---|---|---|
| Arhat Bracelets of Aiming | Bracelets | Dungeon (Green) |
| Arhat Bracelets of Casting | Bracelets | Dungeon (Green) |
| Arhat Bracelets of Fending | Bracelets | Dungeon (Green) |
| Arhat Bracelets of Healing | Bracelets | Dungeon (Green) |
| Arhat Bracelets of Slaying | Bracelets | Dungeon (Green) |
| Arhat Kyahan of Aiming | Feet | Dungeon (Green) |
| Arhat Kyahan of Casting | Feet | Dungeon (Green) |
| Arhat Kyahan of Fending | Feet | Dungeon (Green) |
| Arhat Kyahan of Healing | Feet | Dungeon (Green) |
| Arhat Kyahan of Maiming | Feet | Dungeon (Green) |
| Arhat Kyahan of Scouting | Feet | Dungeon (Green) |
| Arhat Kyahan of Striking | Feet | Dungeon (Green) |
| Arhat Ring of Aiming | Ring | Dungeon (Green) |
| Arhat Ring of Casting | Ring | Dungeon (Green) |
| Arhat Ring of Fending | Ring | Dungeon (Green) |
| Arhat Ring of Healing | Ring | Dungeon (Green) |
| Arhat Ring of Slaying | Ring | Dungeon (Green) |
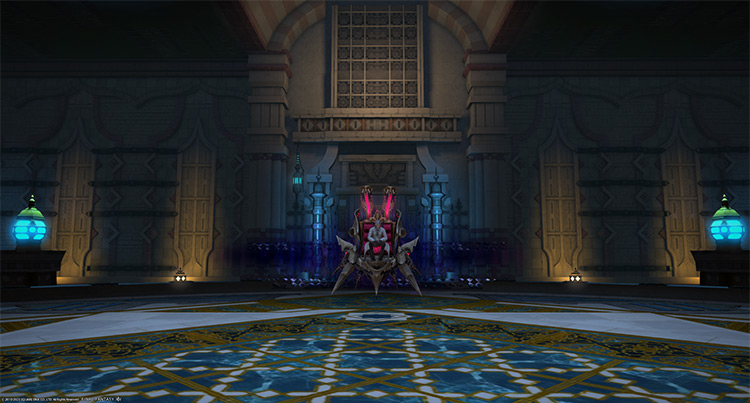
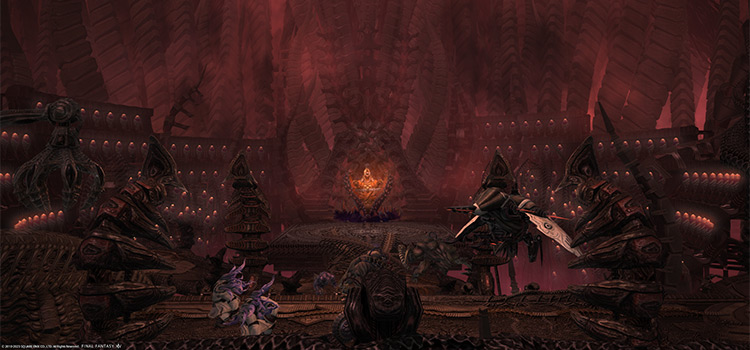
Boss #2: Aulus mal Asina
Mechanics
- Mana Burst: A room-wide AoE attack. Mitigate and heal through the damage.
- Order to Charge: The boss will spawn up to five magitek bits in set patterns around the arena.
- Order to Fire: The boss will order the magitek bits to fire circle AoEs on random players before using large donut AoEs that overlap. Avoid the initial circle AoEs before running directly underneath the bits.
- Magitek Disruptor + Mindjack: The entire party will be stunned for 12 seconds. Then, their souls will be pulled out of their bodies and knocked back. To return to normal, players need to make their way back to their bodies.
During this time, A “Prototype Death Claw” will tether to each player and attempt to stun them and magitek bits will fire line AoEs that can stun. Move away from your death claw and avoid the line AoEs while making your way toward your body. If you take too long, you will die. After returning to normal, kill the death claws immediately. - Snapping Spell (Prototype Death Claw): A frontal cone AoE that knocks players back.
- Demimagicks: Random players will be marked with AoEs. Spread out to avoid overlap.
Rewards
- 6 Allagan Tomestone of Poetics
| Name | Type | Rarity |
|---|---|---|
| Arhat Earring of Aiming | Earrings | Dungeon (Green) |
| Arhat Earring of Casting | Earrings | Dungeon (Green) |
| Arhat Earring of Fending | Earrings | Dungeon (Green) |
| Arhat Earring of Healing | Earrings | Dungeon (Green) |
| Arhat Earring of Slaying | Earrings | Dungeon (Green) |
| Arhat Kote of Fending | Hands | Dungeon (Green) |
| Arhat Kote of Maiming | Hands | Dungeon (Green) |
| Arhat Tekko of Aiming | Hands | Dungeon (Green) |
| Arhat Tekko of Casting | Hands | Dungeon (Green) |
| Arhat Tekko of Healing | Hands | Dungeon (Green) |
| Arhat Tekko of Scouting | Hands | Dungeon (Green) |
| Arhat Tekko of Striking | Hands | Dungeon (Green) |
| Arhat Hanbo of Healing | Head | Dungeon (Green) |
| Arhat Hanbo of Striking | Head | Dungeon (Green) |
| Arhat Kabuto of Fending | Head | Dungeon (Green) |
| Arhat Kabuto of Maiming | Head | Dungeon (Green) |
| Arhat Kabuto of Scouting | Head | Dungeon (Green) |
| Arhat Sandogasa of Aiming | Head | Dungeon (Green) |
| Arhat Sandogasa of Casting | Head | Dungeon (Green) |
| Arhat Necklace of Aiming | Necklace | Dungeon (Green) |
| Arhat Necklace of Casting | Necklace | Dungeon (Green) |
| Arhat Necklace of Fending | Necklace | Dungeon (Green) |
| Arhat Necklace of Healing | Necklace | Dungeon (Green) |
| Arhat Necklace of Slaying | Necklace | Dungeon (Green) |
Boss #3: Zenos yae Galvus
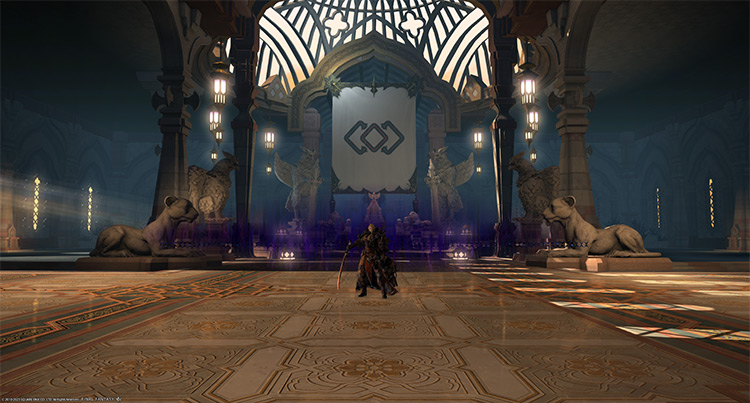
A few seconds after the fight, the outer ring of the arena will turn red, applying a constant “Bleeding” DoT and a 15-second “Damage Down” debuff. Avoid walking or getting knocked back onto it.
Mechanics
- Unmoving Troika: A three-hit cleaving tankbuster attack on the primary target. Face the boss away from the party and heal through the damage.
- Art of the Swell: A room-wide knockback attack. Stand next to the boss or use knockback-immunity skills.
- Art of the Storm: A point-blank AoE attack.
- Art of the Sword: Line AoE attacks toward each player. Spread out to avoid overlap.
- Vein Splitter: The boss will spawn four copies of himself before using a point-blank AoE attack. Immediately after, his clones will also use a point-blank AoE attack. Avoid the initial AoE then run to the center.
- Lightless Spark: The boss will tether to a random player and use a room-wide frontal cone AoE. Bait the AoE away from the rest of your party.
- Concentrativity: A room-wide AoE attack. After using “Storm, Swell, Sword,” the boss will continuously spam this attack until he’s defeated.
- Storm, Swell, Sword: The boss will move to the center and become untargetable. Then, he’ll drop his swords around the arena while he charges his room-wide ultimate AoE attack. Destroy the swords before the “Aether Transfer” gauge reaches 100 or you will wipe.
- Ame-no-Habakiri: Uses “Art of the Sword”
- The Swell: Uses “Art of the Swell”
- The Storm: Uses “Art of the Sword”
Rewards
- 10 Allagan Tomestone of Poetics
- Zenos yae Galvus Triple Triad Card (not guaranteed)
| Name | Type | Rarity |
|---|---|---|
| Grimoire of the Crimson Lotus | Arcanist’s Grimoire | Dungeon (Green) |
| Longbow of the Crimson Lotus | Archer’s Arm | Dungeon (Green) |
| Astrometer of the Crimson Lotus | Astrologian’s Arm | Dungeon (Green) |
| Arhat Dogi of Casting | Body | Dungeon (Green) |
| Arhat Dogi of Healing | Body | Dungeon (Green) |
| Arhat Hara-ate of Fending | Body | Dungeon (Green) |
| Arhat Hara-ate of Maiming | Body | Dungeon (Green) |
| Arhat Togi of Aiming | Body | Dungeon (Green) |
| Arhat Togi of Scouting | Body | Dungeon (Green) |
| Arhat Togi of Striking | Body | Dungeon (Green) |
| Windfire Wheels of the Crimson Lotus | Dancer’s Arm | Dungeon (Green) |
| Greatsword of the Crimson Lotus | Dark Knight’s Arm | Dungeon (Green) |
| Gunblade of the Crimson Lotus | Gunbreaker’s Arm | Dungeon (Green) |
| Spear of the Crimson Lotus | Lancer’s Arm | Dungeon (Green) |
| Arhat Hakama of Aiming | Legs | Dungeon (Green) |
| Arhat Hakama of Casting | Legs | Dungeon (Green) |
| Arhat Hakama of Healing | Legs | Dungeon (Green) |
| Arhat Hakama of Scouting | Legs | Dungeon (Green) |
| Arhat Tsutsu-hakama of Fending | Legs | Dungeon (Green) |
| Arhat Tsutsu-hakama of Maiming | Legs | Dungeon (Green) |
| Arhat Tsutsu-hakama of Striking | Legs | Dungeon (Green) |
| Musketoon of the Crimson Lotus | Machinist’s Arm | Dungeon (Green) |
| Axe of the Crimson Lotus | Marauder’s Arm | Dungeon (Green) |
| Paladin’s Crimson Lotus Arms (IL 300) | Other | Dungeon (Green) |
| Claws of the Crimson Lotus | Pugilist’s Arm | Dungeon (Green) |
| Naigama of the Crimson Lotus | Reaper’s Arm | Dungeon (Green) |
| Rapier of the Crimson Lotus | Red Mage’s Arm | Dungeon (Green) |
| Daggers of the Crimson Lotus | Rogue’s Arm | Dungeon (Green) |
| Dzi of the Crimson Lotus | Sage’s Arm | Dungeon (Green) |
| Uchigatana of the Crimson Lotus | Samurai’s Arm | Dungeon (Green) |
| Codex of the Crimson Lotus | Scholar’s Arm | Dungeon (Green) |
| Cane of the Crimson Lotus | Two-handed Conjurer’s Arm | Dungeon (Green) |
| Rod of the Crimson Lotus | Two-handed Thaumaturge’s Arm | Dungeon (Green) |
| Liberty or Death Orchestrion Roll | Orchestrion Roll | Basic |
| Magitek Predator Identification Key | Other | Basic |
Extra Treasure Coffers
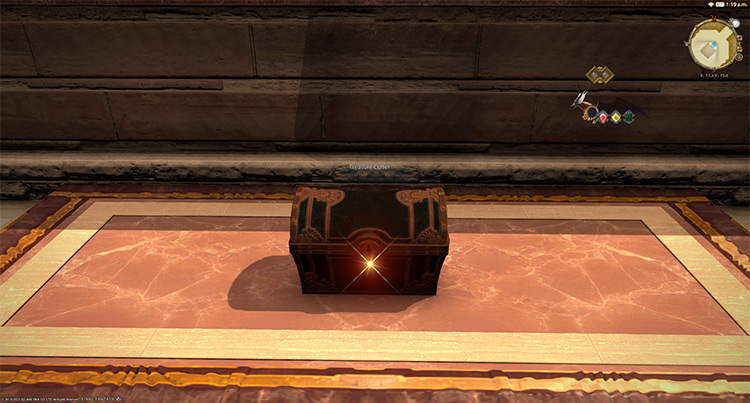
Apart from the boss rewards, there are four treasure coffers located throughout the dungeon that you can open for more gear, crafting material, and crystal rewards. Here are their coordinates:
- (X:11.3, Y:15.1)
- (X:11.8, Y:13.3)
- (X:8.9, Y:9.5)
- (X:11.8, Y 8.5)
-
Final Fantasy XIV
- FFXIV Ala Mhigo Dungeon: Unlock + Boss Guide
Related Posts:
 FFXIV The Temple of the Fist: Unlock + Boss Guide
 FFXIV Kugane Castle: How To Unlock + Boss Guide
 FFXIV Dohn Mheg: How To Unlock + Boss Guide
 FFXIV The Qitana Ravel: Unlock + Boss Guide
 FFXIV Holminster Switch: How To Unlock + Boss Guide
 FFXIV Malikah’s Well: How To Unlock + Dungeon Guide
 FFXIV The Tower of Babil: Unlock + Dungeon Guide
 FFXIV Ktisis Hyperboreia: Unlock + Dungeon Boss Guide