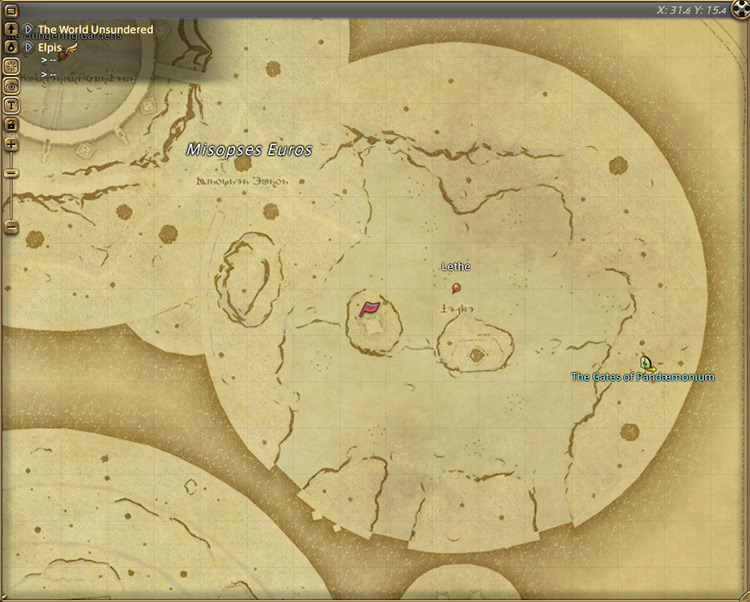
To unlock the Level 87 dungeon Ktisis Hyperboreia, you need to accept the Level 87 MSQ “Caging the Messenger” from Hythlodaeus in Elpis (X:31.6, Y:15.4). This MSQ is part of the patch 6.0 Main Scenario Questline for the Endwalker expansion.
In this guide we’ll cover each of the boss’ mechanics in this dungeon, along with providing a list of all the loot you can get.
TABLE OF CONTENTS
Unlocking Quest: Caging the Messenger
Ktisis Hyperboreia is the fourth story dungeon from the main storyline of the Endwalker expansion. You’ll need to finish every MSQ leading up to “Caging the Messenger” before it can be unlocked. After catching up to the story, talk to Hythlodaeus in Elpis (X:31.6, Y:15.4) to begin.
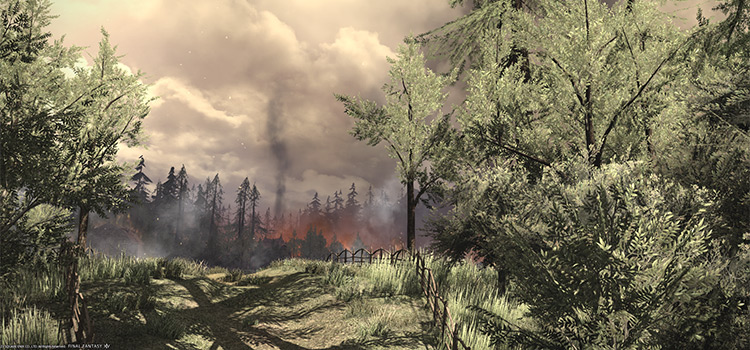
In “Caging the Messenger,” you pursue Hermes through Elpis while accompanied by Venat, Emet-Selch, and Hythlodaeus.
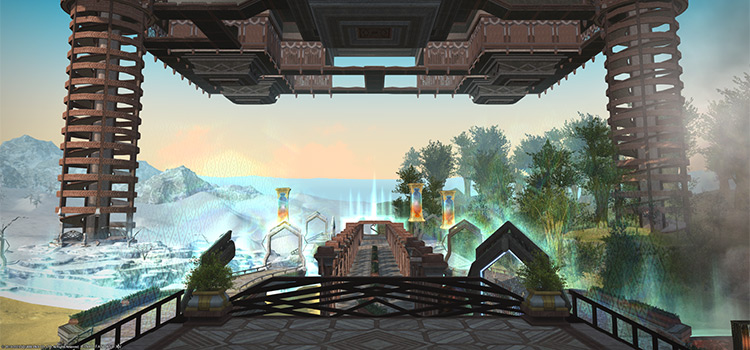
Hermes has fled to Ktisis Hyperboreia, Elpis’ expansive testing grounds for all manner of organisms made with creation magicks, to safeguard Meteion’s findings.
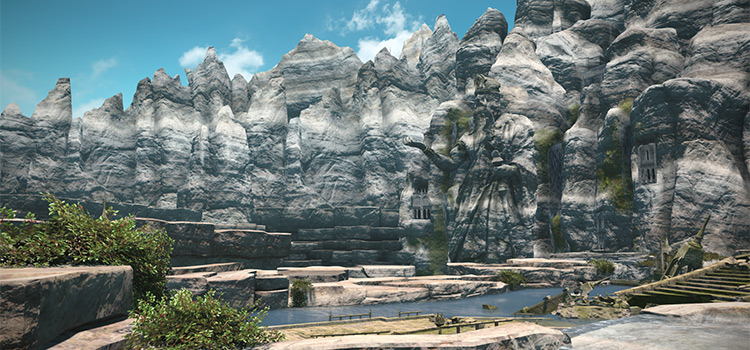
After talking to your allies, meet Venat outside the facility in Elpis (X:13.5, Y:6.3) to trigger a cutscene.

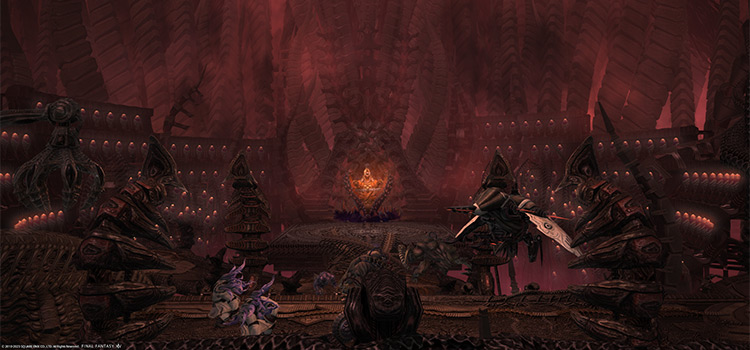
Several ancients mumble around outside as Ktisis is put into a state of alert.
Enfeebling magicks have dampened every environment in the facility, weakening Ancients and their creations alike should they step inside.
Yet, no matter the circumstances, Venat is determined to apprehend Hermes and Meteion so they may learn about the truth of the Final Days.
After finishing the cutscene, Ktisis Hyperboreia will be unlocked. This dungeon requires at least a Level 87 Disciple of War or Magic job and an average item level of 515 to enter.
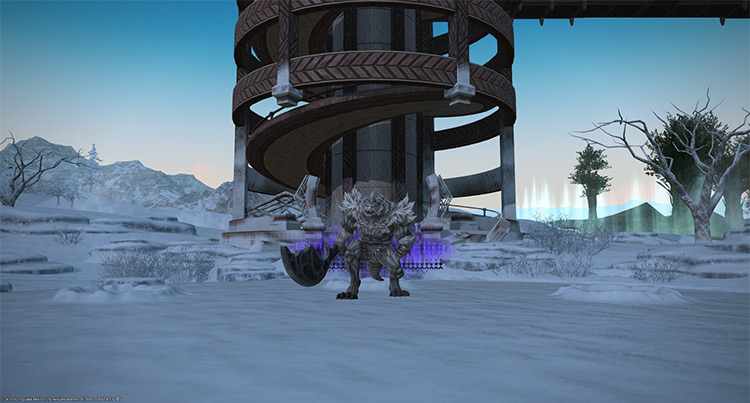
Boss #1: Lyssa
Mechanics
- Skull Dasher: A red tankbuster marker on the primary target. Shield and heal through the damage.
- Frostbite and Seek: The boss will hide in the mist, leaving footprints on the snowy ground.
- Punishing Slice: A few seconds after “Frostbite and Seek,” the boss will reappear for a frontal AoE that knocks players back and applies stacking “Vulnerability Up” debuffs for 60 seconds. Find where the footprints end, wait for the boss to reappear, then stand behind it.
- Icicall: Three giant icicles will drop from above and use column attacks that stun players for four seconds.
- Frigid Stomp: A room-wide AoE attack.
- Heavy Smash: A stack marker on a random player. Stand with the affected player to reduce incoming damage.
Rewards
| Name | Type | Rarity |
|---|---|---|
| Ktiseos Bracelet of Aiming | Bracelets | Dungeon (Green) |
| Ktiseos Bracelet of Casting | Bracelets | Dungeon (Green) |
| Ktiseos Bracelet of Fending | Bracelets | Dungeon (Green) |
| Ktiseos Bracelet of Healing | Bracelets | Dungeon (Green) |
| Ktiseos Bracelet of Slaying | Bracelets | Dungeon (Green) |
| Ktiseos Boots of Casting | Feet | Dungeon (Green) |
| Ktiseos Boots of Healing | Feet | Dungeon (Green) |
| Ktiseos Greaves of Fending | Feet | Dungeon (Green) |
| Ktiseos Greaves of Maiming | Feet | Dungeon (Green) |
| Ktiseos Sabatons of Aiming | Feet | Dungeon (Green) |
| Ktiseos Sabatons of Scouting | Feet | Dungeon (Green) |
| Ktiseos Sabatons of Striking | Feet | Dungeon (Green) |
| Ktiseos Mask of Aiming | Head | Dungeon (Green) |
| Ktiseos Mask of Fending | Head | Dungeon (Green) |
| Ktiseos Mask of Maiming | Head | Dungeon (Green) |
| Ktiseos Mask of Scouting | Head | Dungeon (Green) |
| Ktiseos Mask of Striking | Head | Dungeon (Green) |
| Ktiseos Petasos of Casting | Head | Dungeon (Green) |
| Ktiseos Petasos of Healing | Head | Dungeon (Green) |
| Ktiseos Ring of Aiming | Ring | Dungeon (Green) |
| Ktiseos Ring of Casting | Ring | Dungeon (Green) |
| Ktiseos Ring of Fending | Ring | Dungeon (Green) |
| Ktiseos Ring of Healing | Ring | Dungeon (Green) |
| Ktiseos Ring of Slaying | Ring | Dungeon (Green) |
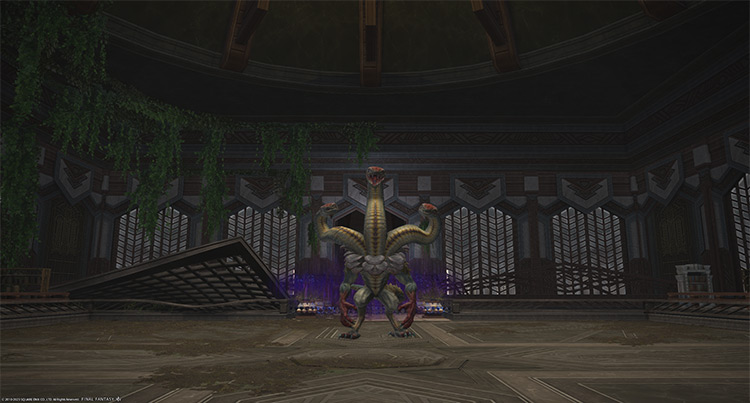
Boss #2: Ladon Lord
Mechanics
- Scratch: A red tankbuster marker on the primary target. Shield and heal through the damage.
- Inhale + Pyric Breath: The boss will draw aether with its heads, making them glow blue. After a few seconds, the heads will spew fire through conal AoEs one after another, applying stacking “Vulnerability Up” debuffs for 60 seconds to anyone hit.
Run stand beside the non-glowing head to avoid incoming attacks. If it’s the center head that’s not glowing, stand in front of it. - Pyric Sphere: Fiery spheres that use cross-shaped AoEs that apply stacking “Vulnerability Up” debuffs for 60 seconds.
- Intimidation: A room-wide AoE attack.
- Pyric Blast: A stack marker on a random player. Stand with the affected player to reduce incoming damage.
Rewards
| Name | Type | Rarity |
|---|---|---|
| Ktiseos Earring of Aiming | Earrings | Dungeon (Green) |
| Ktiseos Earring of Casting | Earrings | Dungeon (Green) |
| Ktiseos Earring of Fending | Earrings | Dungeon (Green) |
| Ktiseos Earring of Healing | Earrings | Dungeon (Green) |
| Ktiseos Earring of Slaying | Earrings | Dungeon (Green) |
| Ktiseos Gloves of Aiming | Hands | Dungeon (Green) |
| Ktiseos Gloves of Casting | Hands | Dungeon (Green) |
| Ktiseos Gloves of Healing | Hands | Dungeon (Green) |
| Ktiseos Gloves of Scouting | Hands | Dungeon (Green) |
| Ktiseos Gloves of Striking | Hands | Dungeon (Green) |
| Ktiseos Vambraces of Fending | Hands | Dungeon (Green) |
| Ktiseos Vambraces of Maiming | Hands | Dungeon (Green) |
| Ktiseos Bottoms of Casting | Legs | Dungeon (Green) |
| Ktiseos Bottoms of Healing | Legs | Dungeon (Green) |
| Ktiseos Hose of Aiming | Legs | Dungeon (Green) |
| Ktiseos Hose of Scouting | Legs | Dungeon (Green) |
| Ktiseos Hose of Striking | Legs | Dungeon (Green) |
| Ktiseos Skirt of Fending | Legs | Dungeon (Green) |
| Ktiseos Trousers of Maiming | Legs | Dungeon (Green) |
| Ktiseos Choker of Aiming | Necklace | Dungeon (Green) |
| Ktiseos Choker of Casting | Necklace | Dungeon (Green) |
| Ktiseos Choker of Fending | Necklace | Dungeon (Green) |
| Ktiseos Choker of Healing | Necklace | Dungeon (Green) |
| Ktiseos Choker of Slaying | Necklace | Dungeon (Green) |
Boss #3: Hermes
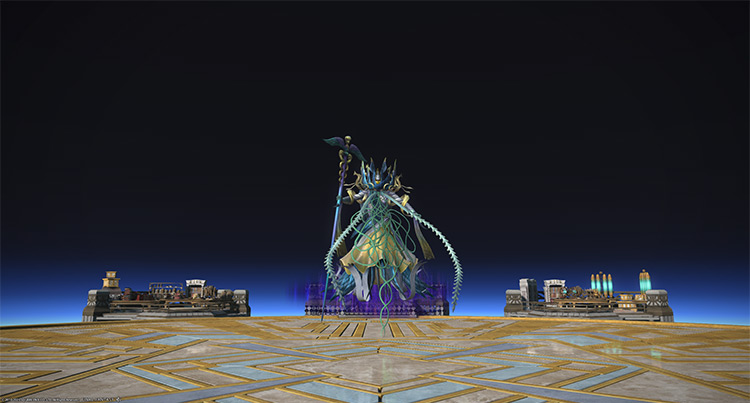
The first cast of “Trismegistos” will turn the outer ring into a danger zone that applies a 14-second “Windburn” DoT.
Mechanics
- Double: Strengthens the boss’ next cast.
- Quadruple: Strengthens the boss’ next two casts. Only used for “Hermetica”
- Trismegistos: A room-wide AoE attack.
- True Tornado: A red tankbuster marker on the primary target. Mitigate and heal through the damage.
- If buffed with “Double,” it’ll spawn a ground AoE after the initial tankbuster attack.
- True Aero: Line AoEs on all players that follow them around. Spread out to avoid overlap.
- If buffed with “Double,” it’ll spawn an additional column AoE that applies stacking “Vulnerability Up” debuffs for 60 seconds.
- True Aero II: Targeted circle AoEs on all players. Spread out to avoid overlap.
- If buffed with “Double,” it’ll spawn a ground AoE after the initial targeted AoE that applies stacking “Vulnerability Up” debuffs for 60 seconds.
- Meteor: Four proximity markers will spawn in each cardinal direction as meteors fall on top of them. Stand in the center and heal through the damage. Afterward, four meteors will appear on top of the markers: three cracked and one uncracked.
- Hermetica: The boss will tether to two tiles from two directions. These tiles will eventually use “True Aero IV” column attacks that knock players back and apply stacking “Vulnerability Up” debuffs for 60 seconds.
- If buffed with “Double,” the boss will tether to four tiles from two directions, covering the arena in column AoEs twice in a row. Determine which set of tiles will go off first and use the uncracked meteor to dodge both sets of AoEs
- If buffed with “Quadruple,” the boss will tether to two tiles from four directions. Determine the order in which the AoEs will go off and dodge accordingly.
- True Bravery: A “Damage Up” buff for 17 seconds. Interrupt this with “Interject” (Tanks) or “Head Graze” (Physical Ranged DPS).
Rewards
- Hermes Triple Triad Card (not guaranteed)
| Name | Type | Rarity |
|---|---|---|
| Ktiseos Index | Arcanist’s Grimoire | Dungeon (Green) |
| Ktiseos Compound Bow | Archer’s Arm | Dungeon (Green) |
| Ktiseos Planisphere | Astrologian’s Arm | Dungeon (Green) |
| Ktiseos Coat of Aiming | Body | Dungeon (Green) |
| Ktiseos Coat of Fending | Body | Dungeon (Green) |
| Ktiseos Coat of Maiming | Body | Dungeon (Green) |
| Ktiseos Coat of Scouting | Body | Dungeon (Green) |
| Ktiseos Coat of Striking | Body | Dungeon (Green) |
| Ktiseos Robe of Casting | Body | Dungeon (Green) |
| Ktiseos Robe of Healing | Body | Dungeon (Green) |
| Ktiseos Chakrams | Dancer’s Arm | Dungeon (Green) |
| Ktiseos Greatsword | Dark Knight’s Arm | Dungeon (Green) |
| Ktiseos Gunblade | Gunbreaker’s Arm | Dungeon (Green) |
| Ktiseos Spear | Lancer’s Arm | Dungeon (Green) |
| Ktiseos Revolver | Machinist’s Arm | Dungeon (Green) |
| Ktiseos War Axe | Marauder’s Arm | Dungeon (Green) |
| Paladin’s Ktiseos Arms (IL 542) | Other | Dungeon (Green) |
| Ktiseos Knuckles | Pugilist’s Arm | Dungeon (Green) |
| Ktiseos Zaghnal | Reaper’s Arm | Dungeon (Green) |
| Ktiseos Smallsword | Red Mage’s Arm | Dungeon (Green) |
| Ktiseos Main Gauches | Rogue’s Arm | Dungeon (Green) |
| Ktiseos Wings | Sage’s Arm | Dungeon (Green) |
| Ktiseos Blade | Samurai’s Arm | Dungeon (Green) |
| Ktiseos Codex | Scholar’s Arm | Dungeon (Green) |
| Ktiseos Cane | Two-handed Conjurer’s Arm | Dungeon (Green) |
| Ktiseos Rod | Two-handed Thaumaturge’s Arm | Dungeon (Green) |
| Caduceus | Minion | Basic |
| Miracle Works Orchestrion Roll | Orchestrion Roll | Basic |
Extra Treasure Coffers

Apart from the boss rewards, there are four treasure coffers located throughout the dungeon that you can open for more gear rewards:
- (X:9.9 ,Y:12.2)
- (X:12.1, Y:12.2)
- (X:11.5, Y:11.1)
- (X:10.9, Y:11.3)
Lore Readings
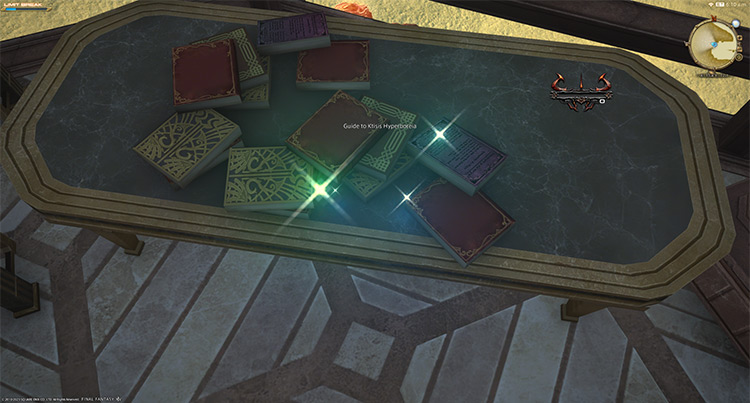
Throughout Ktisis Hyperboreia you’ll find lore readings that explain the facility itself and some of the monsters you’ll encounter inside. Here’s the list of the exact locations for each lore reading:
- (X:11.4, Y:12.7)
- (X:10.1, Y:12.9)
- (X:11.4, Y:10.8)
-
Final Fantasy XIV
- FFXIV Ktisis Hyperboreia: Unlock + Dungeon Boss Guide
Related Posts:
 FFXIV The Qitana Ravel: Unlock + Boss Guide
 FFXIV Dohn Mheg: How To Unlock + Boss Guide
 FFXIV Malikah’s Well: How To Unlock + Dungeon Guide
 FFXIV Holminster Switch: How To Unlock + Boss Guide
 FFXIV Ala Mhigo Dungeon: Unlock + Boss Guide
 FFXIV The Tower of Babil: Unlock + Dungeon Guide
 FFXIV The Temple of the Fist: Unlock + Boss Guide
 FFXIV The Tower of Zot: Unlock + Boss Guide