You unlock the Amdapor Keep dungeon by accepting the quest “Ghosts of Amdapor” from Nedrick Ironheart in Western Thanalan (X:12.0, Y:14.3). You’ll also need to be at least level 50 in a Disciple of War or Disciple of Magic job.
“Ghosts of Amdapor” will only be available after completing the prerequisite quest “The Ultimate Weapon”. This quest is the final Main Scenario Quest (MSQ) of patch 2.0 of FFXIV: A Realm Reborn.
TABLE OF CONTENTS
Step-by-Step Unlock Guide
- Complete the Main Scenario Quest (MSQ) “The Ultimate Weapon” from Raubahn in Northern Thanalan (X:15.0, Y:16.0)
- Accept the quest “Ghosts of Amdapor” from Nedrick Ironheart in Western Thanalan (X:12.0, Y:14.3)
- Speak with Maxinne outside the abandoned keep in South Shroud (X:24.7, Y:24.9)
Detailed Unlocking Guide
Before the quest “Ghosts of Amdapor” becomes available from Nedrick Ironheart, you need to complete the MSQ “The Ultimate Weapon” from Raubahn in Northern Thanalan (X:15.0, Y:16.0).
This is the final quest from the Main Scenario Questline for patch 2.0 of A Realm Reborn, so you need to finish every MSQ leading up to “The Ultimate Weapon” first.
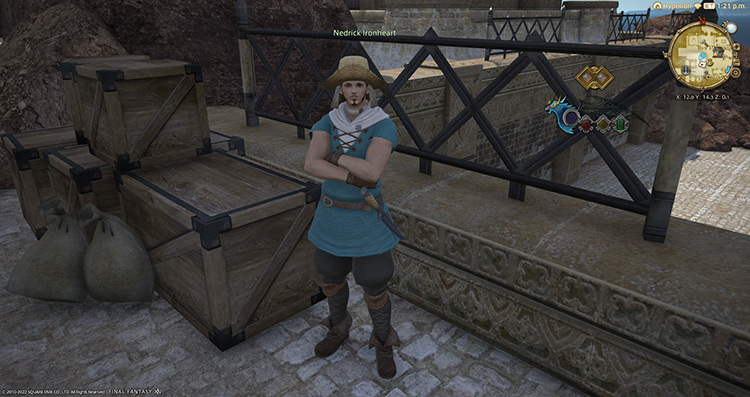
After completing “The Ultimate Weapon”, travel to Vesper Bay and talk to Nedrick Ironheart in Western Thanalan (X:12.0, Y:14.3). A scion and explorer himself, Nedrick wants to set your adventurer’s heart ablaze with an exciting challenge.
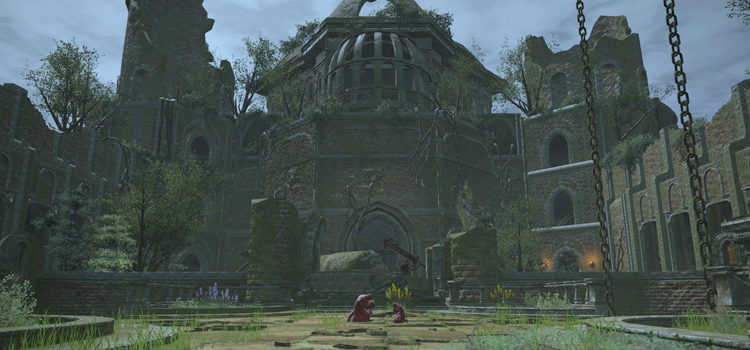
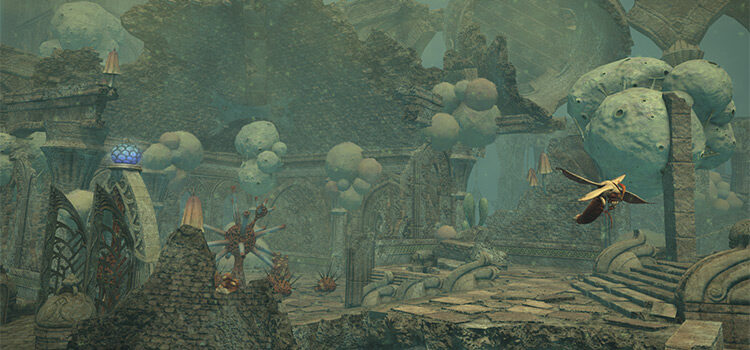
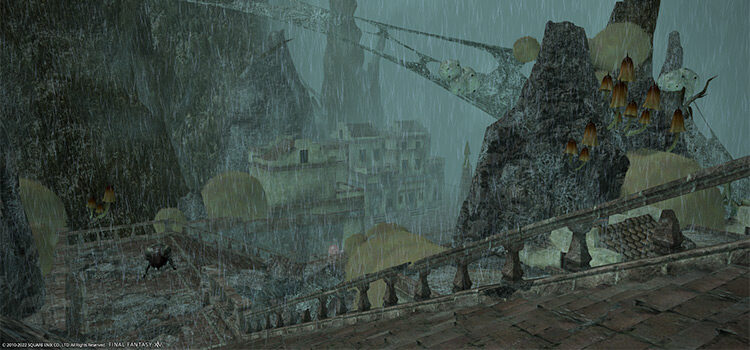
He’ll tell you about a ruined fortress in the South Shroud called Amdapor Keep.
As a remnant of the Fifth Astral Era, this abandoned keep has become not-so-abandoned in recent times. Nedrick would have you meet a Wood Wailer named Maxinne outside the keep’s entrance to learn more. Head to South Shroud (X:24.7, Y:24.9) and talk to Maxinne.
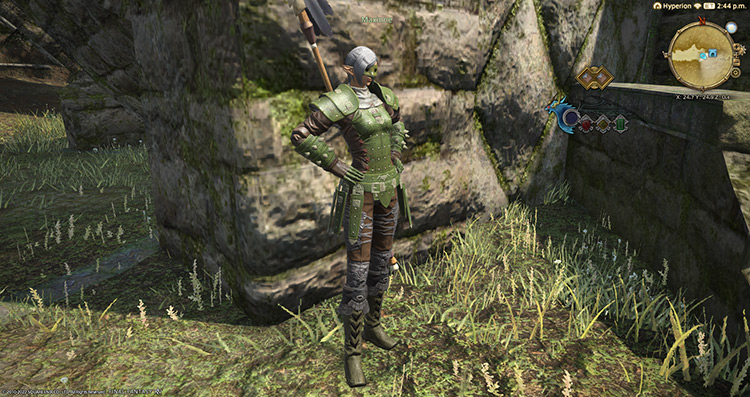
Nedrick’s recommendation will immediately resonate with Maxinne, and she’ll begin telling you about the history and current happenings in Amdapor Keep.
The keep was a fortress built by the Amdapori, a long-lost civilization from the Fifth Astral Era.
During their glory days, fortresses like the Amdapor Keep were not uncommon.
Unfortunately, the War of the Magi completely wiped off the Amdapori people, leaving once-beautiful structures like Amdapor Keep devoid of life. Nowadays, the keep has become the lair of a doomsday cult known as The Lambs of Dalamud.
These lunatics have even succeeded in dragging voidsents into this world, leading to the Wood Wailers looking for adventurers to put a stop to their evil plans.
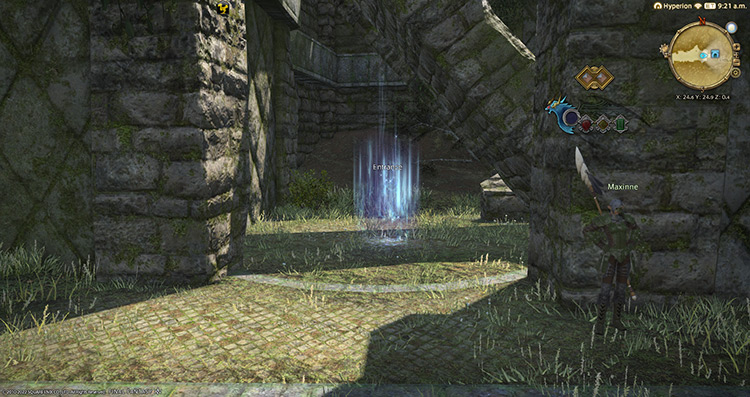
After talking to Maxinne, Amdapor Keep will be unlocked.
To enter the dungeon, you’ll need at least a level 50 Disciple of War or Magic job and an average item level of 45.
Since this dungeon was released way back in patch 2.0, you can easily solo the dungeon when you enter it unsynced with a level 90 or above character. But if you encounter this dungeon in a duty roulette, you’ll need to do it synced. Let’s take a look at each boss and their respective rewards below:
Boss #1: Lunatic Priest and Psycheflayer
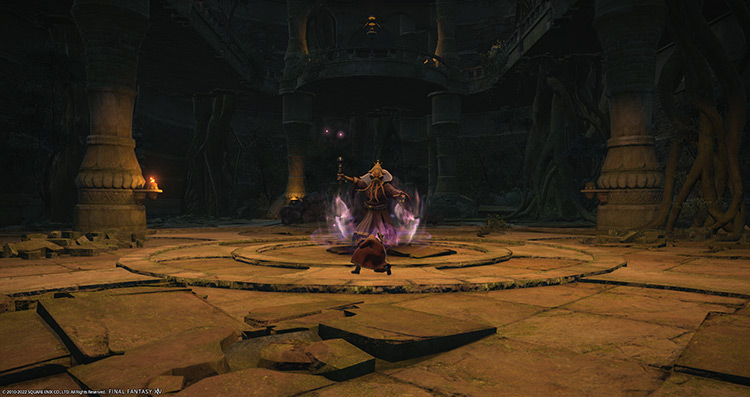
Mechanics:
Only the Lunatic Priest will be available at the start of the encounter. The boss should tank Psycheflayer once it spawns while the rest of the team kills the priest.
Lunatic Priest
- Thunder: A fast and constant, hard-hitting attack on the primary target.
- Void Fire II: A telegraphed circle AoE on a random player. Move out of the AoE as necessary.
- Void Fire III: A stronger, non-telegraphed circle AoE on a random player. This can be interrupted, so use your stuns before the cast goes off.
- Void Call: At around 50% HP, the Lunatic Priest will start summoning Psycheflayer. This can’t be interrupted, so focus on killing the priest before turning your attention to Psycheflayer.
Psycheflayer
- Water: Another fast and constant, hard-hitting attack on the primary target, similar to “Thunder.”
- Void Thunder II: A stronger, non-telegraphed circle AoE on a random player, similar to “Void Fire III.” This attack can also be interrupted, so use your stuns.
- Mind Melt: A group-wide AoE attack. Mitigate and heal through the damage.
- Canker: The boss will randomly target a player and inflict a “Disease” debuff on them, lowering their movement speed and HP recovered through healing. Healers should dispel this debuff.
- Reanimate – Stone Marionette: The boss will tether to piles of rocks around the arena and reanimate it, summoning a “Stone Marionette” mob that will attack random players. The tank should pick these mobs up while the rest of the party destroys them.
- Rockslide (Stone Marionette): A long column AoE on a randomly targeted player. Move out of the AoE to avoid extra damage.
- Reanimate – Megalith Marionette: The boss will tether to the giant pile of rocks behind it and summon a bigger “Megalith Marionette” mob that will wander around, dropping huge AoEs along its path. This mob can’t be tanked, has extremely high HP, and recovers damage almost instantly, so don’t bother hitting it. Focus on killing the boss instead.
- Plaincracker (Megalith Marionette): The large marionette will cast a huge circle AoE around it every few seconds. Fortunately, this AoE will not cover the entire room. The tank should constantly move the boss and extra mobs away from the Megalith Marionette.
Rewards
4 Allagan Tomestone of Poetics
| Name | Type | Rarity |
|---|---|---|
| Mercenary’s Mitts | Hands | Dungeon (Green) |
| Sipahi Gloves | Hands | Dungeon (Green) |
| Warlock’s Ringbands | Hands | Dungeon (Green) |
| Mercenary’s Pot Helm | Head | Dungeon (Green) |
| Sipahi Turban | Head | Dungeon (Green) |
| Vermilion Chain Coif | Head | Dungeon (Green) |
| Warlock’s Hat | Head | Dungeon (Green) |
Boss #2: Demon Wall
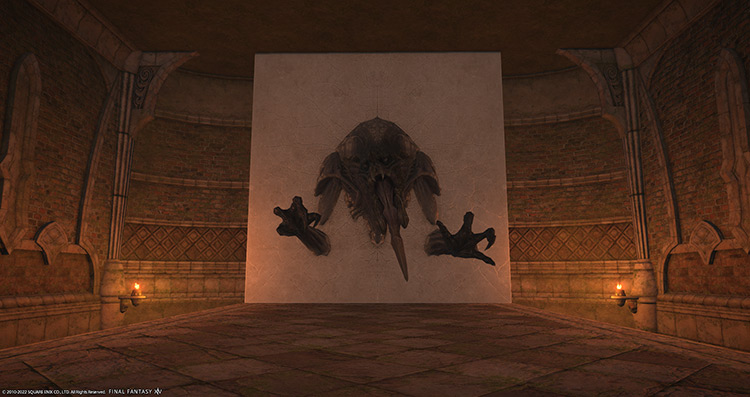
Mechanics:
Final Fantasy’s favorite wall denizen returns for its first’s appearance in Final Fantasy XIV!
The arena will slowly shrink due to the boss pushing forward and parts of the floor turning into a poisonous pool, so watch your step. You can also fall off the edges of the arena, so be careful where you get knocked back.
- Murder Hole: A fast and constant, hard-hitting attack on the primary target.
- Liquefy: Black column AoEs will cover the arena in fixed patterns: a large column down the middle, then large columns to the left and right sides. Getting hit by these columns will inflict a “Heavy” debuff, slowing you down. Dodge the first column, then move into the safe zone in the middle.
- Repel: The boss will knock players back once the cast goes off and can easily push you off the edges. Stand in the middle of the arena before the boss finishes casting so you don’t fall off.
- Void Pitch: At 50% HP, the boss will cover the southern part of the arena with “Void Pitch,” inflicting a constant “Pollen” DoT to anyone standing in it. Immediately move out of this poisonous pool after getting knocked back by “Repel”.
Rewards
- 6 Allagan Tomestone of Poetics
| Name | Type | Rarity |
|---|---|---|
| Alpine War Jacket | Body | Dungeon (Green) |
| Mercenary’s Acton | Body | Dungeon (Green) |
| Sipahi Shirt | Body | Dungeon (Green) |
| Vermilion Haubergeon | Body | Dungeon (Green) |
| Warlock’s Robe | Body | Dungeon (Green) |
| Mercenary’s Slops | Legs | Dungeon (Green) |
| Sipahi Sarouel | Legs | Dungeon (Green) |
| Vermilion Skirt | Legs | Dungeon (Green) |
| Warlock’s Tights | Legs | Dungeon (Green) |
Boss #3: Anantaboga
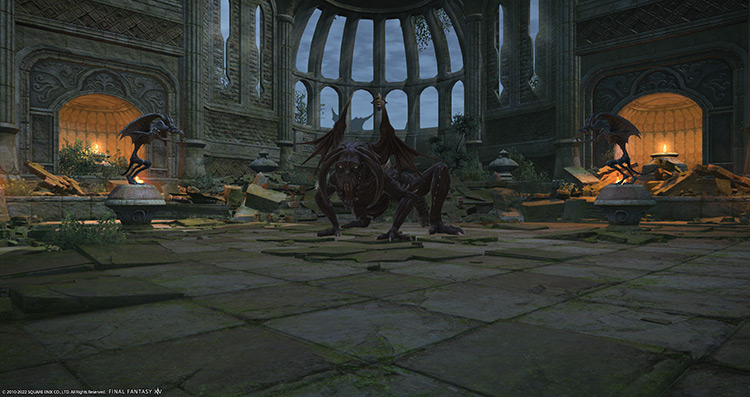
Mechanics:
You’ll notice gargoyle statues scattered around the arena. These statues can be used to avoid multiple room-wide AoE mechanics throughout the encounter.
- The Look: A frontal cleave attack on the primary target. The tank should face the boss away from the patty to avoid extra damage.
- Tail Drive: A backward cone AoE that inflicts a “Concussion” DoT debuff. Move toward the boss’ flanks to dodge.
- Rotten Breath: The boss will use a non-telegraphed frontal cone AoE that inflicts a “Disease” debuff. This debuff will slow players down and reduce the healing they receive. Healers can dispel this debuff.
- Imminent Catastrophe: A very strong room-wide attack that can easily kill non-tank players. This attack is slow to cast and can be dodged by hiding behind gargoyle statues around the arena.
- Dark Helot: The gargoyle statues around the room can turn into “Dark Helot” mobs. The tank should pick these up as soon as possible. Since these statues can transform, players only have a limited amount of statues to hide behind. Kill the boss as soon as possible, or you run out of statues to hide behind during “Imminent Catastrophe.”
- Terror Eye (Dark Helot): Each helot can target a random player, dropping a circle AoE directly under them. Move out of these as necessary.
- Triumphant Roar (Dark Helot): The helots will buff themselves, increasing their damage. This attack is usually followed by “Terror Eye.”
- Plague Dance: The boss will tether to a random player. After some time, the player will drop a “Dark Nova” orb, which constantly uses “Bubonic Cloud,” a room-wide AoE attack. If you’re tethered, drop your “Dark Nova” orb away from the party, then run behind a statue.
Rewards
- 10 Allagan Tomestone of Poetics
- Demon Wall Triple Triad Card (not guaranteed)
| Name | Type | Rarity |
|---|---|---|
| Darklight Grimoire | Book | Dungeon (Green) |
| Darklight Composite Bow | Bow | Dungeon (Green) |
| Darklight Kple Kple | Cane | Dungeon (Green) |
| Darklight Baselards | Daggers | Dungeon (Green) |
| Mercenary’s Leggings | Feet | Dungeon (Green) |
| Sipahi Crakows | Feet | Dungeon (Green) |
| Vermilion Sollerets | Feet | Dungeon (Green) |
| Warlock’s Pattens | Feet | Dungeon (Green) |
| Darklight Arquebus | Firearms | Dungeon (Green) |
| Darklight Baghnakhs | Fist Weapon | Dungeon (Green) |
| Darklight Bill | Greataxe | Dungeon (Green) |
| Darklight Greatsword | Greatsword | Dungeon (Green) |
| Darklight Harpoon | Polearm | Dungeon (Green) |
| Darklight Kite Shield | Shield | Dungeon (Green) |
| Darklight Square Shield | Shield | Dungeon (Green) |
| Darklight Staff | Staff | Dungeon (Green) |
| Darklight Planisphere | Star Globe | Dungeon (Green) |
| Darklight Macuahuitl | Sword | Dungeon (Green) |
Extra Treasure Coffers
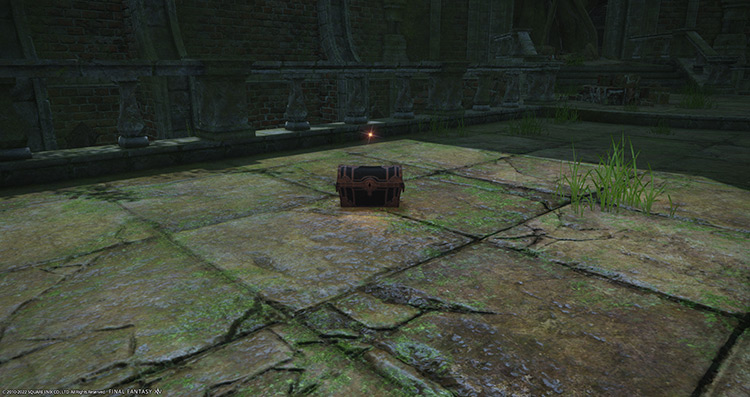
Apart from the boss rewards, there are four treasure coffers located throughout the dungeon that you can open for more gear, a minion, and crafting material rewards. Here are the locations:
- (X: 9.6 Y: 10.1)
- (X: 10.5 Y: 10.5)
- (X: 15.2 Y: 13.1)
- (X: 17.1 Y: 11.1)
-
Final Fantasy XIV
- FFXIV Amdapor Keep (Normal): Unlock + Dungeon Guide
Related Posts:
 The Lost City of Amdapor (Normal): Unlock + Boss Guide – FFXIV
 FFXIV Amdapor Keep (Hard): How To Unlock + Dungeon Guide
 FFXIV Brayflox’s Longstop (Hard): Unlock + Dungeon Guide
 FFXIV Halatali (Hard): How To Unlock + Dungeon Guide
 The Lost City of Amdapor (Hard): Unlock + Boss Guide – FFXIV
 FFXIV Castrum Abania: Unlock + Loot & Boss Guide
 FFXIV Pharos Sirius (Normal): How To Unlock + Dungeon Guide
 FFXIV The Vault: How To Unlock + Boss Guide