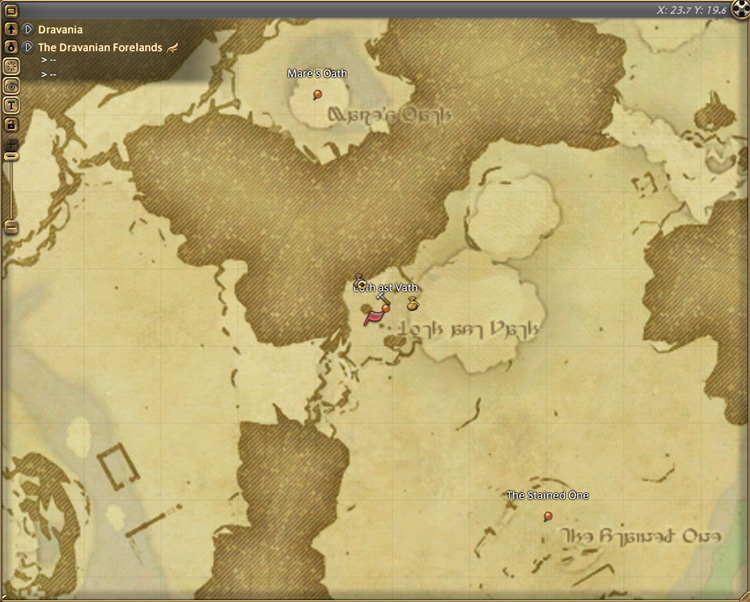
You can unlock the Level 53 Normal-difficulty dungeon Sohm Al by accepting the Level 53 Main Scenario Quest (MSQ) “Mourn in Passing” from Alphinaud, located in The Dravanian Forelands (X:23.7, Y:19.6).
This quest is deep into patch 3.0 of Heavensward, so you’ll need to finish every quest leading up to “Mourn in Passing” before it becomes available. This includes every MSQ from the previous expansion, A Realm Reborn.
Step-by-Step Unlock Guide
- Accept the Level 53 Main Scenario Quest (MSQ) “Mourn in Passing” from Alphinaud in The Dravanian Forelands (X:23.7, Y:19.6).
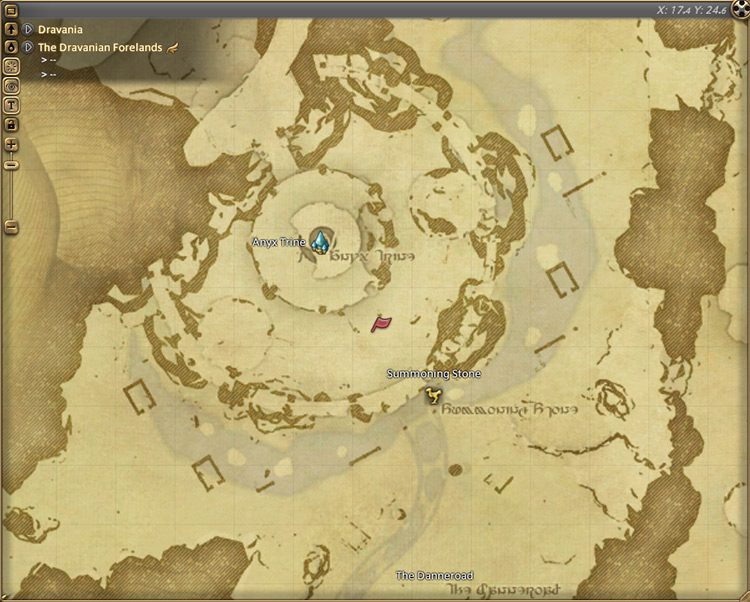
- Speak with Vidofnir outside Anyx Trine in The Dravanian Forelands (X:17.4, Y:24.6).
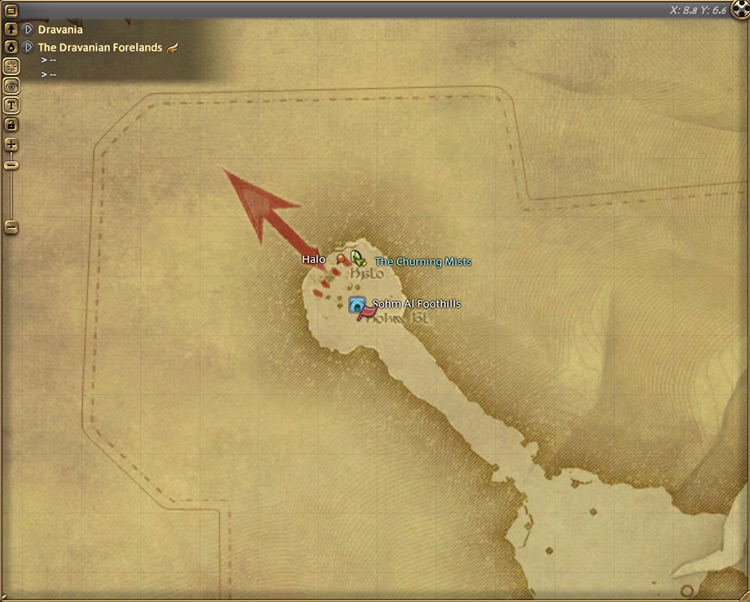
- Meet Vidofnir at the base of Sohm Al in The Dravanian Forelands (X:8.8, Y:6.6).
Detailed Unlocking Guide
To unlock the Level 53 Main Scenario Quest (MSQ) “Mourn in Passing,” you need to finish every MSQ from patch 2.0 of A Realm Reborn all the way to patch 3.0 of Heavensward.
It’s a long journey, so take your time in completing the MSQs and enjoy the dungeons and trials along the way.
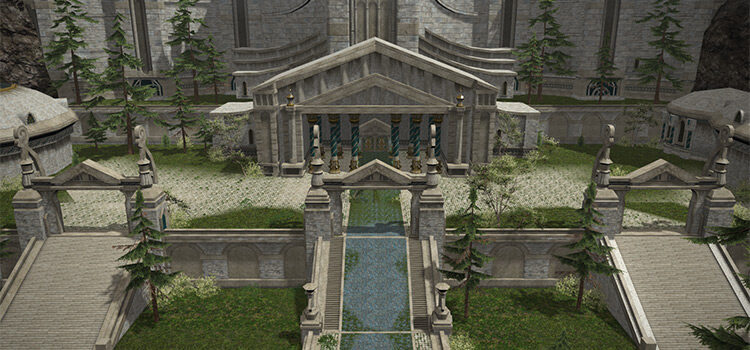
Once you’re all caught up, meet Alphinaud inside Loth ast Vath in The Dravanian Forelands (X:23.7, Y:19.6) to start the quest.
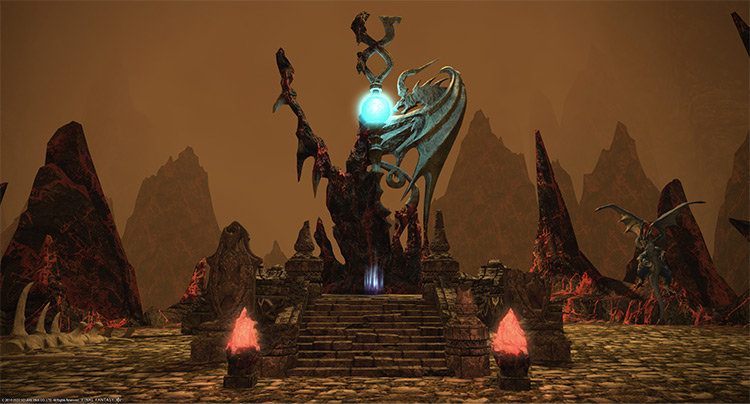
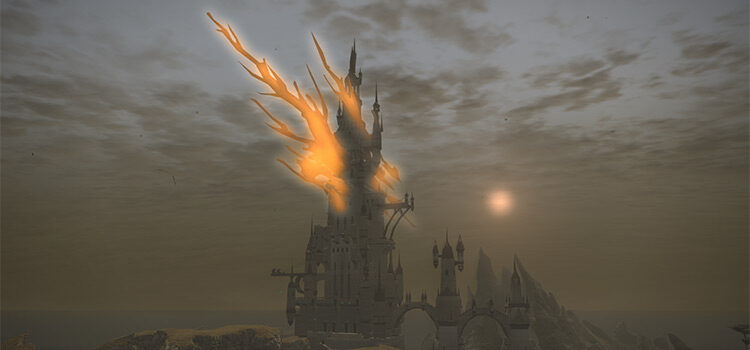
At this point in the story, you’ve just defeated Ravana in Thok ast Thok (Hard).
With the Lord of the Hive out of the picture, the dragon Vidofnir can now escort you and the scions to the Sohm Al Foothills.
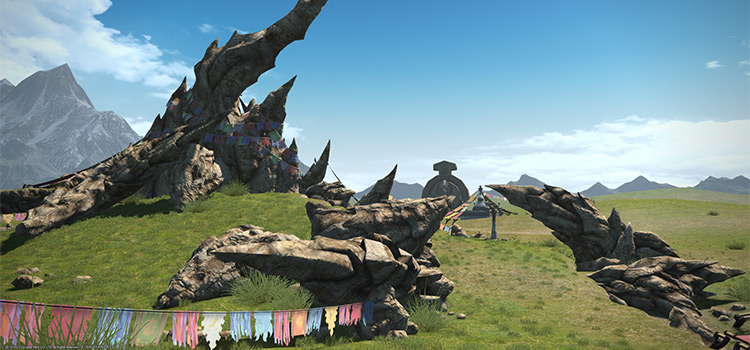
Talk to Vidofnir outside of Anyx Trine in The Dravanian Forelands (X:17.4, Y:24.6) to deliver her the good news.
The Dravanian will be surprised and pleased at the news of Ravana’s demise.
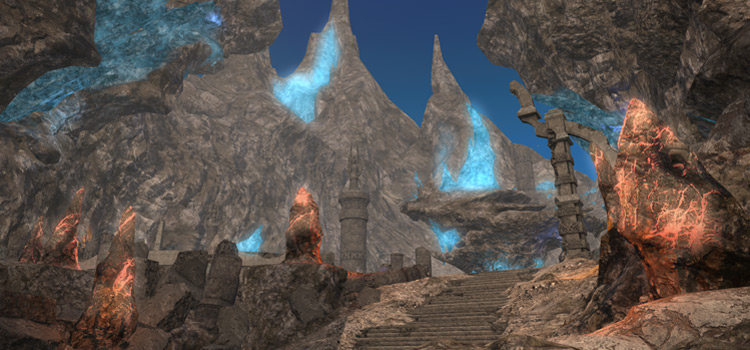
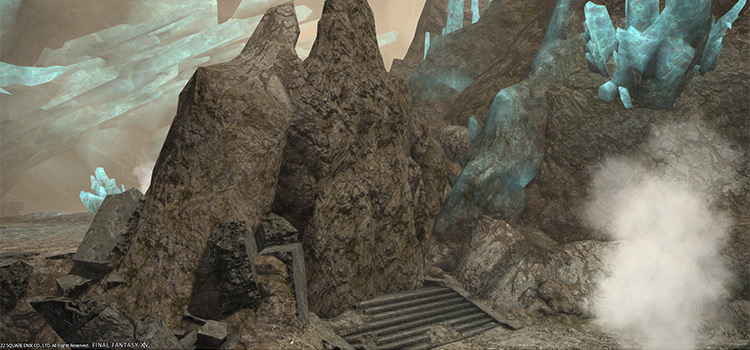
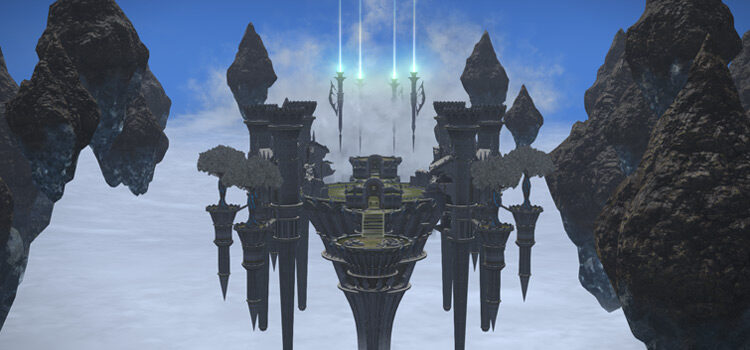
True to her word, she will open the way for you and the scions to get to the base of Sohm Al. Travel to the Sohm Al Foothills in The Dravanian Forelands (X:8.8, Y:6.6) to continue.
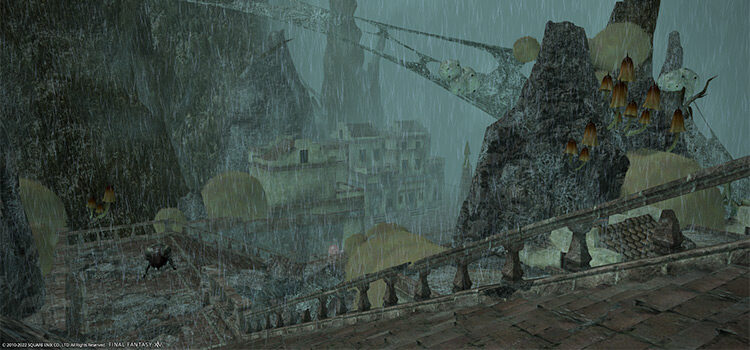
Note that since you haven’t unlocked flying in this area at this point in the story, you’ll need to fight or sneak past mobs inside The Mourn on your way to the Foothills.
Once you’ve arrived, Vidofnir will welcome you to the Foothills and wish you well.
Before she leaves, she’ll warn you that your party will face less-welcoming dragons from here on out, including the minions of Nidhogg himself.
After saying your goodbyes, the cutscene will end, and Sohm Al will be unlocked.
This dungeon requires at least a Level 53 Disciple of War or Magic and an average item level of 105 to enter.
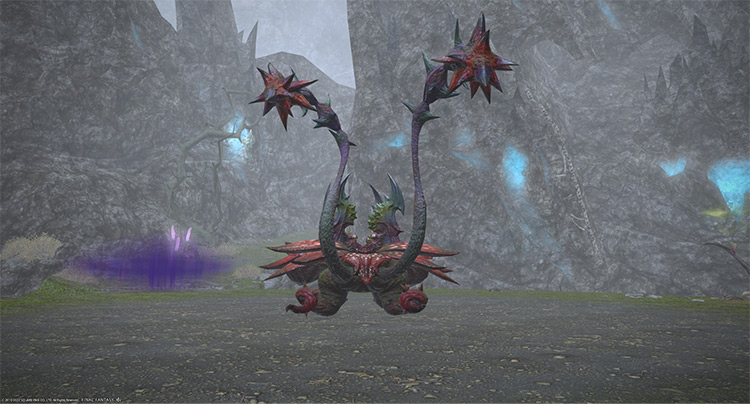
Boss #1: Raskovnik
Mechanics:
- Bloody Caress: A cleaving tankbuster attack on the primary target. Face the boss away from the party. Use damage reduction skills and heal through the damage.
- Phytobeam: A large line attack in front of the boss. Sidestep to avoid.
- Acid Rain: The boss will target all players with large circle AoEs. Stack in one area to bait the AoEs, then move out.
- Leafstorm: A room-wide AoE attack. Mitigate and heal through the damage.
- Sweet Scent: The boss will summon “Dravanian Hornet” mobs that will slowly fly toward it. The boss will get a stacking “Damage Up” buff for each hornet it devours during “Flower Devour.” Kill the hornets before they reach the boss.
- Floral Trap: The boss will target a player with a swirling marker. After a few seconds, the boss will pull the player towards it, stunning them for one second, then cast “Flower Devour.”
- Flower Devour: A point-blank AoE where the boss devours anyone caught in the attack. The boss will gain a “Damage Up” buff for every mob or player it devours. You won’t have much time to move away from the AoE after the stun wears off, so watch your toes!
- Spit: A strong single-target attack that spits out the devoured player. This attack also deals room-wide AoE damage before spitting out the devoured player. Shield and heal through the damage.
| Name | Type | Rarity |
|---|---|---|
| Woad Skydruid’s Bangle | Bracelets | Dungeon (Green) |
| Woad Skyhunter’s Bangle | Bracelets | Dungeon (Green) |
| Woad Skyraider’s Bangle | Bracelets | Dungeon (Green) |
| Woad Skywarrior’s Bangle | Bracelets | Dungeon (Green) |
| Woad Skywicce’s Bangle | Bracelets | Dungeon (Green) |
| Woad Skychaser’s Boots | Feet | Dungeon (Green) |
| Woad Skydruid’s Boots | Feet | Dungeon (Green) |
| Woad Skyhunter’s Boots | Feet | Dungeon (Green) |
| Woad Skylancer’s Boots | Feet | Dungeon (Green) |
| Woad Skyraider’s Boots | Feet | Dungeon (Green) |
| Woad Skywarrior’s Boots | Feet | Dungeon (Green) |
| Woad Skywicce’s Boots | Feet | Dungeon (Green) |
| Woad Skydruid’s Ring | Ring | Dungeon (Green) |
| Woad Skyhunter’s Ring | Ring | Dungeon (Green) |
| Woad Skyraider’s Ring | Ring | Dungeon (Green) |
| Woad Skywarrior’s Ring | Ring | Dungeon (Green) |
| Woad Skywicce’s Ring | Ring | Dungeon (Green) |
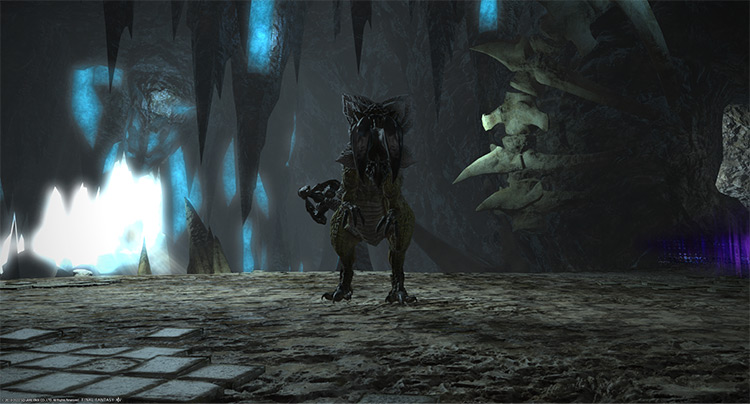
Boss #2: Myath
Mechanics:
- Third Leg Forward: A cleaving tankbuster on the primary target. Use damage reduction skills and heal through the damage. Always face the boss away from the party.
- Overbite: A single-target tankbuster attack on the primary target. Mitigate and heal through the attack.
- Razor Scales: A frontal cone AoE that spans the entire arena. Pull the boss near the edge to reduce its coverage.
- Primordial Roar: A room-wide AoE attack that summons puddles around the arena.
- Ensnare + Mad Dash: The boss will grab a puddle with “Ensnare.” Then, it’ll use “Mad Dash” to cast an attack based on the color of the puddle:
- Rheum of the Mountain (Orange): An untargetable puddle that marks a player with a pink AoE marker. Move away from the affected player.
- Blood of the Mountain (Blue): Another untargetable puddle that drops a stack-up marker on a random player. Stand inside the marker to share incoming damage.
- Chyme of the Mountain (Green): This puddle is targetable and casts “The Last Song,” a room-wide AoE. This attack can easily wipe your party, so kill the puddle as soon as possible.
Rewards
| Name | Type | Rarity |
|---|---|---|
| Woad Skydruid’s Earrings | Earrings | Dungeon (Green) |
| Woad Skyhunter’s Earrings | Earrings | Dungeon (Green) |
| Woad Skyraider’s Earrings | Earrings | Dungeon (Green) |
| Woad Skywarrior’s Earrings | Earrings | Dungeon (Green) |
| Woad Skywicce’s Earrings | Earrings | Dungeon (Green) |
| Woad Skychaser’s Armguards | Hands | Dungeon (Green) |
| Woad Skydruid’s Armlets | Hands | Dungeon (Green) |
| Woad Skyhunter’s Armlets | Hands | Dungeon (Green) |
| Woad Skylancer’s Armlets | Hands | Dungeon (Green) |
| Woad Skyraider’s Armguards | Hands | Dungeon (Green) |
| Woad Skywarrior’s Armguards | Hands | Dungeon (Green) |
| Woad Skywicce’s Armguards | Hands | Dungeon (Green) |
| Woad Skychaser’s Pelt | Head | Dungeon (Green) |
| Woad Skydruid’s Hood | Head | Dungeon (Green) |
| Woad Skyhunter’s Pelt | Head | Dungeon (Green) |
| Woad Skylancer’s Helm | Head | Dungeon (Green) |
| Woad Skyraider’s Helm | Head | Dungeon (Green) |
| Woad Skywarrior’s Pelt | Head | Dungeon (Green) |
| Woad Skywicce’s Hood | Head | Dungeon (Green) |
| Woad Skydruid’s Choker | Necklace | Dungeon (Green) |
| Woad Skyhunter’s Choker | Necklace | Dungeon (Green) |
| Woad Skyraider’s Choker | Necklace | Dungeon (Green) |
| Woad Skywarrior’s Choker | Necklace | Dungeon (Green) |
| Woad Skywicce’s Choker | Necklace | Dungeon (Green) |
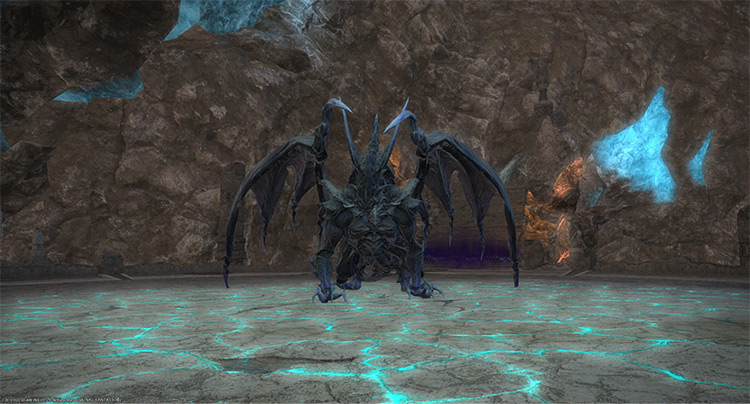
Boss #3: Tioman
Mechanics:
Tank the boss near the exit up north to handle incoming mechanics easily.
Phase 1
- Abyssic Buster: A frontal cone tankbuster on the primary target. Use damage reduction skills and always face the boss away from the party.
- Comet (AoE): All players will be marked with targeted circle AoEs.
- Comet (marker – Phase 1): The boss will move to the center of the arena and mark two players with green proximity markers. During this time, more AoEs will drop around the arena. To handle this mechanic, drop the markers near the entrance to the south while the boss is tanked near the exit to the north. Use “Sprint” to get away from the markers quickly.
- Chaos Blast: A small circle AoE that spawns line AoEs in 8 directions. This attack is easier to dodge the farther you are from the initial AoE.
- Heavensfall: The boss will drop four overlapping AoE circles on top of a random player.
Phase 2
At around 50% HP, the boss will become invincible. Then, both of her wings will become targetable. Destroy her wings as soon as possible.
- Right Wing of Injury and Left Wing of Tragedy: Destroy the targetable wings as soon as possible to remove the boss’ invincibility. Killing a wing also interrupts the cast of “Dark Star.”
- Dark Star (Phase 2): A room-wide AoE attack that gives the boss a stacking “Damage Up” buff. Mitigate and heal through the damage. Kill a wing before the cast goes off to interrupt it.
Phase 3
After the wings are destroyed, Phase 3 will begin.
- Comet (marker): Everyone but the tank will now get the green proximity markers.
- Dark Star (Phase 3): The same room-wide AoE attack from Phase 2, but without the “Damage Up” buff. Mitigate and heal through the damage.
Rewards
- Tioman Triple Triad Card (not guaranteed)
| Name | Type | Rarity |
|---|---|---|
| Woad Skychaser’s Fur | Body | Dungeon (Green) |
| Woad Skydruid’s Fur | Body | Dungeon (Green) |
| Woad Skyhunter’s Fur | Body | Dungeon (Green) |
| Woad Skylancer’s Fur | Body | Dungeon (Green) |
| Woad Skyraider’s Fur | Body | Dungeon (Green) |
| Woad Skywarrior’s Fur | Body | Dungeon (Green) |
| Woad Skywicce’s Fur | Body | Dungeon (Green) |
| The Black Pullet | Book | Dungeon (Green) |
| The Red Pullet | Book | Dungeon (Green) |
| Expunger | Bow | Dungeon (Green) |
| Prester | Cane | Dungeon (Green) |
| Renegades | Daggers | Dungeon (Green) |
| Coffinmaker | Firearms | Dungeon (Green) |
| Destroyers | Fist Weapon | Dungeon (Green) |
| Foolkiller | Greataxe | Dungeon (Green) |
| Skofnung | Greatsword | Dungeon (Green) |
| Gunromaru | Katana | Dungeon (Green) |
| Woad Skychaser’s Breeches | Legs | Dungeon (Green) |
| Woad Skydruid’s Breeches | Legs | Dungeon (Green) |
| Woad Skyhunter’s Breeches | Legs | Dungeon (Green) |
| Woad Skylancer’s Breeches | Legs | Dungeon (Green) |
| Woad Skyraider’s Breeches | Legs | Dungeon (Green) |
| Woad Skywarrior’s Breeches | Legs | Dungeon (Green) |
| Woad Skywicce’s Breeches | Legs | Dungeon (Green) |
| Paladin’s Dissector Arms (IL 130) | Other | Dungeon (Green) |
| Ox Tongue | Polearm | Dungeon (Green) |
| Guespiere | Rapier | Dungeon (Green) |
| Grandeur | Staff | Dungeon (Green) |
| Metamorphosis | Star Globe | Dungeon (Green) |
| Gaelikitten | Minion | Dungeon (Green) |
| Slumber Eternal Orchestrion Roll | Orchestrion Roll | Dungeon (Green) |
Extra Treasure Coffers
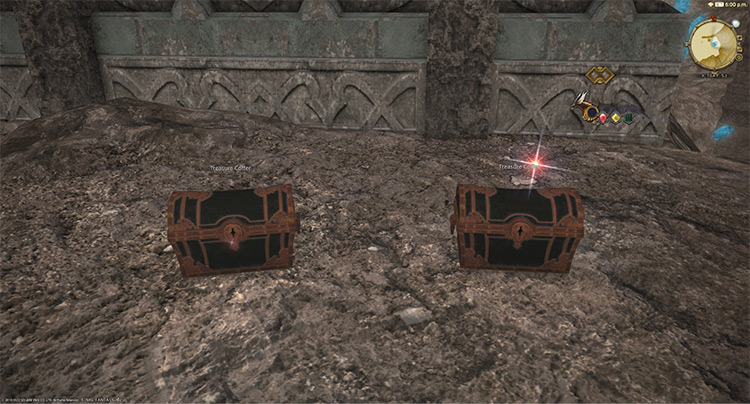
Apart from the boss rewards, there are four treasure coffers located throughout the dungeon that you can open for more gear, dye, or prism rewards. Here’s a list of their locations:
- (X: 13.4 Y: 10.3)
- (X: 11.2 Y: 11.6)
- (X: 10.4 Y: 5.2)
- (X: 10.4 Y: 5.2)
-
Final Fantasy XIV
- FFXIV Sohm Al (Normal): How To Unlock + Dungeon Guide
Related Posts:
 The Lost City of Amdapor (Hard): Unlock + Boss Guide – FFXIV
 FFXIV Sohm Al (Hard): How To Unlock + Dungeon Guide
 FFXIV The Antitower: How To Unlock + Boss Guide
 FFXIV Pharos Sirius (Normal): How To Unlock + Dungeon Guide
 FFXIV The Great Gubal Library (Normal): Unlock + Dungeon Guide
 FFXIV Sohr Khai: How To Unlock + Boss Mechanics
 FFXIV The Dusk Vigil: Unlock + Dungeon Guide
 FFXIV Bardam’s Mettle: How To Unlock + Full Boss Guide