| Mount Toroyama | |
|---|---|
| Unlocked By | None |
| Coordinates | X: -99, Y: 34 |
| Spirits to Recruit | Alice |
| Resources |
|
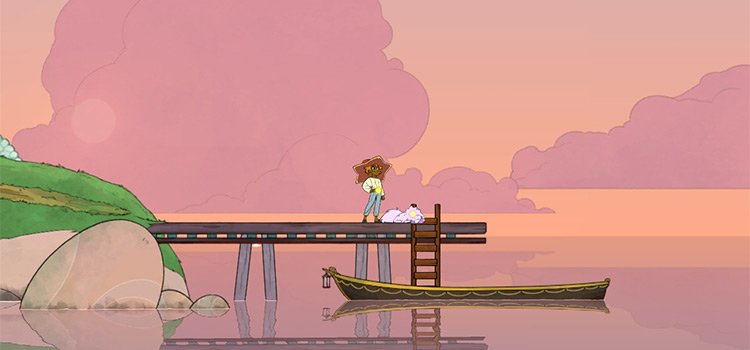
Mount Toroyama is an island that’s part of Spiritfarer’s Furogawa Region. Aside from several resources, it’s also where you can find the spirit of Alice.
TABLE OF CONTENTS
How To Unlock
Like most of the islands in this region, Mount Toroyama requires no prior ship upgrades to reach.
This means that you can immediately sail towards it once you get free reign in the game.
What To Find on the Island
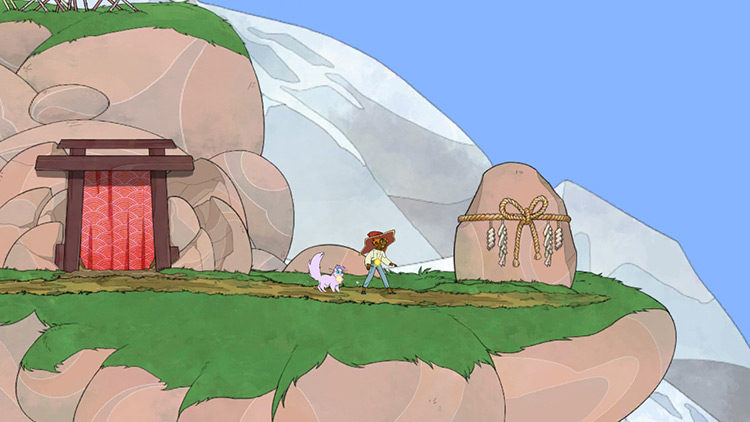
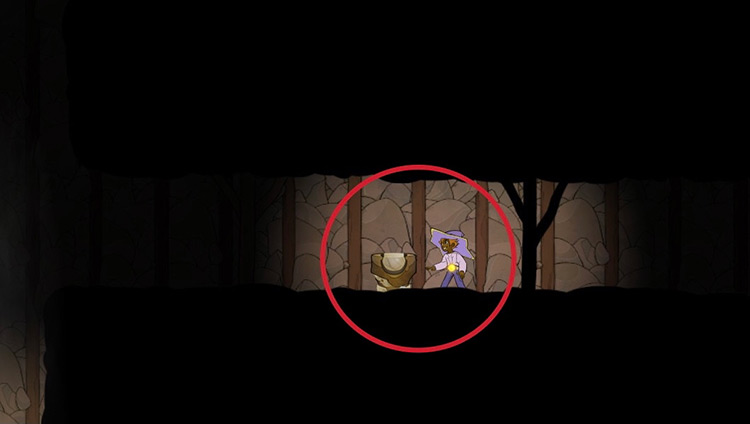
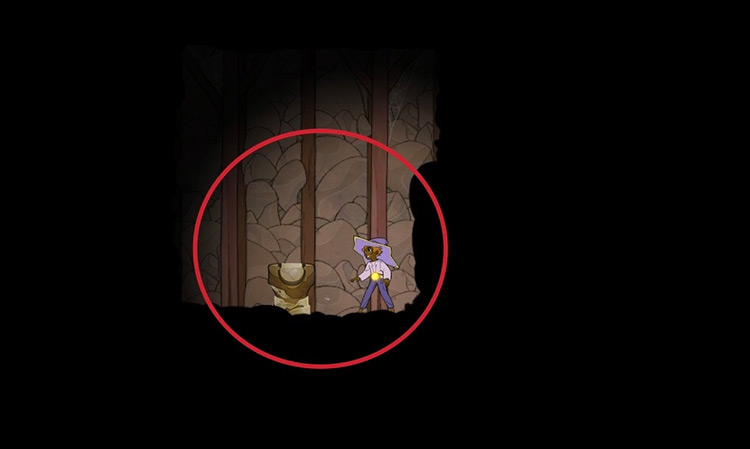
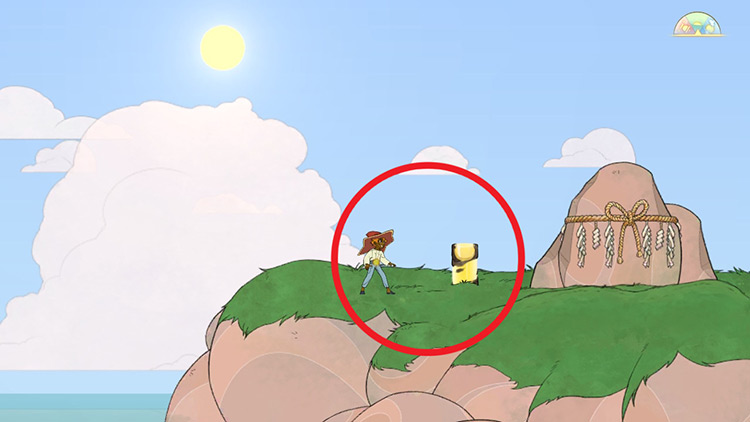
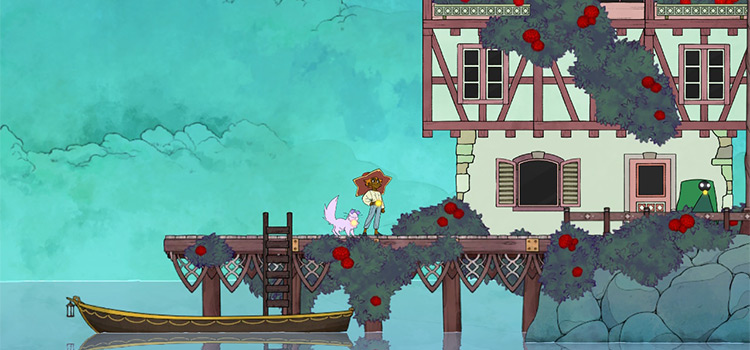
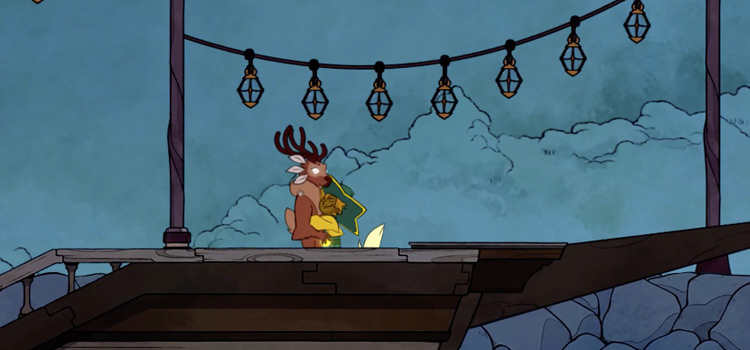
Upon stepping foot on the island, head right and go up the two ladders to find a spirit standing on the porch of a small cottage. This is Alice, and she will immediately join your ship after completing these two requests:
| Request | What to Do |
|---|---|
| “One Shoop, Two Sheep” | Corral at least two sheep into the pen. You can make sheep follow you by interacting with them and giving them any food. |
| “The Coziest Cottage” | Build Alice’s Cottage. This requires:
|
Additionally, you will also come back to Mount Toroyama during Summer’s “The Oneness and the Wholeness” request, where you will meditate with her on the cliff beside the mine’s exit.
The Mount Toroyama Mine
There’s also a mine in the mountain that contains several chests and resources. But you will need to unlock Stella’s Glide ability to fully explore the mine.
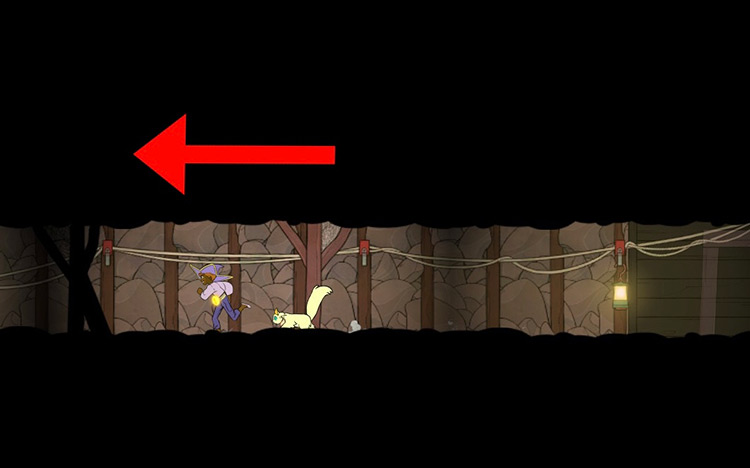
Here are some tips to keep in mind in the mine:
- Arrows indicate the passage is one-way.
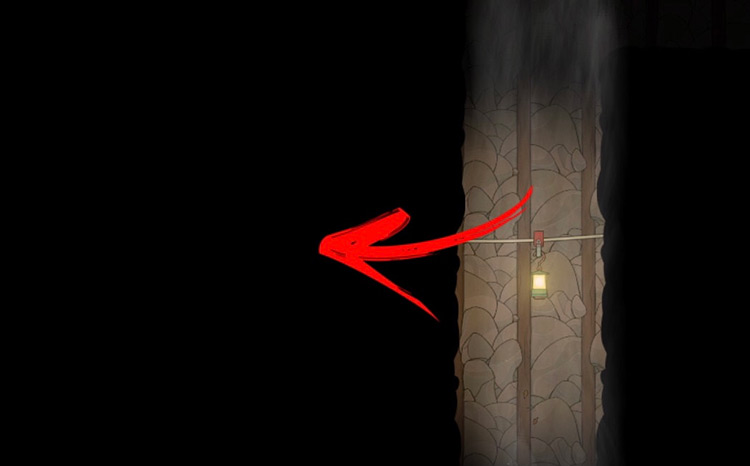
- You can find hidden passages by looking at ropes that go into the wall.
- Green lines indicate an air draft.
Using the tips above, here’s how you can locate all of the chests inside the mine:
Mount Toroyama Chests
Along with Glide and Double Jump, you may also want the Dash ability to help you reach chests #6 and #7 on the small island.
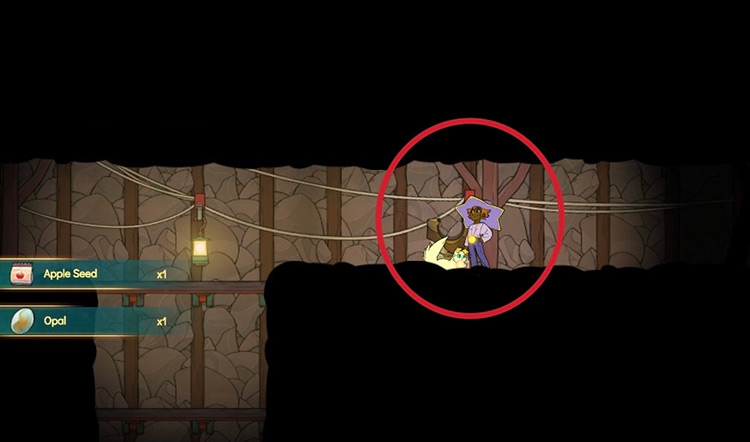
Chest #1
Contains:
- 1 Opal
- 1 Apple Seed
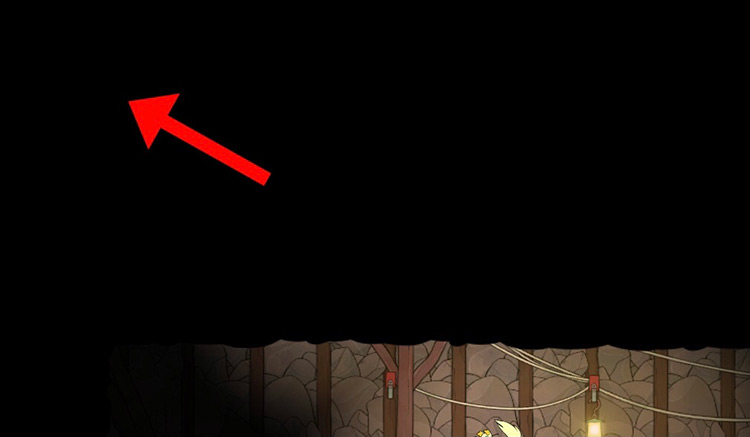
Step 1: From the entrance of the mines, head left until you find a wall.
Step 2: Jump up the ledge at the very end, and continue moving right until you come across a ladder.
Step 3: Go up the ladder and jump up two platforms until you reach the top floor.
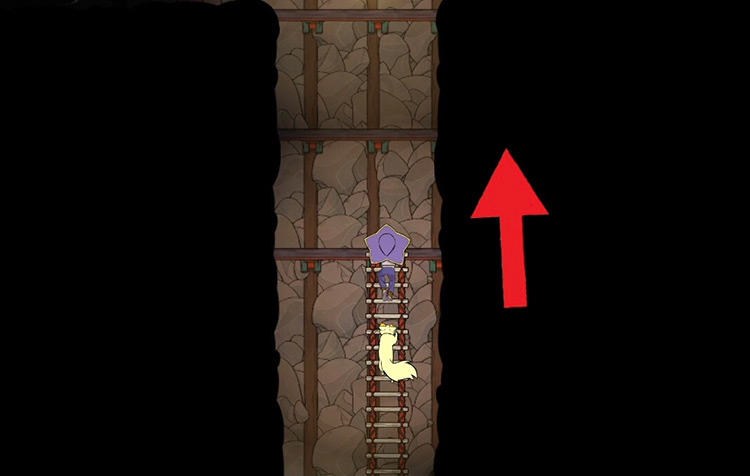
Step 4: At the top, you’ll find the chest just at the right side.
Chest #2
Contains:
- 1 Ceramic Figurine
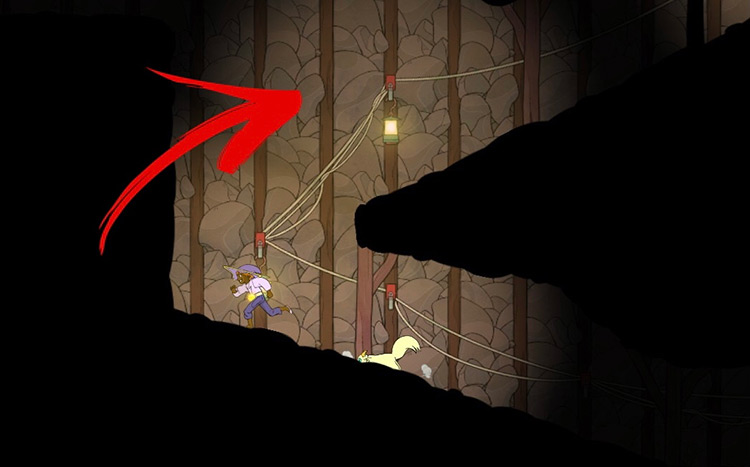
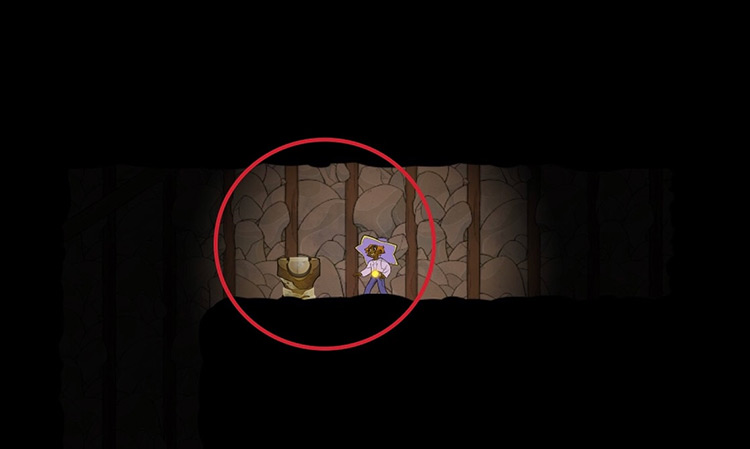
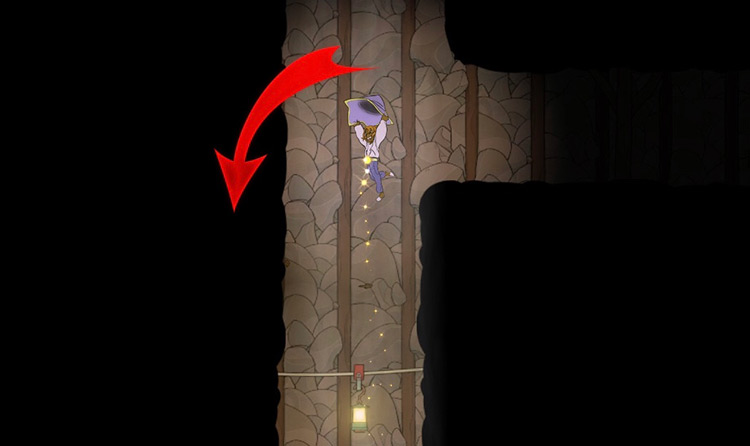
Step 1: From chest #1, walk slightly left to the top of the ladder you just climbed, aligning yourself with the lantern on the wall.
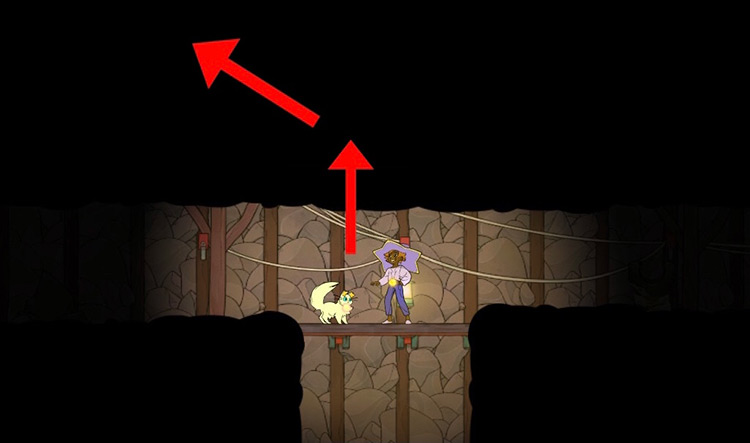
Step 2: From here, double jump and move to the left to find a hidden passage.
Step 3: Next, just keep walking left to go up a hidden slope and eventually come across a chest at the top with a Ceramic Figurine.
Chest #3
Contains:
- 1 Antique Bust
- 1 Amethyst
Step 1: From chest #2, walk left and drop down over the edge & hold to glide.
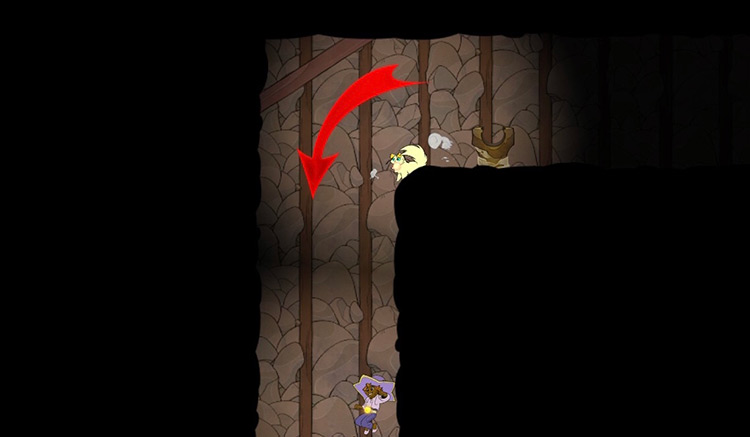
Step 2: Once Stella’s glide catches the updraft, glide right towards another passage.
Step 3: Walk right here to find the next chest.
Chest #4
Contains:
- 1 Hematite
- 1 Veggie-Pot Pie
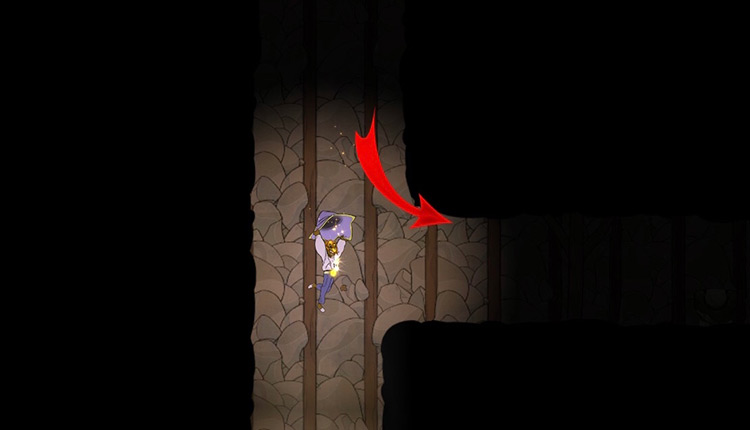
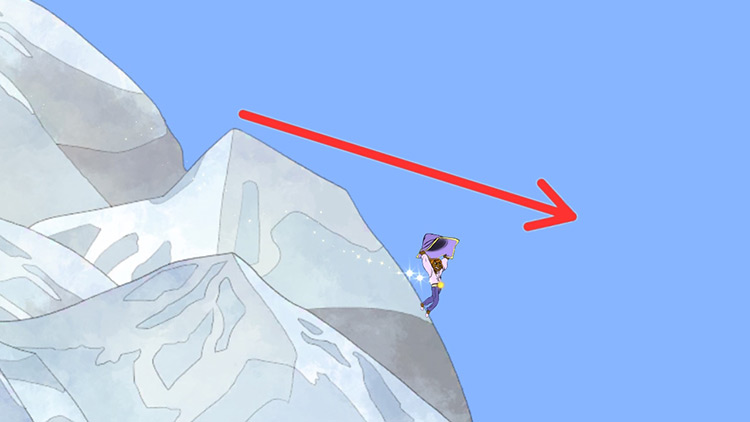
Step 1: From chest #3, go back left and slightly drop down the air draft again, and hold to glide.
Step 2: Hold glide so Stella is aligned with the lantern hanging on the wall, and move towards the left.
Step 3: Go left where the lantern line goes into the wall to find another hidden passage with a chest at the end. Just keep going left until you find the chest on the ground.
Chest #5
Contains:
- 1 Citrine
- 1 Old Carpet
Step 1: Go back to the location of chest #1, then head right until you find the mine exit.
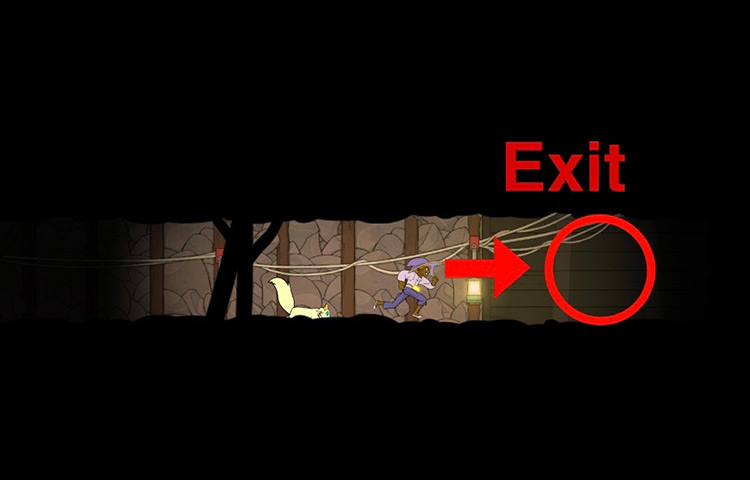
Step 2: Once outside, you’ll find a ledge with a giant rock.
Jump from the ledge near this rock and glide down left to find the next chest.
Chest #6
Contains:
- 1 Large Glim Bottle
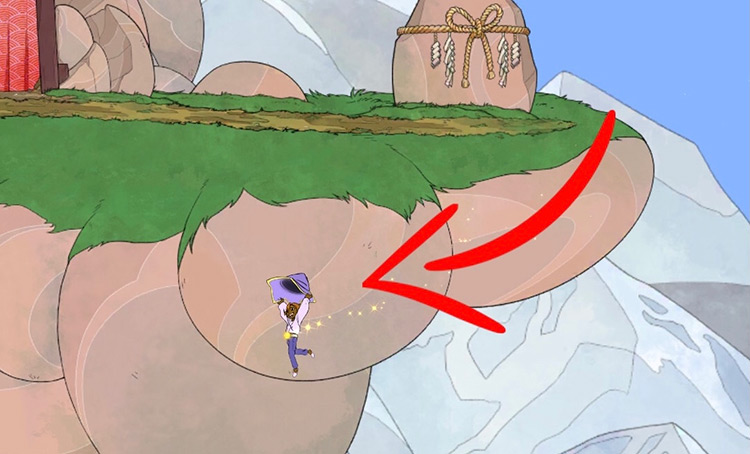
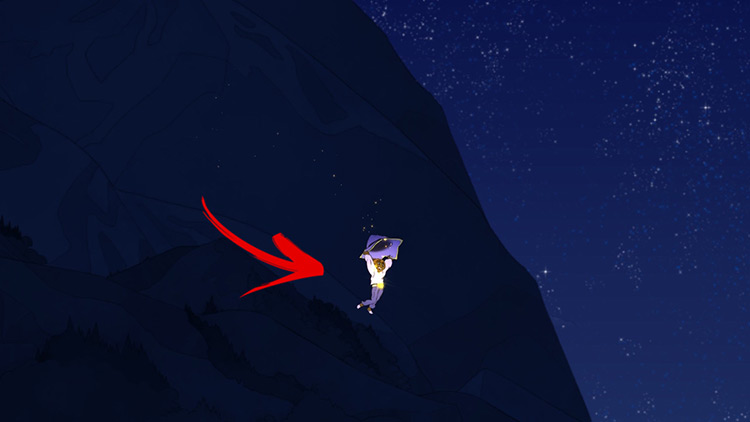
Step 1: Go back up to the same ledge you just jumped from.
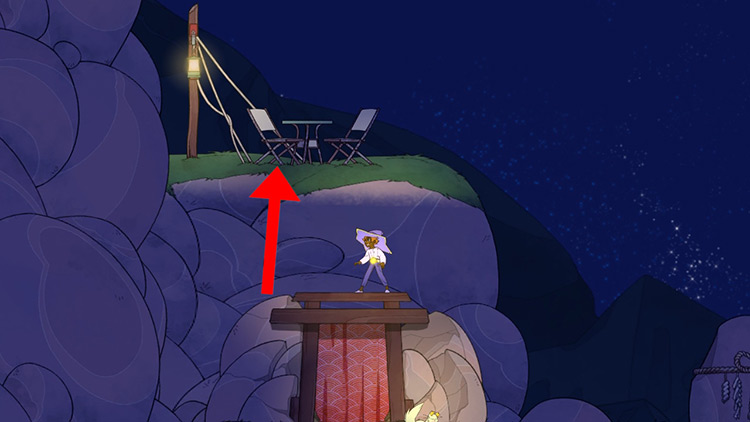
Step 2: Then jump up onto the mine opening & jump to the ledge above with the chair and table.
Step 3: Now starting from the wall, run, double jump, and keep gliding right until you (barely) reach a small island past the dock of Mount Toroyama. Here, you’ll find the next chest.
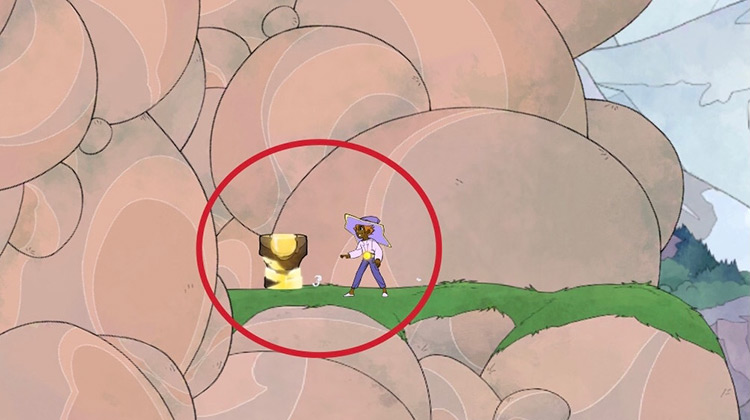
Chest #7
Contains:
- 2 Tea Seeds
- 1 Hematite
This chest is just beside chest #6, located directly to the right on the same small island.

Chest #8
Contains:
- 1 Citrine
Step 1: Make your way back to the mine and go back to the exit so you’re at the ledge with the big rock from earlier.
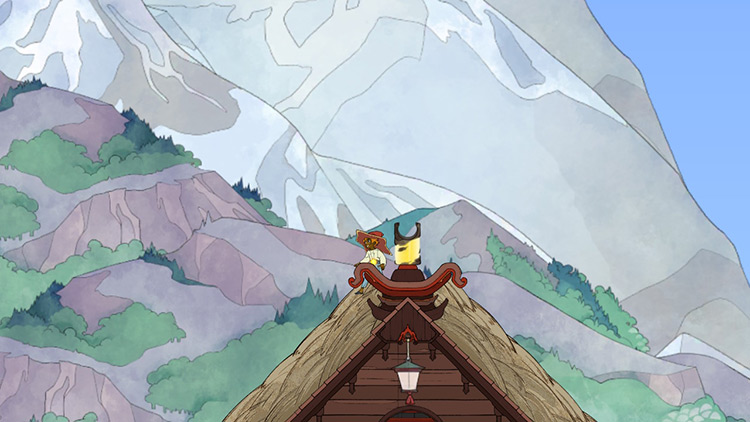
Step 2: Jump from the ledge and glide down to the right & land on the roof of the house where you originally find Alice. This chest is right in the roof peak.
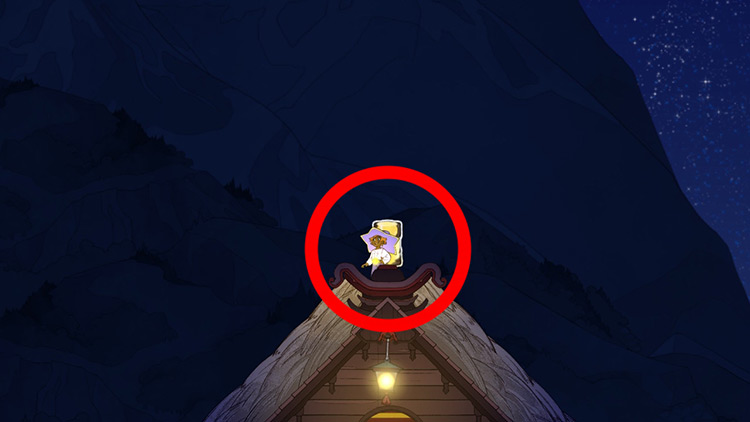
Additionally, you can also reach this chest by repeatedly jumping up on one of the slanted roof’s sides. However, this is more tricky.
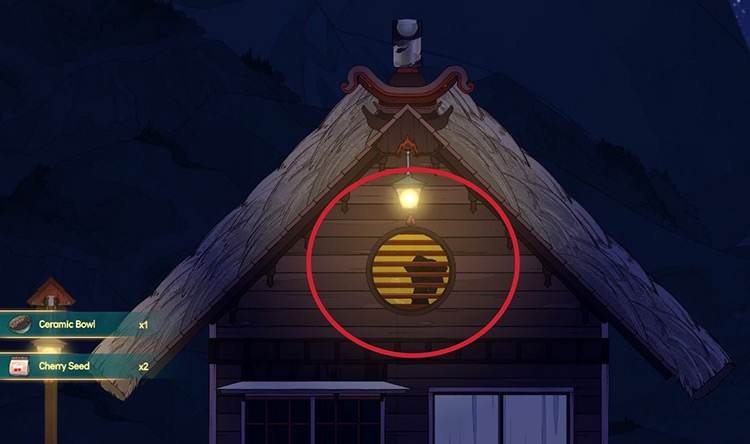
Chest #9
Contains:
- 2 Cherry Seeds
- 1 Ceramic Bowls
Once Alice joins your ship, she will give you a key for the Mount Toroyama House after shaving a sheep.
Use this key to unlock the house where you originally find Alice, and the chest is just upstairs.
-
Spiritfarer
- Mount Toroyama Location + All Chests (Spiritfarer)
Related Posts:
 Alice Questline Walkthrough + Spirit Guide (Spiritfarer)
 Villa Maggiore Location Guide + All Chests (Spiritfarer)
 Beverly Questline Walkthrough + Spirit Guide (Spiritfarer)
 Hummingberg Location Guide + All Chests (Spiritfarer)
 Sandwich Walk Location Guide + All Chests (Spiritfarer)
 Summer Questline Walkthrough + Spirit Guide (Spiritfarer)
 Spiritfarer Sunspring Square: All Chests + Resources
 Gwen Questline Walkthrough + Spirit Guide (Spiritfarer)