Cinderbrick Fort is the last area of the Caelondia region.
From here on out, the game will get harder with trickier enemies and complicated level design. The Fort itself is long and somewhat labyrinthine. There’ll also be combat aplenty, so be sure to bring your A-game.
Section 1: Through the Fire and Flames
Step 1: You crash-land on top of four flamer Turrets, which destroys them.
Get up and go through the three gates. As you do, skull-marked boxes will drop at your front and back. Ignore the ones behind you and push forward.
Tip: You don’t need to kill all enemies. There are better opportunities to farm fragments and XP later. Conserve your health so you can complete the level safely.
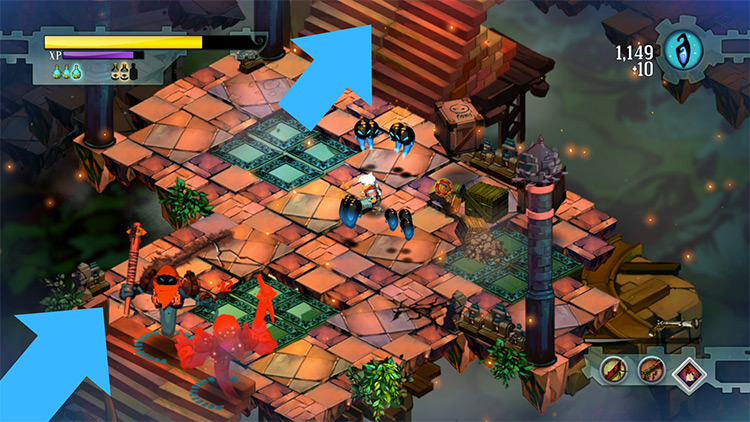
Step 2: Head up the stairs and kill the Gasfellas along the way.
On the next floor, three shotgun Turrets will immediately gun you down. Use your shield to counter-block them. Take care not to get too close, as their projectiles can ricochet from the walls and pillars.
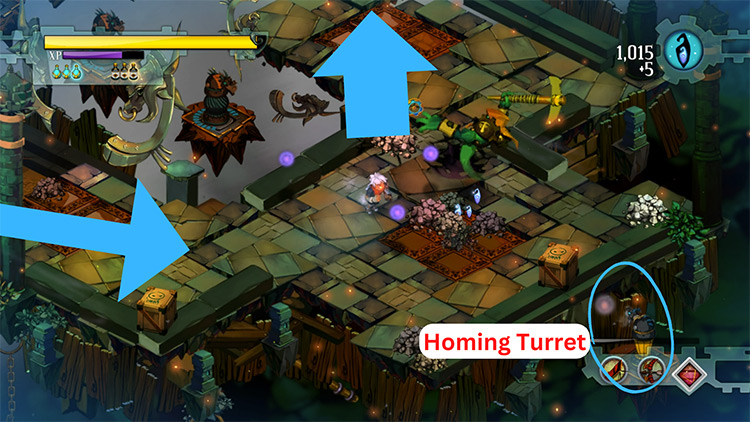
A few steps to their right, you’ll encounter your first homing Turret. Its orbs may be slow, but those can seek you out. If you counter-block them, they’ll accelerate and whirl back to hit you. Be prepared to sidestep that rebound while you shoot at the Turret.
After it’s destroyed, move north. The same three shotgun Turrets will respawn before you reach the next stairs. You’re out in the open here; evade and fall back to the side. Re-position to where you can deal with them one at a time.
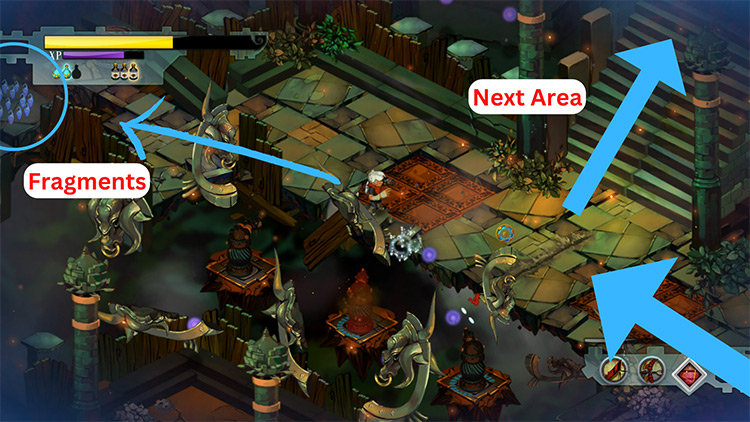
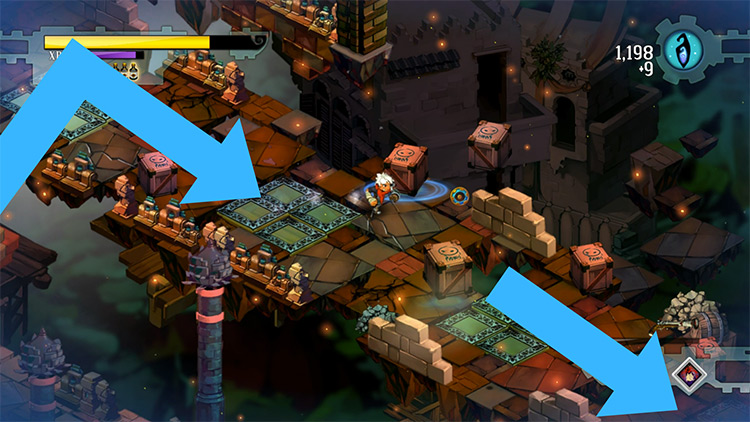
Step 3: Once done, go west first before climbing the stairs.
This ledge has some fragments. Be careful though; a yellow Gasfella and a Turret will pop out as you approach. Kill them, collect the money, then proceed up the stairs.
Step 4: When you reach the top, four Gasfellas will ambush you. There will be two small ones up front, a standard blue on your immediate right, and a yellow at your rear. Breakthrough and wipe them out.
A few paces ahead of them is the Scrap Musket under a cage. Press the switch in front of it to lift the cage. Picking up the weapon causes a herd of Squirts to appear.
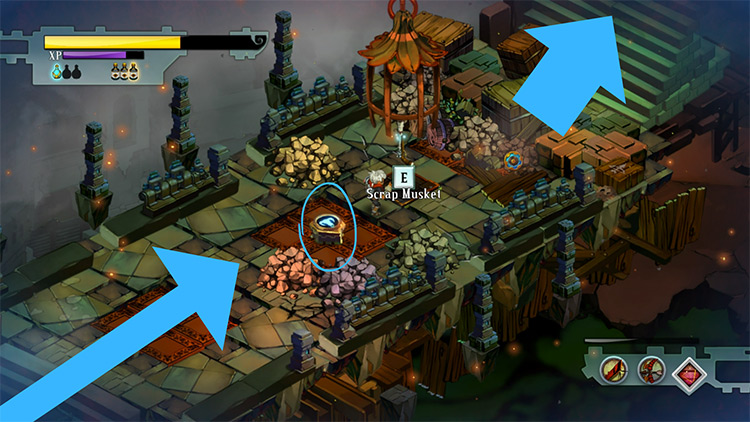
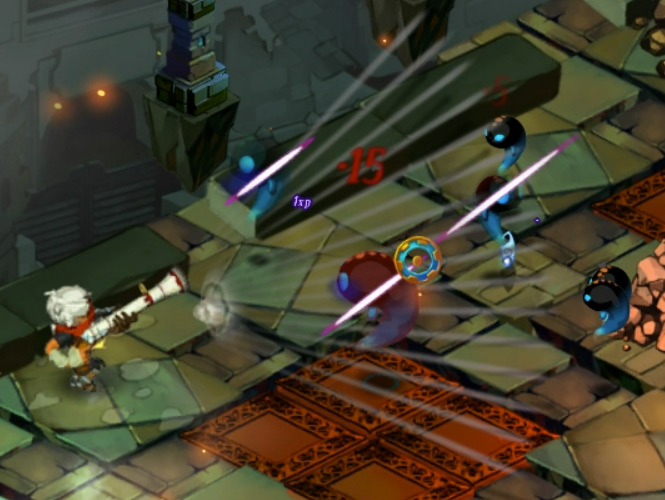
Use your new gun to blast them and to clear the debris leading to the next area.
Once you’re done testing your Musket, continue up to find more stuff to hurt.
Weapon: Scrap Musket
The Musket blasts a spray of buckshot. One shot up close can erase most foes. It’s also great for clearing rooms and dispatching agile enemies due to its spread.
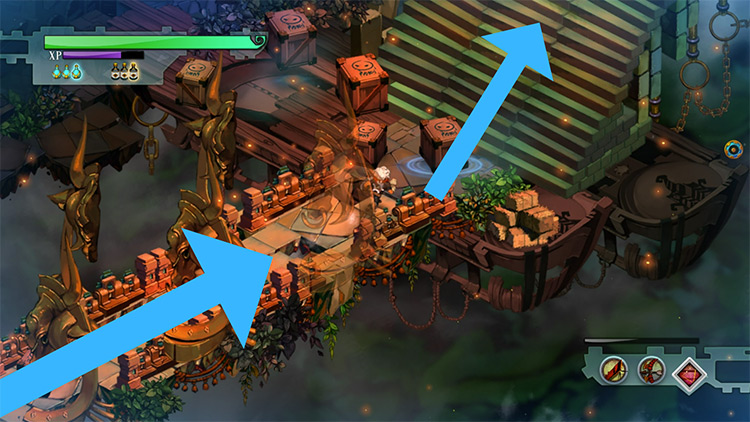
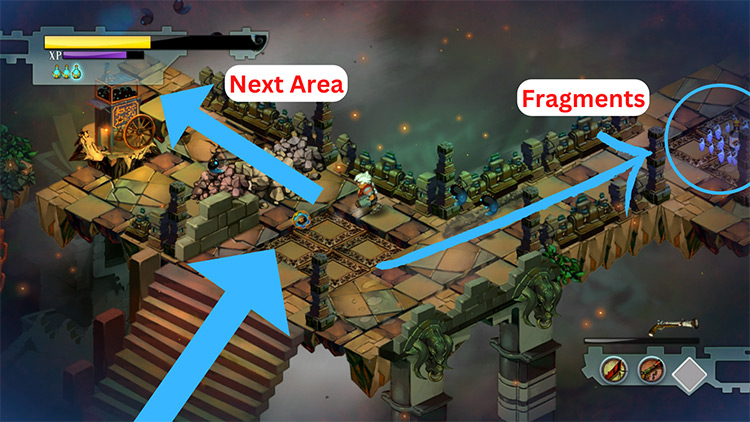
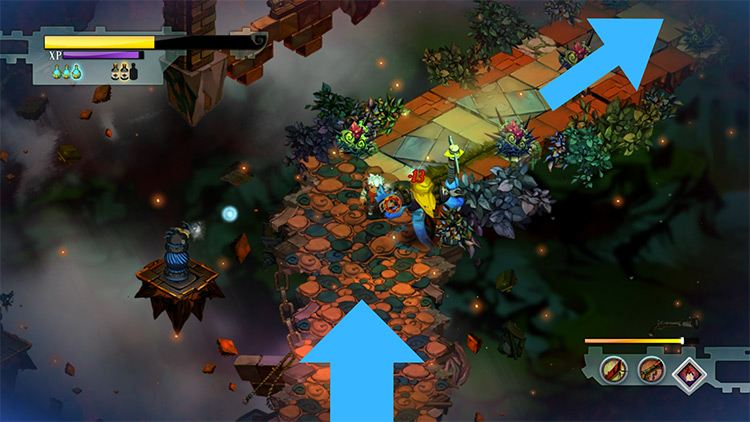
Step 5: The next floor has a corridor containing corn bins and debris. There are also some fragments on the eastern ledge. Take those first then blast your way through the corridor.
At the end of it, climb the stairs.
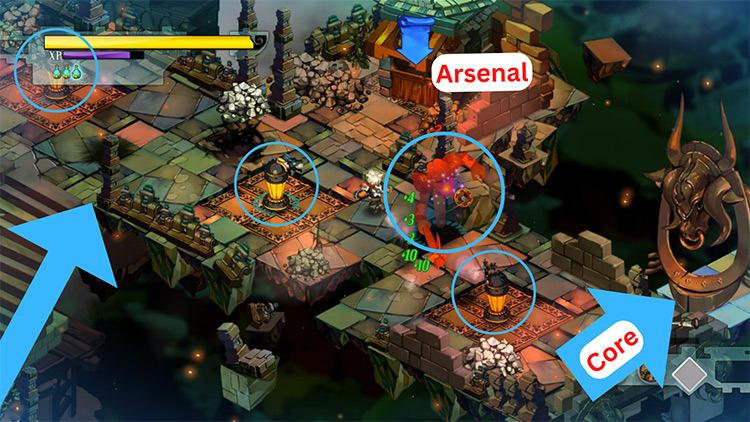
Step 6: A trio of homing Turrets and a yellow Gasfella guard this area.
Destroy them to open the gate on the other side of the path. There’s also an Arsenal here, where you can swap out the Musket if you think it’s not for you.
When you’re ready to proceed, go through the gate. You’ll find the Core beyond it. Grab it and move on.
Section 2: Operation Ground and Pound
Step 1: Two Gasfellas that can do the spin attack occupy this floor. Raise your shield and strike when they’re vulnerable. Skull-marked boxes also clutter the center of the area.
Squads of Squirts will burst out of those if you don’t destroy them. A couple of Musket blasts can solve this for you. After wiping them out, head up the next stairs.
Step 3: This long road’s divided into three parts.
On the first leg, it’ll rain skull crates filled with Gasfellas and Squirts. They’re weak, so a couple of shots will kill them. Once you reach the end of this path, proceed down the corner.
Step 4: The next leg’s a serpentine one. Crates will still drop but only by piecemeal this time. There’ll be various Turrets outside the main road though.
Shoot down any that appear as you follow the path. You’ll come upon a narrow, somewhat weedy walkway. Two yellow Gasfellas will spring an ambush on you here; dodge out of their pincer then blast them.
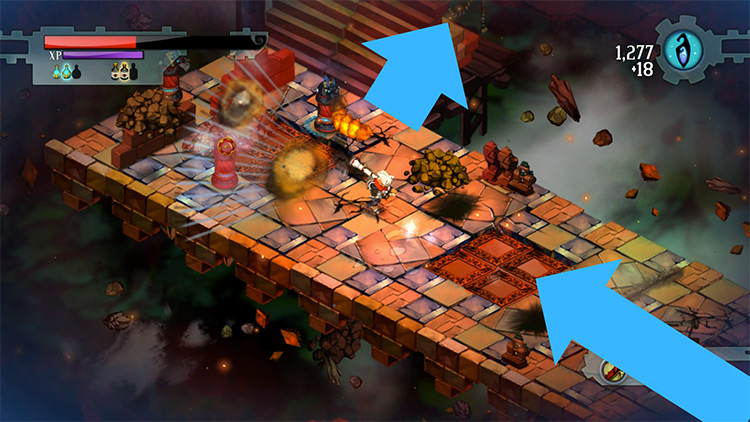
Step 5: At the third leg, you’ll be on an avenue of flamer Turrets and rubble. Destroy them from afar to avoid getting hurt.
You can stay at the edge of their range so you can maximize your damage with the Musket.
When you get to the end of the road, head up the steps. You’ll reach the Fort’s parade grounds.
Step 6: A few Turrets lay near the edges of this plaza. Destroy them fast, because you’ll fight this level’s bosses in a moment.
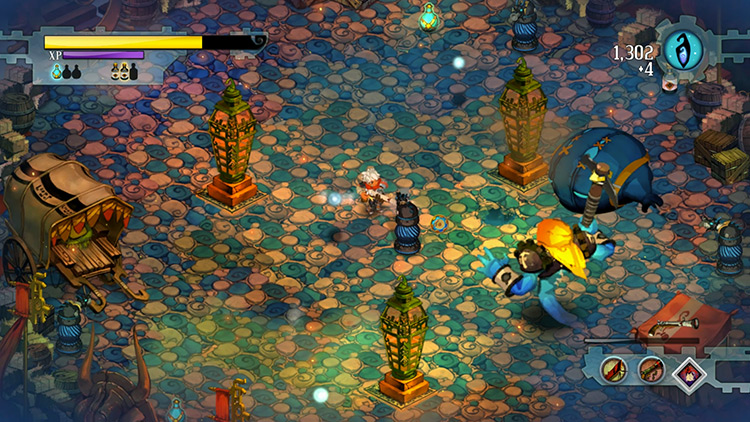
A Gasfella and a Scumbag — named Glutus and Glandon — will appear, along with even more of their kind. There’s nothing special about them, so deal with them as you see fit.
Step 7: When all enemies are dead, fragments will rain around the area.
The “Marshal’s Badge” memento will also drop next to the newly opened west gate. Collect them all and climb the final stairs. The Skyway will be at the top. Use it to get back to the Bastion.
Home: The Bastion
Back home, there’ll be an interactable Pipe near the entrance. Do not do that yet. It knocks you out and triggers a “Dream”, which are optional challenges with lots of combat.
There are two achievements from each of the four Dreams, but you’ll only get them after finishing the main story.
For now, you can farm Dreams for fragments as they’re repeatable. But you can still complete the game without them.
First, you need to install your new Core into the Monument. You’ll get a vacant lot, which can house another building. You’ll also be able to build a Shrine now. Doing this gives you another idol — Acobi. If you’ve already built the Lost-and-Found, you can buy two additional idols from there. Refer here to learn more about idols.
Next, talk to your friends.
Zulf will say that he’s the one who put up the Pipe. You should do some tinkering with your weapons and Spirits too.
You’ll encounter a new fast-moving enemy in the next story level, so you’ll need the Repeater to deal with those. You may also opt for the Musket, but only if you’ve upgraded its range. Many foes in that level will be far out of your reach.
When you’re ready, go to the Skyway to select either of the two new levels:
- The Scrap Yard. This is the proving grounds for the Cael Hammer. If that’s been your favored weapon since the start, then it’s worth attempting it for the prizes. Upgrading your Hammer’s damage can help you ace it.
- Zulwood Grove. It’s the proving ground for the Scrap Musket. This is similar to the Breaker Barracks. There, you’ll have to blast all the balloons with as few shots as possible. There’s a trick to it, but you’ll need the knockback and either the spread or range upgrades.
- Langston River. If you want to put off both of the above for later, then choose this level to progress the story.

-
Bastion
- Cinderbrick Fort: Bastion Walkthrough Part 6
Related Posts:
 Langston River and Prosper Bluff: Bastion Walkthrough Part 7
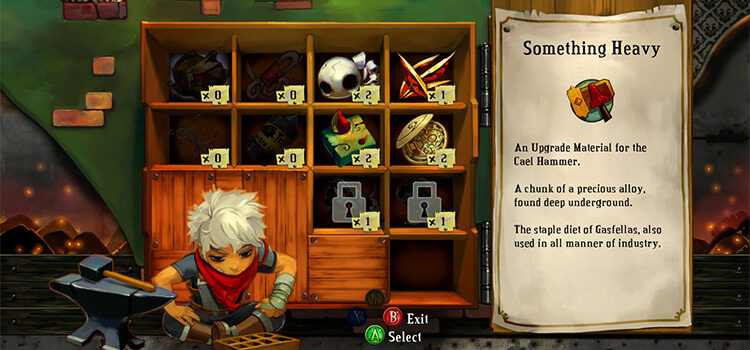 How To Upgrade Weapons in Bastion (Full List)
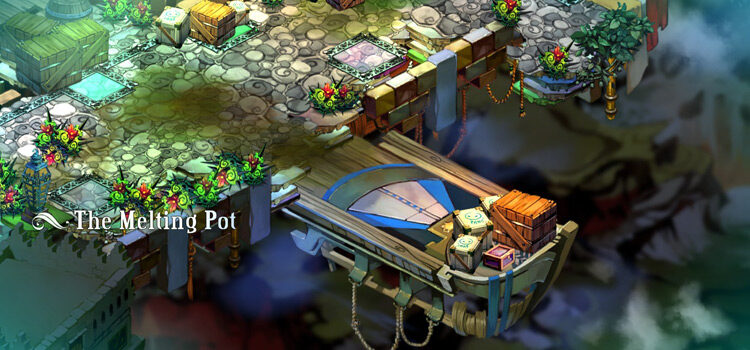 The Melting Pot: Bastion Walkthrough Part 3
 The Sundown Path: Bastion Walkthrough Part 2
 Burstone Quarry: Bastion Walkthrough Part 14
 Point Lemaign: Bastion Walkthrough Part 11
 Roathus Lagoon: Bastion Walkthrough Part 10
 Jawson Bog: Bastion Walkthrough Part 9