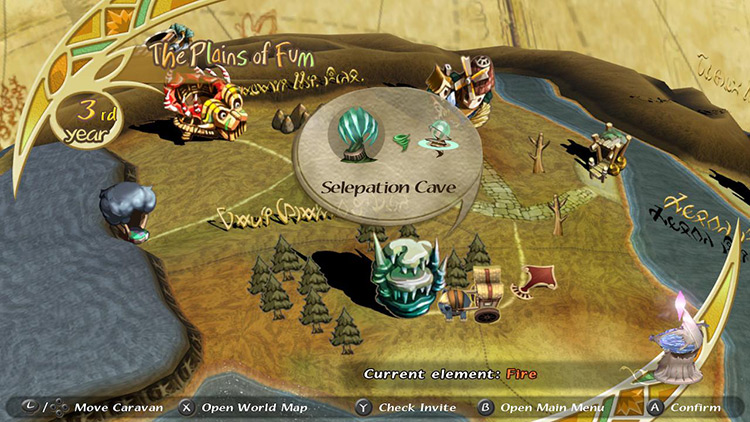
Selepation Cave is a dungeon in Final Fantasy Crystal Chronicles available for players to challenge from Year 3 onward. It houses a Wind elemental Hot Spot.
It’s located on the southern edge of the Fields of Fum region, accessible by crossing the Jegon River from the port in Iron Mine Downs.
This dungeon represents a significant difficulty spike compared to anything on the other side of the river.
Make sure to upgrade your equipment as much as possible before tackling Selepation Cave.
Here’s a list of objectives to follow for a complete and efficient run:
- Get Magicites from monsters in Area #1.
- Hit glowing rocks simultaneously to unlock gates.
- Explore Area #2 (West Side) for treasure, or skip to #6.
- Explore Area #1 (2nd Floor) and use elevators to find treasure.
- Get the Moogle Stamp
- Head north and then west in Area #2 (East Side) to reach the boss room.
- Defeat the Cave Worm.
Let’s break it down.
TABLE OF CONTENTS
- Map
- Walkthrough
- Boss: Cave Worm
- Changes with Dungeon Cycles
- Obtainable Items
Map
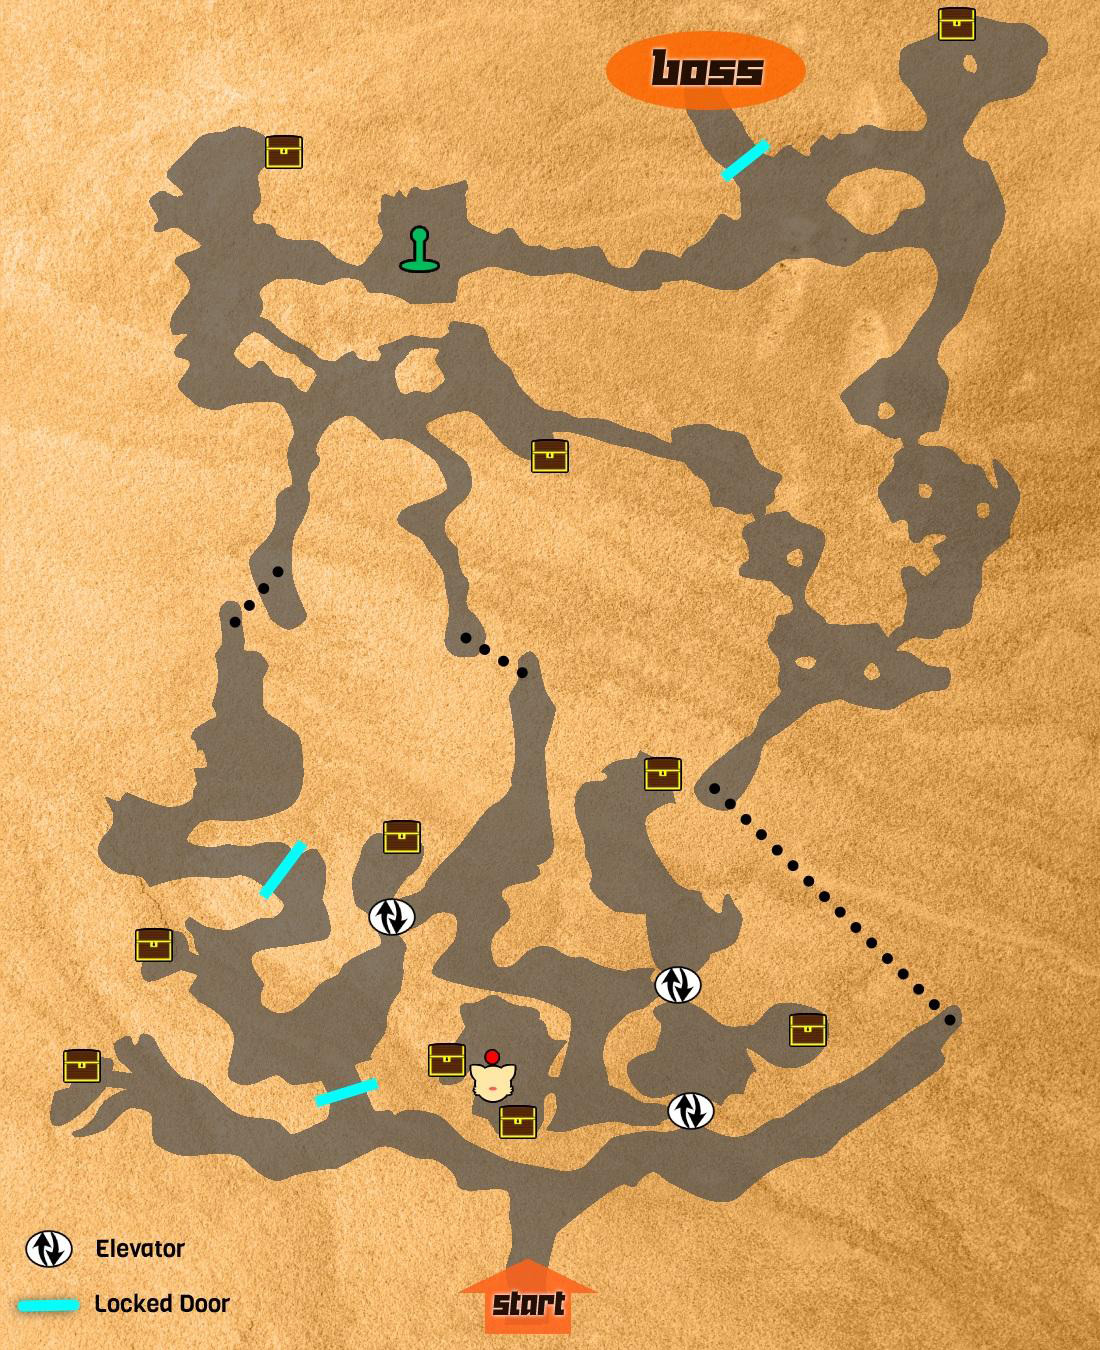
Walkthrough
There are two ways through the Selepation Cave.
One is for speedrunners, and the other is for completionists – but they both begin with getting some magicite.
Step #1: Get Magicites from Monsters in First Area
Start by turning right at the very first crossroads and defeating all enemies on your way until you hit a passage leading to another area.

The enemies in this area include Lizard Mages, Electric Jellyfish, Killer Bees, and Blazer Beetles.
- Blazer Beetles are strong but easily Frozen or Paralyzed.
- Electric Jellyfish can inflict Paralysis on contact and are weak to Blizzard.
- Lizard Mages are resistant to Blizzard and weak to Fire.
- Killer Bees can make you flinch, interrupting your casting. They’re vulnerable to Fire.
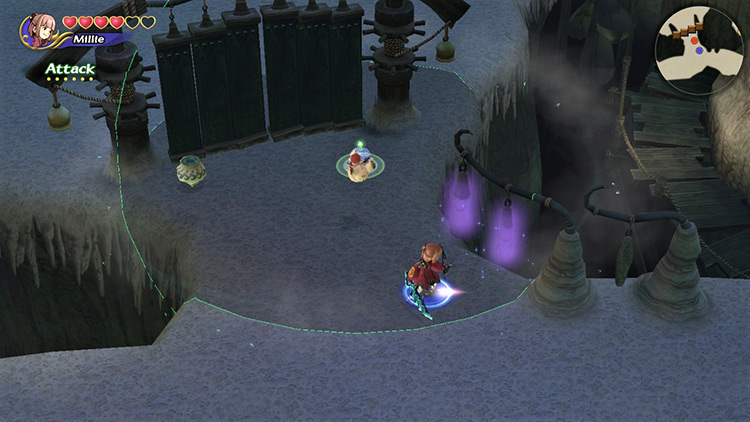
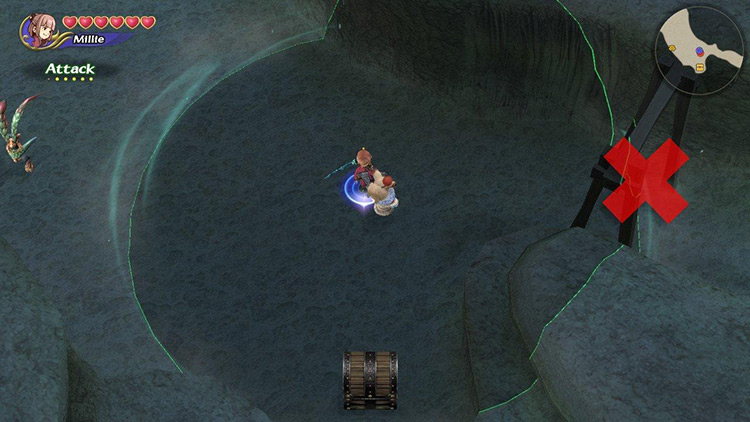
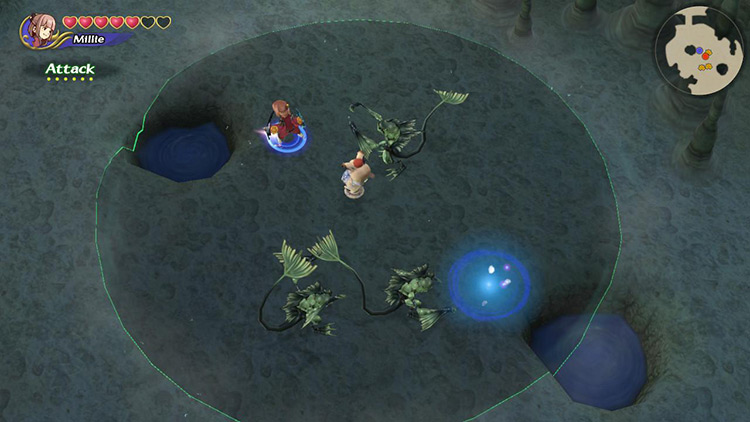
Turn around instead of crossing to the next area and start running to the left. You’ll pass the dungeon’s entrance and come across a locked gate next to some glowing stones.
Kill the Electric Jellyfish guarding the gate, but ignore it for now.
Keep heading west until you reach some stairs leading to a chest. Kill the enemies nearby and collect your treasure.
By now, you should’ve collected enough magicite to create Tier 2 spells like Fira, Blizzara, and Thundara. You should also have picked up Cure.
Most enemies in the dungeon are weak to Fira.
Blizzara is also fantastic, thanks to its ability to Freeze:
- The Blazer Beetle
- Electric Jellyfish
- And all Lizardmen
Optional: Skip to Step #6
At this point, you could make a beeline for the boss by crossing the eastern passage and skipping to Step #6.
It’s a lot faster, but you’ll miss 8/10 chests in Selepation Cave, and you’ll need to return some other time to collect your Moogle Stamp.
Your choice!
Step #2: Hit Glowing Rocks Simultaneously to Open Gates
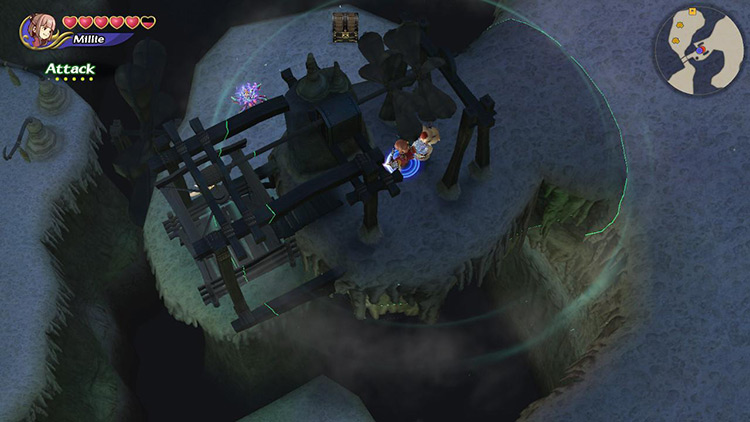
Return to the gate with the glowing rocks hanging beside it.
To open it, you need to hit the glowing rocks at the same time.
There are three glowing stones in multiplayer, requiring coordination between at least two characters, but it’s just two in single-player.
Stand somewhere between the glowy rocks and attack with your melee weapon, trying to hit both simultaneously. It might take a few tries, but you’ll get it eventually.
Prepare to face your first Lizard Captain right after you pass the unlocked door.
Tip: Lizard Captains are strong and can cast magic fast, but they’re extremely weak to Blizzard.
Kill all enemies in your way as you move to the northwest. You’ll eventually come across a chest up some stairs protected by a Blazer Beetle.
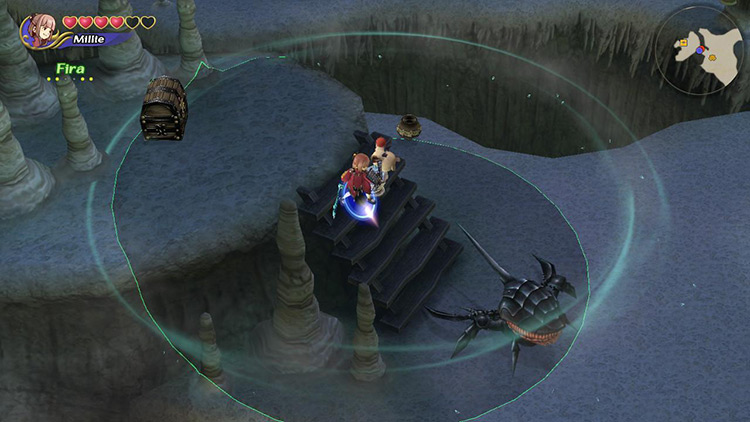
It can’t follow you upstairs.
Use this to your advantage to kill the Beetle from safety.
Then collect the Recipe from the chest and return to the main path.
You’ll soon come across another locked door next to suspended glowing stones. Open the door and keep following the path.
Get ready to fight another large group of monsters, including two Blazer Beetles, before crossing to the next area.
Tip: Thundara and Blizzara are invaluable to keep the two Blazer Beetles at bay.
Step #3: Clear Second Area (West Side)
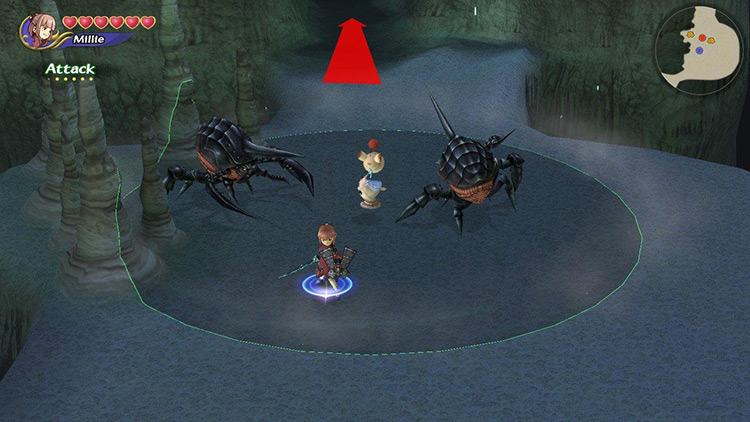
Make your way straight through the cave until you reach a crossroads leading north, east, and west.
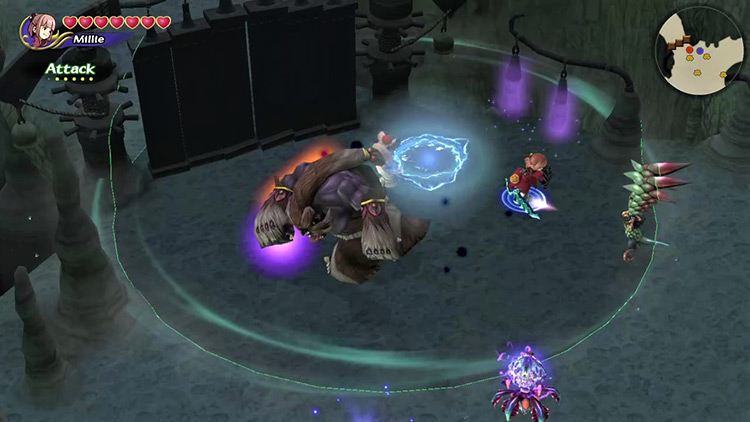
You’ll meet two new enemies here: a Gigas and a Cockatrice.
- Gigas is slow but hard-hitting. Use Fire for massive damage.
- Cockatrices can turn you to stone with close-range attacks. They’re weak to Fire.
Defeat them before taking the western path and following it northward, past lots of enemies, until you reach a chest containing an Artifact.
Tip: You could follow the path east before the chest and reach the boss immediately, but you’d miss several treasure chests.
Return to the crossroads at the beginning of this area, but this time head east.
Ignore the route heading south and brace for combat with an Electric Jellyfish, a Gigas, and a Cockatrice before reaching a chest with a valuable Recipe.
Finally, head back to the southward road we just passed and follow it to the next area.
Step #4: Return to First Area (Second Floor)
The “next area” is really just the second floor of the first area.
Start walking southward, defeating the Gigas and Electric Jellyfish before reaching an elevator.
Defeat them, enter the elevator to go down, and then head north as you hit the ground.
Tip: Sometimes, it takes some shuffling around for the elevator animation to start.
Fry the Killer Bee and Electric Jellyfish protecting the chest, retrieve its contents, then return to the elevator to head back up.
Keep following the road, and you’ll come across another elevator next to another Gigas + Killer Bee combo.
Take the elevator down and prepare for combat.
To the north, a Lizardman + Lizard Captain protect an Artifact chest. To the south, a Gigas blocks your way to a chest containing a Recipe.
Once you have everything, take the elevator back up and head southwest toward another platform.
Step #5: Get the Moogle Stamp
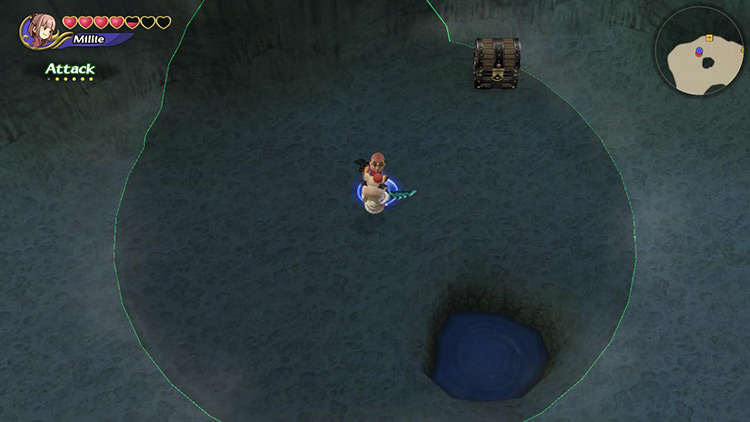
Step onto the platform to find an Electric Jellyfish and a Gigas protecting two chests.
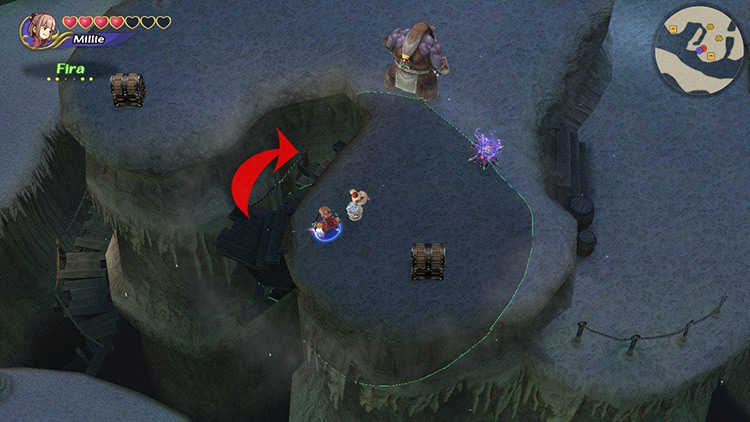
Once you’ve defeated the monsters and collected your treasure, take a closer look at the planks hanging from the edge.
Explore this nook to find a Moogle Nest and get your Moogle Stamp for Selepation Cave.
Exit the Moogle Nest and head straight east until you reach the third and final elevator.
Go down and immediately head east toward the passage we had ignored in Step #1.
Step #6: Traverse Second Area (East Side)
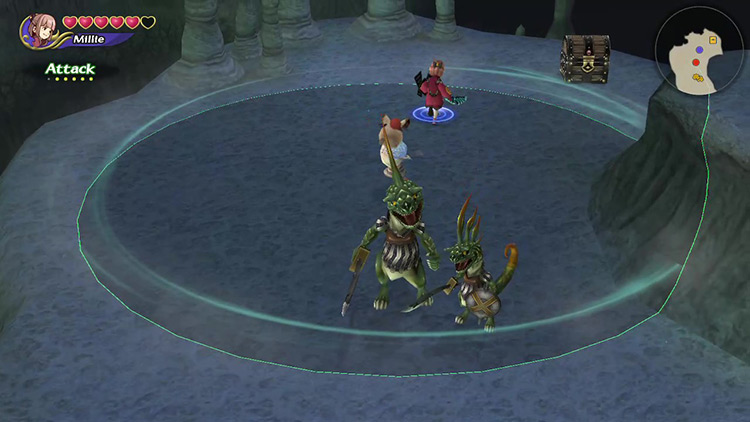
You’ve just entered the second area again, but this time from the east side.
The following area is overrun with Sahagins who’ll jump out of the swirly water wells all around the place.
Tip: Sahagins are weak to Fire.
Head up the stairs to the northeast and follow the road straight up, killing any Sahagins and Cockatrices you may find along the way.
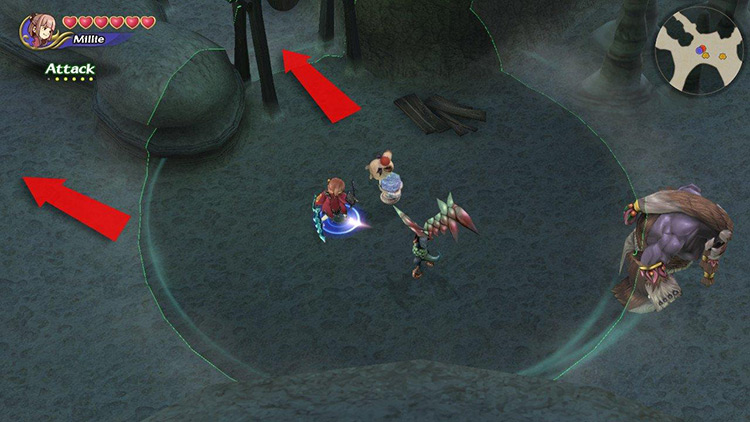
You’ll come across two paths leading west.
Before choosing your favorite westward path, keep heading north to find the 10th and final chest in Selepation Cave.
Then return to the crossroads and head west toward the boss room gate.
Step #7: Reach the Boss Room
Both passages will lead you to roughly the same place.
It’s an open area with a large group of monsters guarding the locked gate leading to the boss.
Here are some crowd control strategies that might come in handy include:
- Run around in circles around the crowd to keep them close together.
- Cast magic with large AoE or aim your Focus Attacks so you hit multiple enemies.
Once that’s done, hit the two glowing stones simultaneously and make a beeline toward the boss.
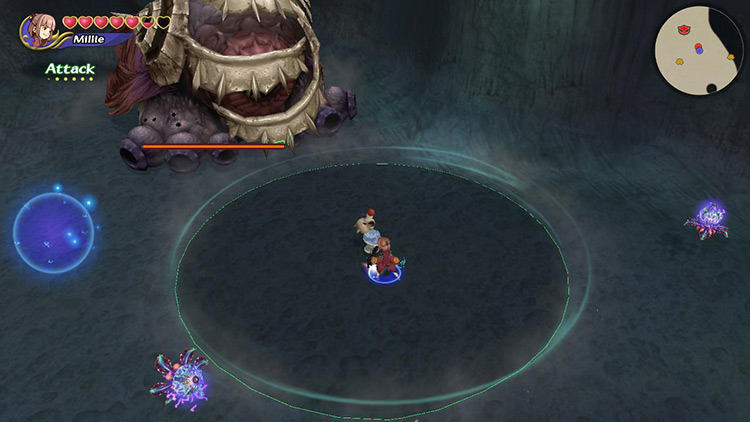
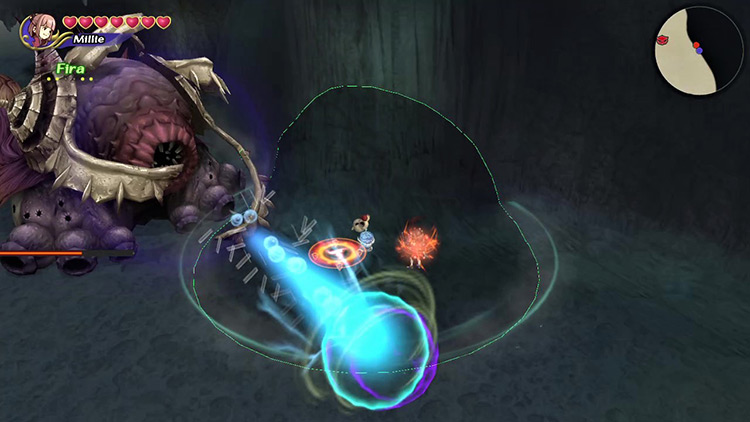
Boss: Cave Worm
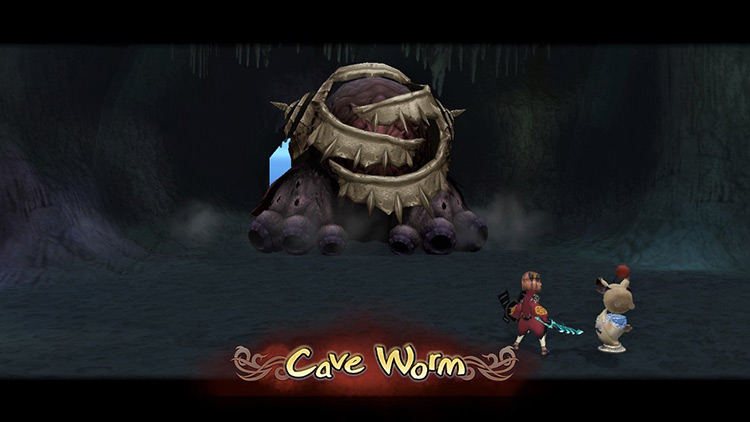
The Cave Worm hits hard, but it’s crippled by its lack of mobility. As long as you keep your distance, you should be fine.
Here are some more tips to make the fight easier:
Tip #1: Take Out the Electric Jellyfish
Two Electric Jellyfish spawn together with the boss, and they’ll continue generating every minute or so after you kill them.
It’s crucial to keep killing them as they spawn, as they can easily stun you with melee moves or Thunder.
Becoming paralyzed can mean your doom against a hard-hitting boss like the Cave Worm.
Tip #2: Kill It With Fire!
You have several powerful spells at your disposition. Still, consider this:
- The Cave Worm is immune to Blizzara
- The Electric Jellyfish are immune to Thundara
This makes Fira the only real option if you don’t want to keep modifying your Command List back and forth.
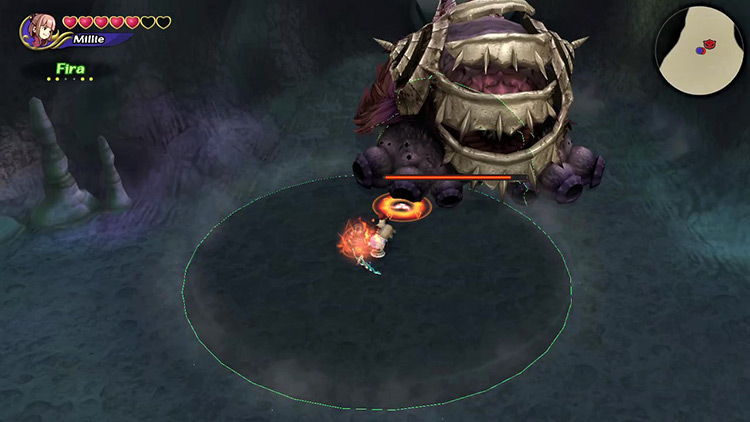
Firaga would be even better, even though it takes longer to cast.
Tip #3: Embrace the Vacuum
Since the Cave Worm can’t chase you, it’ll try to keep you within range by inhaling strongly and sucking you toward itself.
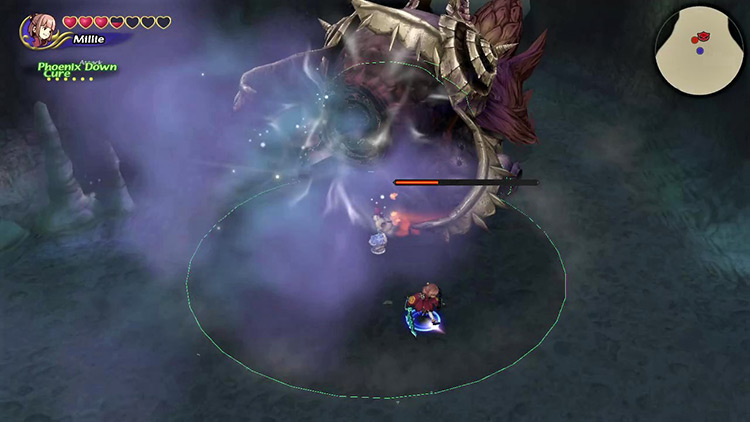
This vacuum looks menacing, but it’s actually inoffensive.
It’s the perfect time for melee-based characters (read: Lilties) to deal damage without risking a counterattack.
Just remember to get away ASAP as soon as it stops inhaling.
Tip #4: Run Away to Heal
The Cave Worm’s lack of mobility allows players to take a breather and heal whenever needed.
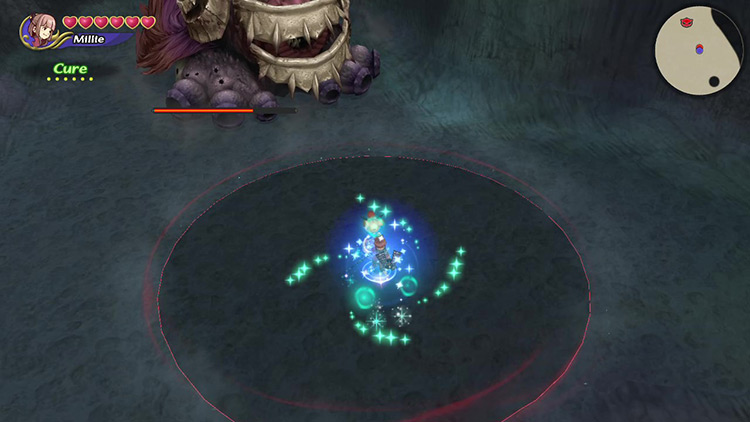
Just put some serious distance between you and the boss, and none of its attacks will be able to reach you.
Set an amount of hearts you feel comfortable with and run away to heal whenever you drop past that point.
Tip #5: Hug the Wall
An easy-to-follow strategy is to stand around the right-side wall, just out of the Worm’s melee range.
This location makes most of the Cave Worm’s moves useless.
It can’t hit you by flailing, and the blast from it slamming its body against the ground doesn’t reach you either.
Not even the Slow bubble can hit you here, as it simply can’t turn its head enough to shoot in your direction.
This leaves only the mud-spewing attack. It hits hard, but it’s not fast enough to take more than a few hearts before you can heal.
Changes with Dungeon Cycles
Selepation Cave’s layout doesn’t change between cycles.
You’ll just need to watch out for beefier monsters and a much stronger boss with tons of HP.
Obtainable Items
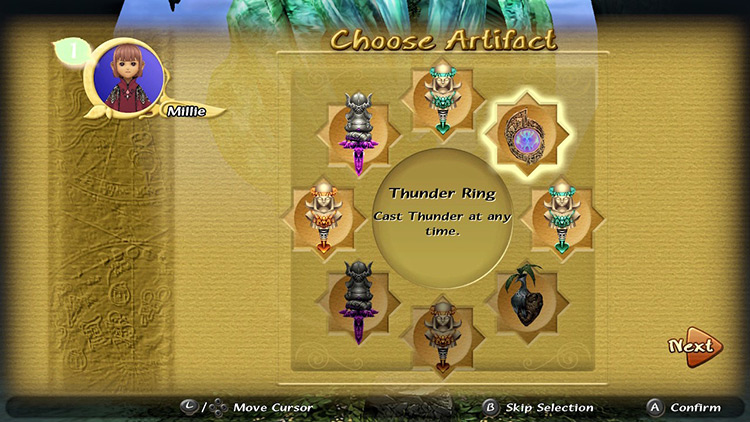
You’ll find Artifacts, crafting Recipes, and Materials throughout the dungeon. You get to keep all Recipes and Materials, but you can only choose one Artifact to take with you.
Chest Items
SCROLL
| Cycle | First | Second | Third |
|---|---|---|---|
| Recipes | Iron Armor Iron Belt Iron Gloves Iron Sallet Iron Shield Master’s Weapon Mythril Armor Mythril Belt Mythril Gloves Mythril Sallet Mythril Shield Ring of Light Warrior’s Weapon |
Iron Armor Lightning Belt Lightning Gloves Lightning Sallet Lightning Shield Master’s Weapon Mythril Armor Mythril Belt Mythril Gloves Mythril Sallet Mythril Shield Ring of Light Time Armor Valiant Weapon |
Gold Gloves Holy Armor Holy Shield Lightning Belt Lightning Gloves Lightning Sallet Lightning Shield Master’s Weapon Mighty Weapon Mythril Armor Pure Armor Pure Belt Ring of Light Time Armor Time Sallet Valiant Weapon Victorious Weapon |
| Artifacts | Book of Light Cat’s Bell Drill Green Beret Mage Masher Main Gauche Moon Pendant Power Wristband Thunder Ring Twisted Headband Wonder Wand |
Cat’s Bell Faerie Ring Heavy Armband Main Gauche Mjollnir Moon Pendant Power Wristband Rat’s Tail Rune Bell Thunder Ring Twisted Headband Wonder wand |
Chicken Knife Faerie Ring Gold Hairpin Heavy Armband Masquerade Mjollnir Onion Sword Rat’s Tail Rune Bell Thunder Ring Tome of Ultima |
Monster Items
SCROLL
| Cycle | First | Second | Third |
|---|---|---|---|
| Blazer Beetle | Hard Shell | Hard Shell | Hard Shell |
| Cockatrice | Cockatrice Scale Thunderball |
Cockatrice Scale Thunderball |
Cockatrice Scale Thunderball |
| Electric Jellyfish | Thunderball | Thunderball | Thunderball |
| Gigas | Gigas Claw | Gigas Claw | Gigas Claw |
| Lizard Captain | Alloy Mythril |
Alloy Mythril |
Alloy Mythril |
| Sahagin | Cockatrice Scale | Cockatrice Scale | Cockatrice Scale |
Boss Items
Each boss has four drop pools per cycle.
Your Bonus Points determine which rewards you qualify to get. The higher your points, the more chances you have to get good rewards.

Higher ranks can randomly get any of the previous reward pools. There’s also a tiny chance that the contrary might happen, giving you higher-level rewards at low scores.
SCROLL
| Cycle | First | Second | Third |
|---|---|---|---|
| 0+ BP | Buckler Chocobo Pocket Dragon’s Whisker Ogrekiller |
Kaiser Knuckles Mage Masher Moon Pendant Sparkling Bracer |
Black Hood Diamond Armor Kris Sasuke’s Blade |
| 158+ BP | Ahsura Rune Bell Silver Spectacles Thunder Ring |
Power Wristband Rune Staff Teddy Bear Thunder Ring |
Gold Hairpin Moon Pendant Orichalcum Twisted Hairband |
| 197+ BP | Kaiser Knuckles Mage Masher Moon Pendant Sparkling Bracer |
Black Hood Diamond Armor Kris Sasuke’s Blade |
Loaded Dice Sage’s Staff Thunder Ring Wind Crystal |
| 246+ BP | Power Wristband Rune Staff Teddy Bear Thunder Ring |
Gold Hairpin Moon Pendant Orichalcum Twisted Hairband |
Earth Armor Ogrekiller Protection Ring Wonder Wand |

-
Final Fantasy Crystal Chronicles Remastered
- Selepation Cave Dungeon Guide + Map (FFCC Remastered)
Related Posts:
 Goblin Wall Dungeon Guide + Map (FFCC Remastered)
 Tida Village Dungeon Guide + Map (FFCC Remastered)
 Moschet Manor Dungeon Guide + Map (FFCC Remastered)
 Mushroom Forest Dungeon Guide + Map (FFCC Remastered)
 River Belle Path Dungeon Guide + Map (FFCC Remastered)
 Mine of Cathuriges Dungeon Guide + Map (FFCC Remastered)
 Veo Lu Sluice Dungeon Guide + Map (FFCC Remastered)