To unlock the Level 70 dungeon The Ghimlyt Dark, you need to accept the Level 70 MSQ “The Face of War” from Lyse in the Eorzean Alliance Headquarters (X:6.3, Y:6.1). This MSQ is part of the patch 4.5 storyline for the Stormblood expansion.
In this guide we’ll cover how to unlock the dungeon, plus all the loot you can get and all of the battle mechanics for each boss.
TABLE OF CONTENTS
Unlocking Quest: The Face of War
The Level 70 MSQ “The Face of War” is part of the patch 4.5 Main Scenario Questline for the Stormblood expansion. To unlock it, you’ll need to finish every MSQ leading up to it, including MSQs from the A Realm Reborn base game and the Heavensward expansion.
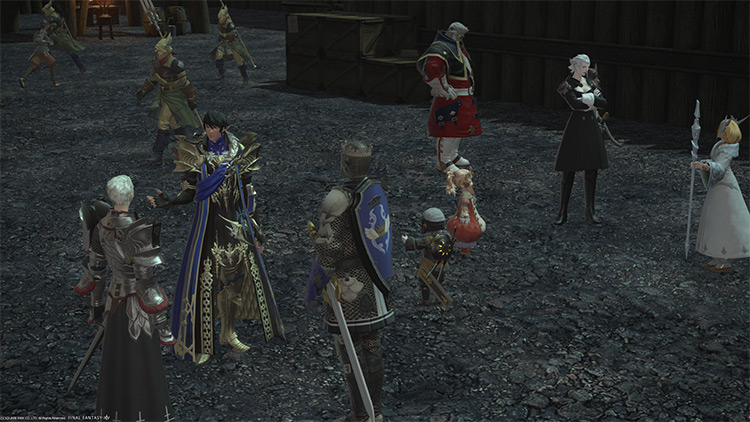
Once that’s all set, speak with Lyse in the Eorzean Alliance Headquarters (X:6.3, Y:6.1) to trigger a cutscene.
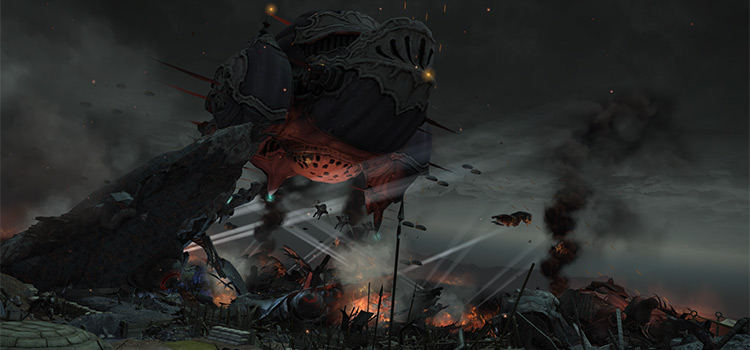
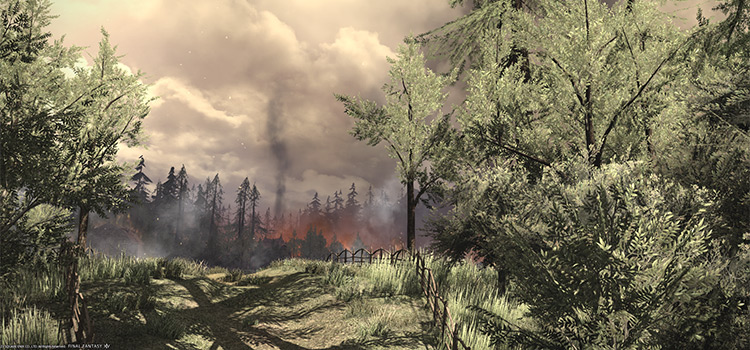
After meeting the Garlean Emperor Varis zos Galvus at the negotiating table to no avail, a war between the Alliance and the Garlean Empire seems inevitable.
You and your comrades make your final preparations and prepare for the decisive battle ahead.
Once you’ve finished the cutscene, The Ghimlyt Dark will be unlocked. This dungeon requires at least a Level 70 Disciple of War or Magic job and an average item level of 360 to enter.
Boss #1: Mark III-B Magitek Colossus
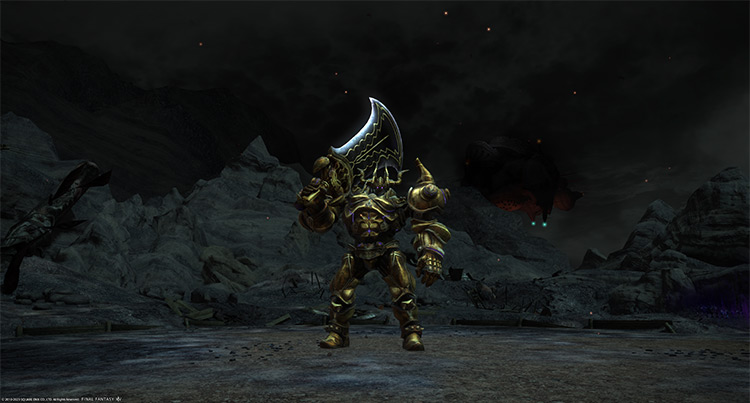
Mechanics
- Jarring Blow: A red tankbuster marker on the primary target. Face the boss away from the party and use mitigation skills.
- Wild Fire Beam: Targeted circle AoEs on all players. Spread out to avoid overlap.
- Exhaust: A massive column knockback AoE on a random player.
- Magitek Slash: The boss will move to the center and begin casting multiple conal AoEs in a circular direction. Each cone will drop a DoT field applies “Burns” for six seconds. Check which direction the boss will drop its AoEs (clockwise or counter-clockwise) and dodge accordingly.
- Magitek Ray: A stack marker on a random player. Stand inside the marker to share incoming damage.
- Ceruleum Vent: A room-wide AoE attack. Shield and heal through the damage.
Rewards
- 20 Allagan Tomestone of Poetics
| Name | Type | Rarity |
|---|---|---|
| Alliance Bracelet of Aiming | Bracelets | Dungeon (Green) |
| Alliance Bracelet of Casting | Bracelets | Dungeon (Green) |
| Alliance Bracelet of Fending | Bracelets | Dungeon (Green) |
| Alliance Bracelet of Healing | Bracelets | Dungeon (Green) |
| Alliance Bracelet of Slaying | Bracelets | Dungeon (Green) |
| Alliance Boots of Casting | Feet | Dungeon (Green) |
| Alliance Boots of Fending | Feet | Dungeon (Green) |
| Alliance Boots of Healing | Feet | Dungeon (Green) |
| Alliance Boots of Maiming | Feet | Dungeon (Green) |
| Alliance Shoes of Aiming | Feet | Dungeon (Green) |
| Alliance Shoes of Scouting | Feet | Dungeon (Green) |
| Alliance Shoes of Striking | Feet | Dungeon (Green) |
| Alliance Ring of Aiming | Ring | Dungeon (Green) |
| Alliance Ring of Casting | Ring | Dungeon (Green) |
| Alliance Ring of Fending | Ring | Dungeon (Green) |
| Alliance Ring of Healing | Ring | Dungeon (Green) |
| Alliance Ring of Slaying | Ring | Dungeon (Green) |
Boss #2: Prometheus
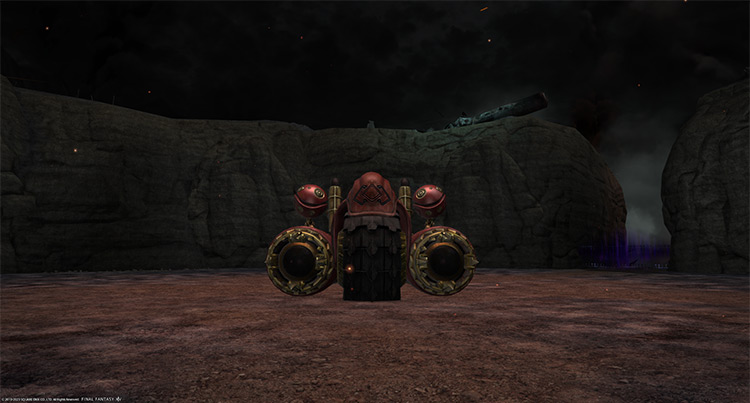
Mechanics
- Nitrospin: A room-wide AoE attack that turns the outer edges of the arena into a fiery field which applies a constant “Burns” DoT.
- Unbreakable Cermet Drill: A red tankbuster marker on the primary target. Mitigate and heal through the damage.
- Needle Gun: A massive frontal cone AoE usually followed by “Oil Shower.” Move behind the boss to avoid.
- Oil Shower: A 270-degree AoE attack behind the boss. Move in front of the boss to avoid.
- Tunnel + Heat: The boss will dig underground and reappear on one side of the arena for a constant, non-telegraphed column attack. Identify where the boss will reappear and move out of its way.
- Freezing Missile: Four proximity markers will spawn near the outer edges of the arena. This attack is usually followed by “Tunnel + Heat.” Stand in the center to mitigate incoming damage while identifying where the boss will reappear. Then, move out of its path.
Rewards
- 30 Allagan Tomestone of Poetics
| Name | Type | Rarity |
|---|---|---|
| Alliance Earring of Aiming | Earrings | Dungeon (Green) |
| Alliance Earring of Casting | Earrings | Dungeon (Green) |
| Alliance Earring of Fending | Earrings | Dungeon (Green) |
| Alliance Earring of Healing | Earrings | Dungeon (Green) |
| Alliance Earring of Slaying | Earrings | Dungeon (Green) |
| Alliance Armguards of Aiming | Hands | Dungeon (Green) |
| Alliance Armguards of Fending | Hands | Dungeon (Green) |
| Alliance Armguards of Maiming | Hands | Dungeon (Green) |
| Alliance Fingerless Gloves of Casting | Hands | Dungeon (Green) |
| Alliance Fingerless Gloves of Healing | Hands | Dungeon (Green) |
| Alliance Fingerless Gloves of Scouting | Hands | Dungeon (Green) |
| Alliance Fingerless Gloves of Striking | Hands | Dungeon (Green) |
| Alliance Circlet of Casting | Head | Dungeon (Green) |
| Alliance Circlet of Healing | Head | Dungeon (Green) |
| Alliance Helm of Fending | Head | Dungeon (Green) |
| Alliance Helm of Scouting | Head | Dungeon (Green) |
| Alliance Visor of Aiming | Head | Dungeon (Green) |
| Alliance Visor of Maiming | Head | Dungeon (Green) |
| Alliance Visor of Striking | Head | Dungeon (Green) |
| Alliance Necklace of Aiming | Necklace | Dungeon (Green) |
| Alliance Necklace of Casting | Necklace | Dungeon (Green) |
| Alliance Necklace of Fending | Necklace | Dungeon (Green) |
| Alliance Necklace of Healing | Necklace | Dungeon (Green) |
| Alliance Necklace of Slaying | Necklace | Dungeon (Green) |
Boss #3: Annia quo Soranus and Julia quo Soranus
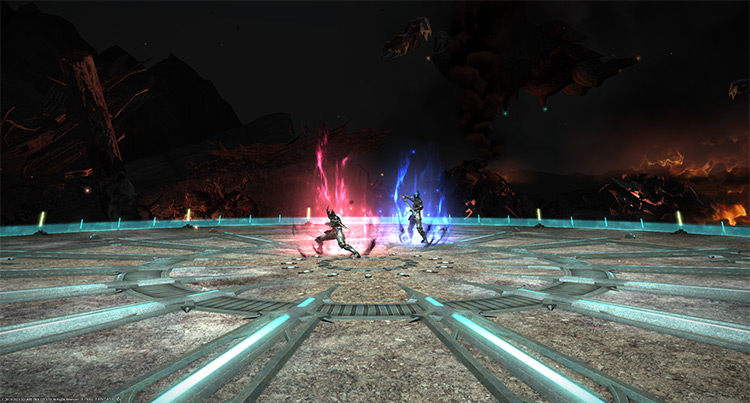
Both bosses will be targetable at the start but Julia will jump to the background as soon as you pull.
Mechanics
Phase 1: Annia quo Soranus
- Delta Trance: A moderate tankbuster on the primary target.
- Artificial Plasma: A room-wide AoE attack. Shield and heal through the damage.
- Stunning Sweep: Annia will jump toward a player for a point-blank AoE attack.
- Order to Bombard + The Order: Julia will target all players with knockback column AoEs that follow them around. At the same time, three massive ground AoEs will cover most of the arena. Use the column attack to get knocked into the safe zones, or use knockback-immunity skills.
- Angry Salamander: A large column attack during “Order to Bombard + Order.”
- Quaternity: Julia will place four X slashes on the outer edges of the arena for column attacks. Move out of its paths.
- Heirsbane: An orange marker on a random target that deals high damage. Heal the marked player immediately.
- Crosshatch: The twins will dash across the room as the fight transitions into Phase 2. Look for the small orange lines to determine the paths of their dashes and avoid them accordingly.
Phase 2: Julia quo Soranus
- Innocence: A moderate tankbuster on the primary target.
- Artificial Plasma: A room-wide AoE attack. Shield and heal through the damage.
- Angry Salamander: A large column attack.
- Order to Fire + The Order: Julia will fire line AoEs toward her cardinal direction and target players with ground AoEs.
- Commence Air Strike + Heirsbane: Ceruleum canisters will drop from the sky. Then, Julia will target one canister with “Heirsbane” to trigger an explosion. This will set off a chain reaction with the nearby canisters. Dodge the first explosion, then move into the safe zone.
- Order to Support: Targeted circle AoEs on all players while the twins dash across the arena, similar to “Crosshatch.”
- Artificial Boost + Imperial Authority: After “Order to Support,” the twins will heal themselves and slow-cast “Imperial Authority,” a room-wide AoE that will wipe the party. Kill the twins before it goes off.
Rewards
- 50 Allagan Tomestone of Poetics
- Prometheus Triple Triad Card (not guaranteed)
| Name | Type | Rarity |
|---|---|---|
| Alliance Coat of Casting | Body | Dungeon (Green) |
| Alliance Coat of Fending | Body | Dungeon (Green) |
| Alliance Coat of Healing | Body | Dungeon (Green) |
| Alliance Jacket of Aiming | Body | Dungeon (Green) |
| Alliance Vest of Maiming | Body | Dungeon (Green) |
| Alliance Vest of Scouting | Body | Dungeon (Green) |
| Alliance Vest of Striking | Body | Dungeon (Green) |
| Alliance Bottoms of Casting | Legs | Dungeon (Green) |
| Alliance Bottoms of Healing | Legs | Dungeon (Green) |
| Alliance Skirt of Scouting | Legs | Dungeon (Green) |
| Alliance Skirt of Striking | Legs | Dungeon (Green) |
| Alliance Trousers of Aiming | Legs | Dungeon (Green) |
| Alliance Trousers of Fending | Legs | Dungeon (Green) |
| Alliance Trousers of Maiming | Legs | Dungeon (Green) |
| Wind-up Weapon | Minion | Basic |
| A Pall Most Murderous Orchestrion Roll | Orchestrion Roll | Basic |
Extra Treasure Coffers
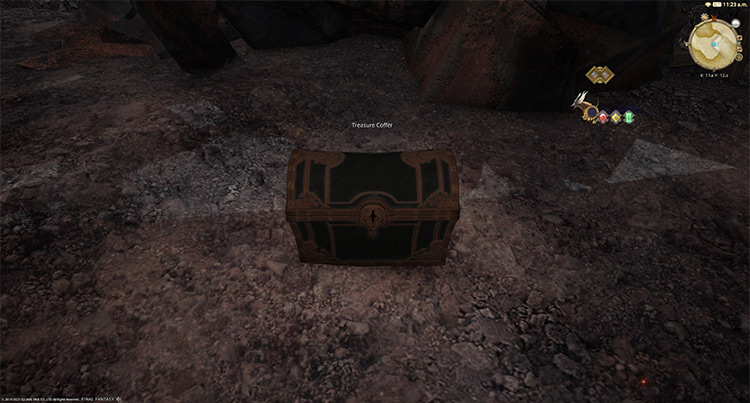
Apart from the boss rewards, there are four treasure coffers located throughout the dungeon that you can open for more gear, crafting material, and crystal rewards. Here are their locations:
- (X:11.6, Y:12.2)
- (X:13.9, Y:11.8)
- (X:17.6, Y:8.9)
- (X:18.5, Y:7.6)
-
Final Fantasy XIV
- FFXIV The Ghimlyt Dark: Unlock + Boss Guide
Related Posts:
 FFXIV Dohn Mheg: How To Unlock + Boss Guide
 FFXIV Bardam’s Mettle: How To Unlock + Full Boss Guide
 FFXIV The Qitana Ravel: Unlock + Boss Guide
 FFXIV Holminster Switch: How To Unlock + Boss Guide
 FFXIV Ala Mhigo Dungeon: Unlock + Boss Guide
 FFXIV The Temple of the Fist: Unlock + Boss Guide
 FFXIV Malikah’s Well: How To Unlock + Dungeon Guide
 FFXIV The Tower of Zot: Unlock + Boss Guide