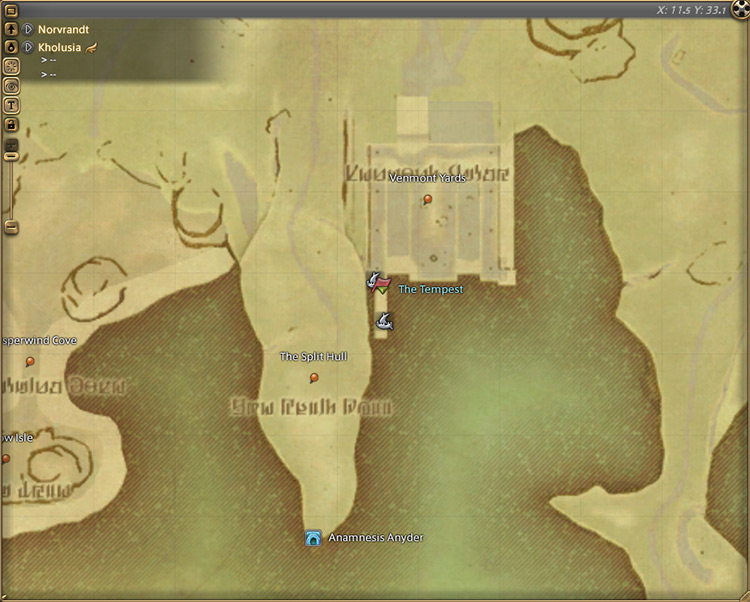
The Level 80 dungeon The Heroes’ Gauntlet can be unlocked by accepting the Level 80 MSQ “The Converging Light” from Y’shtola in Kholusia (X:11.5, Y:33.1). This MSQ is part of the patch 5.3 Main Scenario Questline of the Shadowbringers expansion.
In this guide we’ll explain how to unlock the dungeon, how to handle all of the boss battle mechanics, and we’ll list all the possible loot you can get.
TABLE OF CONTENTS
Step-by-Step Unlock Guide
- Accept the Level 80 MSQ “The Converging Light” from Y’shtola in Kholusia (X:11.5, Y:33.1).
- Speak with Y’shtola in Eulmore (X:11.4, Y:11.3).
- Talk to Chai-Nuzz in Eulmore (X:11.6, Y:11.5).
Detailed Unlocking Guide
The Level 80 MSQ “The Converging Light” is part of the patch 5.3 storyline for the Shadowbringers expansion, so you’ll need to do every MSQ leading up to it before it can be unlocked.
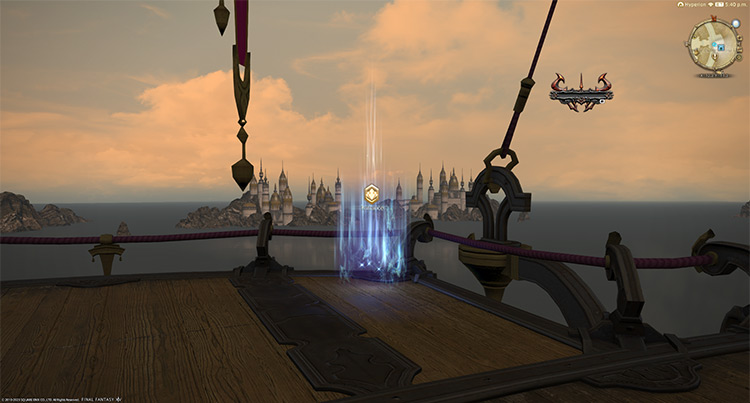
After you’re caught up on the main story then just accept quest from Y’shtola in Kholusia (X:11.5, Y:33.1).
Y’shtola is eager to meet your friends in Eulmore to determine the next course of action regarding Elidibus. Speak with her in Eulmore (X:11.4, Y:11.3) to continue.
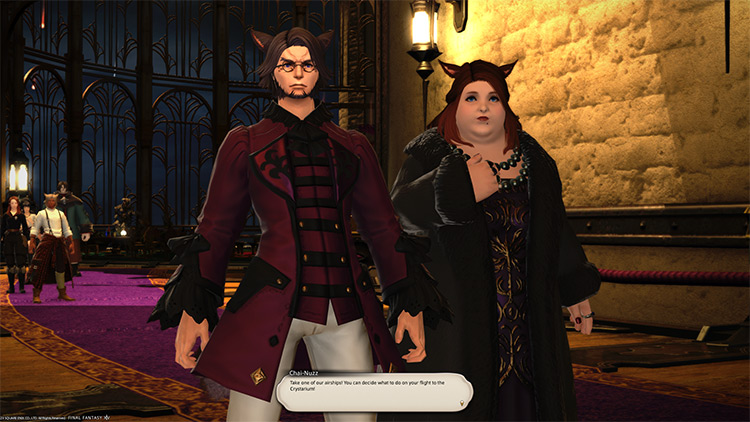
The rest of your allies await you in the main hall.
Talk to Chai Nuzz in Eulmore (X:11.6, Y:11.5) to trigger a long cutscene.
You hear from your allies the news about Elidibus’ transformation into a primal. As you deliberate what to do next, another star shower rains upon Eulmore.
Then spectral foes resembling heroes from other realms begin appearing from thin air and attack your group.
While you and your allies succeeded in repelling the initial assault, Y’shtola is worried about the Eulmorans getting caught in the fight.
Chai Nuzz instructs you to take one of their airships and head for The Crystarium.
After the cutscene, The Heroes’ Gauntlet will be unlocked. This dungeon requires at least a Level 80 Disciple of War or Magic job and an average item level of 460 to enter.
Boss #1: Spectral Thief
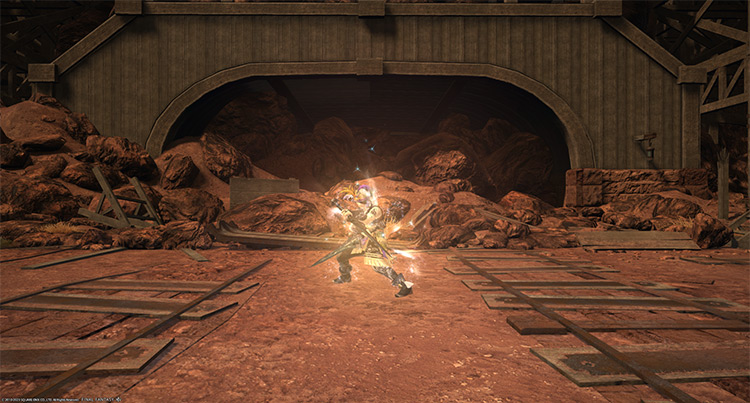
Mechanics
- Spectral Dream: A red tankbuster marker that hits the primary target three consecutive times. Mitigate and heal through the damage.
- Dash: The boss will gain a movement speed buff and use a point-blank AoE. Then, it’ll spawn a tethered arrow on another portion of the arena and count down using the green orbs around it.
Once the countdown is over, it’ll dash toward the arrow and use its AoE that applies a stacking “Vulnerability Up” debuff for 60 seconds. Move away from the tethered area before the countdown finishes. - Spectral Whirlwind: A room-wide AoE attack.
- Spectral Gust: Targeted circle AoEs on all players. Spread out to avoid overlap.
- Chicken Knife + Coward’s Cunning: The boss will spawn knives around the arena that will use narrow line AoEs. Each AoE applies a stacking “Vulnerability Up” debuff for 60 seconds.
- Shadowdash: The boss will spawn two tethered arrows that it’ll dash toward for room-wide column attacks after counting down, similar to “Dash.” Each column attack applies a stacking “Vulnerability Up” debuff for 60 seconds.
Rewards
| Name | Type | Rarity |
|---|---|---|
| Shadowless Bracelet of Aiming | Bracelets | Dungeon (Green) |
| Shadowless Bracelet of Casting | Bracelets | Dungeon (Green) |
| Shadowless Bracelet of Fending | Bracelets | Dungeon (Green) |
| Shadowless Bracelet of Healing | Bracelets | Dungeon (Green) |
| Shadowless Bracelet of Slaying | Bracelets | Dungeon (Green) |
| Shadowless Boots of Casting | Feet | Dungeon (Green) |
| Shadowless Boots of Healing | Feet | Dungeon (Green) |
| Shadowless Greaves of Fending | Feet | Dungeon (Green) |
| Shadowless Greaves of Maiming | Feet | Dungeon (Green) |
| Shadowless Sabatons of Aiming | Feet | Dungeon (Green) |
| Shadowless Sabatons of Scouting | Feet | Dungeon (Green) |
| Shadowless Sabatons of Striking | Feet | Dungeon (Green) |
| Shadowless Ring of Aiming | Ring | Dungeon (Green) |
| Shadowless Ring of Casting | Ring | Dungeon (Green) |
| Shadowless Ring of Fending | Ring | Dungeon (Green) |
| Shadowless Ring of Healing | Ring | Dungeon (Green) |
| Shadowless Ring of Slaying | Ring | Dungeon (Green) |
Boss #2: Spectral Necromancer
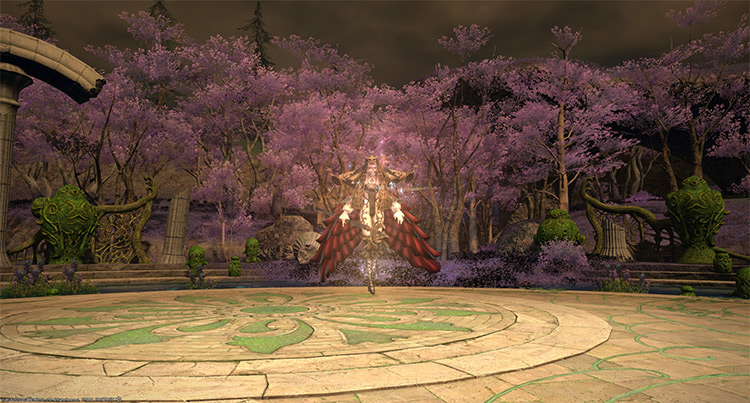
Mechanics
- Absolute Dark II: A 120-degree frontal cone AoE that applies a 14-second “Doom” debuff. Dispel the debuff immediately.
- Necromancy + Necroburst: The boss will spawn untargetable “Necrobomb” mobs that will tether to each player. Each mob can either be upright or crawling. The crawling bombs will bind players in place.
After some time, the boss will use “Necroburst” to force the bombs to explode into point-blank AoEs. Spread the bombs out to avoid overlapping damage, especially if you’re bound. - Twisted Touch: A red tankbuster marker on the primary target. Shield and heal through the damage.
- Chaos Storm: A room-wide AoE attack.
- Pain Mire: Massive circle AoEs covering half the arena that will leave “Bleeding” DoT puddles.
- Dark Deluge: Ground AoEs on each player that applies a stacking “Vulnerability Up” debuff for 60 seconds.
Rewards
| Name | Type | Rarity |
|---|---|---|
| Shadowless Earrings of Aiming | Earrings | Dungeon (Green) |
| Shadowless Earrings of Casting | Earrings | Dungeon (Green) |
| Shadowless Earrings of Fending | Earrings | Dungeon (Green) |
| Shadowless Earrings of Healing | Earrings | Dungeon (Green) |
| Shadowless Earrings of Slaying | Earrings | Dungeon (Green) |
| Shadowless Gloves of Aiming | Hands | Dungeon (Green) |
| Shadowless Gloves of Casting | Hands | Dungeon (Green) |
| Shadowless Gloves of Healing | Hands | Dungeon (Green) |
| Shadowless Gloves of Scouting | Hands | Dungeon (Green) |
| Shadowless Gloves of Striking | Hands | Dungeon (Green) |
| Shadowless Vambraces of Fending | Hands | Dungeon (Green) |
| Shadowless Vambraces of Maiming | Hands | Dungeon (Green) |
| Shadowless Mask of Aiming | Head | Dungeon (Green) |
| Shadowless Mask of Fending | Head | Dungeon (Green) |
| Shadowless Mask of Maiming | Head | Dungeon (Green) |
| Shadowless Mask of Scouting | Head | Dungeon (Green) |
| Shadowless Mask of Striking | Head | Dungeon (Green) |
| Shadowless Petasos of Casting | Head | Dungeon (Green) |
| Shadowless Petasos of Healing | Head | Dungeon (Green) |
| Shadowless Necklace of Aiming | Necklace | Dungeon (Green) |
| Shadowless Necklace of Casting | Necklace | Dungeon (Green) |
| Shadowless Necklace of Fending | Necklace | Dungeon (Green) |
| Shadowless Necklace of Healing | Necklace | Dungeon (Green) |
| Shadowless Necklace of Slaying | Necklace | Dungeon (Green) |
Boss #3: Spectral Berserker
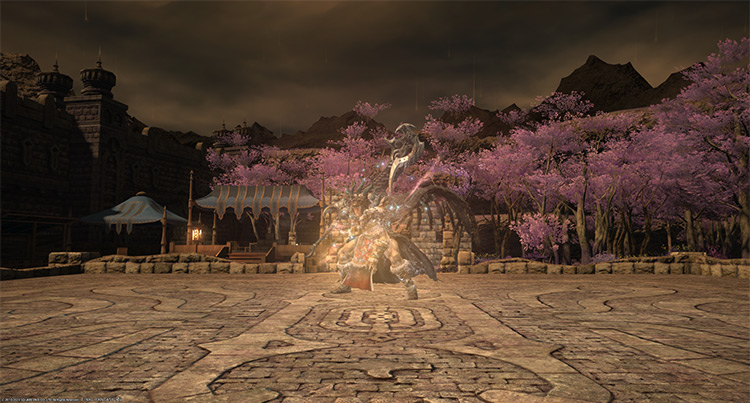
Mechanics
- Beastly Fury: A room-wide AoE attack that converts parts of the arena into “Bleeding” DoT areas. Stay inside the cross-shaped safe zone at all times.
- Wild Anguish: Stack markers that apply “Magic Vulnerability Up” debuffs for 3 seconds.
- Raging Slice: The boss will turn toward a player for a non-telegraphed column attack that applies a stacking “Vulnerability Up” debuff for 60 seconds. This attack can be used up to three times in a row.
- Wild Rage: A blue knockback marker will appear on one of the four cardinal directions. Then, the boss will slam toward it, leaving a massive crater. Position yourself near the marker to get knocked into a safe zone.
- Falling Rock + Wild Anguish: All players will receive red markers that will cause rocks to fall from the sky. Spread these out for the incoming “Wild Anguish” attacks. You’ll need to stack with your own set of rocks to survive your stack marker due to the “Magic Vulnerability Up” debuffs.
- Wild Rampage: A massive AoE that covers the entire arena. To survive this, you need to stand inside a crater before it goes off. Do note that standing in the crater will result in a stacking “A Bit Berserk” status that goes up to eight stacks.
If you reach the maximum amount of stacks, you’ll receive a 10-second “Truly Berserk” debuff that will cause you to hit yourself and will most likely kill you. Stand inside a crater near the end of the “Wild Rampage” cast to avoid getting too many stacks of “A Bit Berserk.”
Rewards
| Name | Type | Rarity |
|---|---|---|
| Shadowless Coat of Aiming | Body | Dungeon (Green) |
| Shadowless Coat of Fending | Body | Dungeon (Green) |
| Shadowless Coat of Maiming | Body | Dungeon (Green) |
| Shadowless Coat of Scouting | Body | Dungeon (Green) |
| Shadowless Coat of Striking | Body | Dungeon (Green) |
| Shadowless Robe of Casting | Body | Dungeon (Green) |
| Shadowless Robe of Healing | Body | Dungeon (Green) |
| Shadowless Bottoms of Casting | Legs | Dungeon (Green) |
| Shadowless Bottoms of Healing | Legs | Dungeon (Green) |
| Shadowless Hose of Aiming | Legs | Dungeon (Green) |
| Shadowless Hose of Scouting | Legs | Dungeon (Green) |
| Shadowless Hose of Striking | Legs | Dungeon (Green) |
| Shadowless Skirt of Fending | Legs | Dungeon (Green) |
| Shadowless Trousers of Maiming | Legs | Dungeon (Green) |
| Ephemeral Necromancer | Minion | Basic |
| Where All Roads Lead Orchestrion Roll | Orchestrion Roll | Basic |
Extra Treasure Coffers
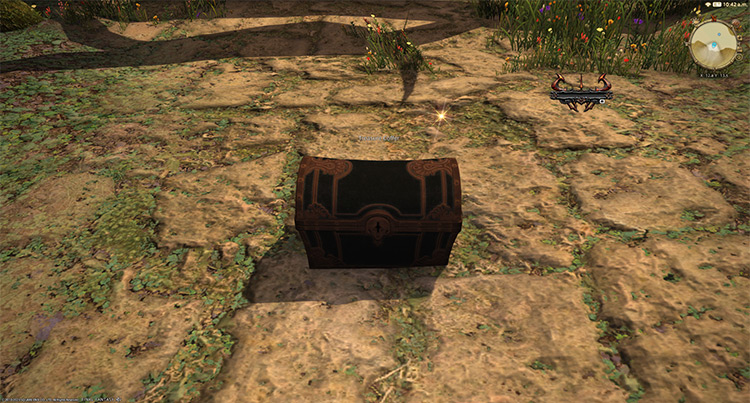
Apart from the boss rewards, there are four treasure coffers located throughout the dungeon that you can open for more gear and materia rewards. Here are their coordinates:
- (X:9.5, Y:10.1)
- (X:12.7, Y:13.6)
- (X:10.9, Y:11.5)
- (X:13.3, Y:12.1)
-
Final Fantasy XIV
- FFXIV The Heroes’ Gauntlet: Unlock + Boss Guide
Related Posts:
 FFXIV Dohn Mheg: How To Unlock + Boss Guide
 FFXIV The Qitana Ravel: Unlock + Boss Guide
 FFXIV Malikah’s Well: How To Unlock + Dungeon Guide
 FFXIV Holminster Switch: How To Unlock + Boss Guide
 FFXIV Bardam’s Mettle: How To Unlock + Full Boss Guide
 FFXIV Lapis Manalis: Unlock + Dungeon Boss Guide
 FFXIV The Temple of the Fist: Unlock + Boss Guide
 FFXIV Shisui of the Violet Tides: Unlock + Boss Guide