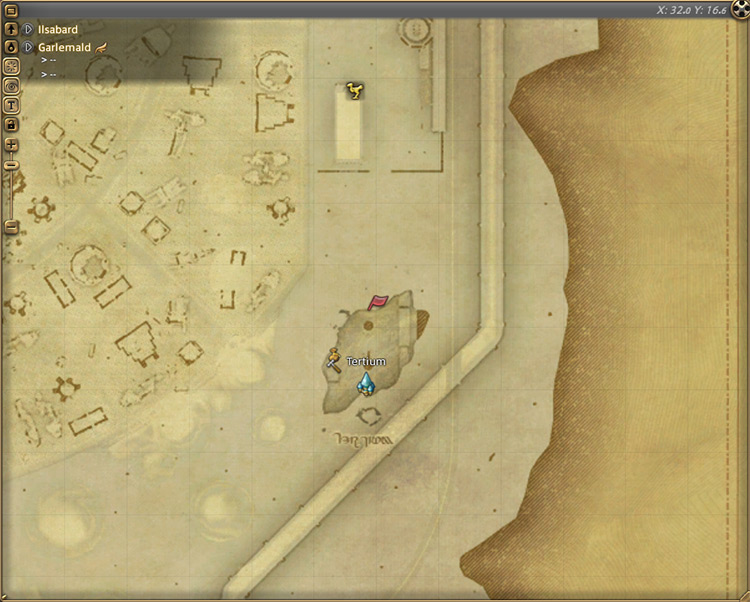
The Level 90 dungeon Lapis Manalis can be unlocked by accepting the Level 90 MSQ “King of the Mountain” from Alphinaud in Garlemald (X:32, Y:16.6). This MSQ is part of the patch 6.3 main storyline for the Endwalker expansion.
In this guide we’ll cover how to unlock the dungeon, how to handle all of the boss mechanics, and we’ll provide a list of all the loot you can get along the way.
TABLE OF CONTENTS
Step-by-Step Unlock Guide
- Accept the Level 90 MSQ “King of the Mountain” from Alphinaud in Garlemald (X:32.0, Y:16.6).
- Interact with the destination point nearby in Garlemald (X:32.0, Y:16.6).
- Speak with the Spirited Engineer in Garlemald (X:30.7, Y:35.8).
Detailed Unlocking Guide
Lapis Manalis is an expert-level dungeon introduced in patch 6.3 of the Endwalker expansion and can only be unlocked by accepting the Level 90 MSQ “King of the Mountain” from Alphinaud in Garlemald (X:32, Y:16.6).
You’ll need to finish every MSQ leading up to “King of the Mountain” before it can be unlocked, including MSQs from previous expansions. Once you’ve caught up with the story then just talk to Alphinaud to begin.
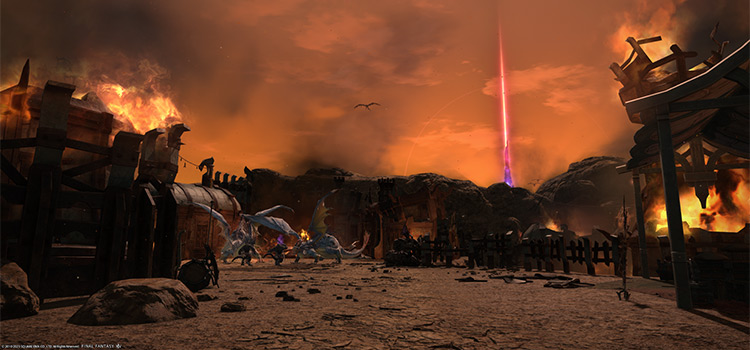
After defeating the horde of voidsent near the Garlean encampment, Alphinaud is now focused on determining the origins of the horde. Interact with the destination point nearby to wait for the rest of your allies to arrive.
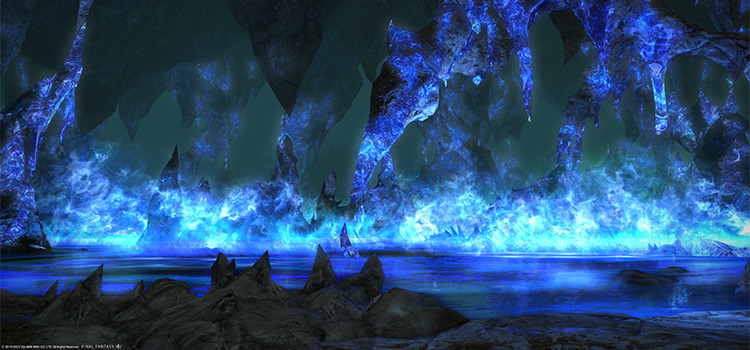
In the ensuing cutscene, the group agrees to continue investigating Lapis Manalis in hopes of finding the void gate.
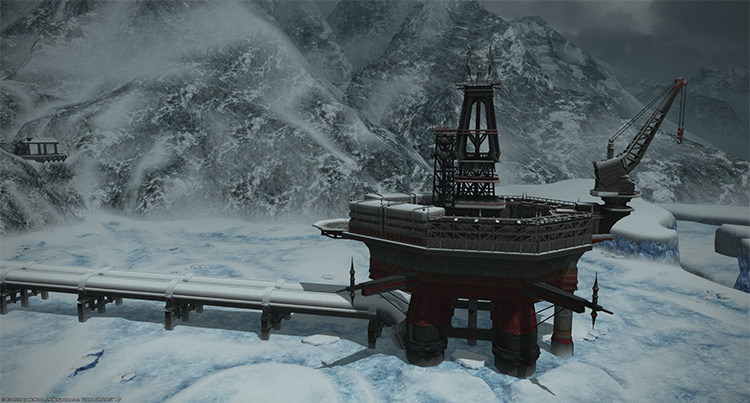
Y’shtola reports that the engineers are hard at work repairing the snowcraft needed to traverse the harsh environment.
After finalizing the plan, talk to the Spirited Engineer in Garlemald (X:30.7, Y:35.8) to continue.
A brief cutscene will trigger after talking to the engineer before Lapis Manalis is unlocked. This dungeon requires at least a Level 90 Disciple of War or Magic job and an average item level of 590 to enter.
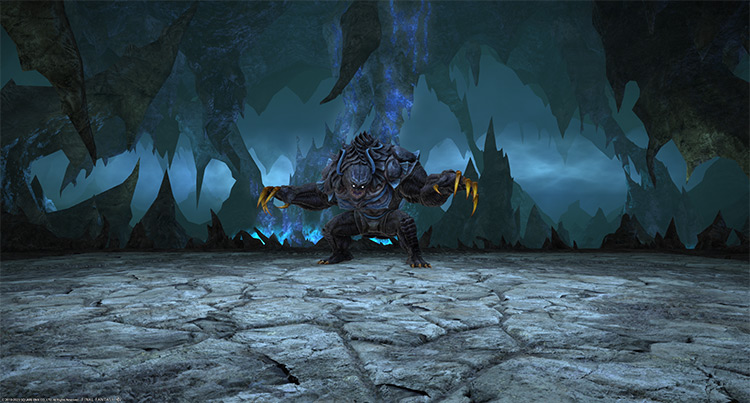
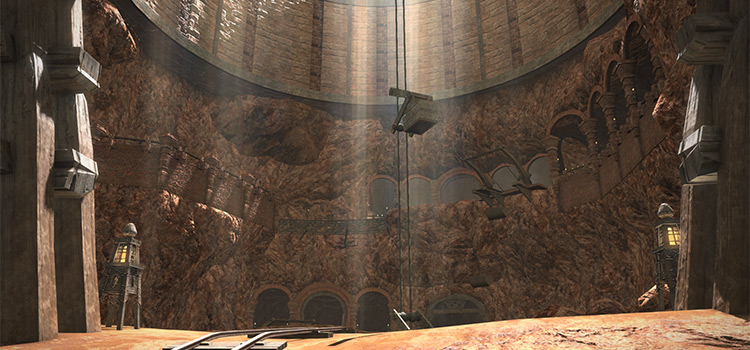
Boss #1: Albion
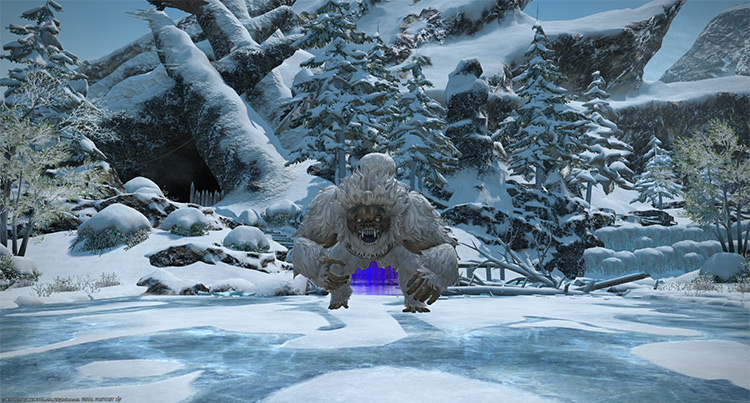
Most of the boss’ attacks apply stacking “Vulnerability Up” debuffs for 60 seconds.
Mechanics
- Call of the Mountain: A prompt will appear saying “A rumbling in the distance draws closer…” After a few seconds, animals will charge across from one side of the arena, telegraphed by a rumbling snow effect. Getting hit by the stampede of animals will result in a 21-second “Concussion” DoT that can be dispelled.
- Albion’s Embrace: A red tankbuster marker on the primary target. Use mitigation skills and heal through the damage.
- Right or Left Slam: The boss will jump to the center and slam one of its sides.
- Knock on Ice + Icebreaker: Three ground AoEs will appear and drop piles of icy rocks. Afterward, the boss will tether to one of them, causing it to explode into a massive ground AoE. Run away from the tethered rock formation.
- Icy Throes: Targeted circle AoEs on random players while additional ground AoEs spawn. Spread out to prevent overlapping damage.
- Roar of Albion: A room-wide AoE attack that deals massive damage. Hide behind a rock formation to avoid getting hit.
Rewards
| Name | Type | Rarity |
|---|---|---|
| Manalis Coat of Casting | Body | Dungeon (Green) |
| Manalis Coat of Healing | Body | Dungeon (Green) |
| Manalis Coat of Maiming | Body | Dungeon (Green) |
| Manalis Dolman of Aiming | Body | Dungeon (Green) |
| Manalis Mail of Fending | Body | Dungeon (Green) |
| Manalis Mail of Scouting | Body | Dungeon (Green) |
| Manalis Mail of Striking | Body | Dungeon (Green) |
| Manalis Wristband of Aiming | Bracelets | Dungeon (Green) |
| Manalis Wristband of Casting | Bracelets | Dungeon (Green) |
| Manalis Wristband of Fending | Bracelets | Dungeon (Green) |
| Manalis Wristband of Healing | Bracelets | Dungeon (Green) |
| Manalis Wristband of Slaying | Bracelets | Dungeon (Green) |
| Manalis Chapeau of Maiming | Head | Dungeon (Green) |
| Manalis Circlet of Fending | Head | Dungeon (Green) |
| Manalis Hat of Casting | Head | Dungeon (Green) |
| Manalis Hat of Healing | Head | Dungeon (Green) |
| Manalis Helm of Scouting | Head | Dungeon (Green) |
| Manalis Helm of Striking | Head | Dungeon (Green) |
| Manalis Turban of Aiming | Head | Dungeon (Green) |
| Manalis Ring of Aiming | Ring | Dungeon (Green) |
| Manalis Ring of Casting | Ring | Dungeon (Green) |
| Manalis Ring of Fending | Ring | Dungeon (Green) |
| Manalis Ring of Healing | Ring | Dungeon (Green) |
| Manalis Ring of Slaying | Ring | Dungeon (Green) |
| Battledance Materia IX | Materia | Basic |
| Heavens’ Eye Materia IX | Materia | Basic |
| Piety Materia IX | Materia | Basic |
| Quickarm Materia IX | Materia | Basic |
| Quicktongue Materia IX | Materia | Basic |
| Savage Aim Materia IX | Materia | Basic |
| Savage Might Materia IX | Materia | Basic |
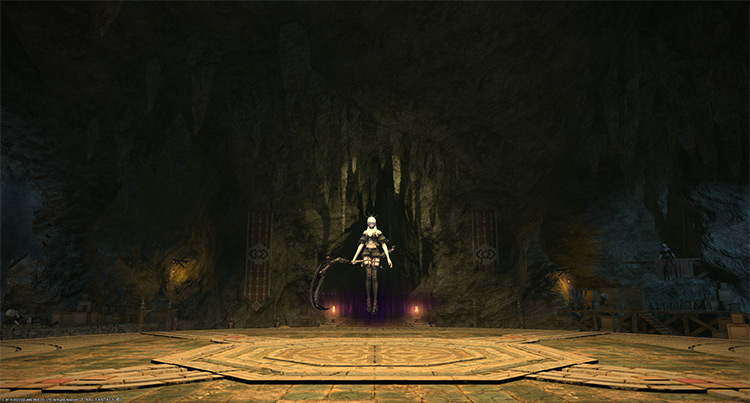
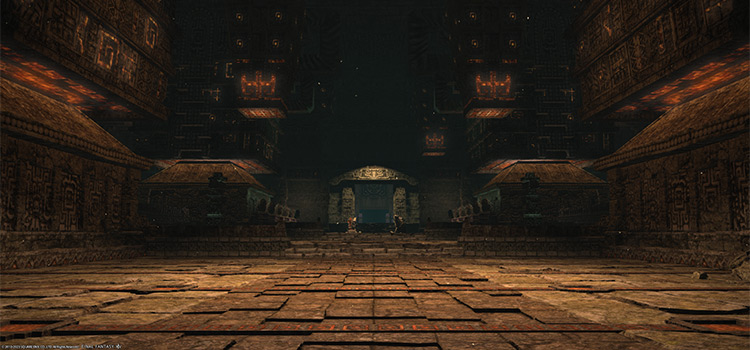
Boss #2: Galatea Magna
Mechanics
- Waning Cycle and Waxing Cycle: A room-wide donut AoE immediately followed by a point-blank AoE. Both AoEs apply a “Sustained Damage” DoT for 14 seconds. These attacks can happen vice-versa, so remember to avoid that follow-up AoE.
- Soul Scythe: The boss will turn to one side and spawn a late-telegraphed circle AoE. Run behind it to avoid.
-
Soul Nebula + Scarecrow Chase: A room-wide AoE attack that spawns numbered void gates. Then, the boss will telegraph a cross-shaped AoE on her intercardinal directions before teleporting to each void gate based on the numbered order and unleashing her attack.
Getting hit by the column attacks will result in a stacking “Vulnerability Up” debuff for 60 seconds and a “Doom” debuff for 14 seconds that must be dispelled immediately. Position yourselves according to the location of each void gate. -
Tenebrism + Burst: All players will receive a “Glassy-eyed” debuff which spawns a look-away marker above each player’s head. Face your character away from everyone before the timer expires to avoid the 10-second “Petrifaction” debuff.
At the same time, players must stand on each of the four meteor circles that will appear to prevent room-wide AoE attacks.
Performance Evaluation Rankings
At the end of the fight, the boss will have unique lines associated with your performance during the battle (mainly how fast you defeated the boss). The rankings range from 1 to 12, with 1 being the highest rank.
- Rank 1: “Evaluation complete. Evaluation Ranking: 1. Even the great rulers of voidsent would struggle to contend with such strength.“
- Rank 2: ”Evaluation complete. Evaluation Ranking: 2. Impossible… Only Rullus has achieved such a feat.”
- Rank 3: “Evaluation complete. Evaluation Ranking: 3. A spectacular performance. Such strength might even prove a match for Galatea herself were she still alive.”
- Rank 5: “Evaluation complete. Evaluation Ranking: 5. A commendable performance. Such strength would prove a match for even knight-class voidsent.”
- Rank 7: “Evaluation complete. Evaluation Ranking: 7. A respectable performance. Such strength would prove a match for even warrior-class voidsent.”
- Rank 9: “Evaluation complete. Evaluation Ranking: 9. Your mastery of fundamentals will carry you far. Continue your training and seek ever greater heights.”
- Rank 12: “Evaluation complete. Evaluation Ranking: 12. Not even the lowest order of voidsent would be daunted by such meager strength.”
- If you run the dungeon using Duty Support with Zero in your party: “Evaluation complete. An equal to Drusilla. Extraordinary…”
Rewards
| Name | Type | Rarity |
|---|---|---|
| Manalis Earrings of Aiming | Earrings | Dungeon (Green) |
| Manalis Earrings of Casting | Earrings | Dungeon (Green) |
| Manalis Earrings of Fending | Earrings | Dungeon (Green) |
| Manalis Earrings of Healing | Earrings | Dungeon (Green) |
| Manalis Earrings of Slaying | Earrings | Dungeon (Green) |
| Manalis Boots of Casting | Feet | Dungeon (Green) |
| Manalis Boots of Healing | Feet | Dungeon (Green) |
| Manalis Boots of Maiming | Feet | Dungeon (Green) |
| Manalis Greaves of Aiming | Feet | Dungeon (Green) |
| Manalis Sabatons of Fending | Feet | Dungeon (Green) |
| Manalis Sabatons of Scouting | Feet | Dungeon (Green) |
| Manalis Sabatons of Striking | Feet | Dungeon (Green) |
| Manalis Dress Gloves of Casting | Hands | Dungeon (Green) |
| Manalis Gauntlets of Fending | Hands | Dungeon (Green) |
| Manalis Gauntlets of Scouting | Hands | Dungeon (Green) |
| Manalis Gauntlets of Striking | Hands | Dungeon (Green) |
| Manalis Gloves of Aiming | Hands | Dungeon (Green) |
| Manalis Halfgloves of Healing | Hands | Dungeon (Green) |
| Manalis Halfgloves of Maiming | Hands | Dungeon (Green) |
| Manalis Choker of Aiming | Necklace | Dungeon (Green) |
| Manalis Choker of Casting | Necklace | Dungeon (Green) |
| Manalis Choker of Fending | Necklace | Dungeon (Green) |
| Manalis Choker of Healing | Necklace | Dungeon (Green) |
| Manalis Choker of Slaying | Necklace | Dungeon (Green) |
Boss #3: Cagnazzo
After the boss uses “Stygian Deluge” for the first time, the outer edges of the arena will turn into a danger zone that applies a constant “Dropsy” DoT to anyone that stands in it.
Mechanics
Phase 1: Antediluvian and Hydraulic Ram
- Stygian Deluge: A room-wide AoE attack.
- Antediluvian: The boss will spawn three sets of water spheres that will eventually drop and explode into massive circle AoEs that apply stacking “Vulnerability Up” debuffs for 60 seconds. Determine which spheres will drop first and dodge accordingly.
- Body Slam: A room-wide knockback attack from the center during “Antediluvian.” Position yourselves to be knocked away from the “Antediluvian” water spheres. Knockback-immunity skills will not work for this mechanic.
- Hydraulic Ram: The boss will move to the north and telegraph multiple column attacks and ground AoEs in quick succession. Each AoE applies stacking “Vulnerability Up” debuffs for 60 seconds.
- Hydrofall: A stack marker on a random player. Stand with the affected player to share incoming damage.
Phase 2: Cursed Tide and Tsunami
- Cursed Tide: Applies one of two mechanic timers on each player:
- Spring Tide: The affected player will receive a stack marker after 28 seconds.
- Neap Tide: The affected players will receive targeted circle AoEs after 17 seconds.
- Fearsome Floatsam: Four towers that charge the “Cagnazzo Power” gauge. Destroy these towers as soon as possible.
- Hydrovent: Ground AoEs that knock players upward and applies a stacking “Vulnerability Up” debuff for 60 seconds.
- Tsunami: A room-wide ultimate AoE attack that deals damage based on the “Cagnazzo’s Power” gauge. Destroy the towers before the gauge reaches 100 to survive.
Phase 3: Cleaver Attacks and Void Torrent
Note that the boss will still use mechanics from Phase 1 along with the new attacks introduced in this phase. Both cleaver attacks also apply stacking “Vulnerability Up” debuffs for 60 seconds.
- Voidcleaver: A room-wide AoE attack followed by four void tears that will tether to each player. After a few seconds, the tethers will spawn room-wide frontal cone AoEs. Point your tether toward the edges to reduce the AoE’s coverage.
- Lifescleaver: The boss will move to the center and spawn omnidirectional conal AoEs. This mechanic will overlap with “Voidcleaver.”
- Void Torrent: A line tankbuster marker on the primary target. Face the boss away from the party and mitigate the damage.
Rewards
- Cagnazzo Triple Triad Card (not guaranteed)
| Name | Type | Rarity |
|---|---|---|
| Manalis Coat of Casting | Body | Dungeon (Green) |
| Manalis Coat of Healing | Body | Dungeon (Green) |
| Manalis Coat of Maiming | Body | Dungeon (Green) |
| Manalis Dolman of Aiming | Body | Dungeon (Green) |
| Manalis Mail of Fending | Body | Dungeon (Green) |
| Manalis Mail of Scouting | Body | Dungeon (Green) |
| Manalis Mail of Striking | Body | Dungeon (Green) |
| Manalis Bottoms of Aiming | Legs | Dungeon (Green) |
| Manalis Bottoms of Fending | Legs | Dungeon (Green) |
| Manalis Bottoms of Healing | Legs | Dungeon (Green) |
| Manalis Bottoms of Maiming | Legs | Dungeon (Green) |
| Manalis Bottoms of Scouting | Legs | Dungeon (Green) |
| Manalis Bottoms of Striking | Legs | Dungeon (Green) |
| Manalis Trousers of Casting | Legs | Dungeon (Green) |
| Pearl of Tides | Crafting material | Basic |
| Wind-up Cagnazzo | Minion | Basic |
| Deep Blue Orchestrion Roll | Orchestrion Roll | Basic |
Extra Treasure Coffers
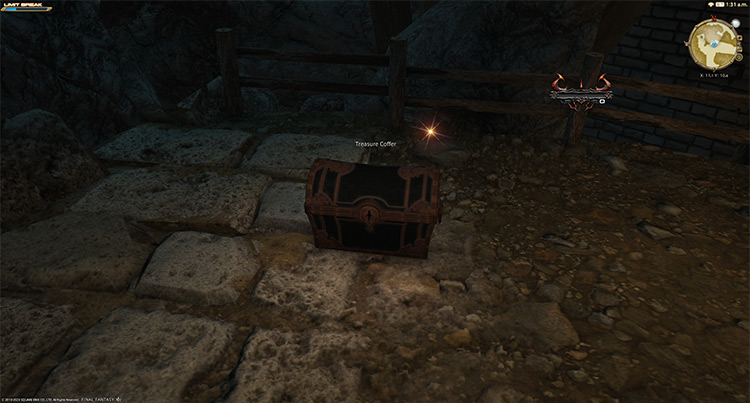
Apart from the boss rewards, there are four treasure coffers located throughout the dungeon that you can open for more gear and materia rewards:
- (X:11.1, Y:10.6)
- (X:11.0, Y:9.7)
- (X:10.8, Y:11.3)
- (X:12.4, Y:10.4)
Lore Readings
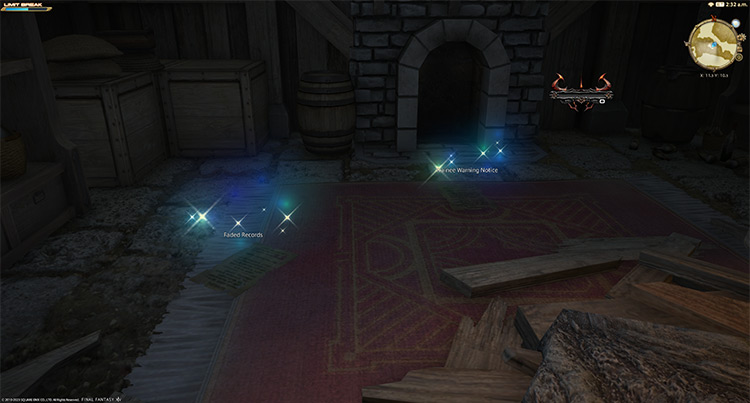
Listed below are the locations of the four reading materials you can interact with inside Lapis Manalis that talks about the hidden village of the Reapers and its history:
- (X:12.3, Y:10.5)
- (X:11.3, Y:10.4)
- (X:11.2, Y:10.4)
- (X:11.4, Y:9.5)
-
Final Fantasy XIV
- FFXIV Lapis Manalis: Unlock + Dungeon Boss Guide
Related Posts:
 FFXIV The Fell Court of Troia: Unlock + Dungeon Guide
 FFXIV Alzadaal’s Legacy: How To Unlock + Dungeon Guide
 FFXIV The Aetherfont: Unlock + Dungeon Boss Guide
 FFXIV Anamnesis Anyder: How To Unlock + Boss Guide
 FFXIV Malikah’s Well: How To Unlock + Dungeon Guide
 FFXIV The Qitana Ravel: Unlock + Boss Guide
 FFXIV Paglth’an: How To Unlock + Dungeon Guide
 FFXIV The Grand Cosmos: Unlock + Boss Guide