Daemon’s Court is a dungeon in Final Fantasy Crystal Chronicles available for players to challenge from Year 3 onward.
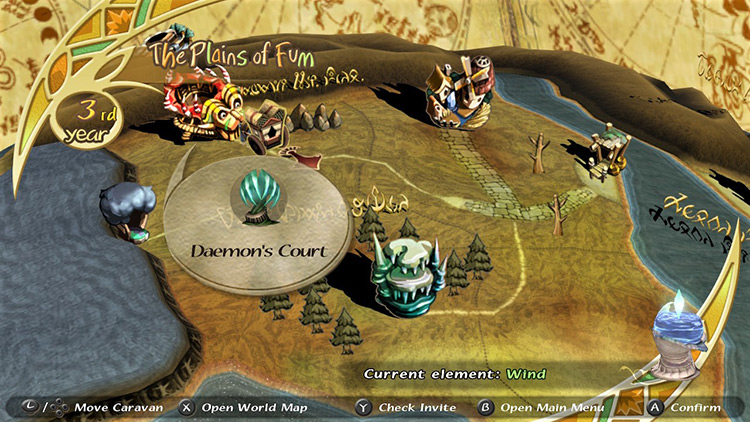
It’s located on the northwestern corner of the Fields of Fum region, accessible by crossing the Jegon River from the port in Iron Mine Downs.
There’s no specific, set-in-stone order in which you need to do things, but here’s a good sequence to follow for easy completion:
- Collect all necessary magicite (especially Cure).
- Get your Moogle Stamp.
- Locate two golden Lizardmen and defeat them for the keys to the boss room.
- Challenge the Lizardman King.
You should also check out an optional objective that will help you out on a later dungeon, but we’ll get to that in step #3.
TABLE OF CONTENTS
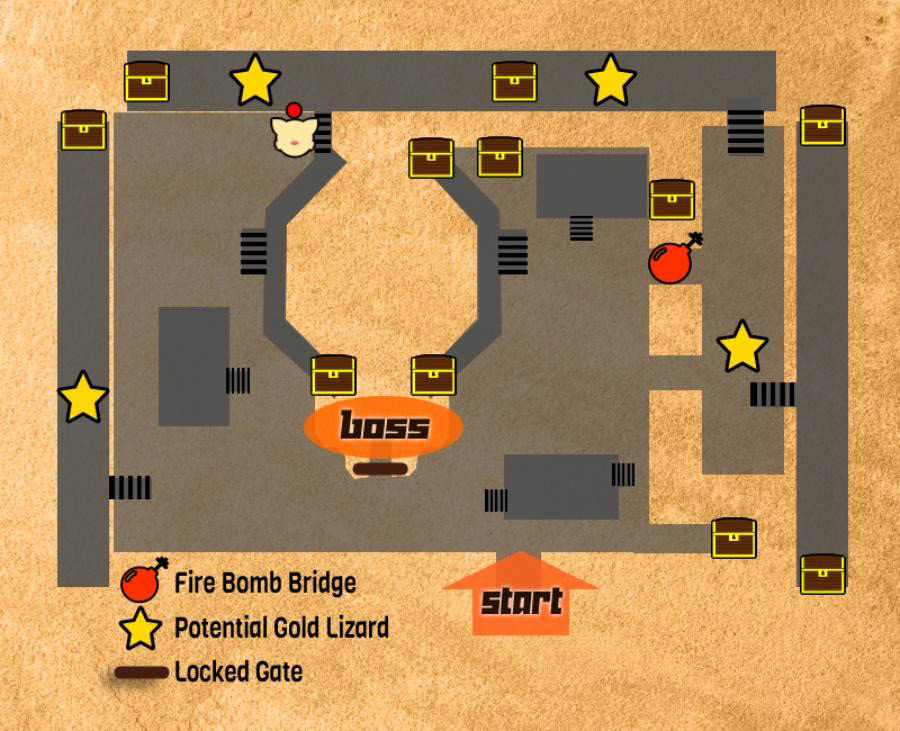
Map
Walkthrough
The boss room is just a few steps to the left of your starting position, but you’ll need a couple of keys to open it.
These keys are carried by specific Lizardmen enemies that wander certain map areas.
I’ll tell you where to get them, but there are a few things you should do first.
Step #1: Collect Magicites in the Central Area
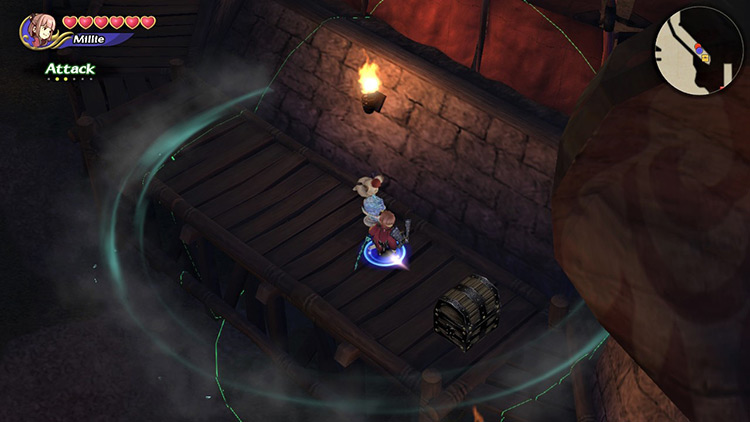
Take a right immediately after entering the dungeon and continue in this direction until you reach a chest.
This chest has a 25% chance of dropping any elemental magicites or Cure.
Cure is necessary in Daemon’s Court due to the sheer number of enemies stalking this monster camp. Keep combat to a minimum until you have it.
The next place you might find Cure lies to the left of the boss room gate.
Run back to the left, past the dungeon’s entrance and the boss gate. You’ll be attacked by a Coeurl and a Killer Bee.
Follow the edge of the massive tent, walking north until you hit some stairs that allow you to get on the catwalk above. Turn south immediately after climbing the stairs.
Fight through a black Lizardman enemy to finally reach a Chest with Cure.
Our next priority should be getting Raise so we can fuse Holy and damage the abundant Wraiths roaming around the courtyard.
Tip: Wraiths must be hit by Holy (Thunder/Fire/Blizzard + Raise) before they can take damage.
Raise is on the catwalk opposite this one, to the right of the boss gate.
Retrace your steps back to the boss gate, then go around the right side of the tent until hitting a set of stairs.
Go south immediately after climbing, and you’ll find the chest containing Raise.
Now that you have Holy, nothing can resist you, so clear the rest of the courtyard.
Start by collecting the two treasure chests to the north of here.
You’ll find the first just by walking north, past the stairs you climbed to come up here. The second one is down the stairs and immediately to the north, left of a wooden platform.
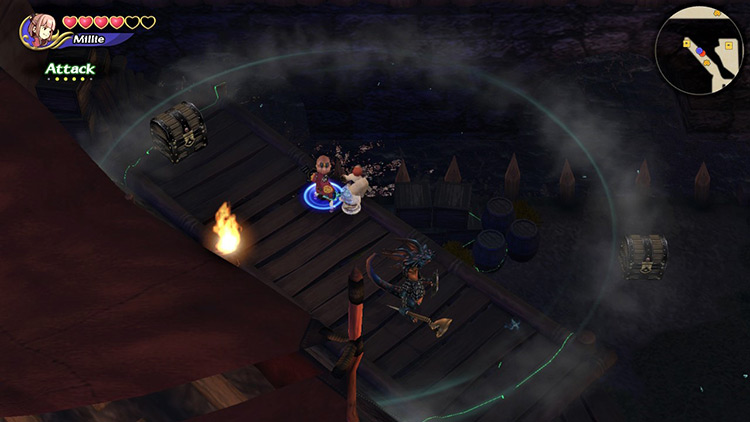
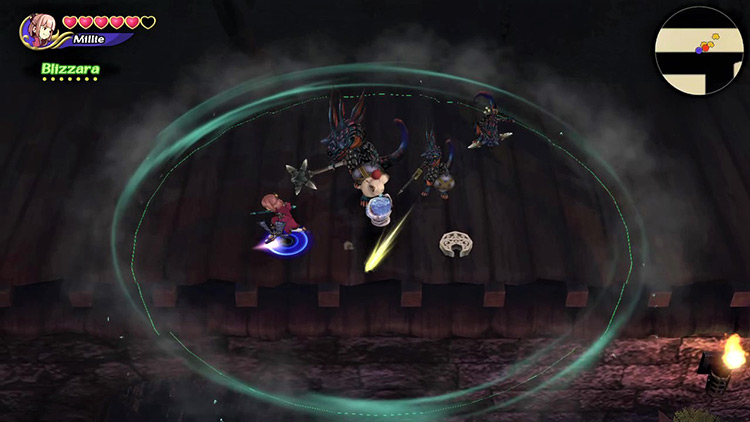
The enemies in these platforms are primarily large Lizard Captains. These foes will drop more magicites so you can make more powerful spells, so kill at least a couple of them.
Tip: Blizzara is recommended, as most of the remaining enemies are Lizardmen, who’re weak to Blizzard and easily frozen.
You can use the catapults scattered all around the courtyard to damage enemies in front of them.
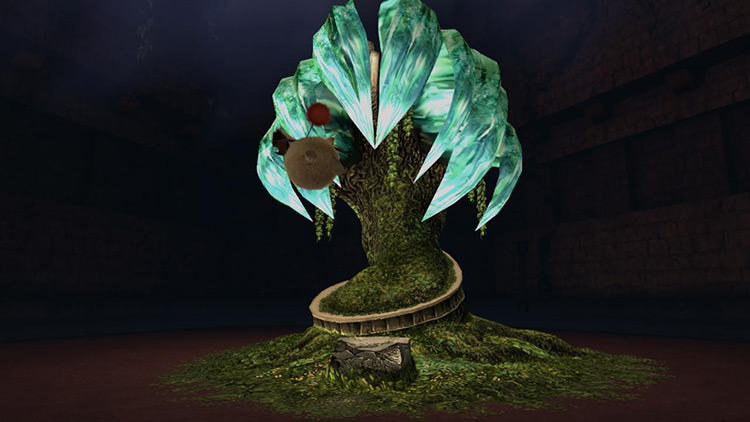
Step #2: Finding the Moogle Nest
Before we find the keys to the boss room, we need to get our Moogle Stamp.
To find the Moogle Nest, head to the northeastern corner of the courtyard, then walk straight to the right and look around under the catwalk to find a hidden Moogle Nest.
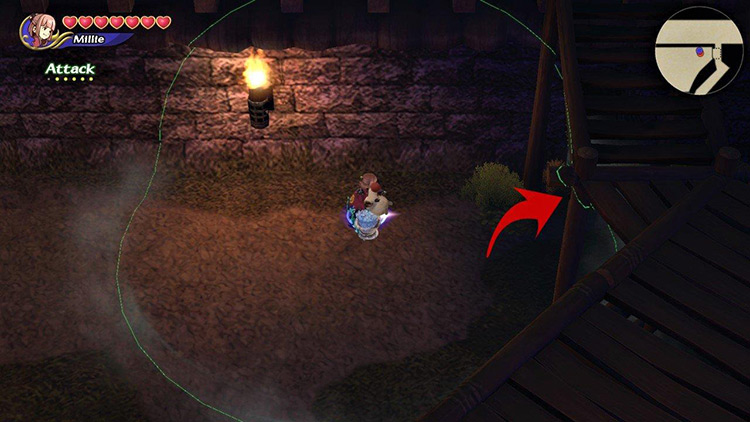
Once you’ve collected your stamp, we can move on to the next step.
Step #3: Locate the Golden Lizardmen
The two keys needed to open the boss gate are carried by two Lizardmen Warriors with golden accents on their heads.

They’re faster than the average Lizardman, and they’ll desperately try to get away from you while shooting projectiles in your direction.
Regrettably, they spawn separately in random locations near the edges of the map.
This includes the wooden ramparts and the small ground-level area right of the river on the east side of the map.
There is also treasure on the ramparts, so you should explore each of them even if you get the keys immediately.
There are:
- One chest on the western ramparts
- Two chests along the northern ramparts
- A chest on each end of the eastern ramparts
These areas are packed full of Lizardmen and Lizard Captains.
Exercise caution, as these are some of the largest enemy groups you’ve fought so far.
Tip: Blizzara can quickly freeze crowds of Lizardmen and should make this a lot easier.
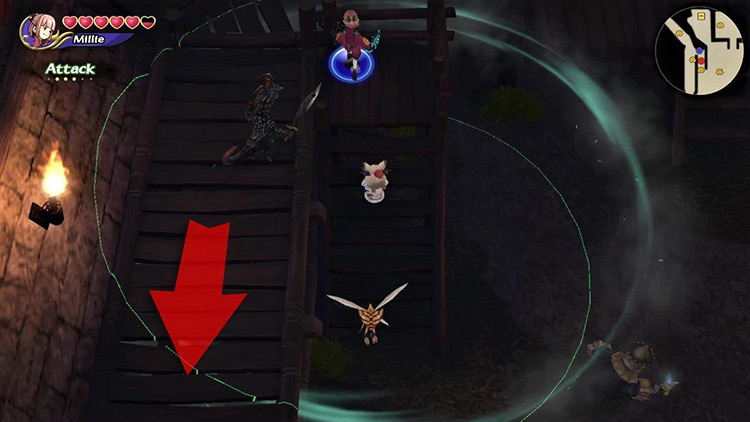
Optional: Blow Up the Bridge
Two bridges cross the canal on the east side of the courtyard.
The southern bridge is made of stone and passable, while the northern one is made of wood and can’t be traversed by the players.
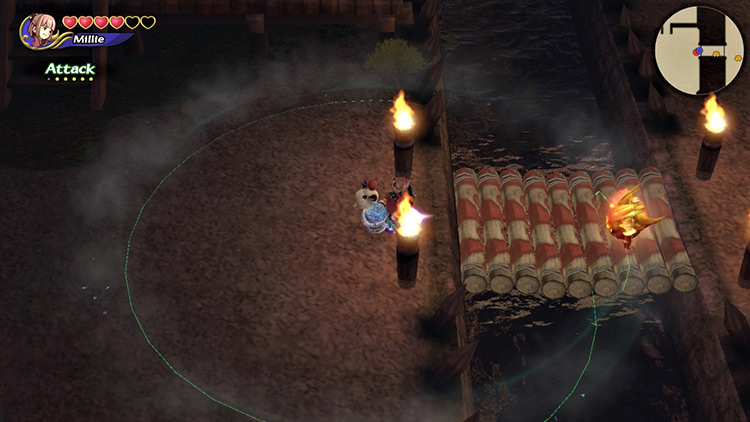
Killing the Fire Bomb roaming on the wooden bridge should cause it to collapse due to the Bomb’s self-destruction.
Ideally, you want to do this twice to cause a change in a future dungeon: Conall Curach.
I recommend blowing it up, then leaving to the world map and returning to blow it up again right away before clearing Daemon’s Court.
This is especially important if this is your last dungeon in Year 3.
Step #4: Open the Gate
After defeating both Golden Lizardmen, all that’s left is carrying the crescent moon tokens to the boss gate.

Good thing you cleared the way beforehand.
Defeat any remaining enemies or collect treasure you might have missed, then step through the gate to face the camp’s leader.
Boss: Lizardman King
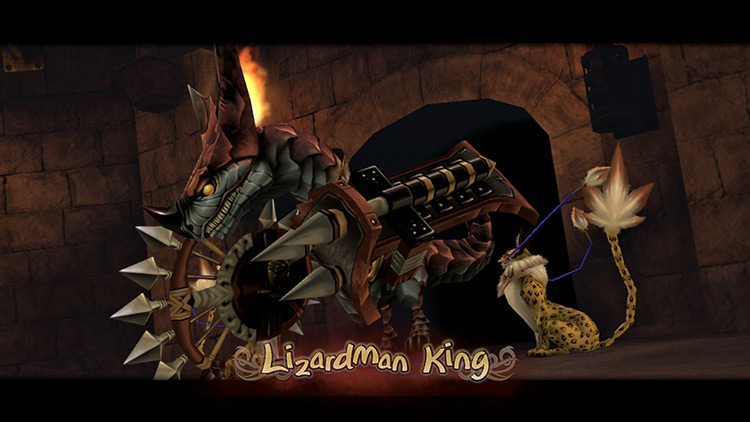
The Lizardman King is one of the most menacing enemies in the game, but the boss fight can be surprisingly easy.
Follow these simple tips, and you’ll take him out in no time.
Tip #1: Kill the Cats
Like all other bosses so far, the Lizardman King spawns with some supporters.
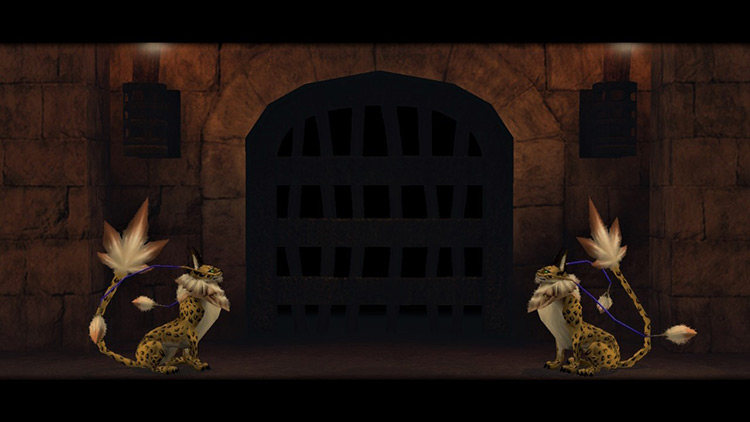
These include a couple of Coeurls that can make this fight unnecessarily difficult with their spellcasting if you don’t defeat them quickly.
Tip #2: Don’t Kill the Gecko
Along with the Coeurls, you’ll have to keep an eye on a Lizardman Warrior.
However, you may want to keep it alive.

Although it can and will attack you directly, it prefers to go around the map stepping on switches to activate a set of sawblades that’ll roll around the map.
They’re easy for you to dodge, but the boss will almost always take a hit or two.
Tip #3: Stay on the Sides
The Lizardman King has three moves.
- A mid-range forward thrust.
- A close-range spin attack.
- A multi-shot ranged attack.
Keeping a reasonable distance from the boss when it’s about to attack protects you from the spin attack. The other two can be avoided by running to the sides.
Attacking in a zig-zag pattern can make this battle surprisingly easy.
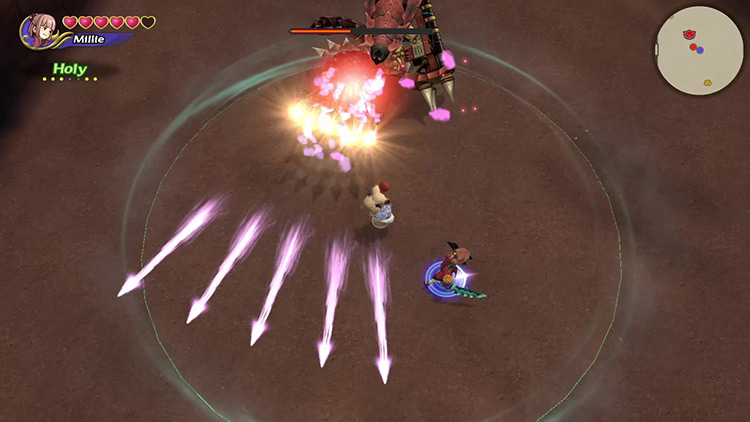
Tip #4: Weak to Holy
You want to attack the Lizardman King from a distance, but he is resistant to Fire, Blizzard, and Thunder.
Luckily, we still have the magicites we used to kill the Wraiths outside.
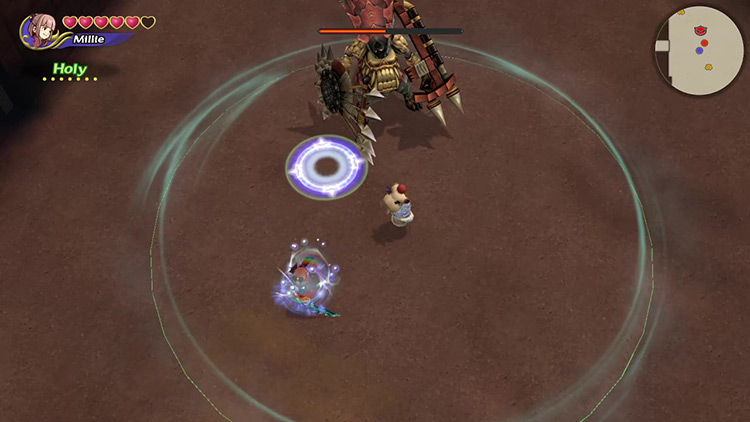
Just put Holy together in your Command List and bring divine justice to the Lizardman King.
It’s equally effective on the Coeurls.
Changes with Dungeon Cycles
The Lizardman King get new moves with each Cycle.
On Cycle 2, it’ll start shooting fire at you. On the next cycle, he shoots ice. Ice is arguably more troublesome because it can freeze you in place.
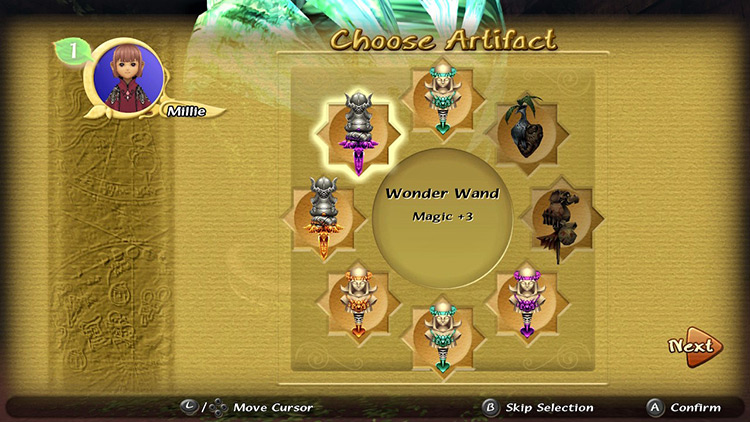
Obtainable Items
You’ll find Artifacts, crafting Recipes, and Materials throughout the dungeon. You get to keep all Recipes and Materials, but you can only choose one Artifact to take with you.
Chest Items
SCROLL
| Cycle | First | Second | Third |
|---|---|---|---|
| Recipes | Eyewear Techniques Master’s Weapon Warrior’s Weapon |
Eyewear Techniques Master’s Weapon Victorious Weapon |
Designer’s Glasses Master’s Weapon Mighty Weapon Valiant Weapon Victorious Weapon |
| Artifacts | Book of Light Cat’s Bell Chocobo Pocket Drill Engetsurin Faerie Ring Fang Charm Main Gauche Moon Pendant Power Wristband Rune Staff Twisted Headband |
Cat’s Bell Chocobo Pocket Engetsurin Faerie Ring Gold Hairpin Heavy Armband Mage’s Staff Main Gauche Masquerade Moon Pendant Rat’s Tail Twisted Headband |
Book of Light Chicken Knife Chocobo Pocket Giant’s Glove Gold Hairpin Heavy Armband Mage’s Staff Masquerade Moon Pendant Noah’s Lute Onion Sword Rat’s Tail Tome of Ultima |
Monster Items
SCROLL
| Cycle | First | Second | Third |
|---|---|---|---|
| Coeurl | Coeurl’s Whisker | Coeurl’s Whisker | Coeurl’s Whisker |
| Lizard Warrior | Iron Mythril |
Mythril | Alloy Mythril |
| Wraith | Heavenly Dust Holy Water |
Heavenly Dust Holy Water |
Heavenly Dust Holy Water |
Boss Items
Each boss has four drop pools per cycle.
Your Bonus Points determine which rewards you qualify to get. The higher your points, the more chances you have to get good rewards.
Higher ranks can randomly get any of the previous reward pools. There’s also a tiny chance that the contrary might happen, giving you higher-level rewards at low scores.
SCROLL
| Cycle | First | Second | Third |
|---|---|---|---|
| 0+ BP | Buckler Chocobo Pocket Loaded Dice Winged Cap |
Candy Ring Chocobo Pocket Maneater Rat’s Tail |
Giant’s Glove Moon Pendant Rune Bell Wonder Bangle |
| 103+ BP | Moon Pendant Shuriken Silver Spectacles Wonder Wand |
Double Axe Dragon’s Whisker Moon Pendant Sparkling Bracer |
Chocobo Pocket Dark Matter Ogrekiller Orichalcum (M) |
| 128+ BP | Candy Ring Chocobo Pocket Maneater Rat’s Tail |
Giant’s Glove Moon Pendant Rune Bell Wonder Bangle |
Diamond Gloves Flametongue King’s Scale Kris |
| 160+ BP | Double Axe Dragon’s Whisker Moon Pendant Sparkling Bracer |
Chocobo Pocket Dark Matter Ogrekiller Orichalcum (M) |
Aegis Diamond Shield Ice Brand Red Slippers |

-
Final Fantasy Crystal Chronicles Remastered
- Daemon’s Court Dungeon Guide + Map (FFCC Remastered)
Related Posts:
 Conall Curach Dungeon Guide + Map (FFCC Remastered)
 Veo Lu Sluice Dungeon Guide + Map (FFCC Remastered)
 Selepation Cave Dungeon Guide + Map (FFCC Remastered)
 Mine of Cathuriges Dungeon Guide + Map (FFCC Remastered)
 Tida Village Dungeon Guide + Map (FFCC Remastered)
 Goblin Wall Dungeon Guide + Map (FFCC Remastered)
 Moschet Manor Dungeon Guide + Map (FFCC Remastered)
 Mt. Kilanda Dungeon Guide + Map (FFCC Remastered)