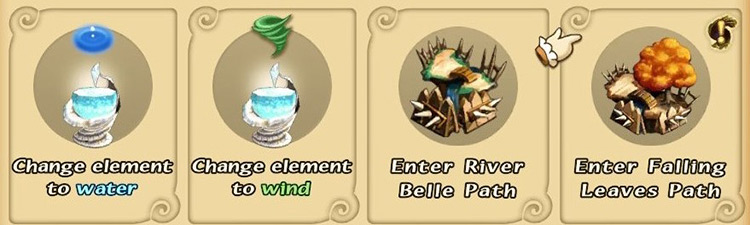
Falling Leaves Path is the “high difficulty” version of River Belle Path. You’ll unlock it after clearing FFCC Remastered’s main story.
You can access the Falling Leaves Path at River Belle Path’s location on the map, or through the Setting Out Together online multiplayer option in the main menu.
You can also tackle this dungeon online with a group, but only on these days:
- Mondays
- Tuesdays
- Weekends (Fri, Sat, Sun)
Note: Single-player Bonus Dungeons are always available.
Since this is one of the easiest bonus dungeons in Final Fantasy Crystal Chronicles Remastered, it presents just a slightly bigger challenge than your average Cycle 3 dungeon from the main game.
We’ll share a full map plus an in-depth walkthrough packed with strategy tips to help you overcome the new challenges in Falling Leaves Path.
TABLE OF CONTENTS
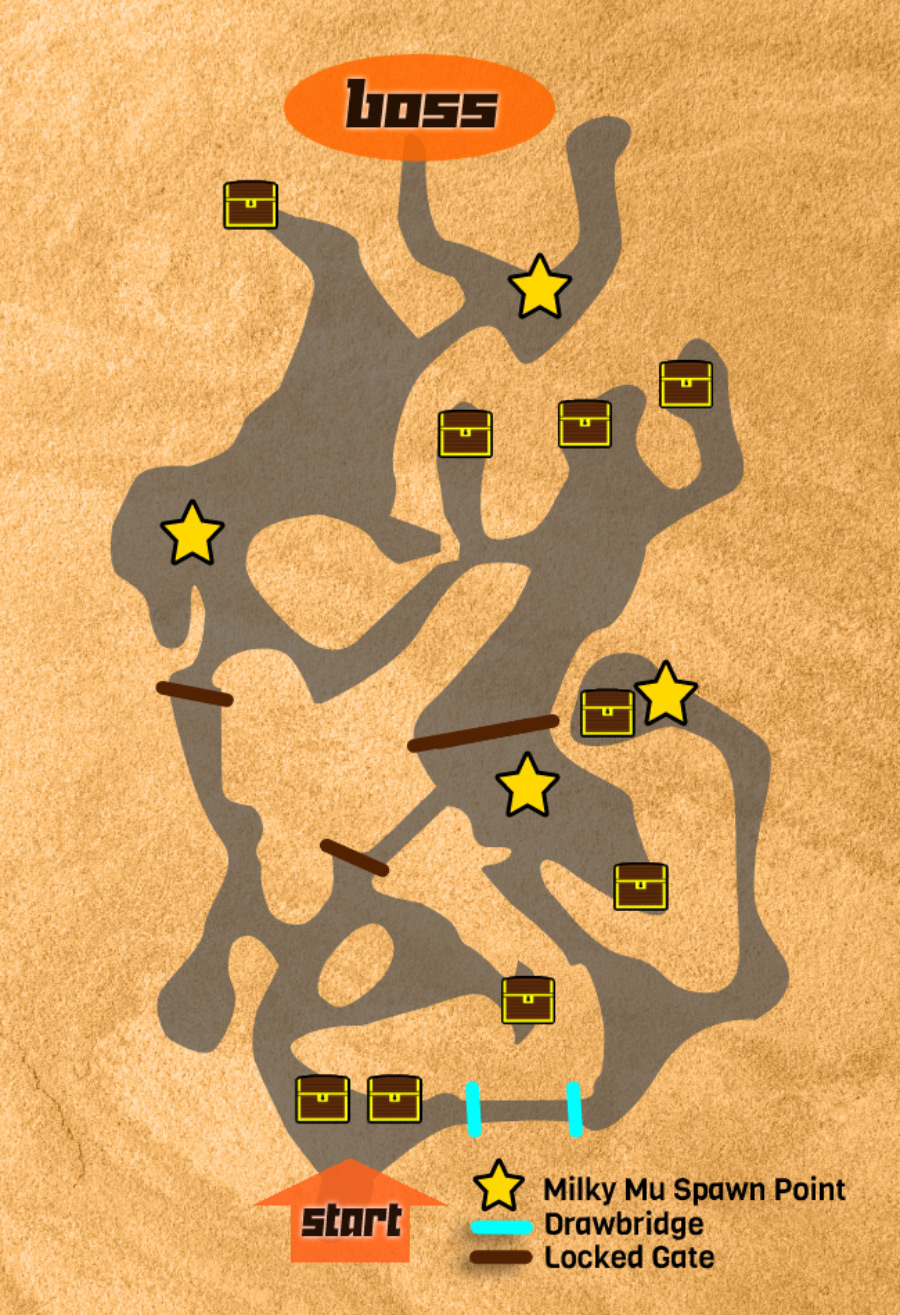
Map
Walkthrough
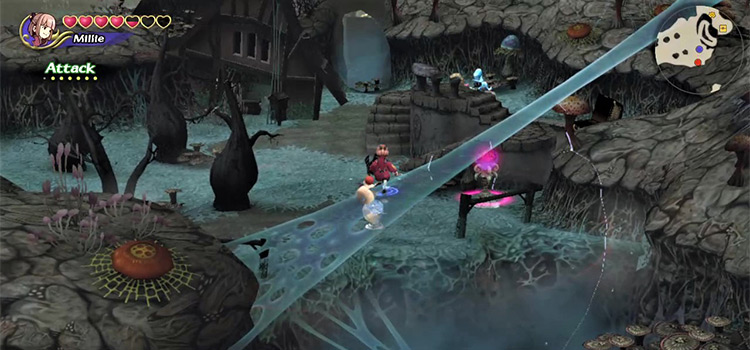
Falling Leaves Path shares its basic layout with River Belle Path, but the stronger monsters require a little extra care when exploring this idyllic riverside path.
Step #1: Open the First Gate

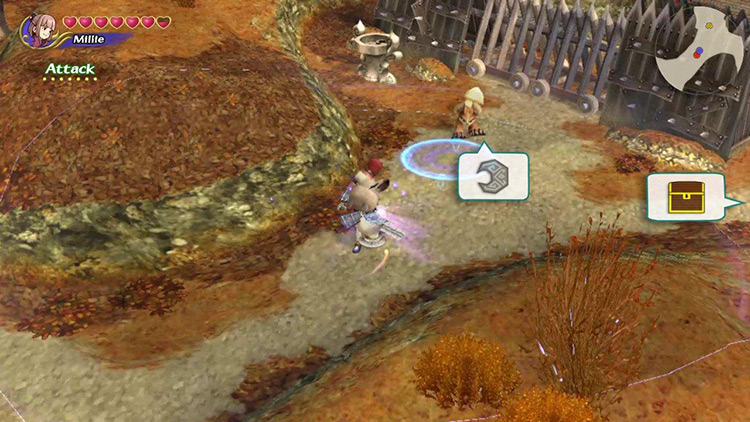
Begin by opening the two chests on the sides of the signpost in front of you. These contain Raise and Cure, which you’ll find helpful in future fights.
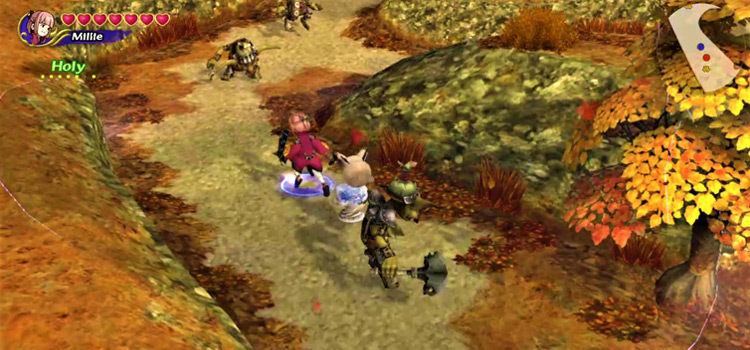
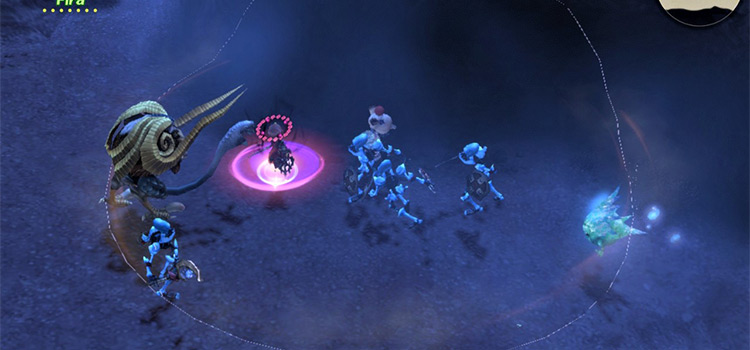
Then go up the path to the left and watch out for the Goblin trio.
Goblin groups like this are common throughout Falling Leaves Path. There’s always a spellcaster, a rock thrower, and a melee fighter.
Tip: Take care of the spellcaster first. Thundara can paralyze you, allowing the Goblins to gang up on you.
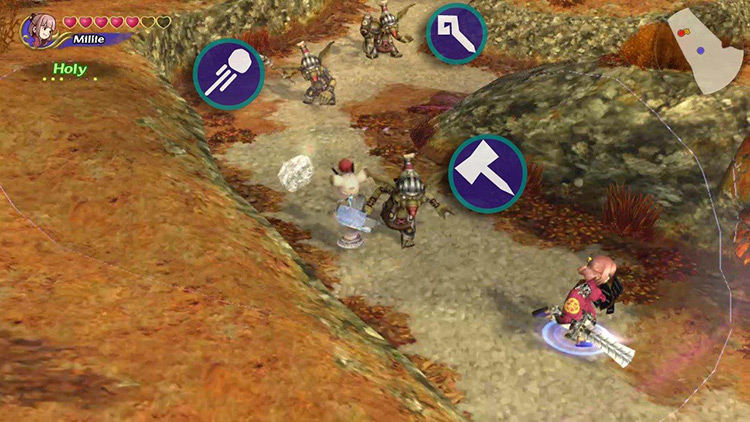
Once they’re dealt with, keep heading northward toward a locked gate guarded by a Mu.
Kill the Mu to get the key needed to open the gate.
Note: There’s also a chest to the right if you don’t mind fighting through another Goblin trio.
Step #2: Open the Second Gate
Now head through the open gate and cross the bridge to find yet another gate.
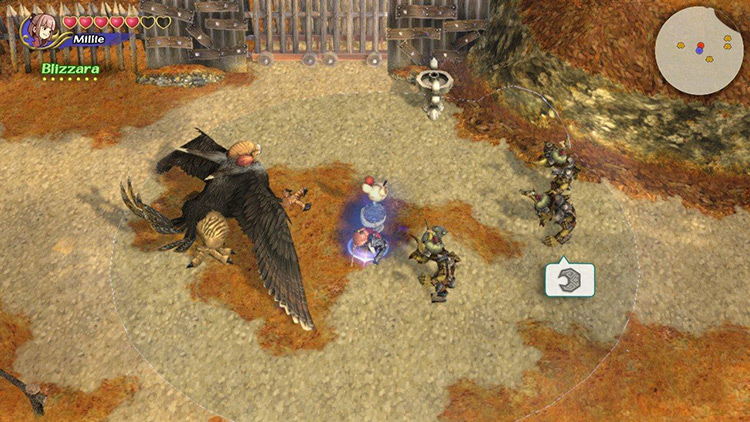
A Griffin and a Goblin trio guard this one. These guys can shave off 90% of your health in less than a second if you’re not careful.
Tip: Blizzara or Blizzaga are excellent for crowd control. Both the Griffin and the Goblins are vulnerable to freezing.
One of the Goblins will drop the key needed to open the nearby gate.
Note: You can take a moment to explore the area south of here for chests. Use the Map up top to guide your steps.
Side Tip: Catch that White Mu!
This is the first location where you might find a Milky Mu. You’ll recognize the white fur.
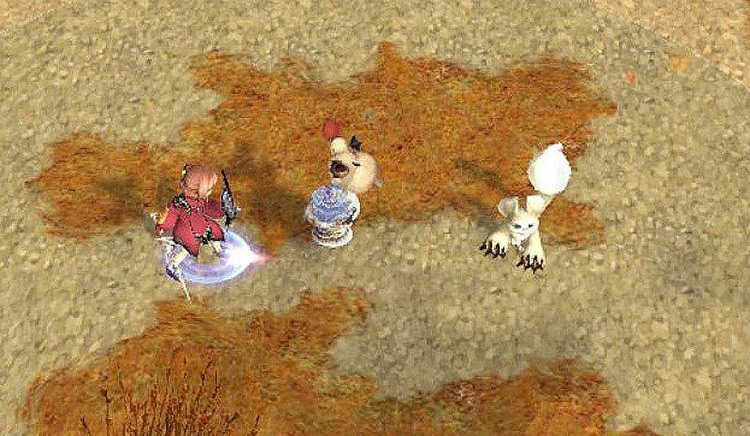
These elusive critters drop White Fur, which you’ll need to make the equipment from the Recipes dropped by the boss here.
Its habit of running away from you makes hunting the Milky Mu annoying, but it’s rewarding.
You can see all the possible Milky Mu spawn locations on our Map at the top of this guide.
Step #3: Reach the Third Gate
Cross the open gate northward and brace for combat against another Goblin trio.
Either kill or run past them, depending on your appetite for battle.
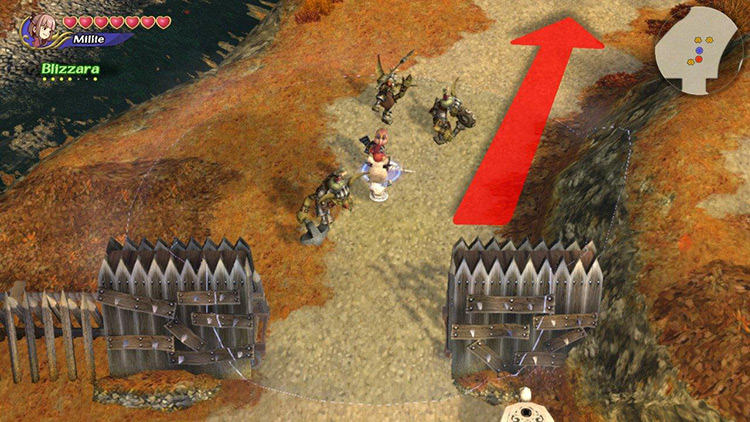
Keep heading north until reaching the dilapidated bridge to the left.
Note: Goblins protect some chests on the hills to the right. Get them if you need the Artifacts and Materials.
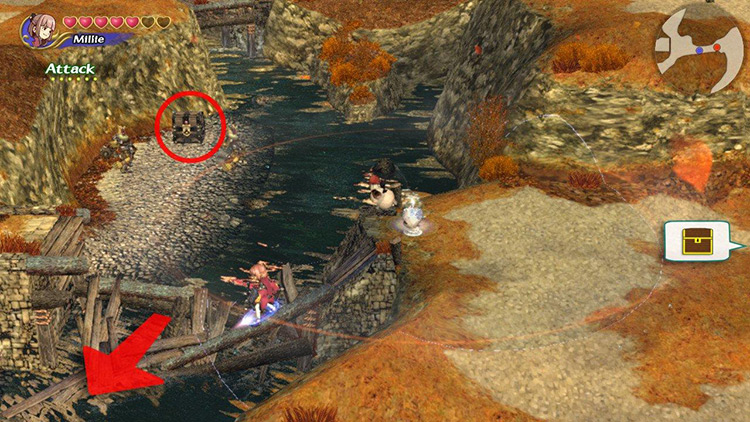
Cross the bridge and immediately turn right to collect the chest by the riverside.
Then start heading south, following the river.
You’ll then want to the east at the earliest opportunity. You’ll reach a gate protected by some Goblins.
This gate leads back to the beginning of the dungeon, so ignore it and head north.
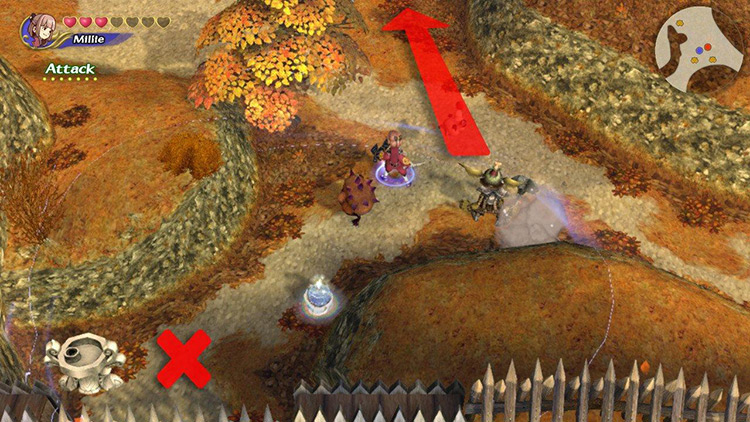
Step #4: Fight Your Way to the Boss
Prepare to cross a field full of monsters, including two Griffins and several Goblin trios.
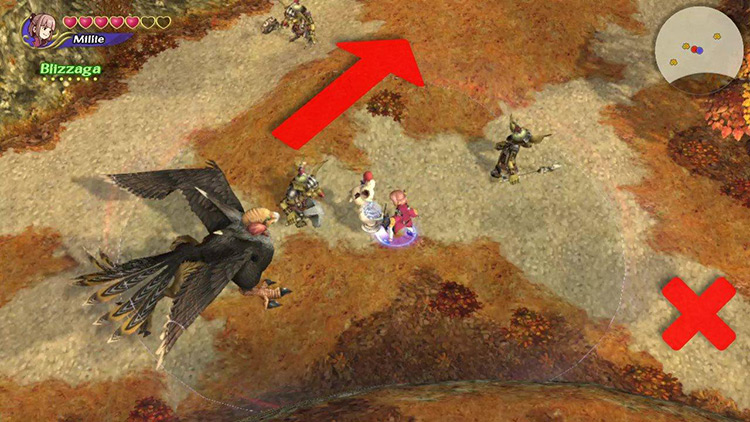
Remember to take them on in small groups if possible.
Tip: Blizzaga can be a lifesaver in this area.
You’ll eventually reach a signpost. There’s a chest on the path to the left, but after you grab it you’ll want to go right to reach the boss.
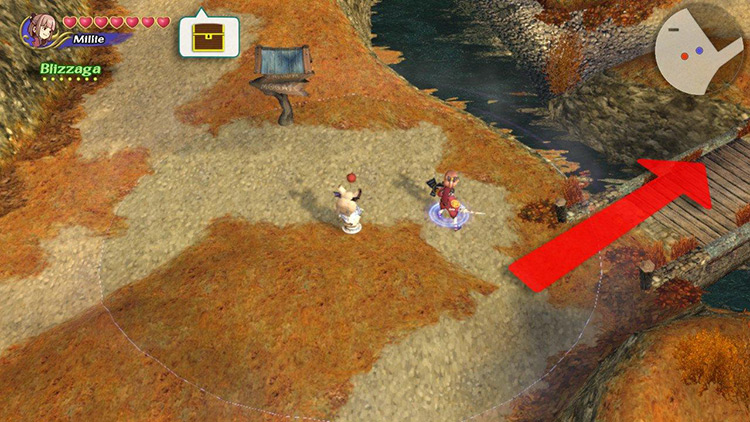
Cross the bridge and take a left at the earliest opportunity to reach the boss room.
Boss: Giant Crab (Blue)

The high-difficulty version of the Giant Crab boasts higher stats and more powerful spells.
Still, the strategy remains roughly the same. But here’s a few tips to help out with this boss fight:
Tip #1: Build Up Thunder Resistance
Thundara has always been a part of the Giant Crab’s arsenal – but this high-difficulty version will start casting Thundaga once you’ve shaved off around half its health.
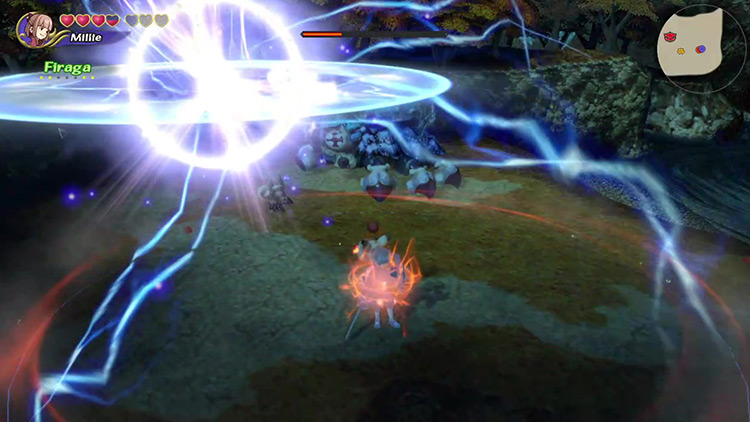
Thundaga has a massive area of effect, so it’s almost impossible to dodge reliably. Instead, look for Thunder-resistant equipment.
- Chronicle equipment (Thunder Res. +2) would be ideal, but you won’t have that until after you defeat the Giant Crab.
- Storm equipment and the Thunderbolt Badge (Thunder Res. +1) also work.
This will allow you to largely ignore the Giant Crab’s casting without the risk of becoming paralyzed.
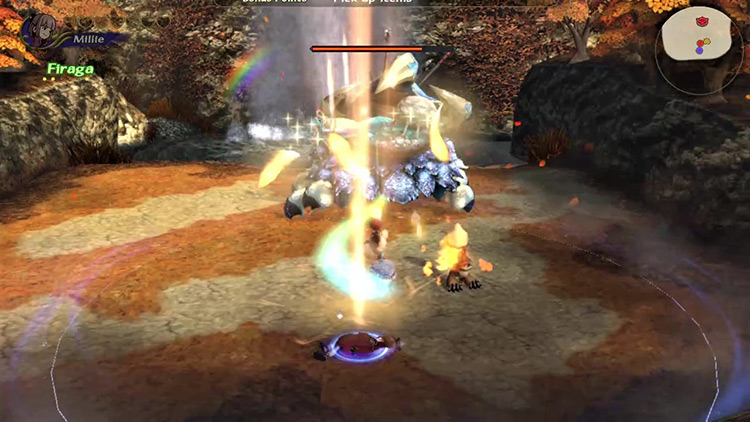
Tip #2: Kill It with Fire!
The Giant Crab is resistant to Thunder, but Fire will turn it into a delicious meal in no time.
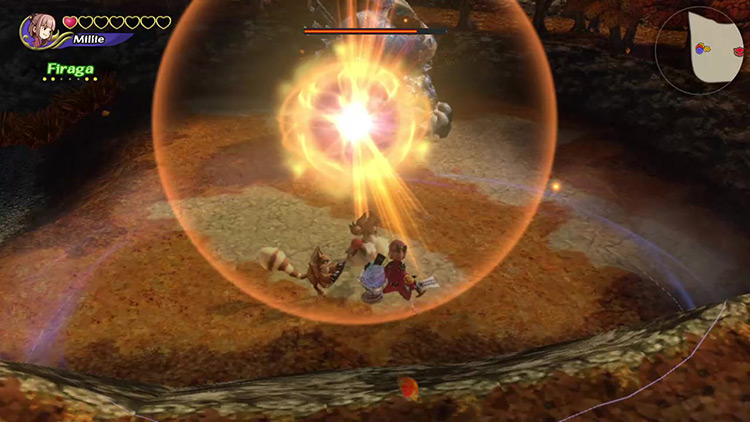
Fira will do the job, but you’ll get the best results from Firaga. Not only does it deal more damage, but you’ll be able to cast it from farther away without aiming much.
Tip #3: Defeat the Mu First
Like the original Giant Crab, this boss will have Mu minions to defend it.
It starts with just one, but a second one is swiftly summoned.
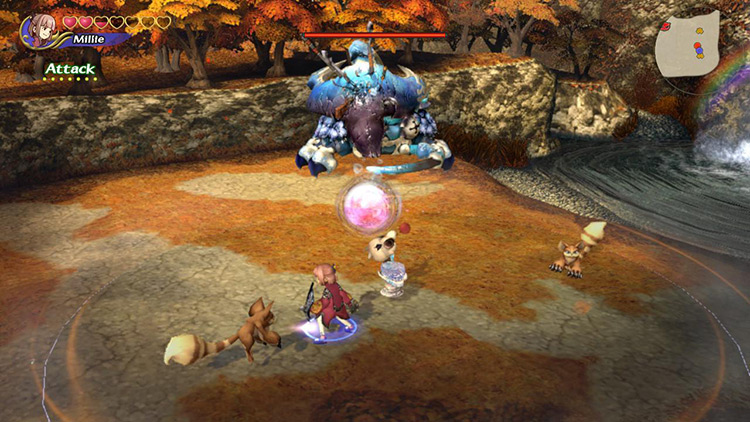
They’ll go down with a few swings from your weapon, but setting them on fire is the best way to end them.
Fira will do the job, but Firaga is ideal.
You’ll hit both the Mu and the boss simultaneously!
Tip #4: Watch Out for Missing Parts
As the battle continues, the crab will lose both the small claw it uses to swipe at you and the big weapon-skewered one that shields the main body.
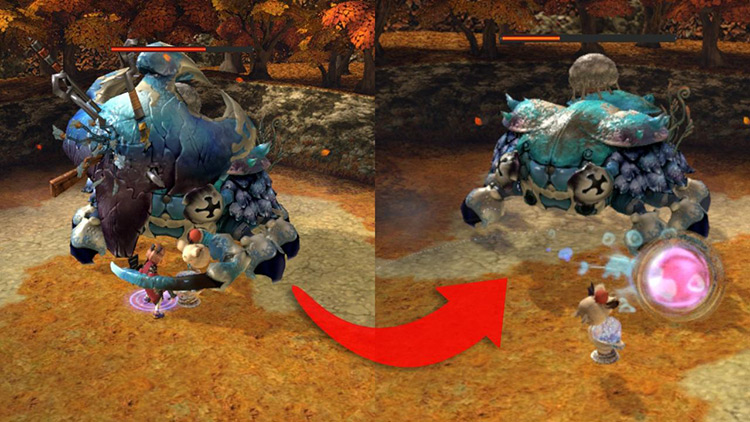
When that happens, the boss will become more aggressive, blowing Slow bubbles and casting Slowga and Thundaga non-stop.
Tip: Slow and Stop resistant equipment like the Eternal items or the Unfaltering Watch can help. You can also wiggle the joystick when Stopped to break free faster.
The strategy remains the same, but it pays to play more conservatively in this phase.
Tip #5: Keep a Phoenix Down Handy
When tackling the Bonus Dungeons, there can never be too many Phoenix Downs in your Command List.
Even a relatively easy boss like the Giant Crab can pulverize you in a couple of seconds if you get distracted.
Nothing feels worse than restarting a fight you were about to win because you forgot to place a Phoenix Down in your Command List.
Obtainable Items
You’ll find Artifacts, crafting Recipes, and Materials throughout the dungeon. You get to keep all Recipes and Materials, but you can only choose one Artifact to take with you.

Chest Items
The following items await in the chests at Falling Leaves Path:
| Artifacts | Materials |
|---|---|
| Black Hood Buckler Dragon’s Whisker Flametongue Loaded Dice Mage Masher Maneater Rune Bell Sage’s Staff Sasuke’s Blade Save the Queen Shuriken Silver Spectacles Wonder Bangle |
Hard Driftwood Mythril Orichalcum Stream Water |
Monster Items
The following Materials can be obtained from the monsters at Falling Leaves Path:
- White Fur (Milky Mu)
- Griffin’s Wing (Griffin)
Boss Items
Unlike regular dungeons, the Falling Leaves Path only has one set of Boss Items you can obtain regardless of your Bonus Points.
- Beginnings Weapon (Recipe)
- Beginnings Armor (Recipe)
- Beginnings Guard (Recipe)
- White Fur (Material)
These drops will help you obtain Thunder-resistant items that’ll make future attempts at this and other dungeons much easier.
-
Final Fantasy Crystal Chronicles Remastered
- Falling Leaves Path Dungeon Guide + Map (FFCC Remastered)
Related Posts:
 Goblin Wall Dungeon Guide + Map (FFCC Remastered)
 River Belle Path Dungeon Guide + Map (FFCC Remastered)
 Mt. Kilanda Dungeon Guide + Map (FFCC Remastered)
 Rebena Te Ra Dungeon Guide + Map (FFCC Remastered)
 Tida Village Dungeon Guide + Map (FFCC Remastered)
 Oblivion Village Dungeon Guide + Map (FFCC Remastered)
 Moonlit Desert Dungeon Guide + Map (FFCC Remastered)
 Selepation Cave Dungeon Guide + Map (FFCC Remastered)