To unlock the Level 80 dungeon Akadaemia Anyder, you need to accept the Level 80 quest “Akadaemia Anyder” from the Overwrought Ondo in Eulmore (X:12.9, Y:12.4).
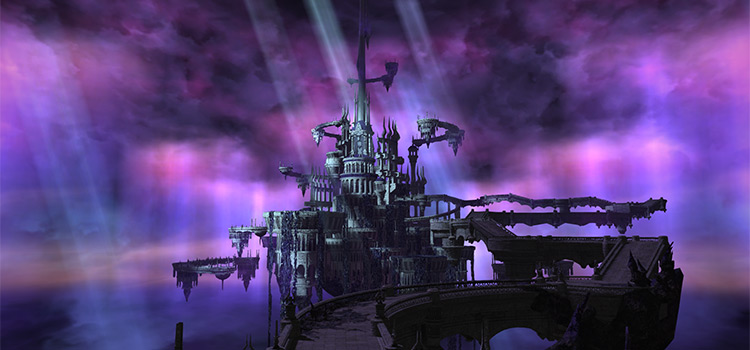
This is an expert-level dungeon made available in patch 5.0 of the Shadowbringers expansion – so you’ll also have to finish the Level 80 MSQ “Shadowbringers” from Alisaie in The Tempest (X:16.5, Y:30.4) before this dungeon can be unlocked.
TABLE OF CONTENTS
Step-by-Step Unlock Guide
- Complete the Level 80 MSQ “Shadowbringers” from Alisaie in The Tempest (X:16.5, Y:30.4).
- Accept the Level 80 quest “Akadaemia Anyder” from the Overwrought Ondo in Eulmore (X:12.9, Y:12.4).
- Speak with the Administrative Clerk in The Tempest (X:21.4, Y:26.8).
- Talk to the Akadaemia Academic at the Bureau of the Architect in The Tempest (X:20.0, Y:33.1).
Detailed Unlocking Guide
You can only start unlocking the Akadaemia Anyder dungeon by first completing the Level 80 MSQ “Shadowbringers” from Alisaie in The Tempest (X:16.5, Y:30.4).
Finishing this MSQ allows you to unlock every expert-level dungeon in the Shadowbringers expansion, including Akadaemia Anyder.
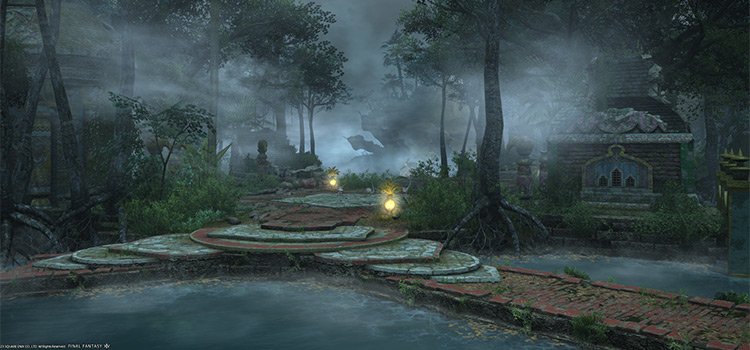
Once you’ve completed that MSQ, talk to the Overwrought Ondo in Eulmore (X:12.9, Y:12.4) to begin the unlocking quest.
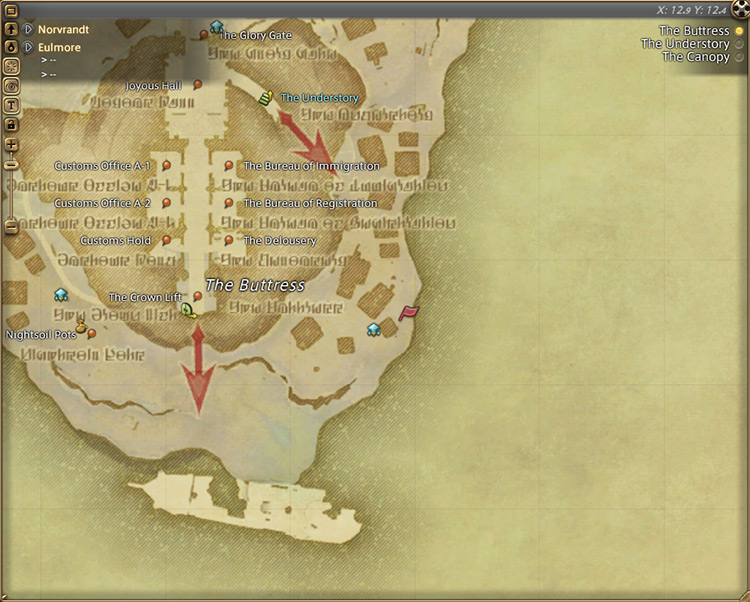
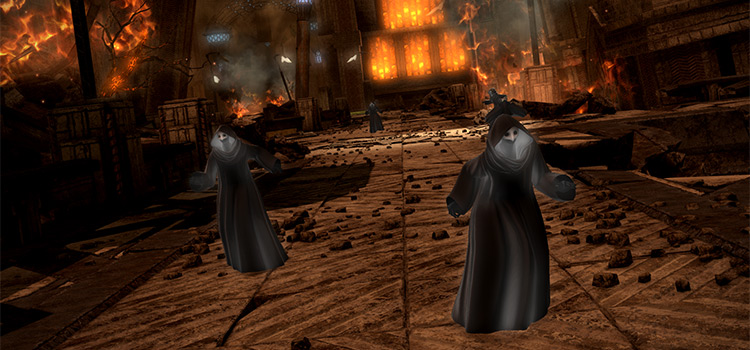
The troubled Ondo is asking for your assistance in ridding The Tempest of a giant beast that’s been hunting near The Ondo Cups recently.
Elders of the Ondo believe the beast is an omen and they’ve incurred the wrath of the ancients.
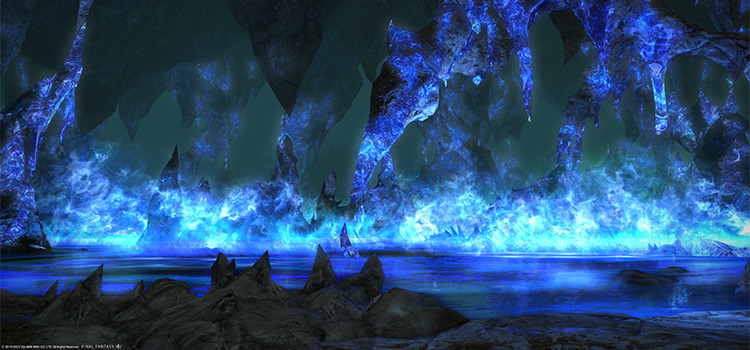
Speak with the Administrative Clerk in The Tempest (X:21.4, Y:26.8) to learn more about what might have caused this beast to appear.
Fortunately for the Ondo, a more scientific explanation may be available.
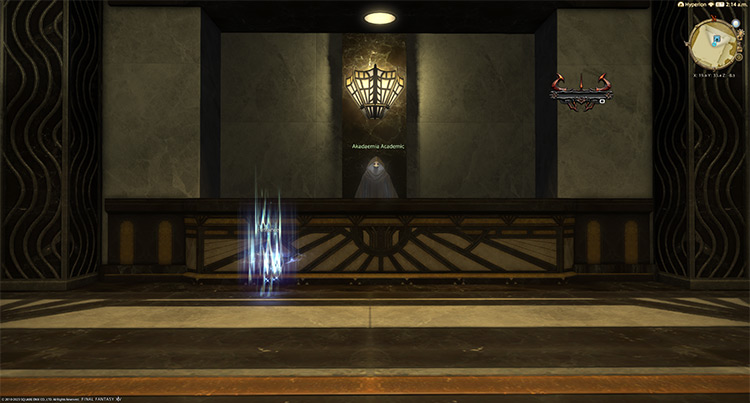
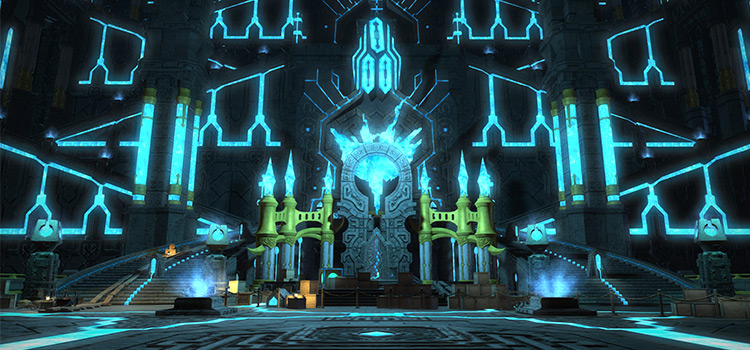
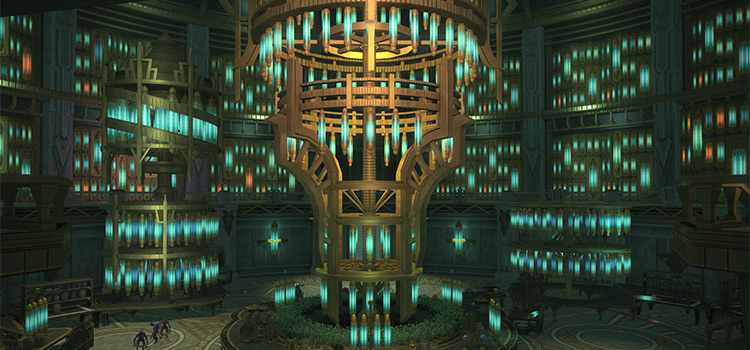
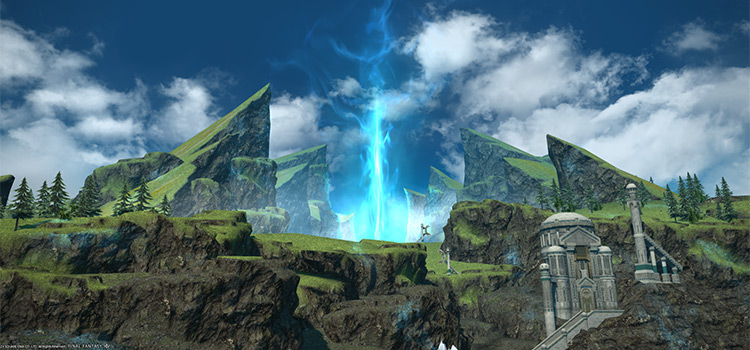
The clerk believes your description of the beast fits the new type of fauna being created by the Researchers at Akadaemia Anyder. Speak with one of the researchers at the Bureau of the Architect in The Tempest (X:20.0, Y:33.1) to continue.
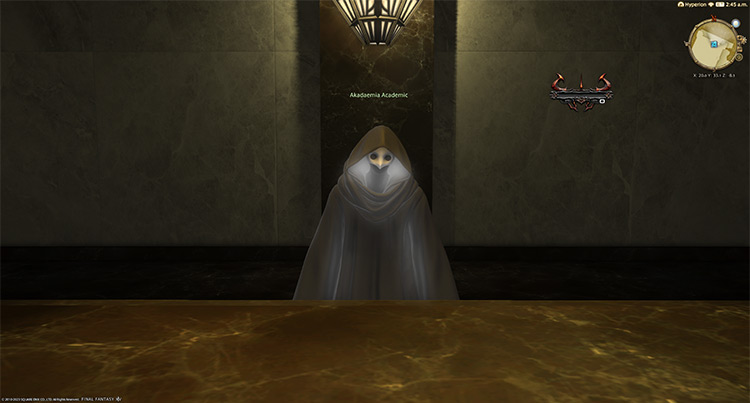
Surely enough, the academic confirms that the beast is within their supervision and will allow you to tour the Akadaemia.
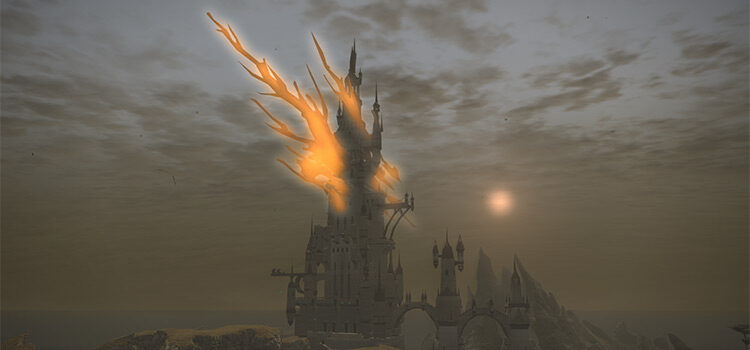
The academic believes their head of research inside may be able to help you deal with the beast.
After watching the cutscene, Akadaemia Anyder will be unlocked. This dungeon requires at least a Level 80 Disciple of War or Magic job and an average item level of 410 to enter.
Boss #1: Cladoselache and Doliodus
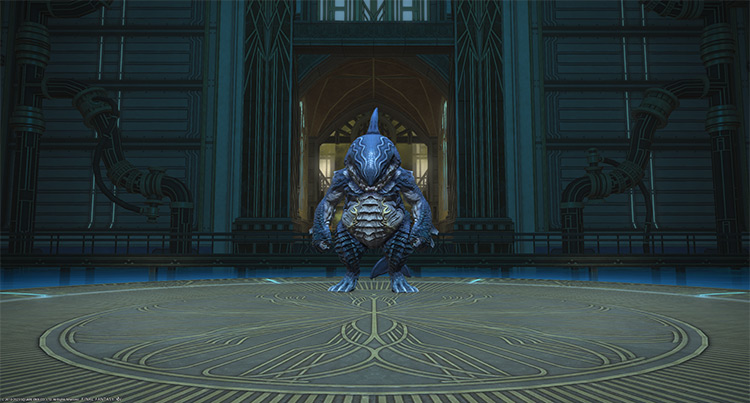
At the start of the fight, Cladoselache will be targetable while Doliodus swims outside the arena. Throughout the fight, both Cladoselache and Doliodus will switch places with each other repeatedly.
Mechanics
- Protholithic Puncture: Both sharks can use a single-target tankbuster on the primary target.
- Tidal Guillotine (Cladoselache): A massive point-blank AoE attack that knocks players up. If used from outside the arena, this attack also applies a stacking “Vulnerability Up” debuff for 60 seconds.
- Aquatic Lance (Cladoselache): A targeted circle AoE on a random player that drops a black puddle. Standing in the puddle will result in a constant “Dropsy” DoT and “Leaden” debuff.
- Pelagic Cleaver (Doliodus): A room-wide frontal cone AoE that knocks players back. If used from outside the arena, this attack also applies a stacking “Vulnerability Up” debuff for 60 seconds.
- Carcharian Verve: After killing one of the sharks, the remaining one will give itself a “Damage Up” buff.
- Marine Mayhem: A room-wide AoE attack only used after one of the sharks is killed.
Rewards
| Name | Type | Rarity |
|---|---|---|
| Amaurotine Choker of Aiming | Necklace | Dungeon (Green) |
| Amaurotine Choker of Casting | Necklace | Dungeon (Green) |
| Amaurotine Choker of Fending | Necklace | Dungeon (Green) |
| Amaurotine Choker of Healing | Necklace | Dungeon (Green) |
| Amaurotine Choker of Slaying | Necklace | Dungeon (Green) |
| Amaroutine Earrings of Aiming | Earrings | Dungeon (Green) |
| Amaroutine Earrings of Casting | Earrings | Dungeon (Green) |
| Amaroutine Earrings of Fending | Earrings | Dungeon (Green) |
| Amaroutine Earrings of Healing | Earrings | Dungeon (Green) |
| Amaroutine Earrings of Slaying | Earrings | Dungeon (Green) |
Boss #2: Marquis Morbol

Mechanics
- Lash: A two-hit attack on the primary target that deals moderate damage.
- Sap Shower: Targeted circle AoEs on all players. Spread out to avoid overlap.
- Arbor Storm: A room-wide AoE attack.
- Extensible Tendrils: The boss will raise its tentacles and slam them on the ground five consecutive times. Getting hit by a tentacle will result in a dispellable “Concussion” DoT that lasts 15 seconds. After each slam, the boss will turn its body slightly toward one direction before slamming again.
- Putrid Breath: Immediately after the fifth “Extensible Tendrils” slam, the boss will use a non-telegraphed frontal cone that applies a “Damage Down” debuff and a dispellable “Poison” DoT for 30 seconds. Stay on the boss’ flanks or back during “Extensible Tendrils.”
- Blossom: Certain sections of the arena will be covered in purple goo that constantly applies “Vulnerability Up” and “Heavy” debuffs.
Rewards
| Name | Type | Rarity |
|---|---|---|
| Amaurotine Bracelets of Aiming | Bracelets | Dungeon (Green) |
| Amaurotine Bracelets of Casting | Bracelets | Dungeon (Green) |
| Amaurotine Bracelets of Fending | Bracelets | Dungeon (Green) |
| Amaurotine Bracelets of Healing | Bracelets | Dungeon (Green) |
| Amaurotine Bracelets of Slaying | Bracelets | Dungeon (Green) |
| Amaroutine Ring of Aiming | Ring | Dungeon (Green) |
| Amaroutine Ring of Casting | Ring | Dungeon (Green) |
| Amaroutine Ring of Fending | Ring | Dungeon (Green) |
| Amaroutine Ring of Healing | Ring | Dungeon (Green) |
| Amaroutine Ring of Slaying | Ring | Dungeon (Green) |
| Battledance Materia VII | Materia | Basic |
| Heaven’s Eye Materia VII | Materia | Basic |
| Piety Materia VII | Materia | Basic |
| Quickarm Materia VII | Materia | Basic |
| Quicktongue Materia VII | Materia | Basic |
| Savage Aim Materia VII | Materia | Basic |
| Savage Might Materia VII | Materia | Basic |
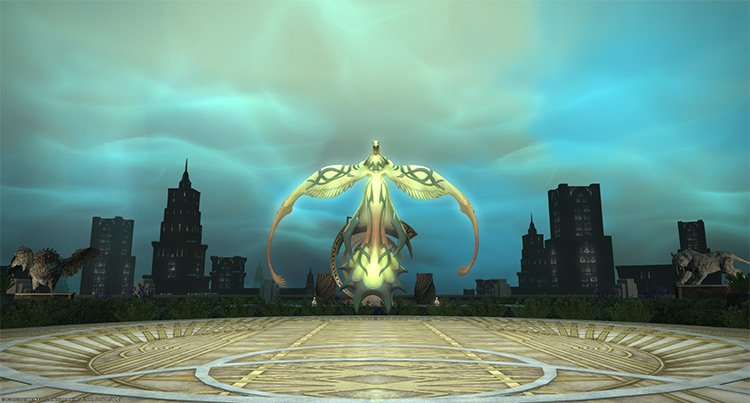
Boss #3: Quetzalcoatl
Mechanics
- Shockbolt: A single-target tankbuster on the primary target. Mitigate and heal through the damage.
- Thunderbolt: A room-wide AoE attack.
- Thunderstorm: Targeted circle AoEs on all players. At the same time, more “Thunderstorm” ground AoEs will appear around the arena. Spread out to avoid overlapping damage. After the ground AoEs go off, they’ll drop blue orbs that give stacking “Damage Up” buffs to players for 15 seconds. Grab as many as you can.
- Shocking Plumage: The boss will fire conal AoEs from its cardinal directions. At the same time, it’ll tether to the blue orbs in an attempt to buff itself for 60 seconds. Make sure all blue orbs are picked up before the boss absorbs them.
- Reverse Current + Winding Current: The boss will move to the south and knock players back. At the same time, it’ll spawn four expanding AoEs that constantly damage players that touch them. Then, it’ll use a room-wide donut AoE that deals high damage.
Run toward the safe zones while avoiding the expanding AoEs. Knockback-immunity skills do not work for the initial knockback attack.
Rewards
| Name | Type | Rarity |
|---|---|---|
| Amaurotine Choker of Aiming | Necklace | Dungeon (Green) |
| Amaurotine Choker of Casting | Necklace | Dungeon (Green) |
| Amaurotine Choker of Fending | Necklace | Dungeon (Green) |
| Amaurotine Choker of Healing | Necklace | Dungeon (Green) |
| Amaurotine Choker of Slaying | Necklace | Dungeon (Green) |
| Amaroutine Earrings of Aiming | Earrings | Dungeon (Green) |
| Amaroutine Earrings of Casting | Earrings | Dungeon (Green) |
| Amaroutine Earrings of Fending | Earrings | Dungeon (Green) |
| Amaroutine Earrings of Healing | Earrings | Dungeon (Green) |
| Amaroutine Earrings of Slaying | Earrings | Dungeon (Green) |
| Clionid Larva | Minion | Basic |
| Shadows Withal Orchestrion Roll | Orchestrion Roll | Basic |
Extra Treasure Coffers
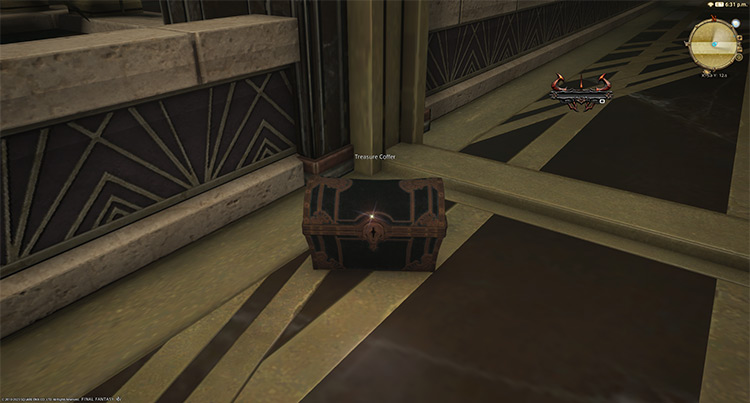
Apart from the boss loot rewards, there are four treasure coffers located throughout the dungeon that you can open for more gear and materia rewards. Here are their locations:
- (X:5.1, Y:12.5)
- (X:6.0, Y:11.9)
- (X:9.9, Y:8.6)
- (X:10.6, Y:6.6)
Lore Readings
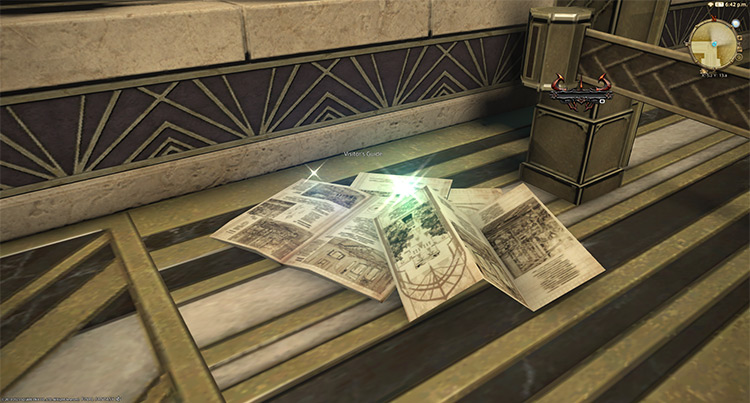
As you tour the hallowed halls of Akadaemia Anyder, you’ll notice a few lore readings you can interact with to learn more about its history. You can find them at these coordinates:
- (X:7.7, Y:18.1)
- (X:5.2, Y:13.8)
- (X:10.4, Y:7.2)
-
Final Fantasy XIV
- FFXIV Akadaemia Anyder: Unlock + Dungeon Guide
Related Posts:
 FFXIV Amaurot: Unlock + Dungeon Boss Guide
 FFXIV The Twinning: Unlock + Dungeon Guide
 FFXIV The Fell Court of Troia: Unlock + Dungeon Guide
 FFXIV Anamnesis Anyder: How To Unlock + Boss Guide
 FFXIV Alzadaal’s Legacy: How To Unlock + Dungeon Guide
 FFXIV Lapis Manalis: Unlock + Dungeon Boss Guide
 FFXIV The Aetherfont: Unlock + Dungeon Boss Guide
 FFXIV Pharos Sirius (Normal): How To Unlock + Dungeon Guide