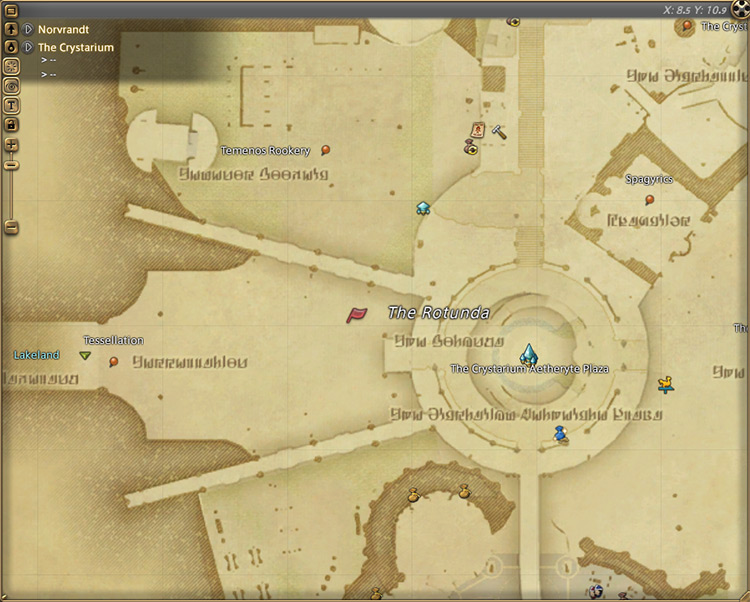
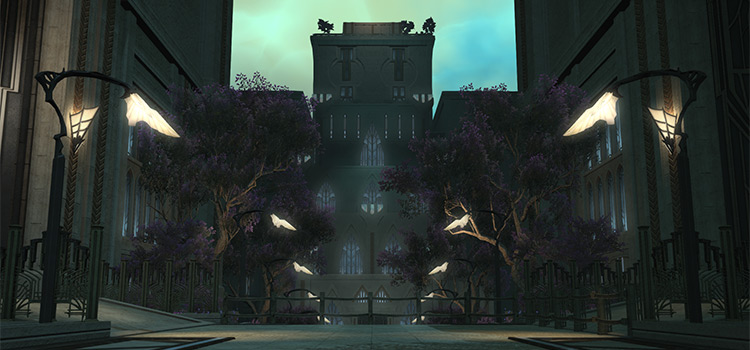
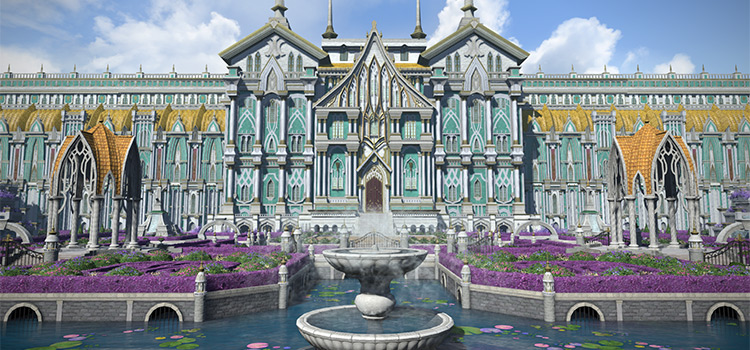
To unlock the Level 80 dungeon The Twinning, you need to accept the Level 80 quest “By the Time You Hear This” from Bethana in The Crystarium (X:8.5, Y:10.9).
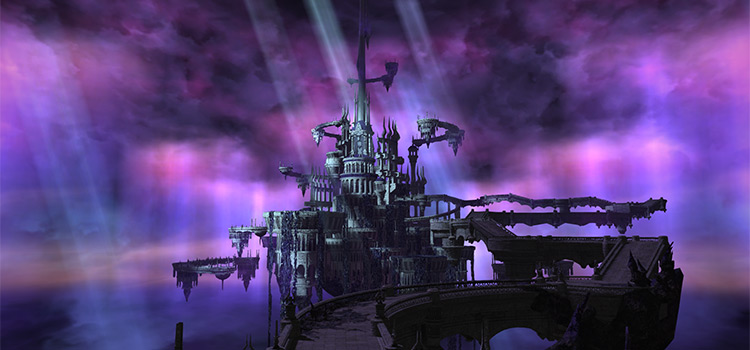
This quest requires you to finish the Level 80 MSQ “Shadowbringers” from Alisaie in The Tempest (X:16.5, Y:30.4) before it can be unlocked.
TABLE OF CONTENTS
Unlocking Quest: By the Time You Hear This
The Twinning is a Level 80 expert-level dungeon made available in patch 5.0 of the Shadowbringers expansion. You’ll need to finish the Level 80 MSQ “Shadowbringers” from Alisaie in The Tempest (X:16.5, Y:30.4) before its unlocking quest becomes available.
After doing that, talk to Bethana in The Crystarium (X:8.5, Y:10.9) to begin the unlocking quest for this dungeon.
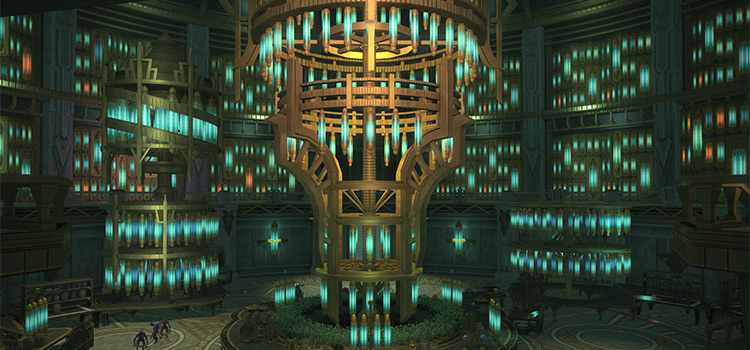
Crystarium guards and researchers are planning to enter the Crystal Tower in hopes of learning more about its deep history. Unfortunately, there have been reports of ferocious beasts dwelling inside and the Exarch is seeking your aid in felling the beasts.
After the initial briefing, talk to Bethana once more in The Crystarium (X:12.7, Y:10.5) to unlock The Twinning.
This dungeon requires at least a Level 80 Disciple of War or Magic job and an average item level of 410 to enter.
Boss #1: Alpha Zaghnal
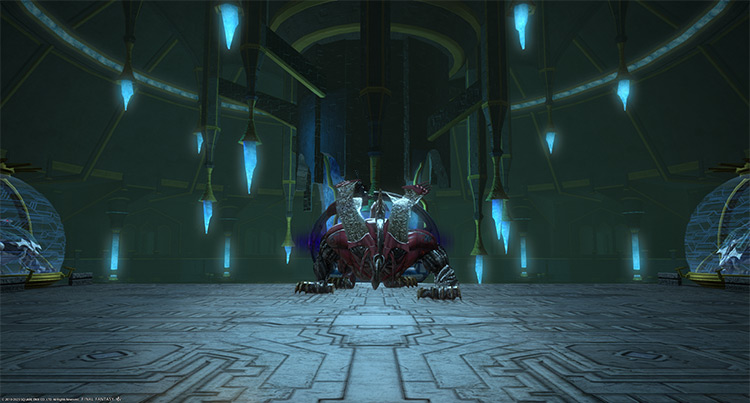
At the start of the fight, you’ll see eight capsules on the sides filled with “Beta Zaghnal” mobs. Avoid hitting these capsules with “Forlorn Impact” or “Pounce Errant” AoEs to prevent additional Zaghnals from spawning. If a capsule is hit, the Zaghnal inside will tether to the player that broke the capsule.
Mechanics
- Augurium: A non-telegraphed frontal cone tankbuster on the primary target. Sidestep or run behind the boss to avoid.
- Beastly Roar: A room-wide AoE attack.
- Forlorn Impact: The boss will pull out its sword and mark players 1-4. Then, it’ll use non-telegraphed line AoEs based on the numbered markers. Position yourselves toward the northern or southern edges to ensure no capsule is hit by the line AoEs.
- Pounce Errant: All players will receive targeted circle AoEs. Spread your markers out and away from the capsules.
- Charge Eradicated: Two consecutive stack-up markers on random players that drop massive “Burns” DoT puddles. These markers won’t break the capsules, so drop these on the sides near the capsules.
- Beta Zaghnal: Additional mobs that will spawn from broken capsules. These Zaghnals only do auto-attacks, so burn them down as soon as possible should any spawn.
Rewards
| Name | Type | Rarity |
|---|---|---|
| Amaurotine Earrings of Aiming | Earrings | Dungeon (Green) |
| Amaurotine Earrings of Casting | Earrings | Dungeon (Green) |
| Amaurotine Earrings of Fending | Earrings | Dungeon (Green) |
| Amaurotine Earrings of Healing | Earrings | Dungeon (Green) |
| Amaurotine Earrings of Slaying | Earrings | Dungeon (Green) |
| Amaurotine Choker of Aiming | Necklace | Dungeon (Green) |
| Amaurotine Choker of Casting | Necklace | Dungeon (Green) |
| Amaurotine Choker of Fending | Necklace | Dungeon (Green) |
| Amaurotine Choker of Healing | Necklace | Dungeon (Green) |
| Amaurotine Choker of Slaying | Necklace | Dungeon (Green) |
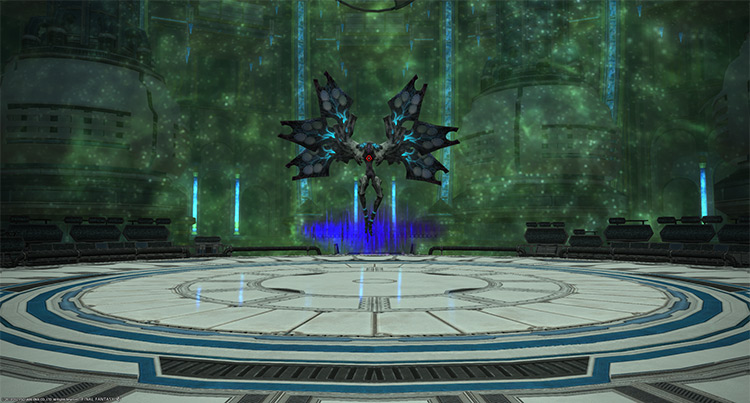
Boss #2: Mithridates
Mechanics
- Thunder Beam: A single-target tankbuster attack on the primary target. Use mitigation skills and heal through the damage.
- Electric Discharge: The boss will spawn multiple thunder orbs that eventually explode into point-blank AoEs, applying stacking “Vulnerability Up” debuffs for 60 seconds to anyone hit.
- Laserblade: The boss will move to the center and fire massive criss-cross AoEs that apply stacking “Vulnerability Up” debuffs for 60 seconds. Stand in the narrow safe spaces to avoid.
- Allagan Thunder: During “Laserblade,” all players can also be marked with targeted circle AoEs. Move to a specific safe zone away from the others to avoid overlap.
Rewards
| Name | Type | Rarity |
|---|---|---|
| Amaurotine Bracelets of Aiming | Bracelets | Dungeon (Green) |
| Amaurotine Bracelets of Casting | Bracelets | Dungeon (Green) |
| Amaurotine Bracelets of Fending | Bracelets | Dungeon (Green) |
| Amaurotine Bracelets of Healing | Bracelets | Dungeon (Green) |
| Amaurotine Bracelets of Slaying | Bracelets | Dungeon (Green) |
| Amaurotine Ring of Aiming | Ring | Dungeon (Green) |
| Amaurotine Ring of Casting | Ring | Dungeon (Green) |
| Amaurotine Ring of Fending | Ring | Dungeon (Green) |
| Amaurotine Ring of Healing | Ring | Dungeon (Green) |
| Amaurotine Ring of Slaying | Ring | Dungeon (Green) |
| Battledance Materia VII | Materia | Basic |
| Heavens’ Eye Materia VII | Materia | Basic |
| Piety Materia VII | Materia | Basic |
| Quickarm Materia VII | Materia | Basic |
| Quicktongue Materia VII | Materia | Basic |
| Savage Aim Materia VII | Materia | Basic |
| Savage Might Materia VII | Materia | Basic |
Boss #3: The Tycoon
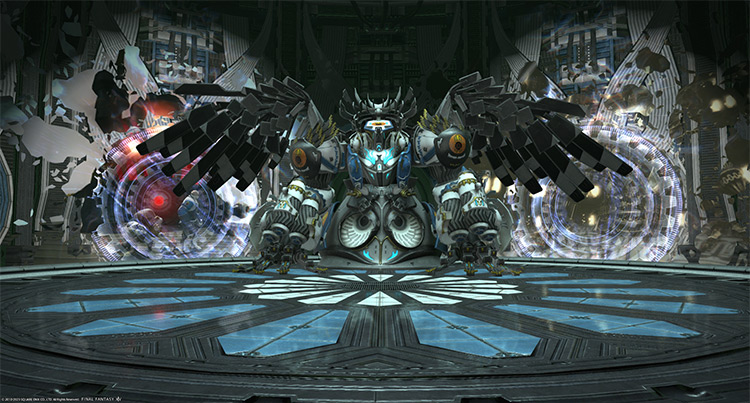
Mechanics
- Rail Cannon: A single-target tankbuster attack on the primary target. Shield and heal through the damage.
- Magitek Crossray: Four delayed line AoEs toward the boss’ cardinal direction that apply stacking “Vulnerability Up” debuffs for 60 seconds to anyone hit. Then, the boss will count down before firing the AoEs. You’ll also get hit if you touch a delayed AoE telegraph.
- Defensive Array: Delayed line AoEs from the outer edges of the arena, similar to “Magitek Crossray.”
- Artificial Gravity: Small ground AoEs that will eventually expand, applying more “Vulnerability Up” debuffs for 60 seconds to anyone hit. Run toward the outer edges to avoid.
- Magicrystal: Targeted circle AoEs on all players. Spread out to avoid overlapping damage.
- High-tension Discharger: A room-wide AoE attack.
Rewards
| Name | Type | Rarity |
|---|---|---|
| Amaurotine Earrings of Aiming | Earrings | Dungeon (Green) |
| Amaurotine Earrings of Casting | Earrings | Dungeon (Green) |
| Amaurotine Earrings of Fending | Earrings | Dungeon (Green) |
| Amaurotine Earrings of Healing | Earrings | Dungeon (Green) |
| Amaurotine Earrings of Slaying | Earrings | Dungeon (Green) |
| Amaurotine Choker of Aiming | Necklace | Dungeon (Green) |
| Amaurotine Choker of Casting | Necklace | Dungeon (Green) |
| Amaurotine Choker of Fending | Necklace | Dungeon (Green) |
| Amaurotine Choker of Healing | Necklace | Dungeon (Green) |
| Amaurotine Choker of Slaying | Necklace | Dungeon (Green) |
| A Long Fall Orchestrion Roll | Orchestrion Roll | Basic |
Extra Treasure Coffers
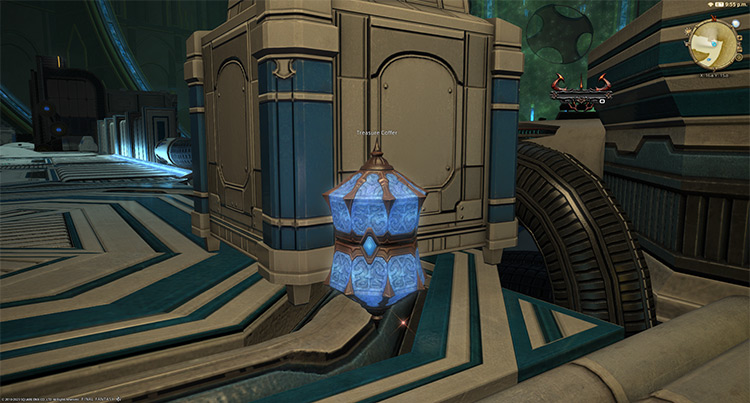
Apart from the boss rewards, there are four treasure coffers located throughout the dungeon that you can open for more gear and materia rewards. Here are their locations:
- (X:16.5, Y:14.9)
- (X:15.4, Y:13.6)
- (X:11.1, Y:9.1)
- (X:11.3, Y:6.8)
Lore Readings
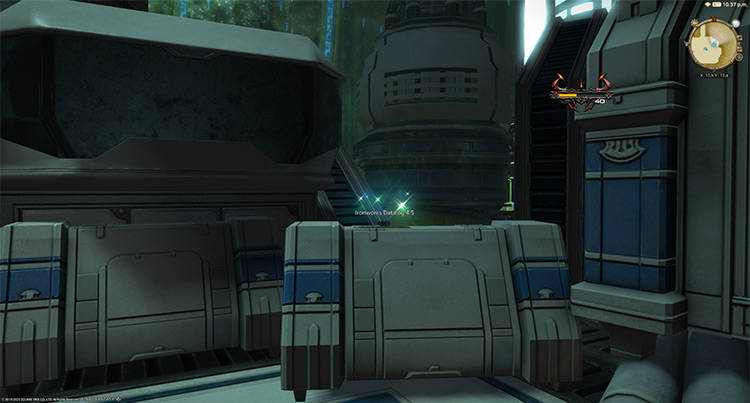
You can find three “Ironworks Datalog” files through the dungeon that you can read for additional lore info regarding the Ironworks’ research on saving The Source. Here are their locations:
- (X:15.1, Y:15.8)
- (X:14.0, Y:14.1)
- (X:15.5, Y:13.7)
-
Final Fantasy XIV
- FFXIV The Twinning: Unlock + Dungeon Guide
Related Posts:
 FFXIV Amaurot: Unlock + Dungeon Boss Guide
 FFXIV Akadaemia Anyder: Unlock + Dungeon Guide
 FFXIV The Fell Court of Troia: Unlock + Dungeon Guide
 FFXIV Alzadaal’s Legacy: How To Unlock + Dungeon Guide
 FFXIV Lapis Manalis: Unlock + Dungeon Boss Guide
 FFXIV Anamnesis Anyder: How To Unlock + Boss Guide
 FFXIV The Grand Cosmos: Unlock + Boss Guide
 FFXIV Paglth’an: How To Unlock + Dungeon Guide