To unlock the Level 90 dungeon The Aetherfont, you need to accept the Level 90 MSQ “Going Haam” from Urianger at Estinien’s Chambers (X:3.5, Y:3.5). “Going Haam” is part of the Main Scenario Questline for patch 6.4 of the Endwalker expansion.
In this guide we’ll cover how to unlock the dungeon, how to handle all of the boss mechanics, and we’ll provide a list of all the loot you can get along the way.
TABLE OF CONTENTS
Step-by-Step Unlock Guide
- Accept the Level 90 MSQ “Going Haam” from Urianger in Estinien’s Chambers (X:3.5, Y:3.5).
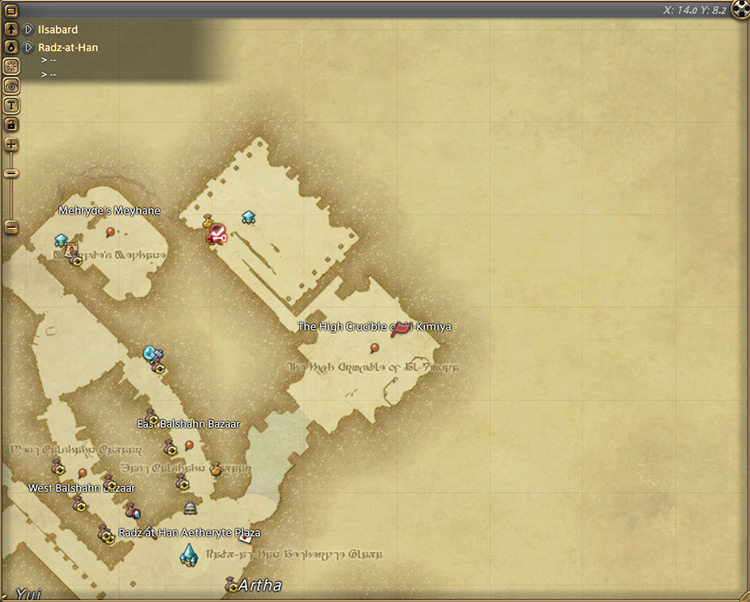
- Talk to Urianger in Radz-at-Han (X:14.0, Y:8.2).
- Meet Urianger at the Airship Landing in Radz-at-Han (X:8.4, Y:15.5).
- Speak with Ojika Tsunjika at the Baldesion Annex in Old Sharlayan (X:9.2, Y:11.3).
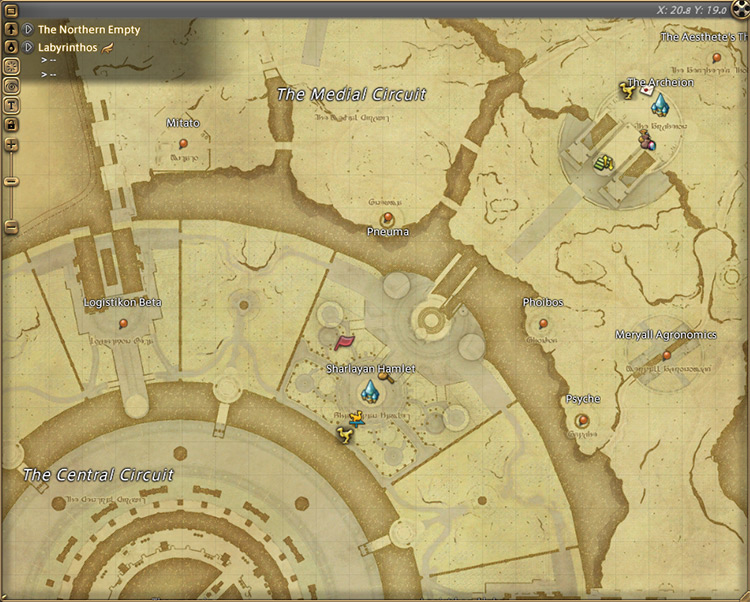
- Seek out the researcher Margrat at the Sharlayan Hamlet in Labyrinthos (X:20.8, Y:19.0).
- Talk to the recently returned colleague in Labyrinthos (X:21.3, Y:22.5).
- Speak with the Cheery Captain at the Scholar’s Harbor Old Sharlayan (X:13.9, Y:15.9).
Detailed Unlocking Guide
The Aetherfont is an expert-level dungeon made available in patch 6.4 of the Endwalker expansion and can only be unlocked after accepting the Level 90 MSQ “Going Haam” from Urianger in Estinien’s Chambers (X:3.5, Y:3.5).
You must complete every MSQ leading up to “Going Haam” before it becomes available, so take your time in catching up with the story. After doing so just speak with Urianger to begin.
At this point in the main story, you and your allies seek to open a void gate in Mare Lamentorum to return to the Thirteenth.
Before heading out, Varshahn wants to swap his vessel with its older counterpart. Speak with Urianger in Radz-at-Han (X:14.0, Y:8.2) to continue.
In this cutscene, Urianger explains Y’shtola’s plans to open the void gate in greater detail. The group needs to accomplish two objectives:
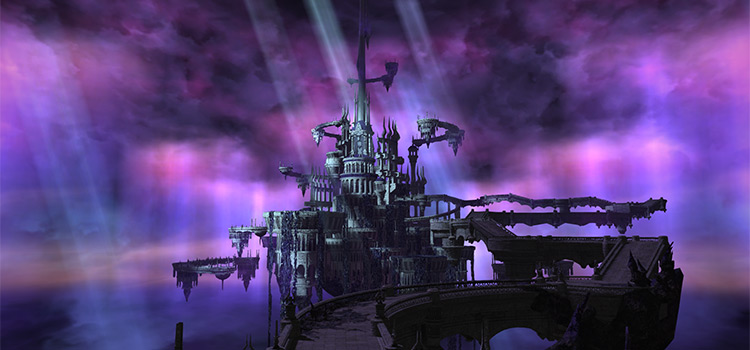
- Procure a substantial amount of aether that must be delivered to the Tower of Babil
- And convince the Garleans to allow the Ilsabard contingent to reactivate the tower
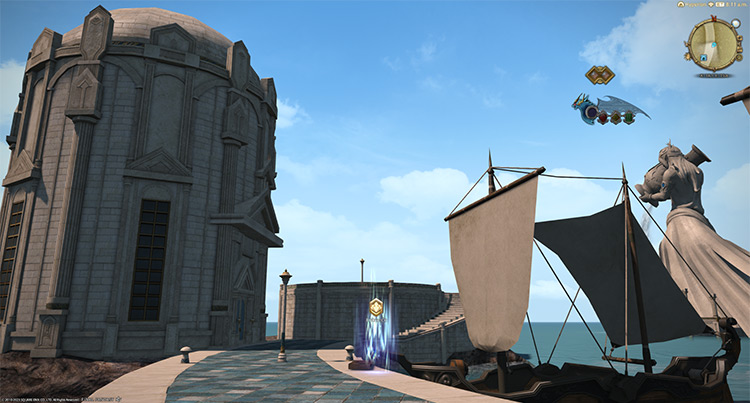
For the first task, Urianger already has a location in mind. Talk to him at the Airship Landing in Radz-at-Han (X:8.4, Y:15.5) to learn more.
Upon arriving, he explains that the group must travel to the island of Haam, home to a vast repository of aether that can be harvested.
However, this task requires the permission of the Sharlayans.
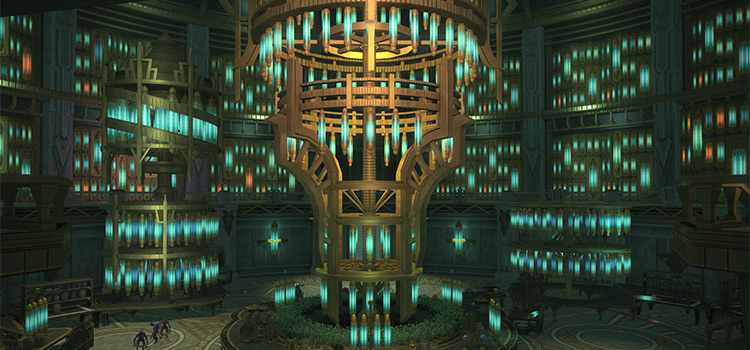
After finalizing the plan, head to the Baldesion Annex in Old Sharlayan (X:9.2, Y:11.3) and speak with Ojika Tsunjika to trigger another cutscene.
Inside the Annex, Varshahn apprises Krile and Erenville of the situation.
Krile gladly offers her support in obtaining the Forum’s permission. Meanwhile, Erenville points you toward a researcher named Margrat, who might have more information about the island.
Speak with her at the Sharlayan Hamlet in Labyrinthos (X:20.8, Y:19.0) to continue.
Margrat shares important information with you and your allies regarding the method of aether harvested from the island. However, she can’t seem to remember what happened to the aether tanks used for the operation.
She asks that you seek out a recently returned colleague within the Hamlet if you wish to continue your investigation.
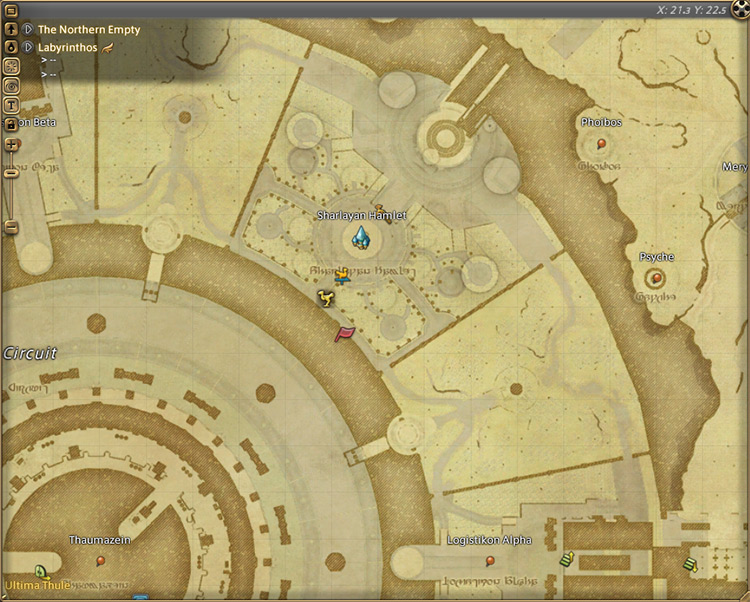
There will be multiple researchers that you can talk to for this step, but the correct one is Kokkol Dankkol in Labyrinthos (X:21.3, Y:22.5).
Upon talking to him, another cutscene will be triggered.
Your old acquaintance is eager to give you the aether tanks but reiterates the need for the Forum’s permission to use them.
Luckily, masters Fourchenault and Montichaigne join the conversation soon after to give The Forum’s permission on the condition that the island’s monsters be culled. With the plan fully in motion, you are now ready to depart.
Speak with the Cheery Captain in Old Sharlayan (X:13.9, Y:15.9) to unlock The Aetherfont. This dungeon requires at least a Level 90 Disciple of War or Magic job and an average item level of 605 to enter.
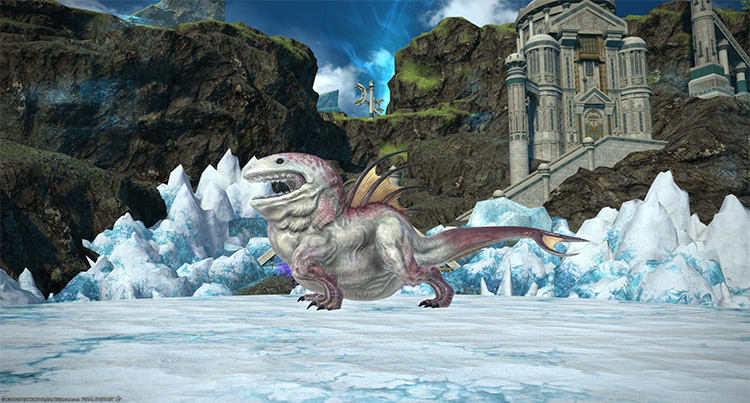
Boss #1: Lyngbakr
Mechanics
- Upsweep: A room-wide AoE attack.
- Tidal Breath: The boss will turn around and use a 180-degree frontal attack.
- Body Slam: A room-wide AoE attack that forms ice crystals on the ground. These crystals can either be small or large. The next “Upsweep” cast will cause these crystals to explode into point-blank AoEs that apply stacking “Vulnerability Up” debuffs for 60 seconds. The smaller crystals will explode first, so dodge accordingly.
- Waterspout: Targeted circle AoEs on all players after “Body Slam.” Spread out to avoid overlapping damage.
- Tidalspout: A stack marker on a random player after “Waterspout.” Stack with the affected player to share incoming damage.
Rewards
| Name | Type | Rarity |
|---|---|---|
| Distance Bracelet of Aiming | Bracelets | Dungeon (Green) |
| Distance Bracelet of Casting | Bracelets | Dungeon (Green) |
| Distance Bracelet of Fending | Bracelets | Dungeon (Green) |
| Distance Bracelet of Healing | Bracelets | Dungeon (Green) |
| Distance Bracelet of Slaying | Bracelets | Dungeon (Green) |
| Distance Chapeau of Aiming | Head | Dungeon (Green) |
| Distance Coat of Aiming | Body | Dungeon (Green) |
| Distance Cuirass of Fending | Body | Dungeon (Green) |
| Distance Cuirass of Maiming | Body | Dungeon (Green) |
| Distance Halfmask of Striking | Head | Dungeon (Green) |
| Distance Helm of Fending | Head | Dungeon (Green) |
| Distance Helm of Maiming | Head | Dungeon (Green) |
| Distance Hood of Casting | Head | Dungeon (Green) |
| Distance Hood of Healing | Head | Dungeon (Green) |
| Distance Mask of Scouting | Head | Dungeon (Green) |
| Distance Ring of Aiming | Ring | Dungeon (Green) |
| Distance Ring of Casting | Ring | Dungeon (Green) |
| Distance Ring of Fending | Ring | Dungeon (Green) |
| Distance Ring of Healing | Ring | Dungeon (Green) |
| Distance Ring of Slaying | Ring | Dungeon (Green) |
| Distance Scale Mail of Casting | Body | Dungeon (Green) |
| Distance Scale Mail of Healing | Body | Dungeon (Green) |
| Distance Scale Mail of Scouting | Body | Dungeon (Green) |
| Distance Scale Mail of Striking | Body | Dungeon (Green) |
| Battledance Materia IX | Materia | Basic |
| Heavens’ Eye Materia IX | Materia | Basic |
| Piety Materia IX | Materia | Basic |
| Quickarm Materia IX | Materia | Basic |
| Quicktongue Materia IX | Materia | Basic |
| Savage Aim Materia IX | Materia | Basic |
| Savage Might Materia IX | Materia | Basic |
Boss #2: Arkas
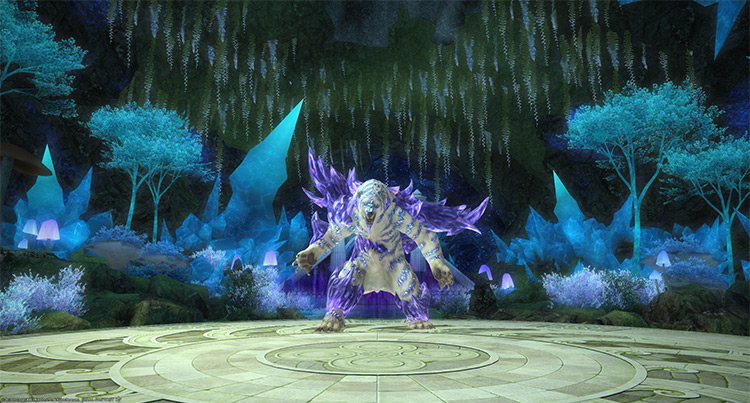
Most of the boss’ attacks apply stacking “Vulnerability Up” debuffs for 60 seconds. After the second cast of “Battle Cry,” the outer ring of the arena will turn into a danger zone that applies a constant “Electrocution” DoT.
Mechanics
- Battle Cry: A room-wide AoE attack.
- Lightning Leap: The boss will jump onto a random area for a ground AoE that will spawn electric currents. After a few moments, these currents will explode into further AoEs that must be avoided. This mechanic will happen twice in a row.
- Ripper Claw: A red tankbuster marker on the primary target. Shield and heal through the damage.
- Spinning Claw: A point-blank AoE that spawns electric currents toward the boss’ cardinal directions, similar to “Lightning Leap.”
- Lightning Rampage: A stronger version of “Lightning Leap” that will be used four times in a row. This mechanic will overlap with the dangerous outer ring formed by “Battle Cry,” further reducing the safe zones.
- Lightning Claw: A stack marker on a random player that will leave an electric ground AoE. Stack with the affected player to share incoming damage, then move out.
- Electric Eruption: A room-wide AoE that spawns small electric current puddles. Heal through the damage and avoid the ground AoEs that follow.
Rewards
| Name | Type | Rarity |
|---|---|---|
| Distance Earring of Aiming | Earrings | Dungeon (Green) |
| Distance Earring of Casting | Earrings | Dungeon (Green) |
| Distance Earring of Fending | Earrings | Dungeon (Green) |
| Distance Earring of Healing | Earrings | Dungeon (Green) |
| Distance Earring of Slaying | Earrings | Dungeon (Green) |
| Distance Greaves of Aiming | Feet | Dungeon (Green) |
| Distance Greaves of Casting | Feet | Dungeon (Green) |
| Distance Greaves of Healing | Feet | Dungeon (Green) |
| Distance Greaves of Scouting | Feet | Dungeon (Green) |
| Distance Greaves of Striking | Feet | Dungeon (Green) |
| Distance Sollerets of Fending | Feet | Dungeon (Green) |
| Distance Sollerets of Maiming | Feet | Dungeon (Green) |
| Distance Armguards of Casting | Hands | Dungeon (Green) |
| Distance Armguards of Healing | Hands | Dungeon (Green) |
| Distance Gauntlets of Fending | Hands | Dungeon (Green) |
| Distance Gauntlets of Maiming | Hands | Dungeon (Green) |
| Distance Gloves of Aiming | Hands | Dungeon (Green) |
| Distance Gloves of Scouting | Hands | Dungeon (Green) |
| Distance Gloves of Striking | Hands | Dungeon (Green) |
| Distance Choker of Aiming | Necklace | Dungeon (Green) |
| Distance Choker of Casting | Necklace | Dungeon (Green) |
| Distance Choker of Fending | Necklace | Dungeon (Green) |
| Distance Choker of Healing | Necklace | Dungeon (Green) |
| Distance Choker of Slaying | Necklace | Dungeon (Green) |
Boss #3: Octomammoth
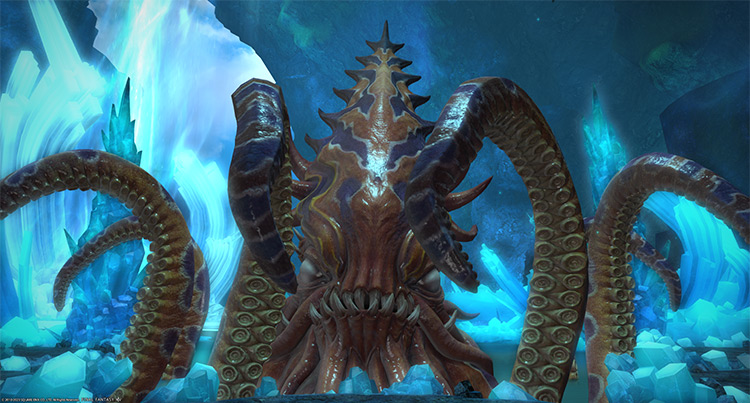
The arena for this boss is composed of five connected platforms. These platforms will have several tentacles that constantly use additional mechanics that you’ll need to dodge. Use “Sprint” to navigate the arena as needed. Most of the attacks used in this fight (from the boss and its tentacles) apply stacking “Vulnerability Up” debuffs for 60 seconds.
Mechanics
- Tidal Roar: A room-wide AoE attack.
- Octostroke: The boss will force every tentacle to use “Clearout,” covering four of the five connected platforms. Move to the one platform that isn’t covered by a tentacle.
- Clearout (Mammoth Tentacle): A frontal cone attack that applies a “Dropsy” DoT for 14 seconds.
- Wallop (Mammoth Tentacle): A frontal column attack.
- Vivid Eyes: A large donut AoE.
- Saline Spit: The boss will drop water orbs on each platform. Stand in the safe zones between the platforms to avoid.
- Tidal Breath: A massive 180-degree frontal attack.
- Telekinesis: The boss will tether to three ice crystals outside the arena. Then, it’ll point each crystal toward a platform using red laser telegraphs before slamming them onto the ground for platform-wide AoEs. Move out of the telegraphed platforms to avoid.
- Breathstroke: The boss will use a massive 180-degree frontal attack while its tentacles use “Clearout.” Move out of the boss’ line of sight toward the platform without a tentacle facing it.
- Water Drop: Targeted circle AoEs on all players that overlaps with “Vivid Eyes.” Spread out to avoid overlap.
Rewards
- Octomammoth Triple Triad Card (not guaranteed)
| Name | Type | Rarity |
|---|---|---|
| Distance Coat of Aiming | Body | Dungeon (Green) |
| Distance Cuirass of Fending | Body | Dungeon (Green) |
| Distance Cuirass of Maiming | Body | Dungeon (Green) |
| Distance Scale Mail of Casting | Body | Dungeon (Green) |
| Distance Scale Mail of Healing | Body | Dungeon (Green) |
| Distance Scale Mail of Scouting | Body | Dungeon (Green) |
| Distance Scale Mail of Striking | Body | Dungeon (Green) |
| Distance Bottoms of Scouting | Legs | Dungeon (Green) |
| Distance Bottoms of Striking | Legs | Dungeon (Green) |
| Distance Breeches of Aiming | Legs | Dungeon (Green) |
| Distance Breeches of Casting | Legs | Dungeon (Green) |
| Distance Breeches of Fending | Legs | Dungeon (Green) |
| Distance Breeches of Healing | Legs | Dungeon (Green) |
| Distance Breeches of Maiming | Legs | Dungeon (Green) |
| Puffin | Minion | Basic |
| Starsbreath Orchestrion Roll | Orchestrion Roll | Basic |
Extra Treasure Coffers
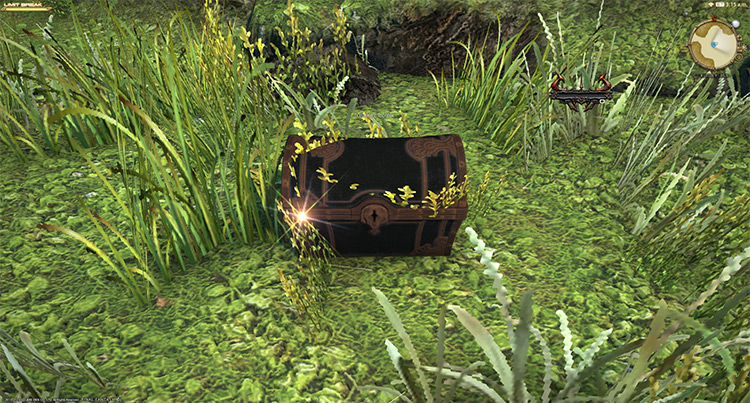
Apart from the boss rewards, there are four treasure coffers located throughout the dungeon that you can open for more gear and materia rewards:
- (X:10.1, Y:15.5)
- (X:13.2, Y:13.8)
- (X:11.3, Y:13.3)
- (X:11.2, Y:10.7)
-
Final Fantasy XIV
- FFXIV The Aetherfont: Unlock + Dungeon Boss Guide
Related Posts:
 FFXIV The Fell Court of Troia: Unlock + Dungeon Guide
 FFXIV Alzadaal’s Legacy: How To Unlock + Dungeon Guide
 FFXIV Lapis Manalis: Unlock + Dungeon Boss Guide
 FFXIV Anamnesis Anyder: How To Unlock + Boss Guide
 FFXIV Dohn Mheg: How To Unlock + Boss Guide
 FFXIV The Qitana Ravel: Unlock + Boss Guide
 FFXIV Paglth’an: How To Unlock + Dungeon Guide
 FFXIV Bardam’s Mettle: How To Unlock + Full Boss Guide