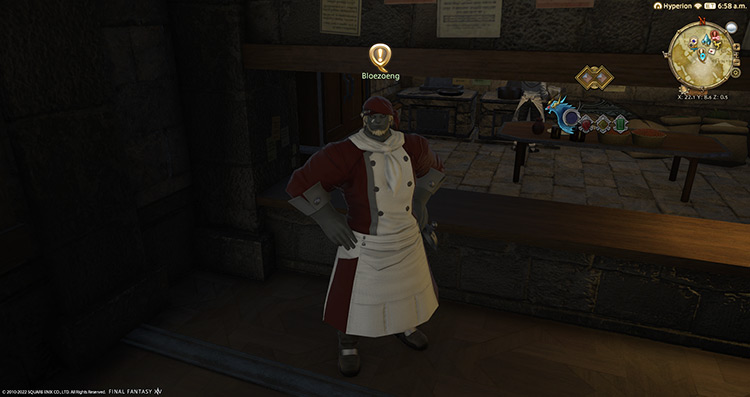
To unlock the Level 50 dungeon Hullbreaker Isle, you must accept the Level 50 quest “King of the Hull” from Bloezoeng in Mor Dhona (X:22.1, Y:8.7). However, first you’ll need to finish the Level 50 MSQ “The Ultimate Weapon” from Raubahn in Northern Thanalan (X:15.0, Y:16.0) before the quest becomes available with Bloezoeng.
We’ll go through the exact unlocking requirements & the dungeon boss mechanics in detail below.
TABLE OF CONTENTS
Step-by-Step Unlock Guide
- Complete the Level 50 Main Scenario Quest (MSQ) “The Ultimate Weapon” from Raubahn in Northern Thanalan (X:15.0, Y:16.0).
- Accept the Level 50 quest “King of the Hull” from Bloezoeng in Mor Dhona (X:22.1, Y:8.7).
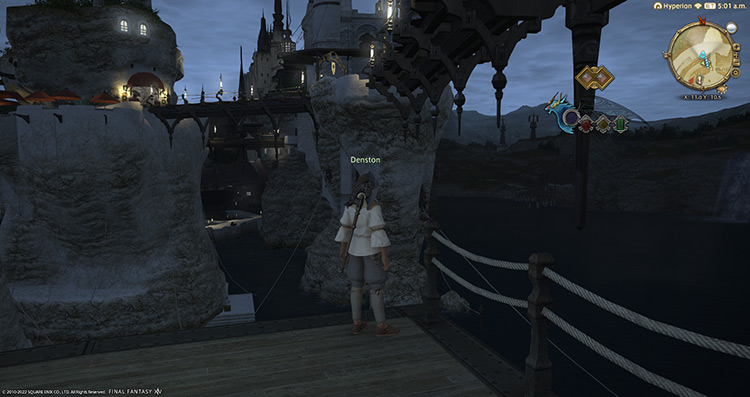
- Speak with Denston in Limsa Lominsa Upper Decks (X:11.0, Y:10.4).
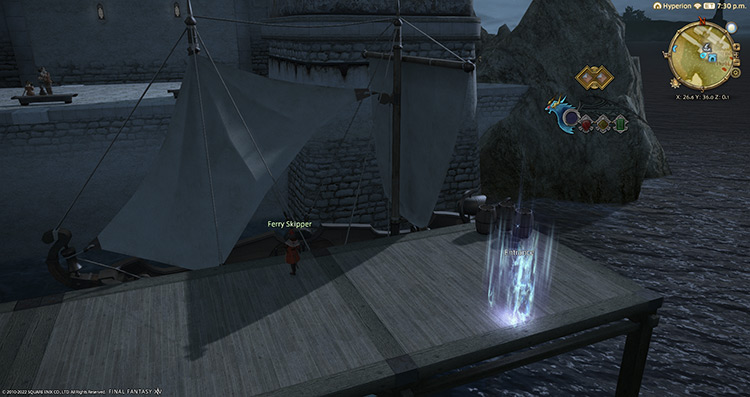
- Meet Denston near the dock in Lower La Noscea (X:26.9, Y:36.0).
Detailed Unlocking Guide
To unlock Hullbreaker Isle, you must first complete the final Main Scenario Quest (MSQ) for patch 2.0 of the A Realm Reborn storyline, “The Ultimate Weapon.”
You need to complete every MSQ leading up to “The Ultimate Weapon” before it becomes available.
Go to Raubahn in Northern Thanalan (X:15.0, Y:16.0) to start this quest.
Completing “The Ultimate Weapon” allows you to unlock several expert-level dungeons and extreme-level trials in the A Realm Reborn expansion, including Hullbreaker Isle.
Once you finish MSQ, head to Bloezoeng and accept the Level 50 quest “King of the Hull.” In this quest, Bloezoeng will inform you about a man with a very confidential task that requires the help of a willing adventurer.
After a brief overview, he’ll direct you to a man named Denston in Limsa Lominsa to learn more.
Travel to Limsa Lominsa Upper Decks (X:11.0, Y:10.4) and speak with Denston.
Upon meeting Denston, he’ll give you a quick history lesson about the legendary pirate, Mistbeard.
In the middle of Denston’s story, the Grand Storm Marshal Eynzahr will appear to inform you of your main task.
Legends say that the mysterious pirate left a treasure in one of the islands along the islands of Ciedalaes. Eynzahr will have you retrieve this treasure as a personal request.
After the cutscene, Hullbreaker Isle will be unlocked.
This normal difficulty dungeon requires a Level 50 Disciple of War or Magic job to enter, and has no average item level requirement.
While it’s easy to solo this dungeon unsynced with a high-level job, you’ll need to do it synced in duty roulettes.
We’ll go through each of the dungeon bosses and their mechanics below.
Bear Traps
On your way to the first boss, you’ll notice some bear traps laying on the ground.
These traps will hit players for around 20-25% of their maximum HP, stun them for four seconds, and apply a “Flesh Wound” DoT for 15 seconds.
There are seven bear traps on the way to the bridge, so watch your step!
Note: You can also use these traps to your party’s advantage by dragging mobs onto them to deal free and easy damage. Have the tank bait the mobs onto the traps while the party burns them down.
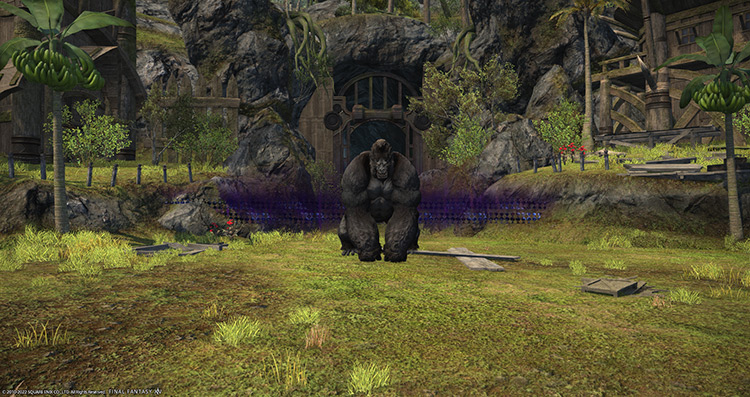
Boss #1: Sasquatch
Mechanics:
- Wild Banana Tree: At the start of the fight, you’ll notice six banana trees around the arena. Interacting with a tree drops a banana that the boss or his minions can pick up. Keep these trees in mind as the fight continues.
- Stool Pelt: A targeted circle AoE on a random player.
- Browbeat: A non-telegraphed tankbuster on the primary target. Mitigate and heal through the attack.
- Chest Thump: A continuous room-wide AoE attack that applies a stacking “Vulnerability Up” debuff. During this time, the boss will also gain a “Vulnerability Down” buff.
To stop this attack, interact with a banana tree to distract the boss and make it pick up the banana instead. Make sure the “Smallfoot Sifaka” mobs are killed before interacting with the tree, or they’ll steal the banana from the boss. - Smallfoot Sifaka: Up to three of the boss’ minions will appear throughout the fight. These mobs will steal bananas that drop from the trees. Kill them before interacting with the trees.
- Ripe Banana: A mob or the boss will eat the fallen banana, healing their HP. The boss also gains a stacking “Damage Up” buff after eating a banana in exchange for stopping his “Chest Thump” attack.
- Streak: A random player will be marked with an unavoidable knockback attack. Unaffected players should move away from the boss’ path to avoid unnecessary damage. Heal the affected player after the attack.
Rewards
- 10 Allagan Tomestone of Poetics
| Name | Type | Rarity |
|---|---|---|
| Bracelet of Divine Death | Bracelets | Dungeon (Green) |
| Bracelet of Divine Wisdom | Bracelets | Dungeon (Green) |
| Bracelet of the Divine Harvest | Bracelets | Dungeon (Green) |
| Bracelet of the Divine Light | Bracelets | Dungeon (Green) |
| Bracelets of the Divine War | Bracelets | Dungeon (Green) |
| Boots of the Divine Hero | Feet | Dungeon (Green) |
| Boots of the Divine Light | Feet | Dungeon (Green) |
| Crakows of Divine Death | Feet | Dungeon (Green) |
| Crakows of the Divine Harvest | Feet | Dungeon (Green) |
| Sabatons of Divine Wisdom | Feet | Dungeon (Green) |
| Sabatons of the Divine War | Feet | Dungeon (Green) |
| Ring of Divine Death | Ring | Dungeon (Green) |
| Ring of Divine Wisdom | Ring | Dungeon (Green) |
| Ring of the Divine Harvest | Ring | Dungeon (Green) |
| Ring of the Divine Light | Ring | Dungeon (Green) |
| Ring of the Divine War | Ring | Dungeon (Green) |
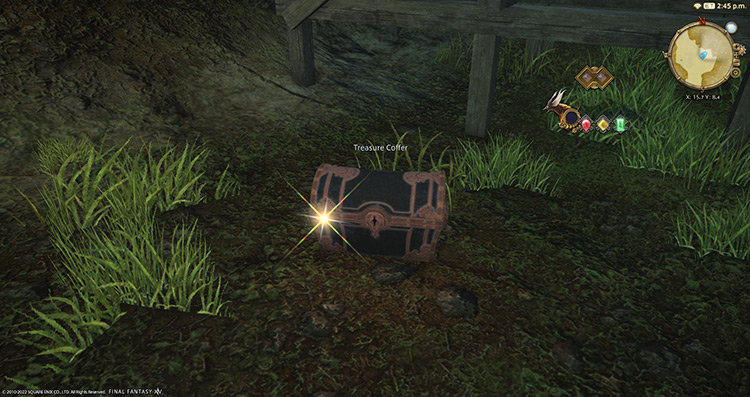
Mimics (Mobs)
On your way to the second boss, you’ll encounter “Mimic” mobs disguised as treasure coffers (Final Fantasy veterans may recognize these!)
Kill these mimics to obtain the tablets required to progress further into the dungeon. Here’s a quick list of all mimic locations in the order that you’ll encounter them:
- Two mimics at (X:15.8, Y:8.4)
- Three mimics at (X:12.7, Y:6.9)
- One mimic at (X: 11.9 Y: 8.6)
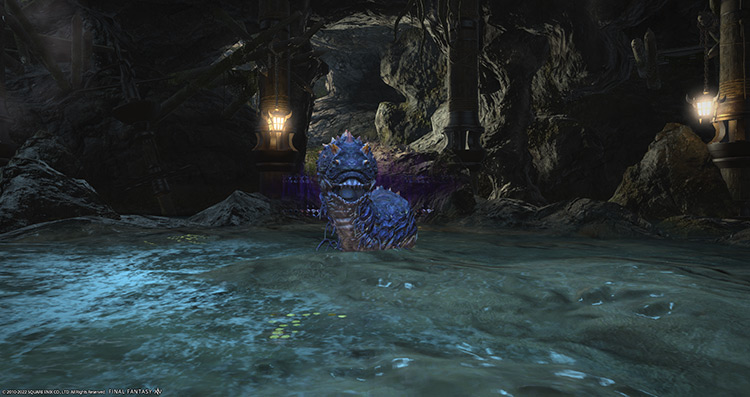
Boss #2: Sjoorm
Mechanics:
This boss will dive underwater multiple times throughout the fight. Move away from its path as much as possible to avoid stacking DoTs.
- Upwell: A frontal Line attack on a random target that applies a constant and stacking “Dropsy” DoT. This DoT can’t be dispelled.
- Waterwhirl: The boss will dive underwater and start swimming around, hitting anyone in its path with “Waterwhirl.” This attack also applies the “Dropsy” DoT, so don’t get in its path.
- Surface Breach: Once the boss emerges from underwater, it’ll use a non-telegraphed AoE around its vicinity. Stay away from the boss whenever it’s underwater.
- Splitter Splatter: A large AoE attack on a random player that also applies “Dropsy.”
- Whirlpool: A room-wide AoE attack that sucks players into the center. This attack can be avoided by touching a “Watery Grave” bubble.
- Watery Grave: Four bubbles will spawn around the arena before the boss uses “Whirlpool.” Anyone that touches these bubbles will be stunned for eight seconds and made invulnerable to outside attacks. Stay inside one to avoid “Splitter Splatter.”
Rewards
- 15 Allagan Tomestone of Poetics
| Name | Type | Rarity |
|---|---|---|
| Earrings of Divine Death | Earrings | Dungeon (Green) |
| Earrings of Divine Wisdom | Earrings | Dungeon (Green) |
| Earrings of the Divine Harvest | Earrings | Dungeon (Green) |
| Earrings of the Divine Light | Earrings | Dungeon (Green) |
| Earrings of the Divine War | Earrings | Dungeon (Green) |
| Cuffs of the Divine Hero | Hands | Dungeon (Green) |
| Cuffs of the Divine Light | Hands | Dungeon (Green) |
| Halfgloves of Divine Death | Hands | Dungeon (Green) |
| Halfgloves of the Divine Harvest | Hands | Dungeon (Green) |
| Vambraces of Divine Wisdom | Hands | Dungeon (Green) |
| Vambraces of the Divine War | Hands | Dungeon (Green) |
| Circlet of the Divine Harvest | Head | Dungeon (Green) |
| Eyepatch of the Divine Hero | Head | Dungeon (Green) |
| Hat of the Divine Light | Head | Dungeon (Green) |
| Helm of the Divine War | Head | Dungeon (Green) |
| Mask of Divine Wisdom | Head | Dungeon (Green) |
| Monocle of Divine Death | Head | Dungeon (Green) |
| Choker of Divine Death | Necklace | Dungeon (Green) |
| Choker of Divine Wisdom | Necklace | Dungeon (Green) |
| Choker of the Divine Harvest | Necklace | Dungeon (Green) |
| Choker of the Divine Light | Necklace | Dungeon (Green) |
| Choker of the Divine War | Necklace | Dungeon (Green) |
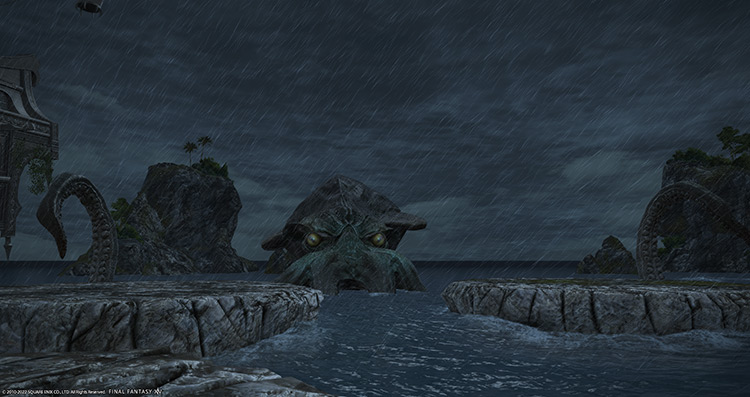
Boss #3: Kraken
Mechanics:
Despite sticking its head out, you won’t be able to attack the boss itself. You only need to destroy its arms and tentacles to clear the encounter.
- Platforms and Geysers: There are four platforms you can move around on during the fight. Use geysers to move from one platform to another. Upon using a geyser, you’ll get a stacking “Suppuration” debuff for 15 seconds that lowers your maximum HP and increases the damage you take. Only move to other platforms when necessary.
- Kraken’s Arm and Tentacles: You’ll need to kill eight “Kraken’s Arm” and two “Tentacles” to clear the encounter. Focus on destroying the tentacles first as they’re more dangerous.
- Wallop (Kraken’s Arm): A non-telegraphed line attack without a cast bar. Face the arms away from the group to avoid overlapping damage.
- Wallop (Tentacle): The tentacles’ version will inflict a 10-second stun upon hit. Dodge to the side once you see the tentacles winding up.
- Clearout (Kraken’s Arm and Tentacle): A non-telegraphed frontal cleave attack. Move away from melee range once this attack starts casting.
- Water Cannon (Tentacle): A strong tankbuster attack on the primary target. Mitigate and heal through the damage.
- Seize + Hurl (Tentacle): The tentacle will grab a random player and toss them onto another platform, dealing moderate damage. Heal through the damage and run back to your party.
- Tornado: A green meteor marker will be placed on top of a random player. After some time, a tornado will be dropped on the player’s current location. This tornado will explode into a “World’s End” AoE after a few moments, dealing platform-wide damage and inflicting a stacking “Vulnerability Up” debuff to anyone hit. If you’re marked with the meteor, move to an empty platform to drop your marker, then run back to your party.
- Ink Blot: A targeted circle AoE on a random player that applies a 20-second “Ink” DoT/debuff, slowing the player’s movement speed. Move out of the AoEs as necessary.
- Ink: The boss can also target a random player with the DoT/debuff without using an AoE. This attack applies the same DoT and debuff for 30 seconds.
Rewards
- 25 Allagan Tomestone of Poetics
| Name | Type | Rarity |
|---|---|---|
| Cuirass of Divine Wisdom | Body | Dungeon (Green) |
| Cuirass of the Divine War | Body | Dungeon (Green) |
| Robe of Divine Death | Body | Dungeon (Green) |
| Robe of the Divine Harvest | Body | Dungeon (Green) |
| Shirt of the Divine Hero | Body | Dungeon (Green) |
| Shirt of the Divine Light | Body | Dungeon (Green) |
| Breeches of Divine Wisdom | Legs | Dungeon (Green) |
| Breeches of the Divine War | Legs | Dungeon (Green) |
| Sarouel of the Divine Hero | Legs | Dungeon (Green) |
| Sarouel of the Divine Light | Legs | Dungeon (Green) |
| Tonban of Divine Death | Legs | Dungeon (Green) |
| Tonban of the Divine Harvest | Legs | Dungeon (Green) |
| Horizons Calling Orchestrion Roll | Orchestrion Roll | Basic |
Extra Treasure Coffers
Apart from the boss rewards, there are four treasure coffers located throughout the dungeon that you can open for more gear, crafting material, or minion rewards. These are their coordinates:
- (X:15.3, Y:8.4)
- (X:11.6, Y:8.5)
- (X:11.9, Y:8.6)
- (X:5.3, Y: 0.3)
-
Final Fantasy XIV
- FFXIV Hullbreaker Isle (Normal): How To Unlock + Boss Guide
Related Posts:
 FFXIV The Stone Vigil (Hard): How To Unlock + Boss Guides
 FFXIV The Tam-tara Deepcroft (Hard): Unlock + Boss Guide
 FFXIV Pharos Sirius (Normal): How To Unlock + Dungeon Guide
 FFXIV Sohm Al (Normal): How To Unlock + Dungeon Guide
 FFXIV Copperbell Mines (Hard): How To Unlock + Boss Guide
 FFXIV Bardam’s Mettle: How To Unlock + Full Boss Guide
 FFXIV The Tower of Zot: Unlock + Boss Guide
 FFXIV The Qitana Ravel: Unlock + Boss Guide