
To unlock the Level 50 dungeon Tam-tara Deepcroft (Hard), you need to accept the Level 50 quest “Corpse Groom” from Paiyo Reiyo in Ul’dah – Steps of Nald (X:12.2, Y:8.1). You will also need to be at least at Level 50 in a Disciple of War or Magic job, and have an average ilvl of 70.
This quest has some early requirements you need to complete before it can be accepted, including the Level 50 Main Scenario Quest “The Ultimate Weapon” from patch 2.0 of the FFXIV: A Realm Reborn expansion.
Step-by-Step Unlock Guide
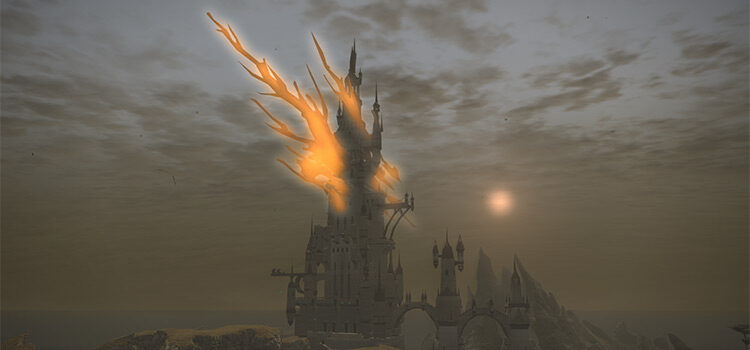
- Complete the Main Scenario Quest “Fire in the Gloom” from Mother Miounne in New Gridania (X:11.7, Y:13.5).
- Complete the Main Scenario Quest “The Ultimate Weapon” from Raubahn in Northern Thanalan (X:15.0, Y:16.0).
- Accept the quest “Corpse Groom” from Paiyo Reiyo in Ul’dah – Steps’ of Nald (X:12.2, Y:8.1).
- Visit Liavinne’s grave in Eastern Thanalan (X:13.2, Y:22.2).
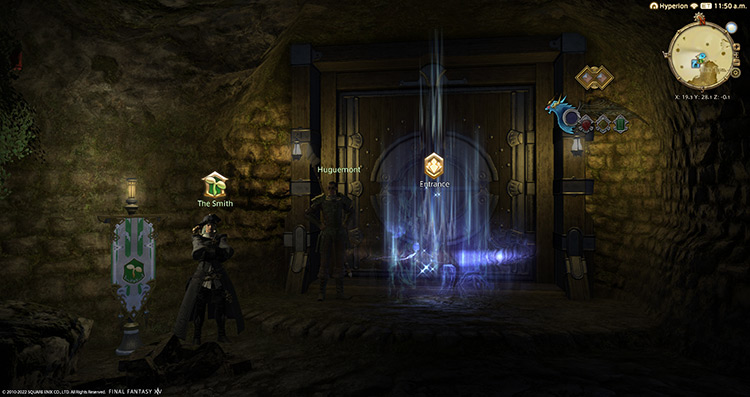
- Talk to Huguemont outside the deepcroft in Central Shroud (X:19.1, Y:28.4).
Detailed Unlocking Guide
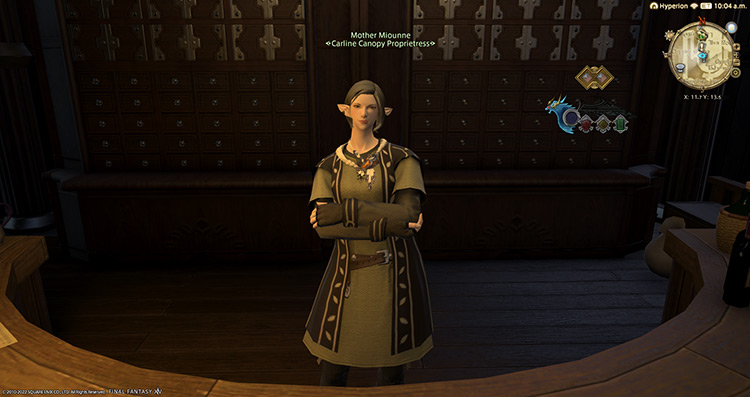
As with every other hard-mode dungeon in the game, you need to clear the normal version before it can be unlocked. Begin by completing the Level 16 Main Scenario Quest “Fire in the Gloom” from Mother Miounne in New Gridania (X:11.7, Y:13.5).
This MSQ unlocks Tam-tara Deepcroft’s normal mode, which requires at least a Level 16 Disciple of War or Magic job to enter.
Clear the dungeon using the Duty Finder to continue.
Once you clear the normal mode, continue working on your MSQs until you reach the Level 50 MSQ “The Ultimate Weapon.”
This is the final quest for patch 2.0 of the ARR expansion, so you’ll need to complete every quest leading up to “The Ultimate Weapon.” Completing this quest allows you to unlock the expert-level dungeons in A Realm Reborn, including Tam-tara Deepcroft (Hard).
Accept the quest from Raubahn in Northern Thanalan (X:15.0, Y:16.0) to get started.

After finishing the required MSQs, meet Paiyo Reiyo in Ul’dah – Steps’ of Nald (X:12.2, Y:8.1) and accept the quest “Corpse Groom.”
In the cutscene that follows, you’ll learn that Paiyo Reiyo is a former comrade of Edda, the Conjurer you’ve met throughout your MSQs.
Edda has invited Paiyo and her other former comrades to a wedding at Tam-tara Deepcroft with Avere, who is already dead.
Disturbed by this idea, Paiyo wants to consult one of their former comrades, Liavinne, on how to respond.
At this point, you know that Liavinne joined the Scions of the Seventh Dawn and was killed during the attack on The Waking Sands. After informing Paiyo of Liavinne’s unfortunate fate, you’ll both head to her resting place so Paiyo can pay his respects.
Travel to Eastern Thanalan (X:13.2, Y:22.2) to continue.
Upon arriving, you’ll notice that Liavinne’s grave is missing.
Paiyo believes Edda is responsible, and departs for Tam-tara to confront his former comrade and put an end to her madness.
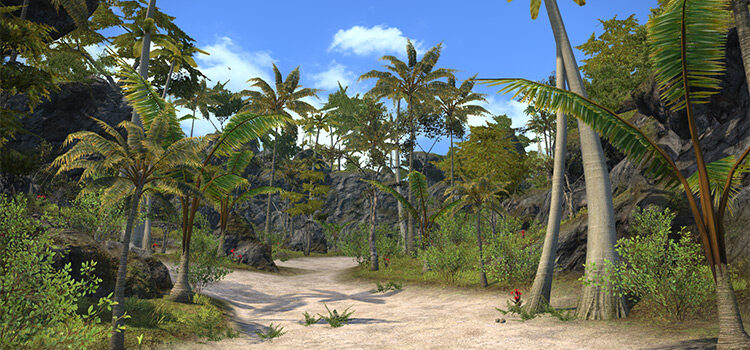
Make your way to Tam-tara Deepcroft’s entrance in Central Shroud (X:19.1, Y:28.4) and talk to Huguemont.
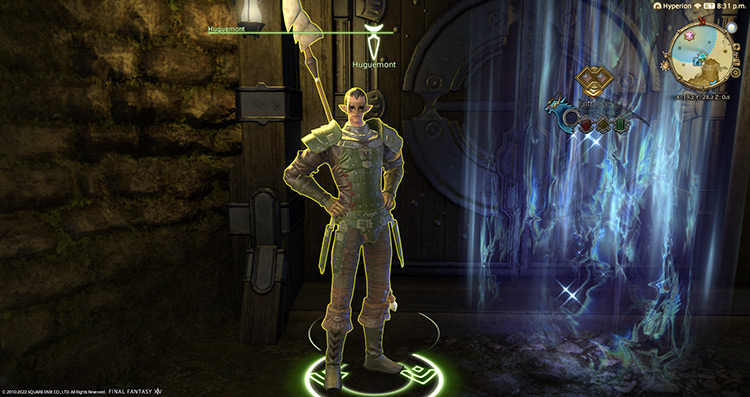
Huguemont will inform you that a person fitting Paiyo’s description has indeed entered Tam-tara along with a woman dressed in wedding garb. Follow the pair into the Deepcroft to investigate further.
After talking to Huguemont, Tam-tara Deepcroft (Hard) will be unlocked.
This dungeon requires at least a Level 50 Disciple of War or Magic job and an average item level of 70 to enter. It’s easy to solo Tam-tara Deepcroft (Hard) unsynced with a high-level job, but you’ll need to do it synced if you ever get this dungeon in a duty roulette.
We’ll cover each of the boss’ mechanics below to help you clear it smoothly.
Boss #1: Liavinne
Mechanics:
- Quick Nock: A non-telegraphed frontal cone AoE. Face the boss away from the party.
- Inhumanity: The boss will target a random player with three swirling red orbs. After a few moments, she’ll summon “Best Man” and Bridesmaid” mobs to chase the targeted player around. These mobs don’t do a lot of damage, so just focus on burning down the boss.
- Death Throes (Bridesmaid): The “Bridesmaid” can stun players for two seconds with “Death Throes,” but this can be ignored as well.
- Rotting Arrow: A random player will be targeted with a large purple AoE. This AoE also damages the mobs summoned by the boss. The targeted player should clip the mobs with this attack while the rest of the party focuses on the boss.
- Tantrum: A room-wide AoE attack. Mitigate and heal through the damage.
Rewards
- 10 Allagan Tomestone of Poetics
| Name | Type | Rarity |
|---|---|---|
| Bracelet of Divine Death | Bracelets | Dungeon (Green) |
| Bracelet of Divine Wisdom | Bracelets | Dungeon (Green) |
| Bracelet of the Divine Harvest | Bracelets | Dungeon (Green) |
| Bracelet of the Divine Light | Bracelets | Dungeon (Green) |
| Bracelets of the Divine War | Bracelets | Dungeon (Green) |
| Boots of the Divine Hero | Feet | Dungeon (Green) |
| Boots of the Divine Light | Feet | Dungeon (Green) |
| Crakows of Divine Death | Feet | Dungeon (Green) |
| Crakows of the Divine Harvest | Feet | Dungeon (Green) |
| Sabatons of Divine Wisdom | Feet | Dungeon (Green) |
| Sabatons of the Divine War | Feet | Dungeon (Green) |
| Ring of Divine Death | Ring | Dungeon (Green) |
| Ring of Divine Wisdom | Ring | Dungeon (Green) |
| Ring of the Divine Harvest | Ring | Dungeon (Green) |
| Ring of the Divine Light | Ring | Dungeon (Green) |
| Ring of the Divine War | Ring | Dungeon (Green) |
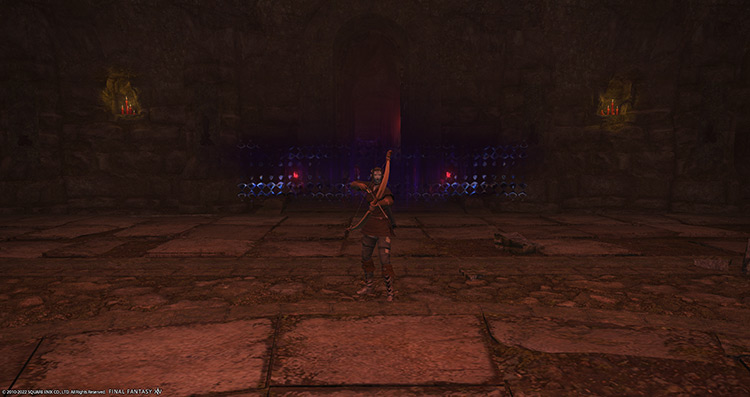
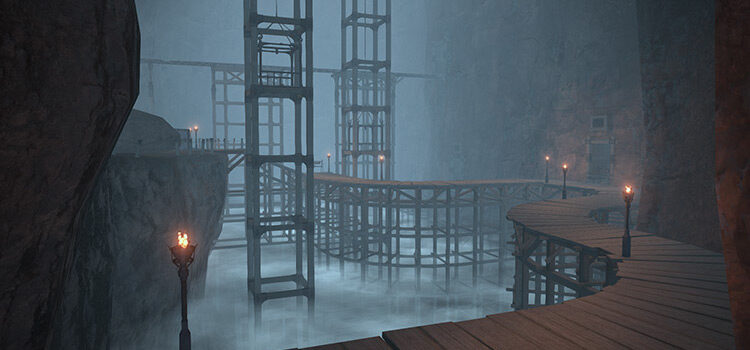
Defiled Coffins
While making your way toward the second boss, you’ll need to open three “Defiled Coffins” that summon mobs soon after.
The player opening the coffin will be inflicted with a 2-second “Terror” debuff, stunning them in place.
To handle these coffins, have the healer or a DPS player open the coffin so the tank can immediately pick up the mobs.
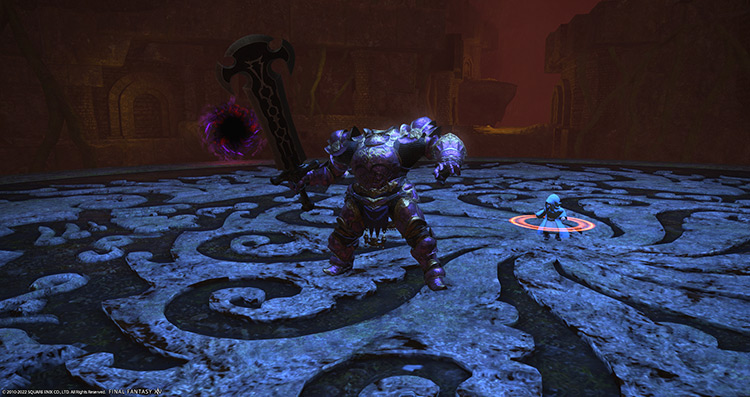
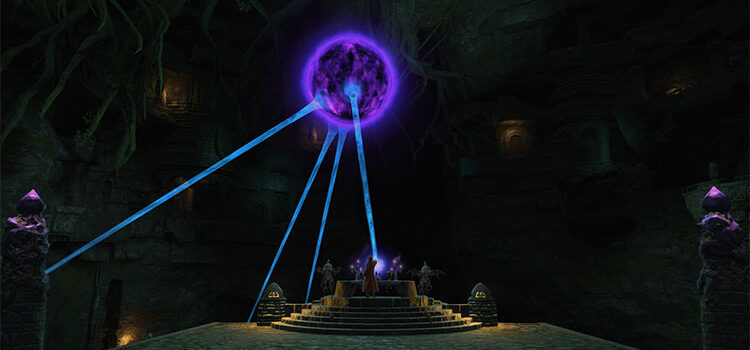
Boss #2: Spare Body
Mechanics:
- Paiyo Reiyo: Our friend Paiyo will be trapped in the middle and must be spared (ha!) from external damage as much as possible. Have the healer continuously top his HP up. If Paiyo dies, the boss will hard-wipe the party.
- Portals and Nameless Spirit orbs: Portals near the edge of the arena will spawn “Nameless Spirit” orbs. These orbs will explode when touched, dealing AoE damage near their vicinity. If the boss touches one of these orbs, it’ll gain a “Damage Up” buff. Pop these orbs away from Paiyo Reiyo or the boss.
- Iron Justice: A non-telegraphed frontal cleave attack.
- Cloud Cover: A random player will be targeted with a circle AoE that drops a purple puddle. The puddle will apply continuous “Bleeding” DoTs to anyone standing in them. Bait these AoEs away from the center.
- Black Nebula: If Paiyo Reiyo dies, the boss will start continuously casting “Black Nebula,” a room-wide AoE attack that deals 30000 damage. This attack will wipe a synced party on the first attack, so keep Paiyo Reiyo alive.
Rewards
- 15 Allagan Tomestone of Poetics
| Name | Type | Rarity |
|---|---|---|
| Earrings of Divine Death | Earrings | Dungeon (Green) |
| Earrings of Divine Wisdom | Earrings | Dungeon (Green) |
| Earrings of the Divine Harvest | Earrings | Dungeon (Green) |
| Earrings of the Divine Light | Earrings | Dungeon (Green) |
| Earrings of the Divine War | Earrings | Dungeon (Green) |
| Cuffs of the Divine Hero | Hands | Dungeon (Green) |
| Cuffs of the Divine Light | Hands | Dungeon (Green) |
| Halfgloves of Divine Death | Hands | Dungeon (Green) |
| Halfgloves of the Divine Harvest | Hands | Dungeon (Green) |
| Vambraces of Divine Wisdom | Hands | Dungeon (Green) |
| Vambraces of the Divine War | Hands | Dungeon (Green) |
| Circlet of the Divine Harvest | Head | Dungeon (Green) |
| Eyepatch of the Divine Hero | Head | Dungeon (Green) |
| Hat of the Divine Light | Head | Dungeon (Green) |
| Helm of the Divine War | Head | Dungeon (Green) |
| Mask of Divine Wisdom | Head | Dungeon (Green) |
| Monocle of Divine Death | Head | Dungeon (Green) |
| Choker of Divine Death | Necklace | Dungeon (Green) |
| Choker of Divine Wisdom | Necklace | Dungeon (Green) |
| Choker of the Divine Harvest | Necklace | Dungeon (Green) |
| Choker of the Divine Light | Necklace | Dungeon (Green) |
| Choker of the Divine War | Necklace | Dungeon (Green) |
Boss #3: Avere Bravearm

Mechanics:
- Edda: She’ll appear as an untargetable enemy that controls most of the important mechanics during the fight. Avoid the “Bleeding” DoT puddle around her.
- Eyes On You: A non-telegraphed frontal cleave attack.
- Head Over Heels: A single-target attack on the primary target that absorbs the damage it inflicts. Mitigate and heal through the attack.
- Portals and Groom-to-be: The portals in this fight will spawn “Groom-to-be” mobs that will slowly crawl towards Edda’s DoT puddle. Each mob that reaches Edda’s circle will light up one of the five runes on the ground. If all five runes are lit up, Edda will use “Red Wedding.” Kill the mobs before they reach Edda.
- Red Wedding: A very strong room-wide AoE attack. This attack will most likely wipe your party.
- Gargoyles: Untargetable mobs that Edda spawns to deal AoE damage. They’ll spawn on top of the portals, so always check your surroundings.
- Desolation (Gargoyle): Large line attacks that cut through the entire arena.
- Terror Eye (Gargoyle): Targeted circle AoEs on random players.
Rewards
- 25 Allagan Tomestone of Poetics
- Faded Copy of Dark Vows Orchestrion Roll (not guaranteed)
| Name | Type | Rarity |
|---|---|---|
| Cuirass of Divine Wisdom | Body | Dungeon (Green) |
| Cuirass of the Divine War | Body | Dungeon (Green) |
| Robe of Divine Death | Body | Dungeon (Green) |
| Robe of the Divine Harvest | Body | Dungeon (Green) |
| Shirt of the Divine Hero | Body | Dungeon (Green) |
| Shirt of the Divine Light | Body | Dungeon (Green) |
| Breeches of Divine Wisdom | Legs | Dungeon (Green) |
| Breeches of the Divine War | Legs | Dungeon (Green) |
| Sarouel of the Divine Hero | Legs | Dungeon (Green) |
| Sarouel of the Divine Light | Legs | Dungeon (Green) |
| Tonban of Divine Death | Legs | Dungeon (Green) |
| Tonban of the Divine Harvest | Legs | Dungeon (Green) |
Extra Treasure Coffers
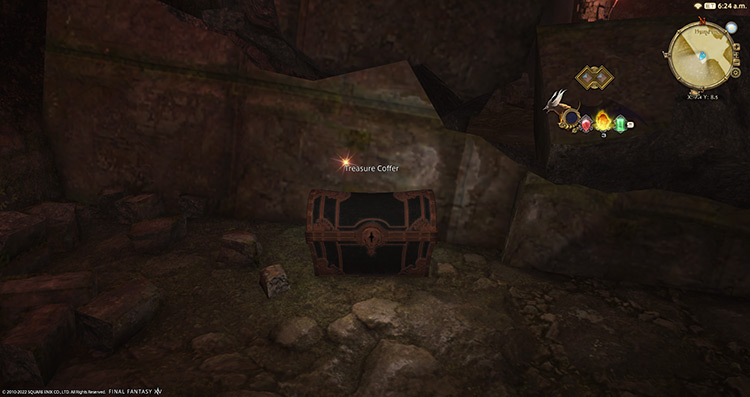
Apart from the boss rewards, there are four treasure coffers located throughout the dungeon that you can open for more gear rewards:
- (X:7.4, Y:8.6)
- (X:9.4, Y:10.6)
- (X:10.4, Y:9.4)
- (X: 4.8, Y:9.6)
Lore Readings
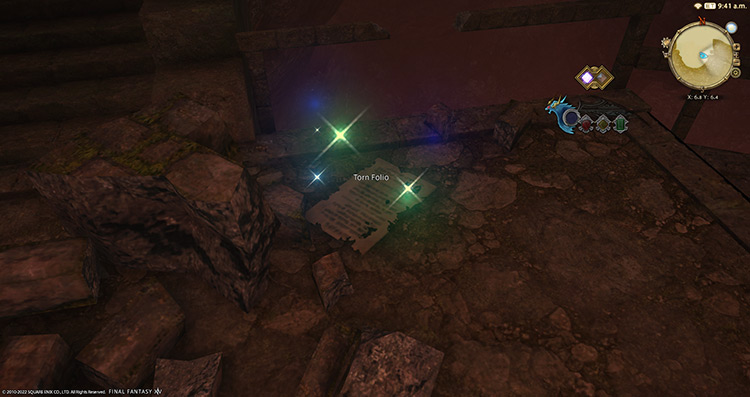
In Tam-tara Deepcroft (Hard), you can interact with “Torn Folio” throughout the dungeon that reveals more lore info about Edda’s group.
Here’s a list of all the coordinates for the reading materials in the order they appear:
- (X:6.8, Y:6.4)
- (X:7.2, Y:8.2)
- (X:9.2, Y:10.4)
- (X:9.4, Y:8.9)
- (X:10.7, Y:9.2)
-
Final Fantasy XIV
- FFXIV The Tam-tara Deepcroft (Hard): Unlock + Boss Guide
Related Posts:
 FFXIV The Stone Vigil (Hard): How To Unlock + Boss Guides
 FFXIV Hullbreaker Isle (Normal): How To Unlock + Boss Guide
 FFXIV The Tam-Tara Deepcroft (Normal): Unlock + Dungeon Guide
 FFXIV Pharos Sirius (Normal): How To Unlock + Dungeon Guide
 FFXIV Copperbell Mines (Hard): How To Unlock + Boss Guide
 FFXIV The Tower of Zot: Unlock + Boss Guide
 FFXIV Dohn Mheg: How To Unlock + Boss Guide
 FFXIV The Qitana Ravel: Unlock + Boss Guide