The Level 80 dungeon Paglth’an can be unlocked by accepting the Level 80 MSQ “The Flames of War from G’raha Tia in Azys Lla (X:8.9, Y:31.1). This MSQ is part of the Main Scenario Questline for patch 5.5 of the Shadowbringers expansion.
In this guide we’ll explain how you can unlock this dungeon, how to handle each of the boss’ mechanics, and we’ll list all the possible loot you can get.
TABLE OF CONTENTS
Step-by-Step Unlock Guide
- Accept the Level 80 MSQ “The Flames of War from G’raha Tia in Azys Lla (X:8.9, Y:31.1).
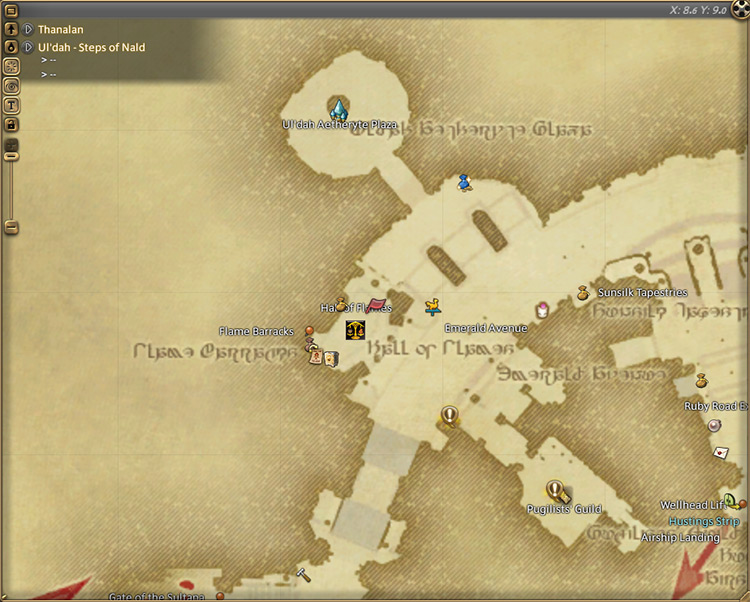
- Speak with Thancred at the Hall of Flames in Uldah – Steps of Nald (X:8.5, Y:9.0).
- Talk to the Immortal Flames Pilot at the Airship Landing in Ul’dah – Steps of Nald (X:10.7, Y:11.4).
Detailed Unlocking Guide
Paglth’an is an expert-level dungeon made available in patch 5.5 of the Shadowbringers expansion. To unlock it, you need to finish every MSQ leading up to “The Flames of War.”
This includes MSQs from the previous expansions and the A Realm Reborn base game.
After catching up with the MSQs, speak with G’raha Tia in Azys Lla (X:8.9, Y:31.1) to begin the quest.
In this part of the story, Lunar Bahamut and the Telophoroi are preparing to invade Paglth’an, home to many Amalj’aa settlements.
The scions look to defend the Amalj’aas with the help of Tiamat, who was recently freed from Azys Lla. Speak with Thancred in Uldah – Steps of Nald (X:8.5, Y:9.0) to continue.
The scions regroup at the Hall of Flames and assess the current situation. Thancred reports that the Telophoroi have begun their siege of Paglth’an.
Not long into the conversation, the sultana joins in and assures that the Immortal Flames have already entered the battlefield.
All that remains is for the scions to enter the fray.
After the cutscene, talk to the Immortal Flames Pilot at the Airship Landing in Ul’dah – Steps of Nald (X:10.7, Y:11.4) to unlock Paglth’an. This dungeon requires at least a Level 80 Disciple of War or Magic job and an average item level of 490 to enter.

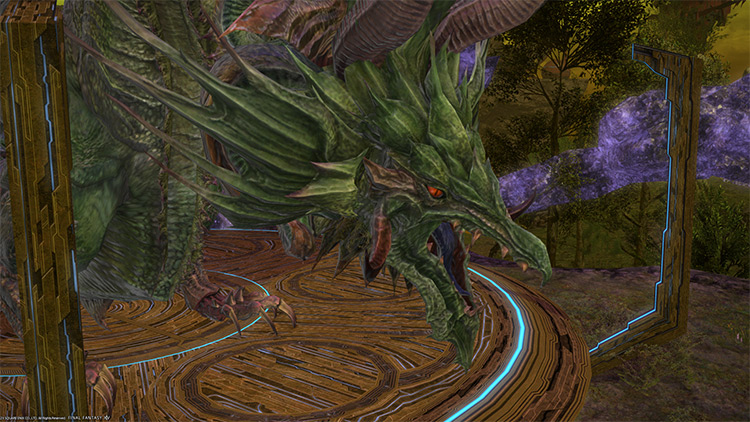
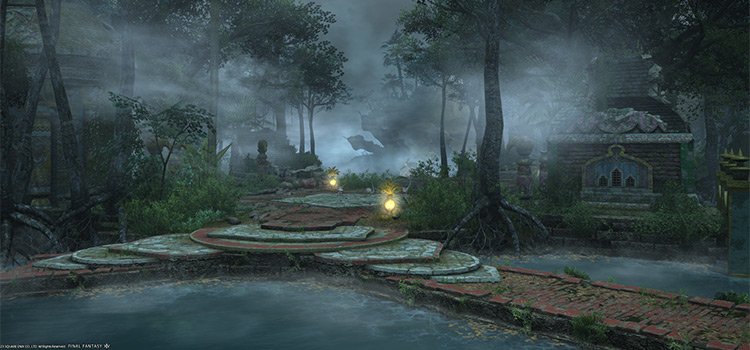
Boss #1: Amhuluk
Mechanics
- Critical Rip: A red tankbuster marker on the primary target. Mitigate and heal through the damage.
- Lightning Bolt: The boss will jump to one side of the arena and mark all players with blue circle AoEs. Several lampposts will also receive blue circle AoEs of their own. Getting hit by the AoE will result in a stacking “Lightning Resistance Down” debuff. Run toward an unmarked lamppost to pass your AoE off, then move to the center.
- Electric Burst: A room-wide AoE attack usually used after “Lightning Bolt.”
- Thundercall: Several blue orbs will spawn that will constantly explode into point-blank AoEs that apply stacking “Vulnerability Up” debuffs for 60 seconds.
- Wide Blaster: A massive frontal cone AoE that applies a stacking “Vulnerability Up” debuff for 60 seconds.
- Spike Flail: A fast-casting backward cone immediately after “Wide Blaster” that also applies a stacking “Vulnerability Up” debuff for 60 seconds.
Rewards
| Name | Type | Rarity |
|---|---|---|
| Paglth’an Armillae of Aiming | Bracelets | Dungeon (Green) |
| Paglth’an Armillae of Casting | Bracelets | Dungeon (Green) |
| Paglth’an Armillae of Fending | Bracelets | Dungeon (Green) |
| Paglth’an Armillae of Healing | Bracelets | Dungeon (Green) |
| Paglth’an Armillae of Slaying | Bracelets | Dungeon (Green) |
| Paglth’an Boots of Aiming | Feet | Dungeon (Green) |
| Paglth’an Boots of Fending | Feet | Dungeon (Green) |
| Paglth’an Boots of Maiming | Feet | Dungeon (Green) |
| Paglth’an Greaves of Scouting | Feet | Dungeon (Green) |
| Paglth’an Greaves of Striking | Feet | Dungeon (Green) |
| Paglth’an Ring of Aiming | Ring | Dungeon (Green) |
| Paglth’an Ring of Casting | Ring | Dungeon (Green) |
| Paglth’an Ring of Fending | Ring | Dungeon (Green) |
| Paglth’an Ring of Healing | Ring | Dungeon (Green) |
| Paglth’an Ring of Slaying | Ring | Dungeon (Green) |
| Paglth’an Sandals of Casting | Feet | Dungeon (Green) |
| Paglth’an Sandals of Healing | Feet | Dungeon (Green) |
| Battledance Materia VII | Materia | Basic |
| Heavens’ Eye Materia VII | Materia | Basic |
| Piety Materia VII | Materia | Basic |
| Quickarm Materia VII | Materia | Basic |
| Quicktongue Materia VII | Materia | Basic |
| Savage Aim Materia VII | Materia | Basic |
| Savage Might Materia VII | Materia | Basic |
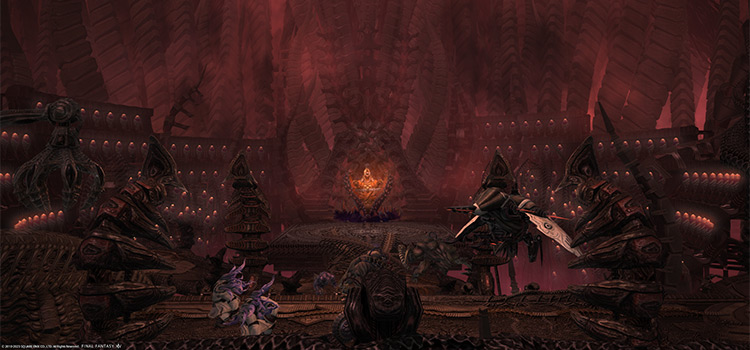
Boss #2: Magitek Fortress
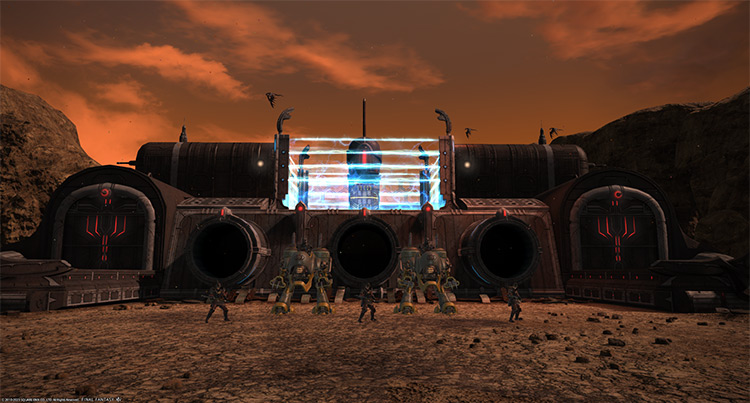
At the start of the fight, the main “Magitek Core” of the fortress is locked and guarded by enemy mobs. Kill the mobs to gain access to the core. Note that most of the mechanics in this fight apply stacking “Vulnerability Up” debuffs for 60 seconds.
Mechanics
Phase 1: Magitek Core and First Ascent
- Telotek Predator & Tempered Imperial: The first wave of mobs that you need to kill to reach the Magitek Core. Round up the mobs and burn them down as soon as possible.
- Magitek Claw (Telotek Predator): A single-target attack that deals moderate damage.
- 2-tonze Magitek Missile: A large ground AoE on a random player.
- Stable Cannon: The fortress will laser cannons for column AoEs.
- Magitek Core: The main core of the boss that needs to be destroyed to complete the encounter. After killing the mobs below, stand on the blue marker in front of the fortress to reach the core.
You’ll only be able to access the core twice during the fight. During your second ascent, the core will continuously use its room-wide AoE until it’s destroyed. Use your limit breaks if available. - Defensive Reaction (Magitek Core): A room-wide AoE attack.
Phase 2: Additional mobs and Second Ascent
Destroy the new set of mobs while dodging more AoEs before going back up to destroy the core.
- Mark II Magitek Telotek Colossus & Telotek Sky Armor: Additional mobs that you need to kill to reach the core.
- Exhaust (Mark II Magitek Telotek Colossus): A large column attack that knocks players back.
- Aethershot (Telotek Sky Armor): Ground AoEs on two random players.
- Missiles: Several missiles will appear from both flanks and explode upon impact.
- Ground-to-ground Ballistic: A room-wide AoE attack that knocks players back away from the center.
Rewards
| Name | Type | Rarity |
|---|---|---|
| Paglth’an Earring of Aiming | Earrings | Dungeon (Green) |
| Paglth’an Earring of Casting | Earrings | Dungeon (Green) |
| Paglth’an Earring of Fending | Earrings | Dungeon (Green) |
| Paglth’an Earring of Healing | Earrings | Dungeon (Green) |
| Paglth’an Earring of Slaying | Earrings | Dungeon (Green) |
| Paglth’an Armguards of Fending | Hands | Dungeon (Green) |
| Paglth’an Armguards of Maiming | Hands | Dungeon (Green) |
| Paglth’an Armguards of Scouting | Hands | Dungeon (Green) |
| Paglth’an Armguards of Striking | Hands | Dungeon (Green) |
| Paglth’an Fingerwraps of Aiming | Hands | Dungeon (Green) |
| Paglth’an Fingerwraps of Casting | Hands | Dungeon (Green) |
| Paglth’an Fingerwraps of Healing | Hands | Dungeon (Green) |
| Paglth’an Circlet of Aiming | Head | Dungeon (Green) |
| Paglth’an Circlet of Casting | Head | Dungeon (Green) |
| Paglth’an Circlet of Healing | Head | Dungeon (Green) |
| Paglth’an Helm of Fending | Head | Dungeon (Green) |
| Paglth’an Helm of Maiming | Head | Dungeon (Green) |
| Paglth’an Visor of Scouting | Head | Dungeon (Green) |
| Paglth’an Visor of Striking | Head | Dungeon (Green) |
| Paglth’an Necklace of Aiming | Necklace | Dungeon (Green) |
| Paglth’an Necklace of Casting | Necklace | Dungeon (Green) |
| Paglth’an Necklace of Fending | Necklace | Dungeon (Green) |
| Paglth’an Necklace of Healing | Necklace | Dungeon (Green) |
| Paglth’an Necklace of Slaying | Necklace | Dungeon (Green) |
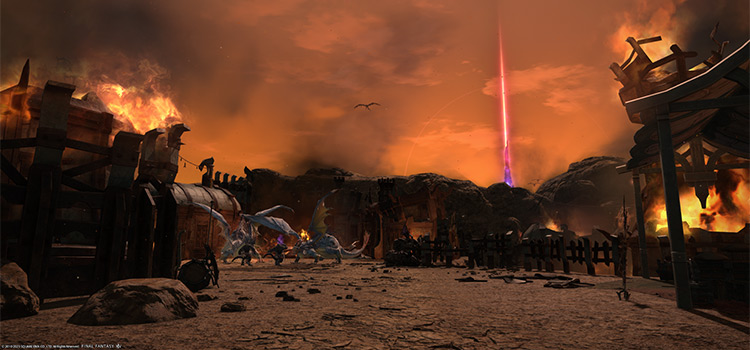
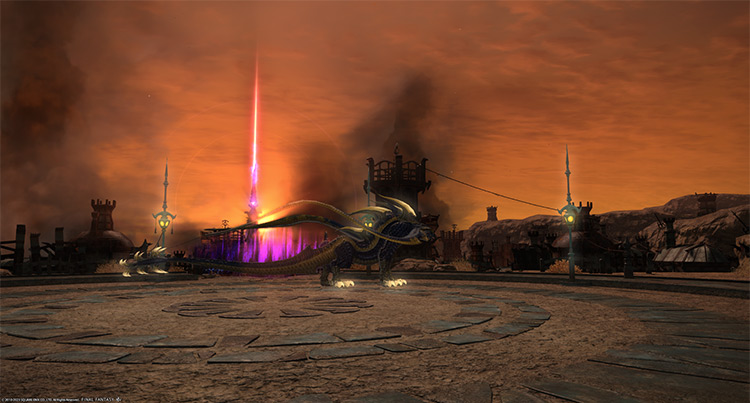
Boss #3: Lunar Bahamut
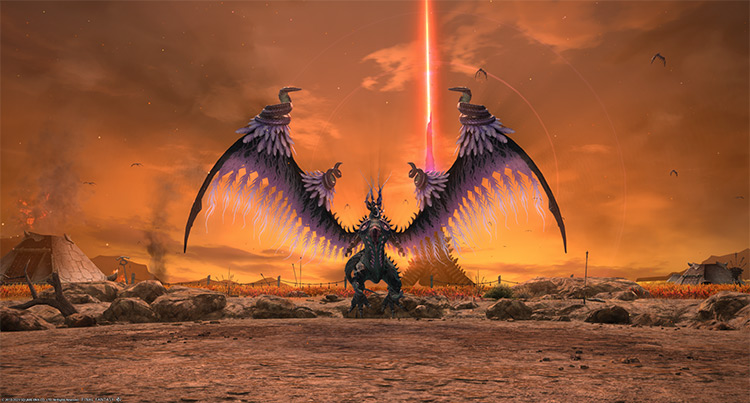
Most of the mechanics in this fight apply stacking “Vulnerability Up” debuffs for 60 seconds.
Mechanics
- Twisted Scream: A room-wide AoE attack. Then, several spires will continuously drop from the sky. After a few moments, each spire will explode into large AoEs. Wait for the first spire to explode, then move into the safe zone.
- Perigean Breath: A room-wide frontal cone AoE toward a random player.
- Akh Morn: A four-hit stack marker on a random player. Stay inside the marker for all four hits to share incoming damage.
- Megaflare: All players will receive orange markers for point-blank AoEs. Then, larger AoEs will spawn from the initial ones. Spread out to avoid overlap.
- Megaflare Dive: A large column attack down the middle that’s usually paired with “Twisted Scream.”
- Kan Rhai: One player will be marked with a cross-shaped AoE. After some time, the AoE will drop nine consecutive AoEs on top of the player’s last location. Move out immediately.
- Lunar Flare: The boss will summon overlapping AoE circles that will slowly shrink to reveal safe spaces. Depending on the pattern, you can either run to four safe spaces near the edges or one safe space directly in the center.
- Gigaflare: A strong room-wide AoE attack.
- Flatten: A red tankbuster marker on the primary target. Shield and heal through the damage.
Rewards
- Lunar Bahamut Triple Triad Card (not guaranteed)
| Name | Type | Rarity |
|---|---|---|
| Paglth’an Chestpiece of Aiming | Body | Dungeon (Green) |
| Paglth’an Chestpiece of Scouting | Body | Dungeon (Green) |
| Paglth’an Chestpiece of Striking | Body | Dungeon (Green) |
| Paglth’an Chestwrap of Casting | Body | Dungeon (Green) |
| Paglth’an Chestwrap of Healing | Body | Dungeon (Green) |
| Paglth’an Jacket of Fending | Body | Dungeon (Green) |
| Paglth’an Jacket of Maiming | Body | Dungeon (Green) |
| Paglth’an Bottoms of Aiming | Legs | Dungeon (Green) |
| Paglth’an Bottoms of Fending | Legs | Dungeon (Green) |
| Paglth’an Bottoms of Maiming | Legs | Dungeon (Green) |
| Paglth’an Breeches of Casting | Legs | Dungeon (Green) |
| Paglth’an Breeches of Healing | Legs | Dungeon (Green) |
| Paglth’an Hose of Scouting | Legs | Dungeon (Green) |
| Paglth’an Hose of Striking | Legs | Dungeon (Green) |
| Magitek Predator F1 | Minion | Basic |
| Seven Flames Orchestrion Roll | Orchestrion Roll | Basic |
Extra Treasure Coffers
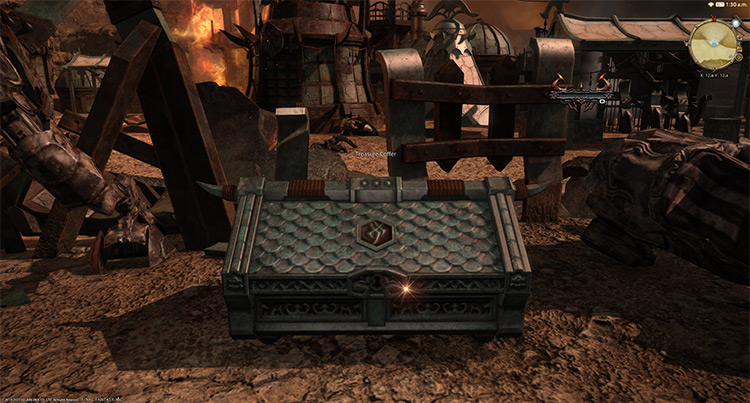
Apart from the boss rewards, there are four treasure coffers located throughout the dungeon that you can open for more gear and materia rewards. Here are their coordinates:
- (X:12.8, Y:12.3)
- (X:15.5, Y:11.4)
- (X:18.0, Y:9.1)
- (X:16.6, Y:10.5)
-
Final Fantasy XIV
- FFXIV Paglth’an: How To Unlock + Dungeon Guide
Related Posts:
 FFXIV The Fell Court of Troia: Unlock + Dungeon Guide
 FFXIV Alzadaal’s Legacy: How To Unlock + Dungeon Guide
 FFXIV The Tower of Babil: Unlock + Dungeon Guide
 FFXIV Lapis Manalis: Unlock + Dungeon Boss Guide
 FFXIV The Aetherfont: Unlock + Dungeon Boss Guide
 FFXIV Ala Mhigo Dungeon: Unlock + Boss Guide
 FFXIV Anamnesis Anyder: How To Unlock + Boss Guide
 FFXIV Dohn Mheg: How To Unlock + Boss Guide