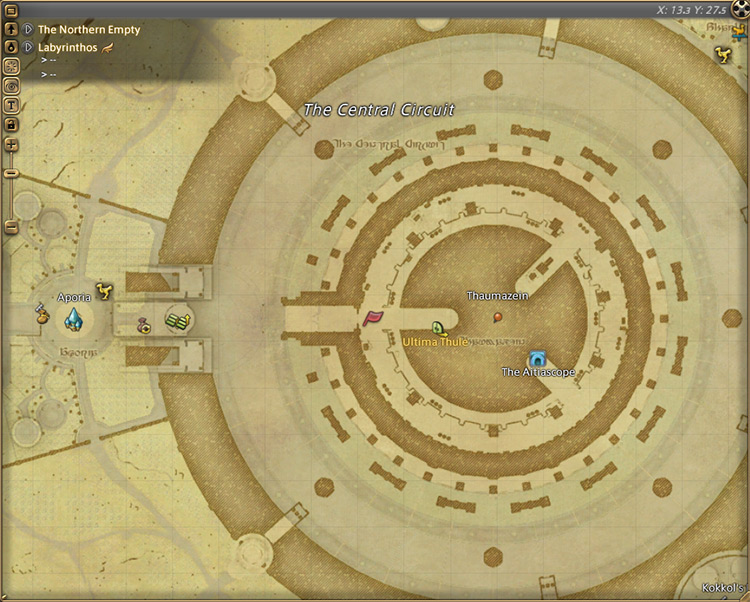
You can unlock the Level 89 dungeon The Aitiascope by accepting the Level 89 MSQ “Her Children, One and All” from Fourchenault in Labyrinthos (X:13.3, Y:27.5). This MSQ is part of the patch 6.0 main story for the Endwalker expansion.
In this guide we’ll cover each of the boss’ mechanics in this dungeon, and we’ll provide a list of all the loot you can get.
TABLE OF CONTENTS
Unlocking Quest: Her Children, One and All
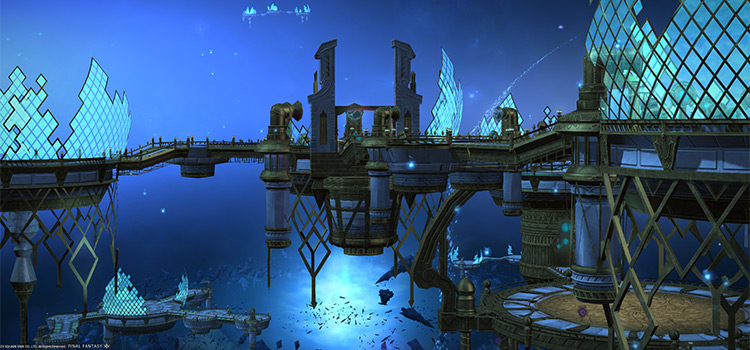
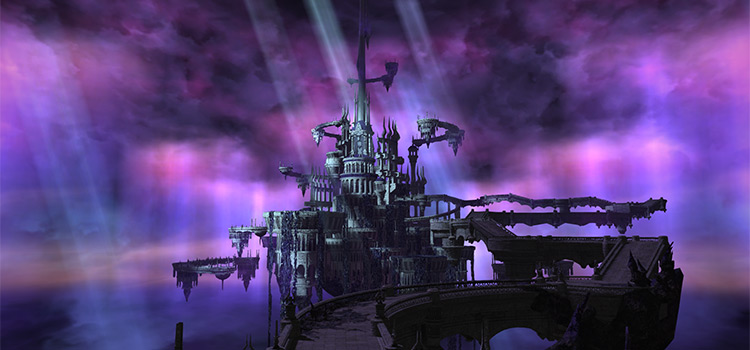
The AItiascope is the fifth story dungeon made available in patch 6.0 of the Endwalker expansion.
To unlock it, you must finish every MSQ leading up to the Level 89 MSQ “Her Children, One and All.” This includes all the MSQs from previous expansions.
After doing so, speak with Fourchenault in Labyrinthos (X:13.3, Y:27.5) to begin.
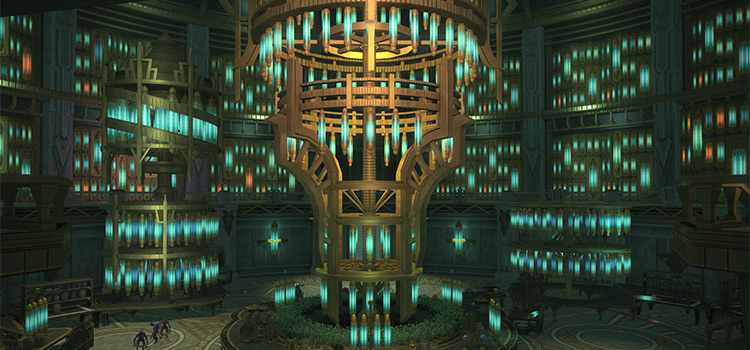
Following a lengthy and dramatic plea to the Forum, the scions have been granted access to The Aitiascope, allowing them to search the Aetherial Sea for Hydaelyn herself. Follow Fourchenault to Labyrinthos (X:16.8, Y:28.5) to continue and trigger a cutscene.
The esteemed scholar will explain The Aitiascope’s purpose and the rare occasions that the Sharlayans were able to communicate with Hydaelyn.
To find her, you’ll need to go into the Aetherial Sea deeper than ever before.
With Krile volunteering to oversee the expedition, the scions are now ready to enter. After the cutscene, The Aitiascope will be unlocked. This dungeon requires at least a Level 89 Disciple of War or Magic job and an average item level of 520 to enter.
Boss #1: Livia the Undeterred
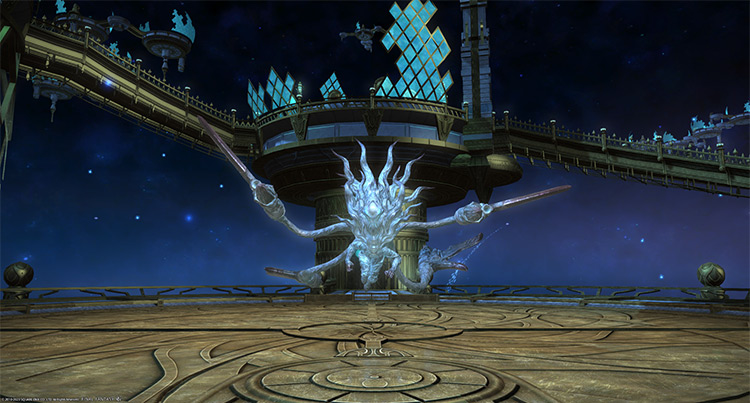
Most of the boss’ attacks apply stacking “Vulnerability Up” debuffs for 60 seconds.
Mechanics
- Aglaea Bite: A red tankbuster marker on the primary target that can cleave players. Face the boss away from the party at all times.
- Frustration: A room-wide AoE attack.
- Aglaea Climb: Two of the boss’ tendrils will start charging up massive conal AoEs. Move to the opposite quadrants to avoid.
- Aglaea Shot: Line AoEs toward the cardinal and intercardinal directions. After a few seconds, these AoEs will be repeated with near-instant casts. Avoid the initial AoEs and stay in place until the second set goes off.
- Odi Et Amo: Targeted circle AoEs on two players followed by a stack marker on another random player. Stand inside the stack marker to share incoming damage.
- Disparagement: A 120-degree frontal cone toward the player targeted with the “Odi Et Amo” stack marker.
Rewards
| Name | Type | Rarity |
|---|---|---|
| Etheirys Earring of Aiming | Earrings | Dungeon (Green) |
| Etheirys Earring of Casting | Earrings | Dungeon (Green) |
| Etheirys Earring of Fending | Earrings | Dungeon (Green) |
| Etheirys Earring of Healing | Earrings | Dungeon (Green) |
| Etheirys Earring of Slaying | Earrings | Dungeon (Green) |
| Etheirys Choker of Aiming | Necklace | Dungeon (Green) |
| Etheirys Choker of Casting | Necklace | Dungeon (Green) |
| Etheirys Choker of Fending | Necklace | Dungeon (Green) |
| Etheirys Choker of Healing | Necklace | Dungeon (Green) |
| Etheirys Choker of Slaying | Necklace | Dungeon (Green) |
Boss #2: Rhitahtyn the Unshakable
Most of the boss’ attacks apply stacking “Vulnerability Up” debuffs for 60 seconds.
Mechanics
- Tartarean Impact: A room-wide AoE attack.
- Tartarean Spark: A large column attack toward a random player.
- Vexillatio: The boss will move to the north and shrink the arena into a narrow column in the center.
- Shield Skewer: With the flanks now inaccessible, the boss will cover its front in a room-wide column attack. During this time, he’ll siphon aether from four aether crystals on the sides that will eventually disappear (shown through aether meter bars). Run toward the crystals that are draining faster and stand in the safe zone once they disappear.
- Anvil of Tartarus: A red tankbuster marker on the primary target. Use mitigation skills and heal through the damage.
- Shrapnel Shell: Two artillery markers will slowly move toward adjacent corners. After a few seconds, both quadrants will be covered in AoE. Move to the opposite corners to avoid. This mechanic can also overlap with “Shield Skewer,” where an artillery marker will cover one of the two safe zones.
Rewards
| Name | Type | Rarity |
|---|---|---|
| Etheirys Bracelet of Aiming | Bracelets | Dungeon (Green) |
| Etheirys Bracelet of Casting | Bracelets | Dungeon (Green) |
| Etheirys Bracelet of Fending | Bracelets | Dungeon (Green) |
| Etheirys Bracelet of Healing | Bracelets | Dungeon (Green) |
| Etheirys Bracelet of Slaying | Bracelets | Dungeon (Green) |
| Etheirys Ring of Aiming | Ring | Dungeon (Green) |
| Etheirys Ring of Casting | Ring | Dungeon (Green) |
| Etheirys Ring of Fending | Ring | Dungeon (Green) |
| Etheirys Ring of Healing | Ring | Dungeon (Green) |
| Etheirys Ring of Slaying | Ring | Dungeon (Green) |
| Battledance Materia IX | Materia | Basic |
| Heavens’ Eye Materia IX | Materia | Basic |
| Piety Materia IX | Materia | Basic |
| Quickarm Materia IX | Materia | Basic |
| Quicktongue Materia IX | Materia | Basic |
| Savage Aim Materia IX | Materia | Basic |
| Savage Might Materia IX | Materia | Basic |
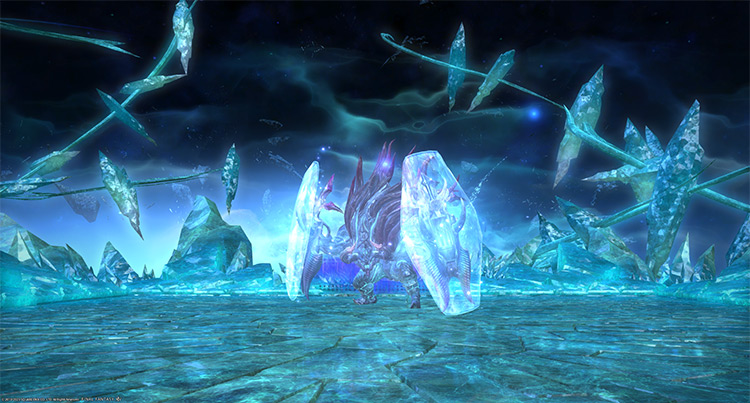
Boss #3: Amon the Undying

Most of the boss’ attacks apply stacking “Vulnerability Up” debuffs for 60 seconds.
Mechanics
- Dark Forte: A red tankbuster marker on the primary target. Shield and heal through the damage.
- Thundaga Forte: A proximity marker in the center that will spawn two sets of conal AoEs. The AoE telegraphs will have currents running through them to indicate which ones will go off first. Run away from the center and check which AoEs will go off first to dodge accordingly.
- Strophe + Antistrophe: The boss will spawn up to two purplemagic circles that will eventually be raised. Then, the magic circles will fire column attacks spanning both sides. Stand on the magic circles’ flanks to avoid.
- Left Firaga Forte or Right Firaga Forte: A 180-degree AoE from one of the boss’ flanks.
- Entr’acte: A room-wide AoE attack.
- Curtain Call: The boss will slowly charge a room-wide ultimate AoE attack that will instantly kill anyone that gets caught. Midway through the cast, Ysayle in Shiva’s form will appear and conjure a massive ice wall in the center. Hide behind it to survive.
- Eruption Forte: Targeted circle AoEs on random players during “Curtain Call.”
Rewards
- Amon the Undying Triple Triad Card (not guaranteed)
| Name | Type | Rarity |
|---|---|---|
| Etheirys Earring of Aiming | Earrings | Dungeon (Green) |
| Etheirys Earring of Casting | Earrings | Dungeon (Green) |
| Etheirys Earring of Fending | Earrings | Dungeon (Green) |
| Etheirys Earring of Healing | Earrings | Dungeon (Green) |
| Etheirys Earring of Slaying | Earrings | Dungeon (Green) |
| Etheirys Choker of Aiming | Necklace | Dungeon (Green) |
| Etheirys Choker of Casting | Necklace | Dungeon (Green) |
| Etheirys Choker of Fending | Necklace | Dungeon (Green) |
| Etheirys Choker of Healing | Necklace | Dungeon (Green) |
| Etheirys Choker of Slaying | Necklace | Dungeon (Green) |
| Tiny Troll | Minion | Basic |
| The Aetherial Sea Orchestrion Roll | Orchestrion Roll | Basic |
Extra Treasure Coffers

Apart from the boss rewards, there are four treasure coffers located throughout the dungeon that you can open for more gear and materia rewards. Here are their locations:
- (X:11.8, Y:12.6)
- (X:11.3, Y:10.0)
- (X:11.2, Y:13.1)
- (X:11.2, Y:8.9)
-
Final Fantasy XIV
- FFXIV The Aitiascope: Unlock + Dungeon Boss Guide
Related Posts:
 FFXIV The Fell Court of Troia: Unlock + Dungeon Guide
 FFXIV Alzadaal’s Legacy: How To Unlock + Dungeon Guide
 FFXIV Lapis Manalis: Unlock + Dungeon Boss Guide
 FFXIV The Aetherfont: Unlock + Dungeon Boss Guide
 FFXIV Anamnesis Anyder: How To Unlock + Boss Guide
 FFXIV The Grand Cosmos: Unlock + Boss Guide
 FFXIV Paglth’an: How To Unlock + Dungeon Guide
 FFXIV The Qitana Ravel: Unlock + Boss Guide