You can unlock the Level 90 dungeon The Dead Ends by accepting the Level 90 MSQ “Endwalker” from Alphinaud in Ultima Thule (X:21.5, Y:21.5). This is the final MSQ for patch 6.0 of the Endwalker expansion.
In this guide we’ll cover how to handle each boss’ mechanics + we’ll provide a list of all the loot you can get.
TABLE OF CONTENTS
Unlocking Quest: Endwalker
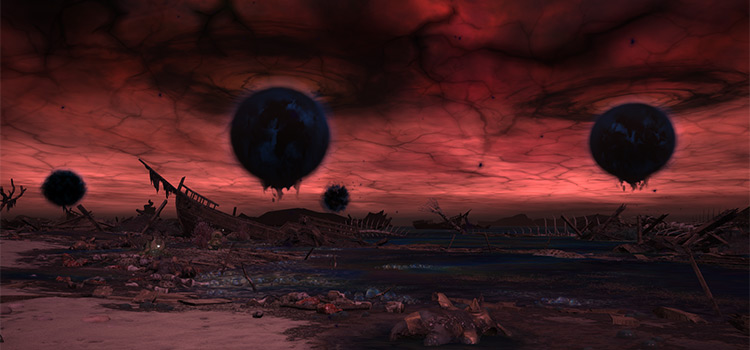
The Dead Ends is the final story dungeon made available in patch 6.0 of the Endwalker expansion and can be unlocked after accepting the Level 90 MSQ “Endwalker” from Alphinaud in Ultima Thule (X:21.5, Y:21.5).
This quest can only be unlocked after you complete every MSQ leading up to it, including MSQs from previous expansions.

In the ensuing cutscene, Alphinaud will give a short yet rousing speech to you and your fellow scions as you prepare to face Meteion.
Afterward, The Dead Ends will be unlocked. This dungeon requires at least a Level 90 Disciple of War or Magic job and an average item level of 540 to enter.
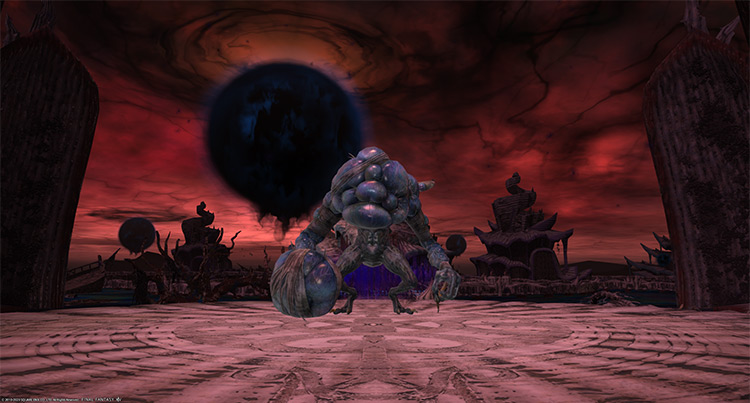
Boss #1: Caustic Grebuloff
Mechanics:
- Miasmata: A room-wide AoE attack that spawns multiple AoE circles. These AoEs will explode multiple times toward the direction of the wind, applying a stacking “Vulnerability Up” debuff for 60 seconds and a dispellable “Necrosis” debuff that will instantly kill a player when it expires.
To handle this mechanic, run to the safe zone at the opposite edge of the wind’s direction and wait for the AoEs to dissipate. - Cough Up: Three consecutive AoEs will be dropped on all players. Have the group stack in one area and move together to reduce the danger zones.
- Craven Companionship: Red triangle markers on all players that will disappear after five seconds. Stand together with at least one player before the timer expires to avoid the 4-second “Hysteria” debuff.
- Wave of Nausea: A room-wide donut AoE that applies a stacking “Vulnerability Up” debuff for 60 seconds. This attack can overlap with “Miasmata.”
- Pox Flail: A red tankbuster marker on the primary target. Shield and heal through the damage.
- Blighted Water: A stack marker on a random player. Stand with the affected player to share incoming damage.
- Befoulment: Targeted AoEs on all players. Spread out to avoid overlapping damage.
Rewards
| Name | Type | Rarity |
|---|---|---|
| The Last Earring of Aiming | Earrings | Dungeon (Green) |
| The Last Earring of Casting | Earrings | Dungeon (Green) |
| The Last Earring of Fending | Earrings | Dungeon (Green) |
| The Last Earring of Healing | Earrings | Dungeon (Green) |
| The Last Earring of Slaying | Earrings | Dungeon (Green) |
| The Last Necklace of Aiming | Necklace | Dungeon (Green) |
| The Last Necklace of Casting | Necklace | Dungeon (Green) |
| The Last Necklace of Fending | Necklace | Dungeon (Green) |
| The Last Necklace of Healing | Necklace | Dungeon (Green) |
| The Last Necklace of Slaying | Necklace | Dungeon (Green) |
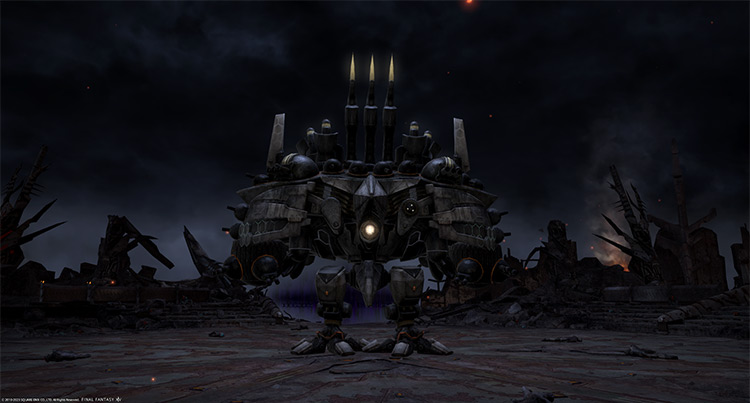
Boss #2: Peacekeeper
Most of the boss’ attacks apply a stacking “Vulnerability Up” debuff for 60 seconds.
Mechanics:
- Decimation: A room-wide AoE attack. Its first cast also turns the outer ring into a danger zone that applies a constant “Burns” DoT.
- Electromagnetic Repellant: A point-blank AoE attack that drops an “Electrocution” DoT puddle afterward. Unlike “Decimation,” this danger zone will dissipate after some time.
- War Machines + Order to Fire: The boss will spawn triangular war machines that will fire column attacks. During this time, all players will also receive targeted circle AoEs. Stand between the gaps while spreading out your circle AoEs to avoid overlap.
- No Future: Artillery markers will cover most of the arena in two consecutive sets. Stand between the narrow gaps to avoid. Near the end of this mechanic, all players will receive targeted circle AoEs once again.
- Peacefire: Two sets of large circle AoEs will drop around the room in a clockwise direction. This mechanic will overlap with “Electromagnetic Repellant” and “War Machines + Order to Fire.”
- Eclipsing Exhaust: A room-wide knockback attack from the center while massive circle AoEs cover most of the arena. Position yourselves to be knocked into a safe zone, or use knockback-immunity skills.
- Elimination: A line tankbuster attack on the primary target. Face the boss away from the party and heal through the damage.
Rewards
| Name | Type | Rarity |
|---|---|---|
| The Last Bracelet of Aiming | Bracelets | Dungeon (Green) |
| The Last Bracelet of Casting | Bracelets | Dungeon (Green) |
| The Last Bracelet of Fending | Bracelets | Dungeon (Green) |
| The Last Bracelet of Healing | Bracelets | Dungeon (Green) |
| The Last Bracelet of Slaying | Bracelets | Dungeon (Green) |
| The Last Ring of Aiming | Ring | Dungeon (Green) |
| The Last Ring of Casting | Ring | Dungeon (Green) |
| The Last Ring of Fending | Ring | Dungeon (Green) |
| The Last Ring of Healing | Ring | Dungeon (Green) |
| The Last Ring of Slaying | Ring | Dungeon (Green) |
| Battledance Materia IX | Materia | Basic |
| Heavens’ Eye Materia IX | Materia | Basic |
| Piety Materia IX | Materia | Basic |
| Quickarm Materia IX | Materia | Basic |
| Quicktongue Materia IX | Materia | Basic |
| Savage Aim Materia IX | Materia | Basic |
| Savage Might Materia IX | Materia | Basic |
Boss #3: Ra-la
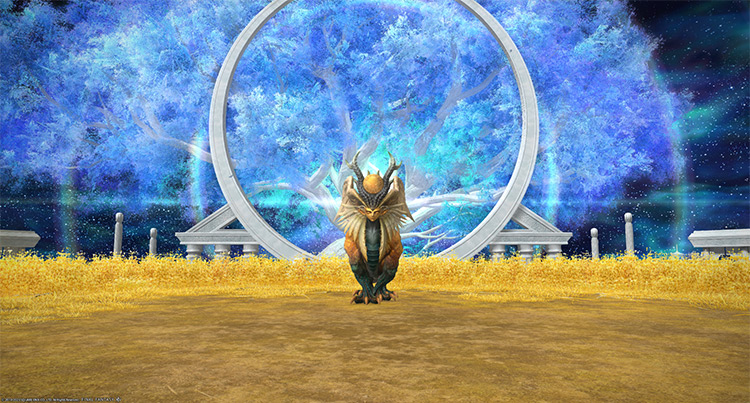
Most of the boss’ attacks apply a stacking “Vulnerability Up” debuff for 60 seconds.
Mechanics:
- Warm Glow: A room-wide AoE attack.
- Pity: A red tankbuster marker on the primary target. Mitigate and heal through the damage.
- Prance: The boss will jump toward four sections of the arena, dropping an expanding AoE each time. Run to the last AoE spot, wait for the first AoE to explode, then stand inside the safe zone to survive.
- Lifesbreath: A room-wide line attack that cuts the arena in half and spawns butterflies. These butterflies will eventually fire column attacks that apply “Doom” for nine seconds. Heal affected players to 100% HP hit to dispel the debuff.
- Benevolence: A stack marker on the healer. Stand with the affected player to mitigate incoming damage.
- Loving Embrace: One of the boss’ wings will glow and eventually use a 180-degree attack.
- Still Embrace: Targeted circle AoEs on all players. Spread out to avoid overlap.
Rewards
| Name | Type | Rarity |
|---|---|---|
| The Last Earring of Aiming | Earrings | Dungeon (Green) |
| The Last Earring of Casting | Earrings | Dungeon (Green) |
| The Last Earring of Fending | Earrings | Dungeon (Green) |
| The Last Earring of Healing | Earrings | Dungeon (Green) |
| The Last Earring of Slaying | Earrings | Dungeon (Green) |
| The Last Necklace of Aiming | Necklace | Dungeon (Green) |
| The Last Necklace of Casting | Necklace | Dungeon (Green) |
| The Last Necklace of Fending | Necklace | Dungeon (Green) |
| The Last Necklace of Healing | Necklace | Dungeon (Green) |
| The Last Necklace of Slaying | Necklace | Dungeon (Green) |
| Starbird | Minion | Basic |
| Of Countless Stars Orchestrion Roll | Orchestrion Roll | Basic |
Extra Treasure Coffers

Apart from the boss rewards, there are four treasure coffers located throughout the dungeon that you can open for more gear and materia rewards:
- (X:11.6, Y:12.8)
- (X:10.3, Y:9.3)
- (X:11.2, Y:11.8)
- (X:9.3, Y:9.3)
Lore Readings
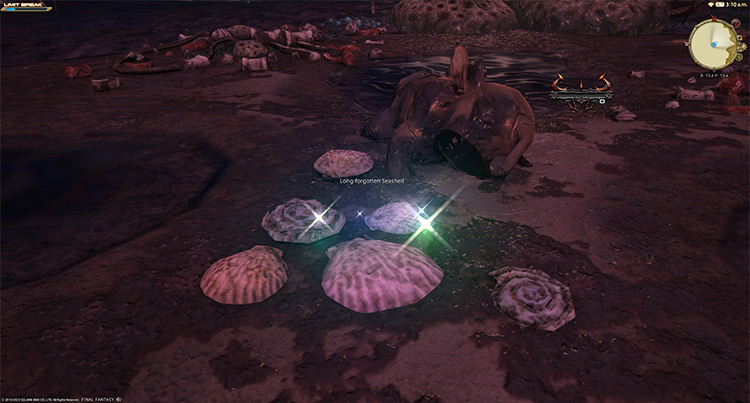
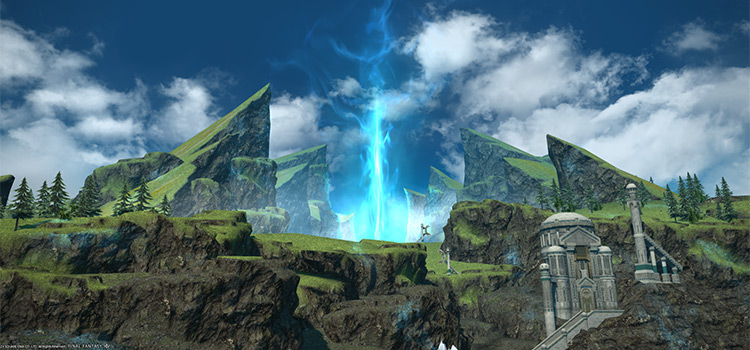
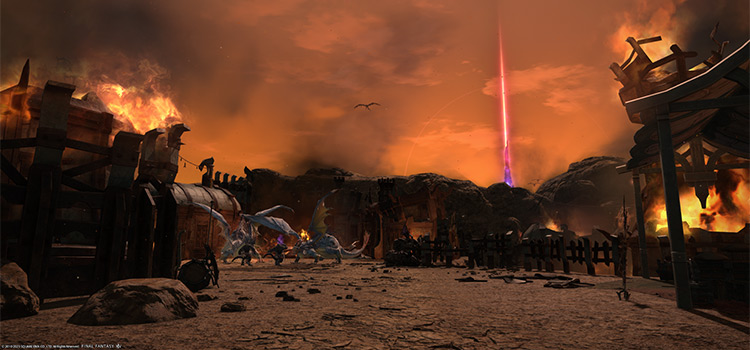
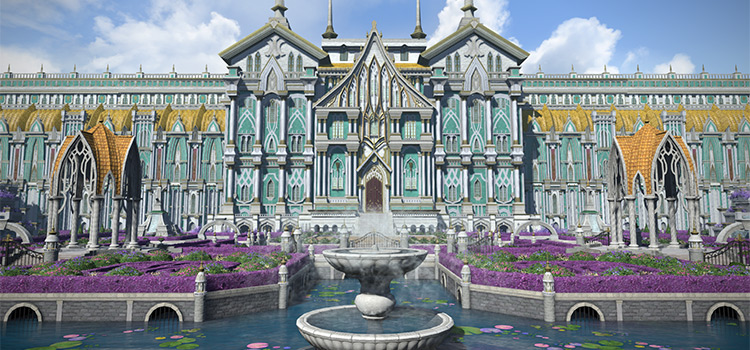
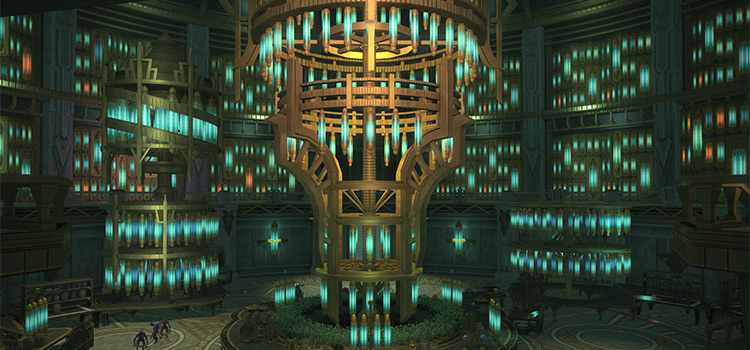
Throughout The Dead Ends, you’ll find different lore readings that tell you about the history of the three civilizations discovered by Meteion during her quest for the meaning of life.
Here’s a list of all the lore reading coordinates in this dungeon:
- (X:13.3, Y:13.4)
- (X:10.1, Y:9.2)
- (X:11.9, Y:11.7)
- (X:10.0, Y:9.4)
- (X:11.1, Y:12.0)
-
Final Fantasy XIV
- FFXIV The Dead Ends: Dungeon Boss Guide + Lore Readings
Related Posts:
 FFXIV The Fell Court of Troia: Unlock + Dungeon Guide
 FFXIV Alzadaal’s Legacy: How To Unlock + Dungeon Guide
 FFXIV Lapis Manalis: Unlock + Dungeon Boss Guide
 FFXIV The Aetherfont: Unlock + Dungeon Boss Guide
 FFXIV Paglth’an: How To Unlock + Dungeon Guide
 FFXIV The Grand Cosmos: Unlock + Boss Guide
 FFXIV Anamnesis Anyder: How To Unlock + Boss Guide
 FFXIV Dohn Mheg: How To Unlock + Boss Guide