TABLE OF CONTENTS
- Full Walkthrough
- Boss Fight: How To Beat Terraclone
- Chapter Epilogue
| Summary Info | |
|---|---|
| Recommended Level | Level 45 |
| Monsters to Find |
|
| Field Items to Find |
|
Full Walkthrough
Chapter Prologue: The Sechs Empire Strikes
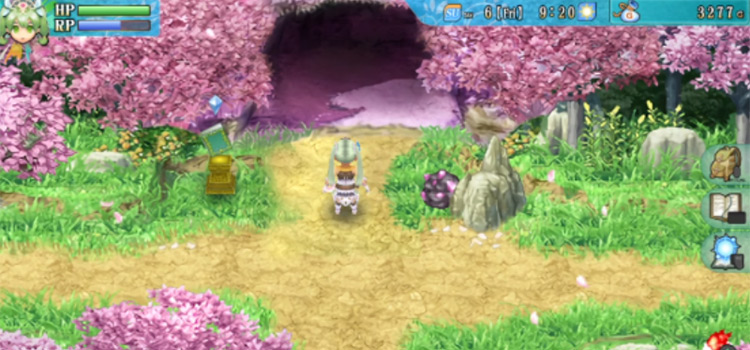
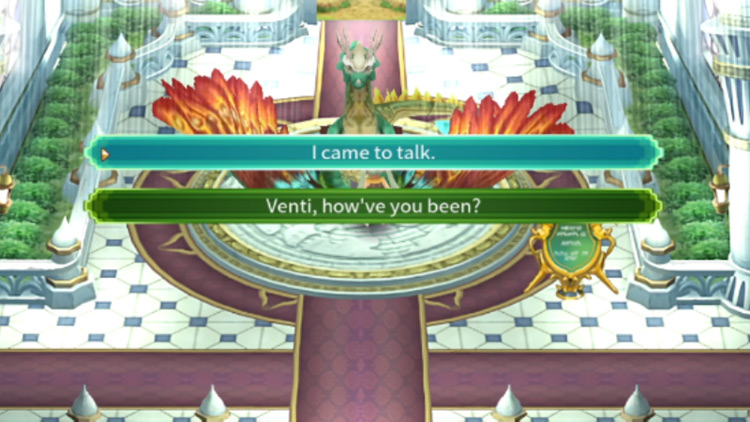
After a day following the events at Leon Karnak, speak to Venti.
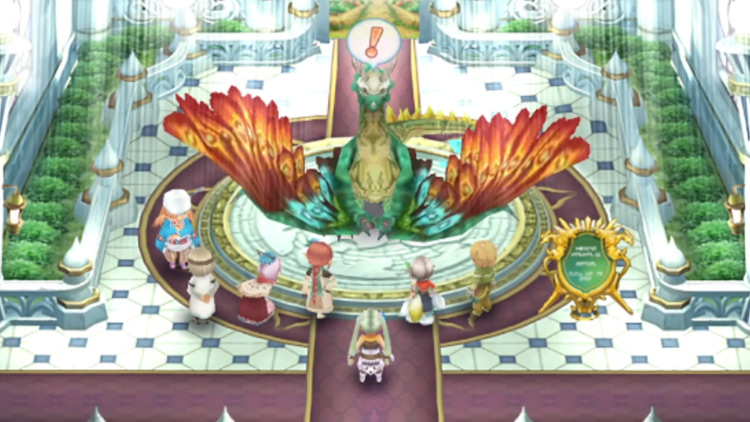
You’ll trigger a cutscene with Venti, Pico, and the different guardians.
After this cutscene, you’ll go around speaking to all the townspeople.
After this, the townspeople will each have new dialogue that you can view when you speak to them.
After that, the story will pause for a bit and you will experience a bit of downtime.
The story will continue after about a week – so you’ll just need to pass some time before getting started.
Battling the Sechs Soldier
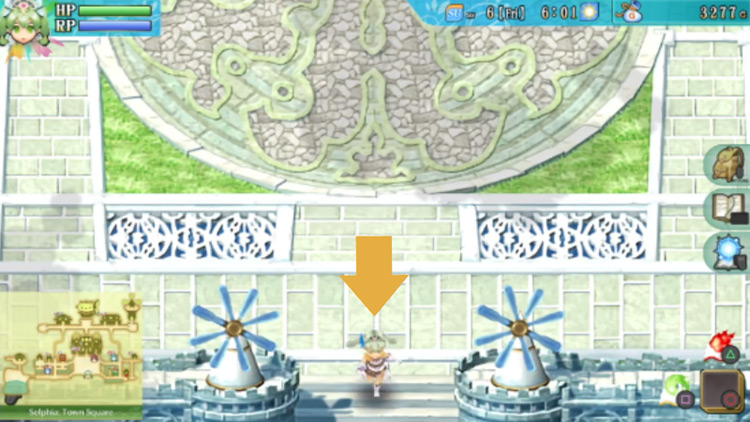
After a week, exit the town through the south path in Selphia: Town Square.
When you exit the town, you’ll hear a commotion going on from inside of the town. Head back into Selphia: Town Square to find out what’s going on.
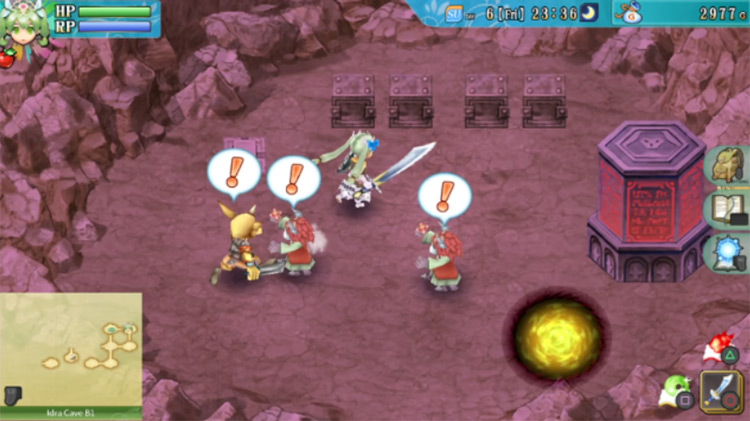
You’ll find Forte and Doug facing a Sechs soldier.
A cutscene will play out, and then you’ll end up in a fight with a Sechs Dragon. Forte will join you in this battle.

Speak to Forte when the fight begins. She’ll give you a Sea Cutter to use in the battle.
The Sea Cutter is a relatively powerful weapon at this stage, so equip it if your current weapon is weaker.
Defeat the Sechs Dragon to trigger the next cutscene.

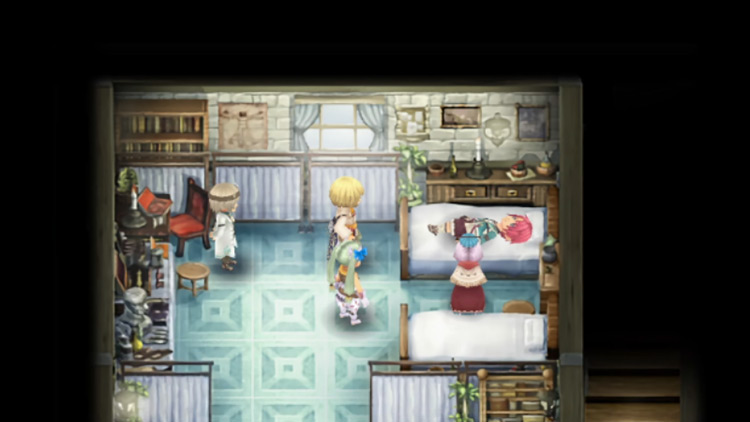
Forte, Doug, and Blossom will head to the clinic after your conversation with them. When you’re ready, head to the Castle: Dragon Room to check on Venti.
When you get inside, you’ll have a discussion with Venti that will conclude with you having to locate the Sechs.
You’ll need to ask Doug where to find them, so head to the clinic.
When you get inside, you’ll have another conversation with the townspeople.
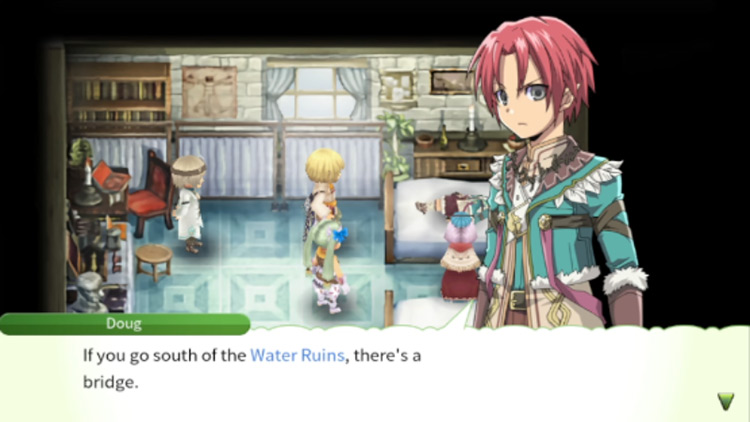
Doug will tell you where a Sechs research facility can be found. That’s where you’ll need to head next.
Sechs Research Facility Guide
The Sechs research facility can be found within the depths of Idra Cave.
This is located in Sercerezo Hill, so head for that area. Doug will explain that the path going there is located south of the Water Ruins.
Tip: If you want directions on how to get to Idra Cave from Selphia Castle Gate, you can check out our full location guide here.
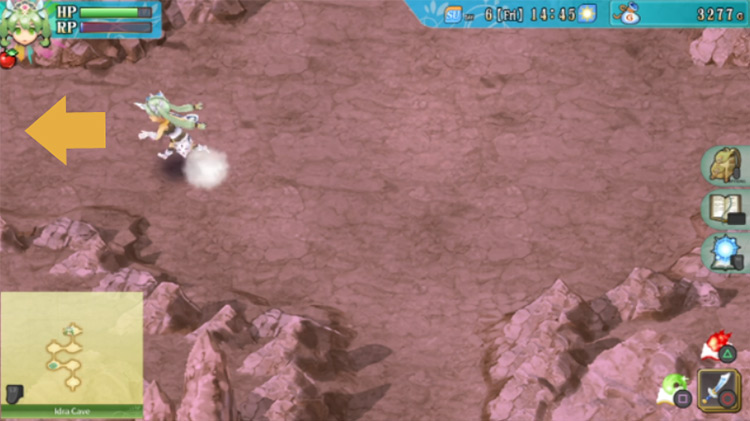
Starting with Idra Cave
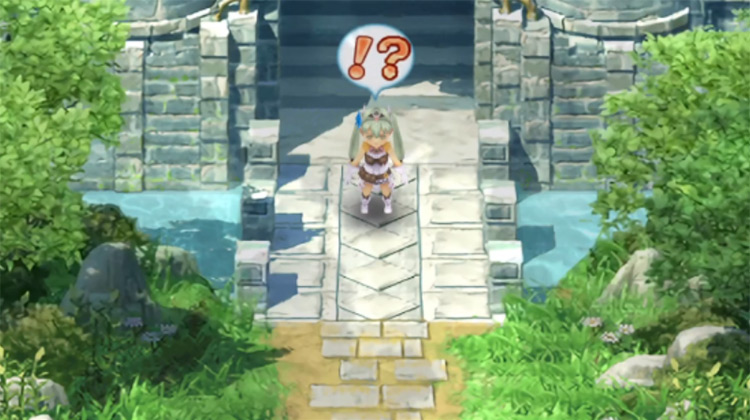
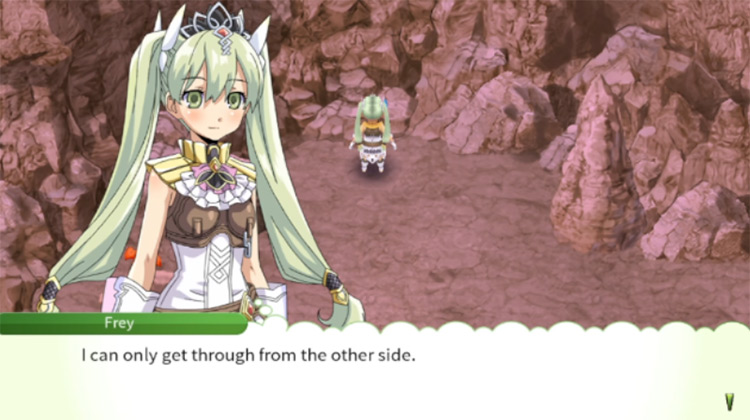
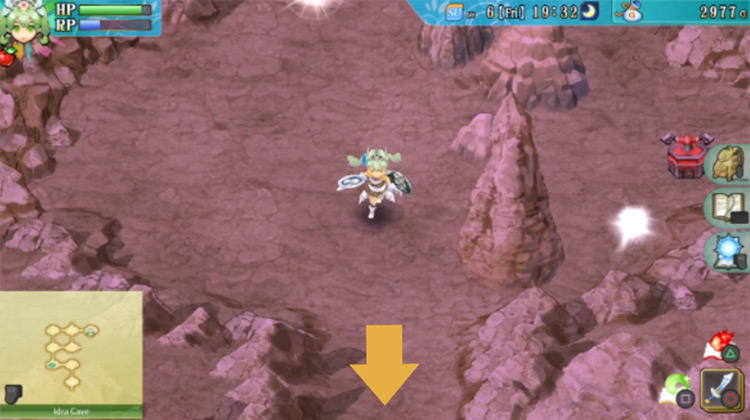
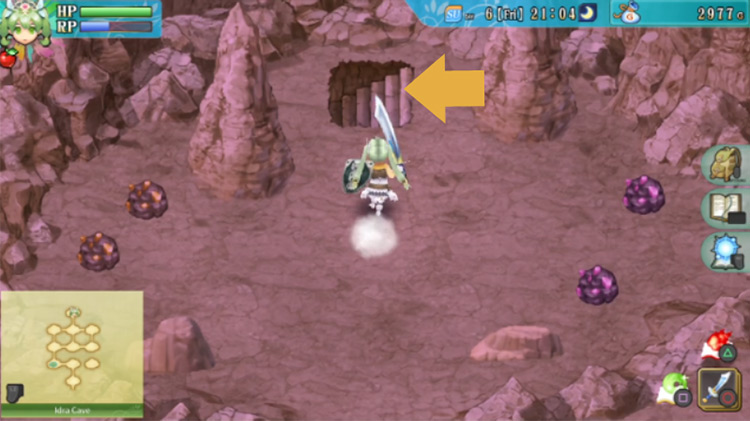
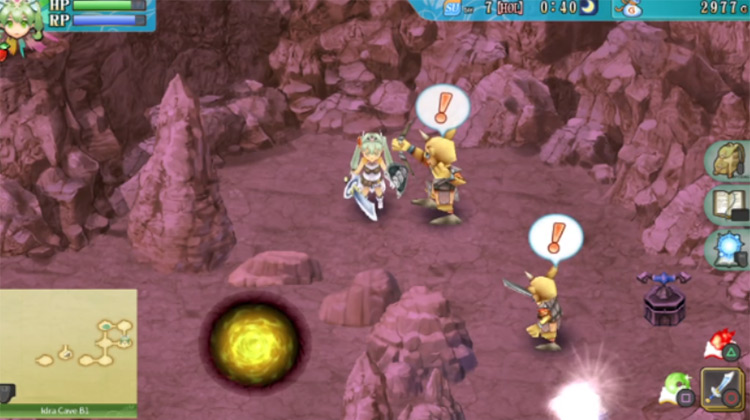
When you find the entrance to Idra Cave, a short cutscene will play out where two Sechs soldiers will enter the cave.
Head inside when you’re ready.

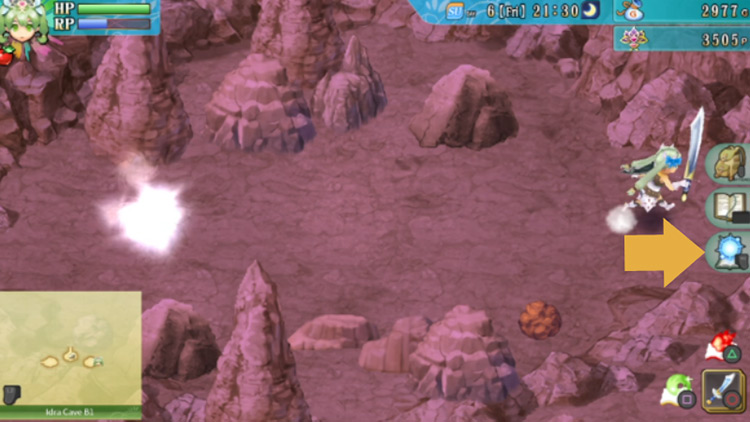
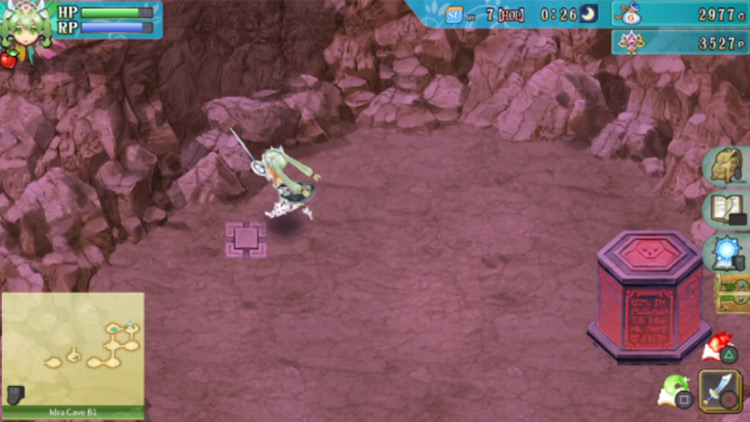
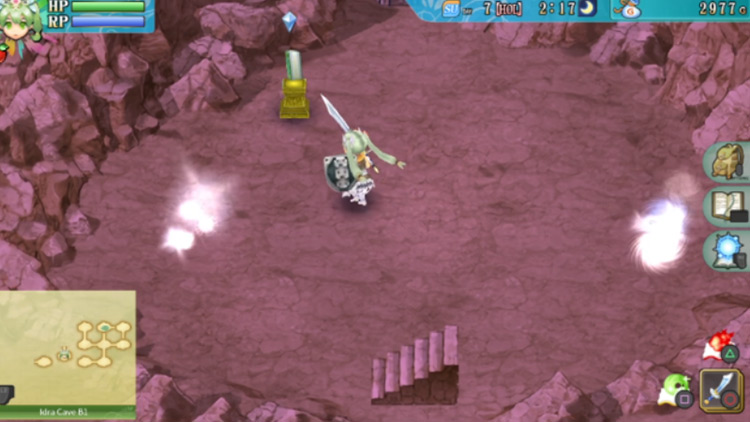
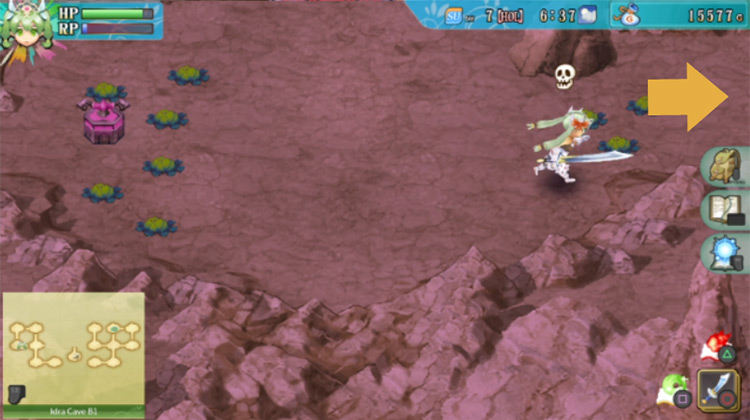
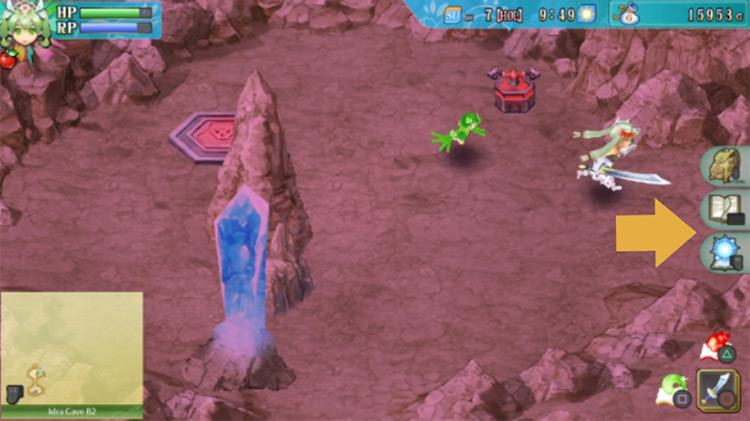
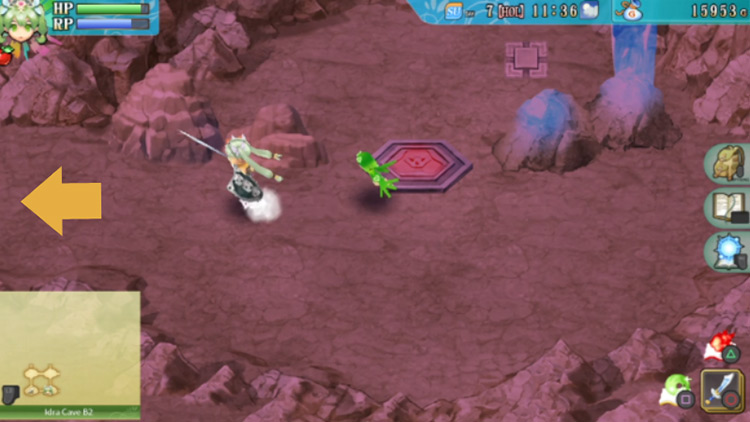
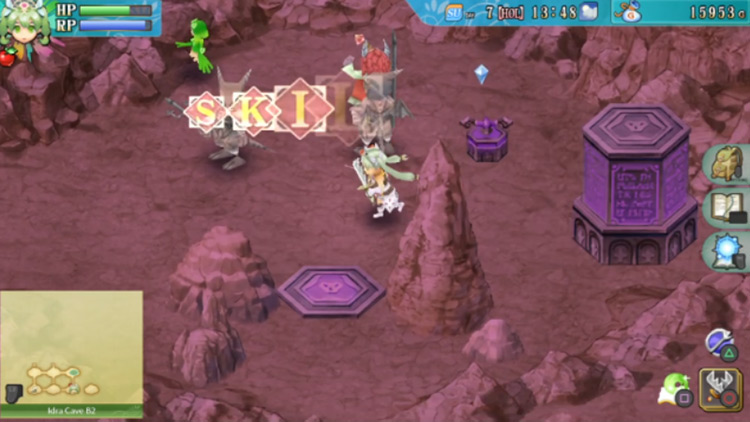
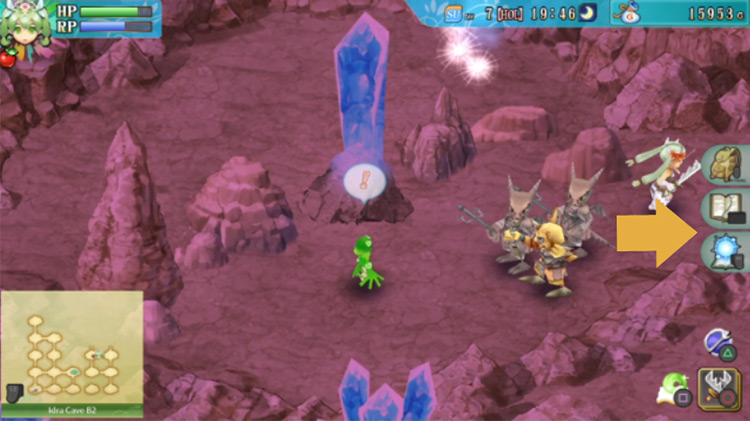
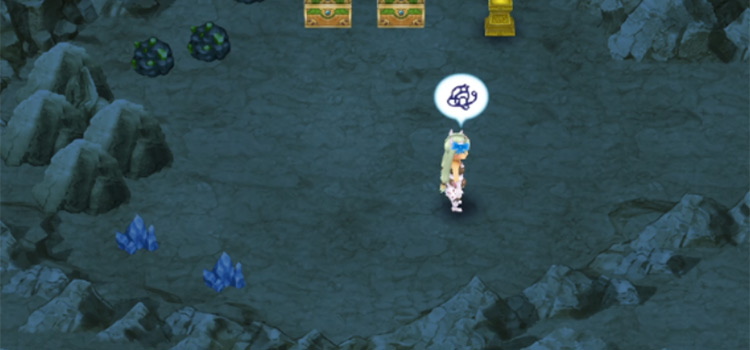
Once you get in, you’ll find a sign that lists down the monsters and the field items that can be found inside the dungeon.
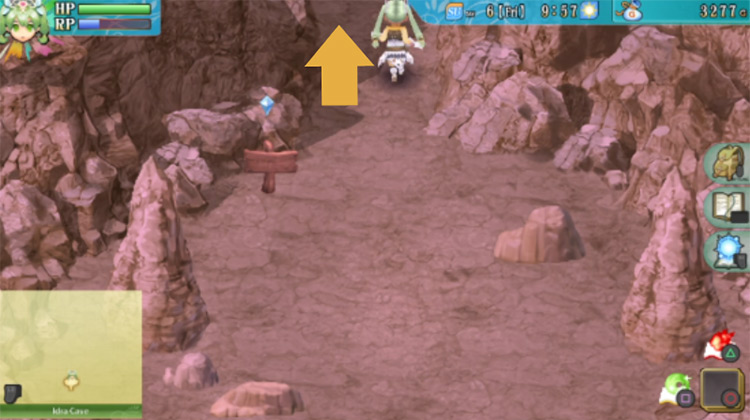
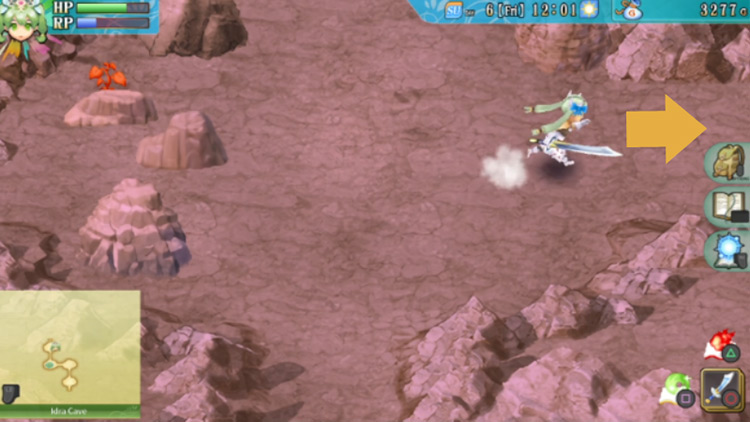
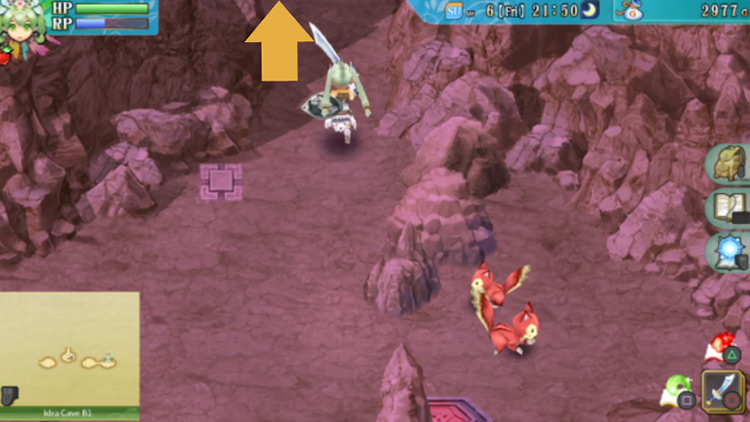
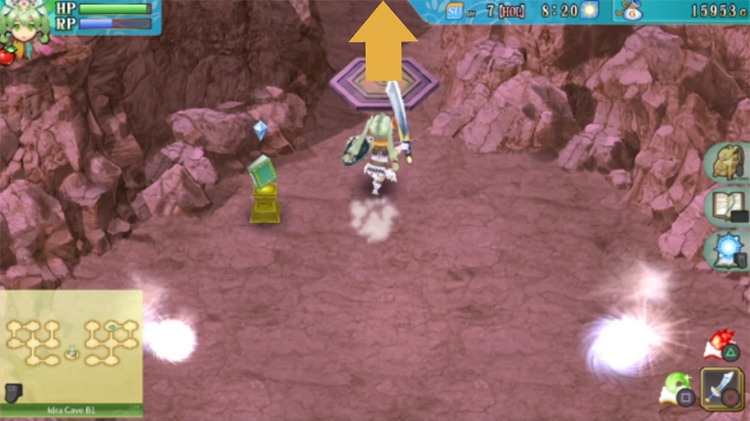
Go through the path in the north.
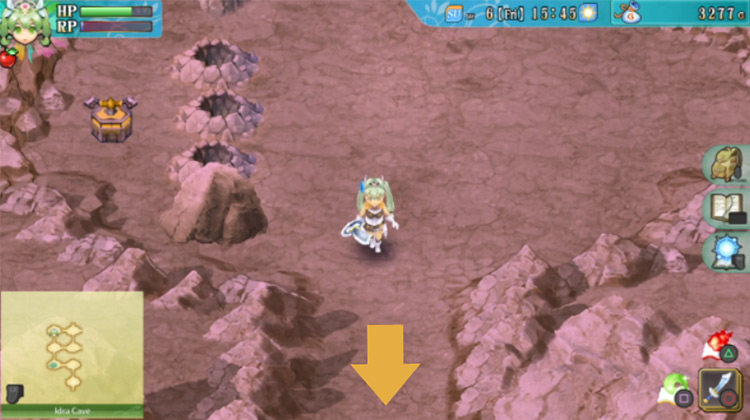
When you get to the next room, a barrier will block the path forward.
Clear the area, then head west.
In the next room, there’ll be a pond where you can fish on the left side.
You need to head through the path in the north from here to keep moving forward.

Finding the Yellow Switch
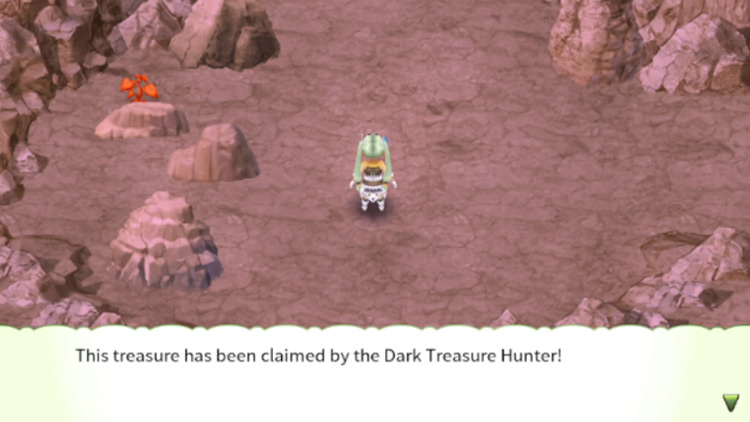
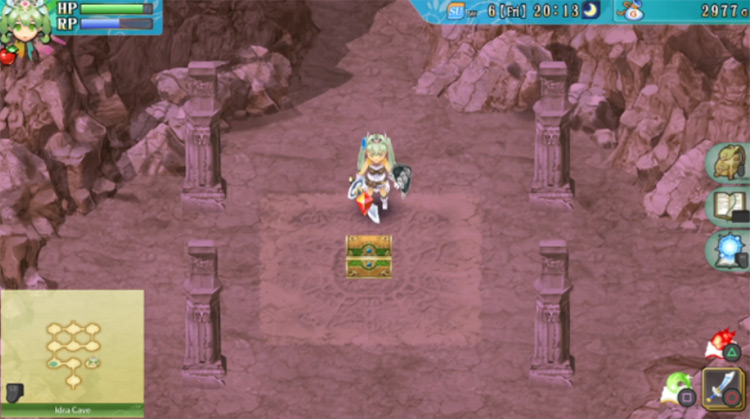
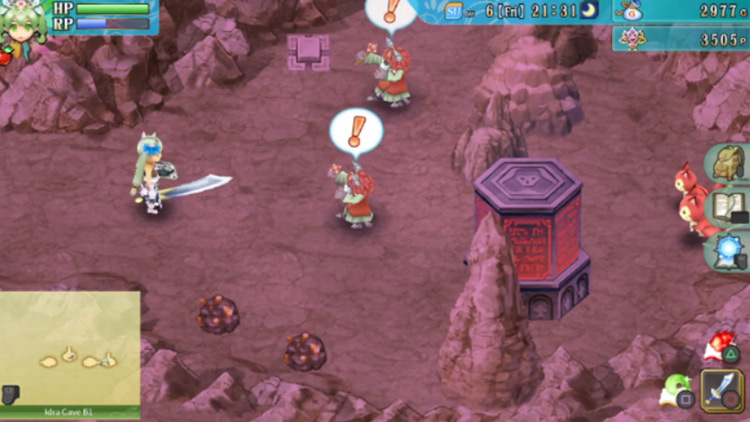
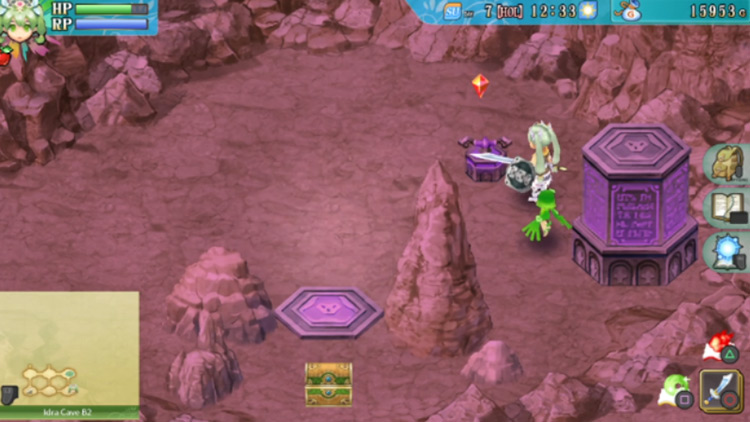
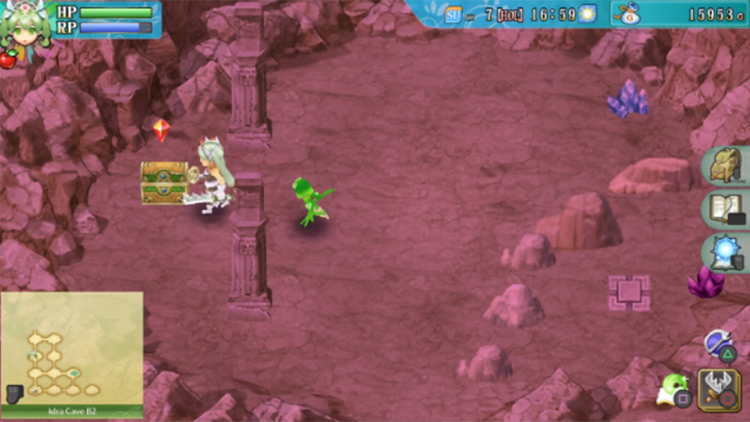
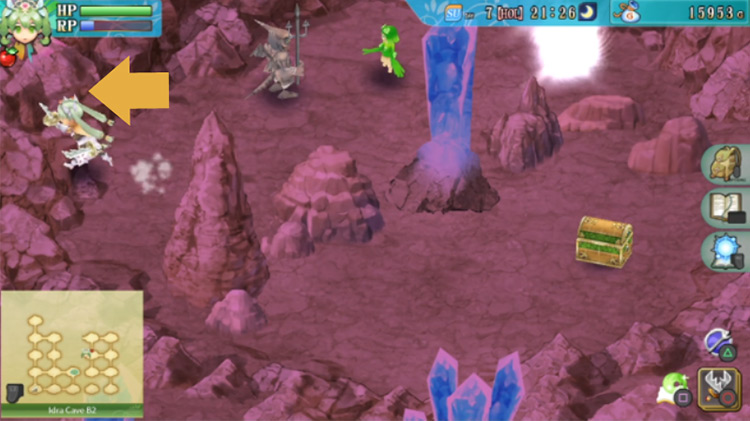
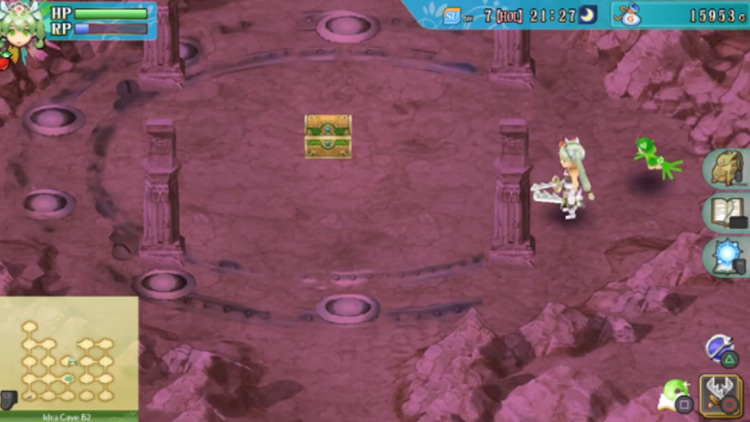
In the next room, you’ll find a lone chest right in the center of the area.
When you open this chest, you’ll only find a note from someone who calls themself the Dark Treasure Hunter.
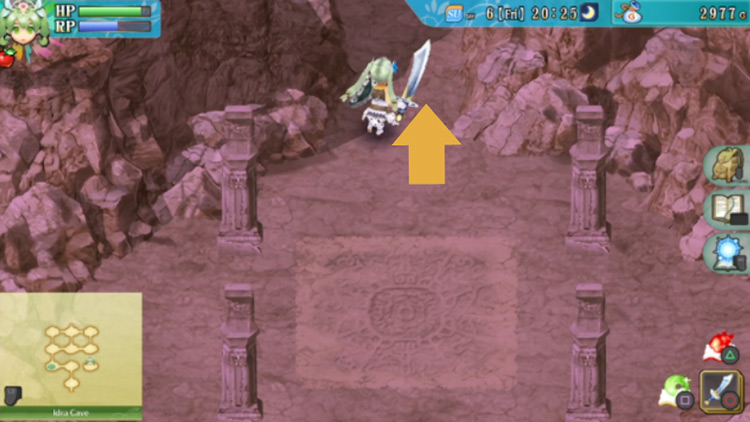
From here, you need to head east.
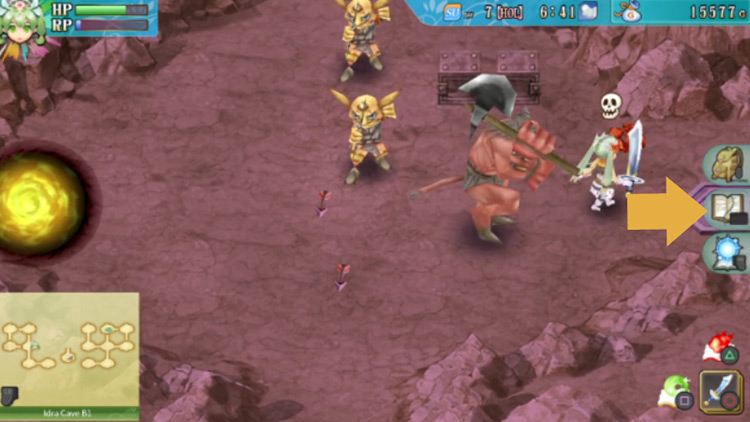
When you get to the next area, barriers will be blocking every exit.
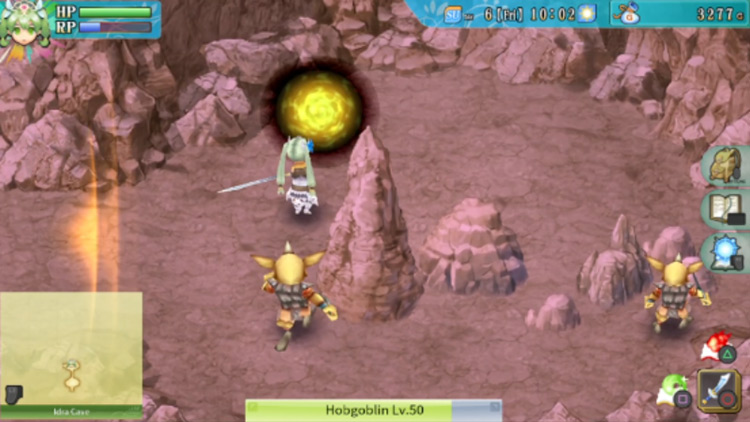
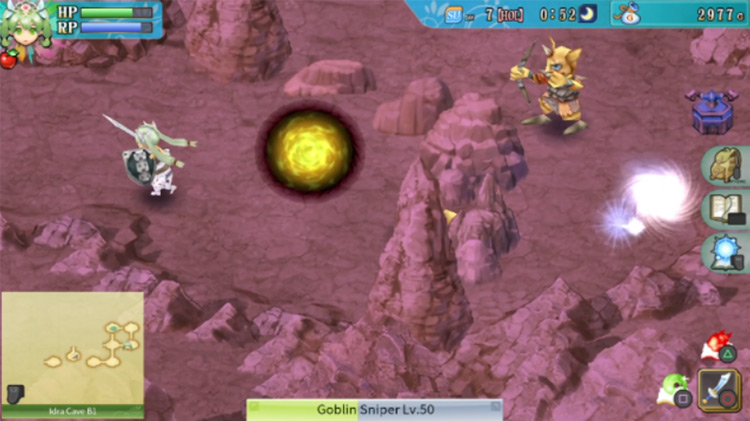
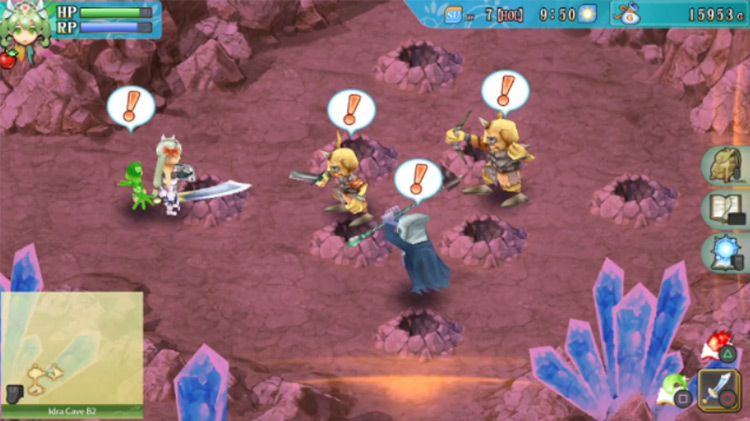
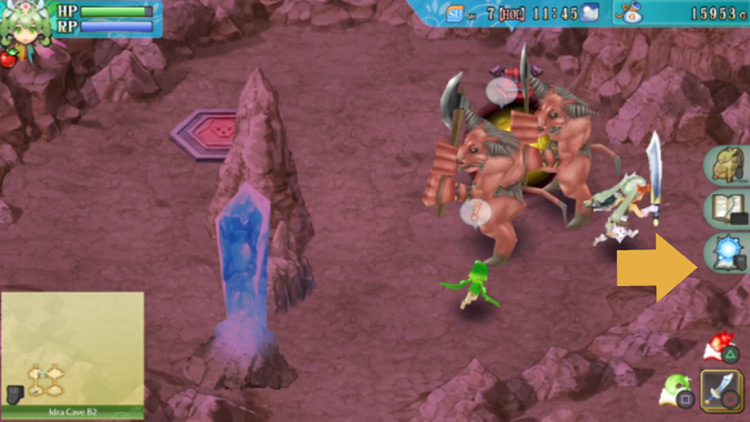
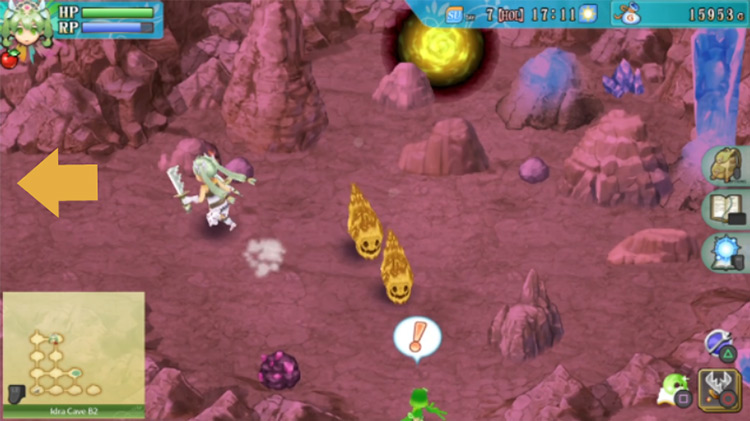
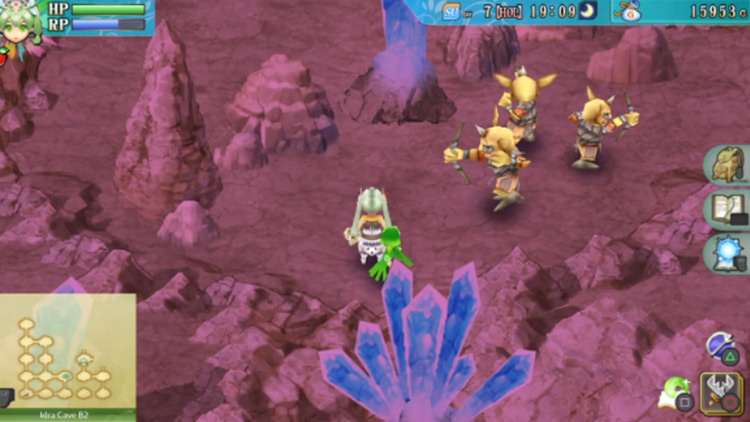
You need to defeat all the mobs here in order to proceed. Go ahead and defeat everything in the area to release the barriers.

Once the barriers are gone, head through the northern exit.

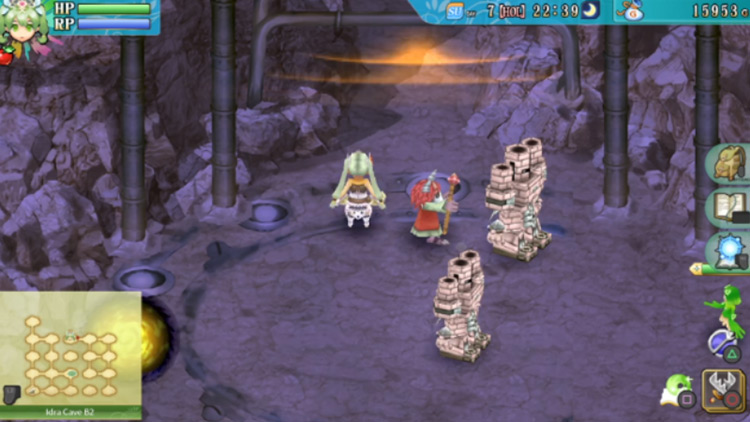
You’ll notice a lot of things in this next room. Barriers will block the paths heading west and east, and your path heading north will be blocked by a red pillar and a yellow pillar.
Also, there is a spot that you can investigate in the upper left corner of the room.
Here’s what to do:
First, clear the entire area to dispel the barriers.
Once you’ve cleared the area, feel free to investigate the upper left corner of the room. This will reveal another note for you to read.
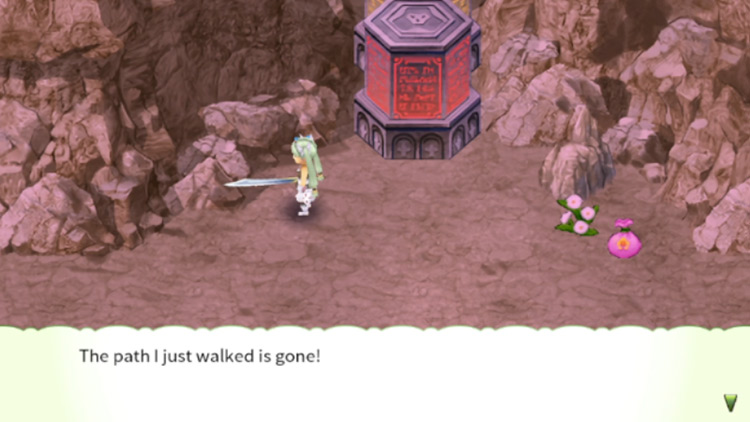
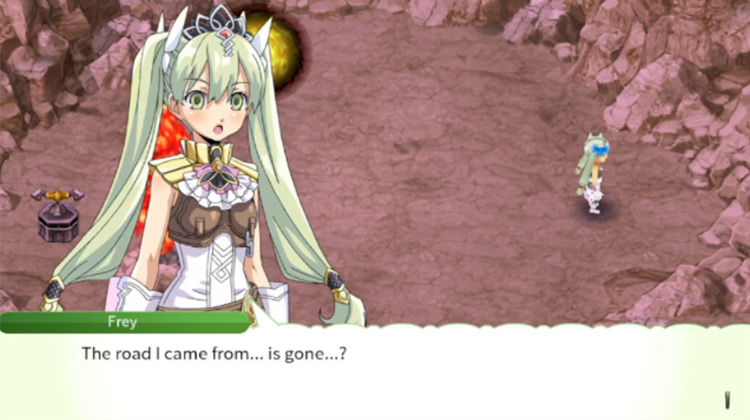
This time, the note talks about a disappearing path.
This is going to be a phenomenon you’ll encounter throughout your exploration in Idra Cave.
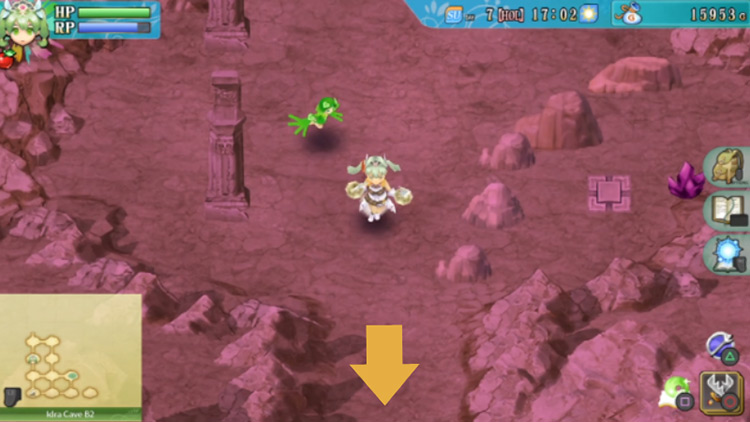
From here, you’ll first want to head west.
When you get to the other side, the path you just went through will be gone.
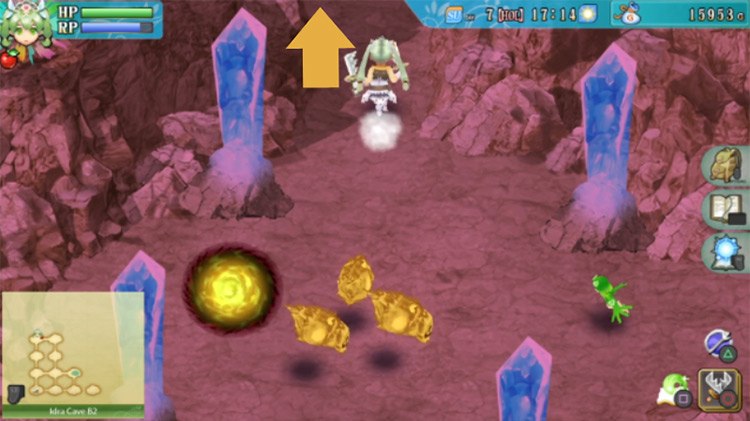
A barrier will then come up to block the path in the south. And there will also be a yellow switch behind a wall of flaming geysers on the left.
Clear the area first to dispel the barrier and stop the geysers from spouting out flames.
Once you can make it past the geysers, head for the yellow switch and push it.
Afterwards, head south.
This will take you to one of the previous areas you were at.
The path you just crossed will disappear once again.
From here, head east again.
Next, you’ll need to head for the intersection in the north.
Once you get to the intersection, the yellow pillar blocking the path in the north will be gone.
You’ll have to deal with the red pillar next.
Finding the Red Switch
To find the red switch, you’ll need to head east from the area with the pillar.
When you get to the next area, the path you just walked through will disappear once again.
A barrier will also come up blocking your path in the south. The red switch you’re looking for will also be on the right side of the room.
You’ll need to clear the area before you can hit the switch though.
Once you clear the area, the barrier in the south will disappear. Also, two portals will appear in the room.
Take the portal in the north section to get to the portal on the right-hand side near the switch.
You’ll be able to push the red switch once you get to the east side of the room.
When you’ve pushed it, go through the portal again to return to the other side of the room.
Once you’re done here, head for the room in the south.
The path you just went through will disappear.
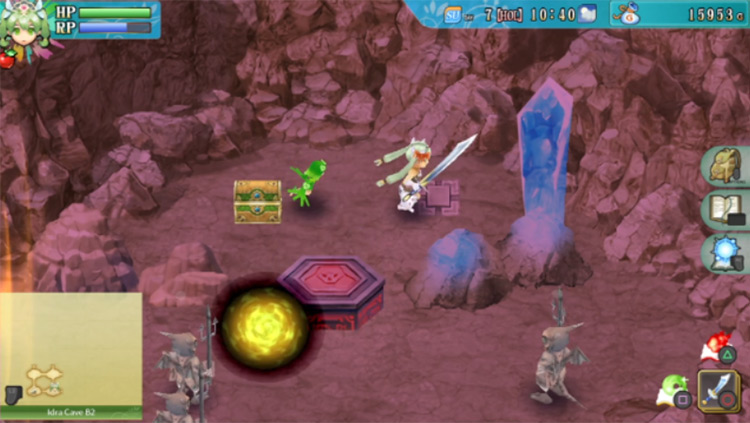
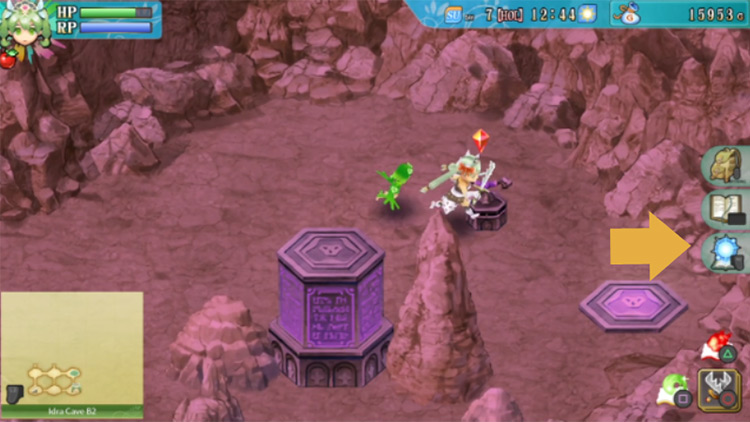
You’ll also notice a chest in the center of the room. But beware! This is actually a Gobble Box waiting to get a jump on you.

When you’re ready, go towards the south edge of this area.
Tip: There is actually a hidden path within the walls near the southern section that contains a hidden item. Go through the secret path to get to a hidden room.

In the hidden room, you’ll find a lone treasure chest. Open it to find a Mediparalyze inside.
When you’re ready, head back up north towards the previous area.
From here, you’ll need to head west so you can return to the intersection.

Head back north towards the room with the pillars.
If you pushed the two switches, the pillars here should be gone. Head up north to proceed to the next area.
Dealing with the Green Pillar

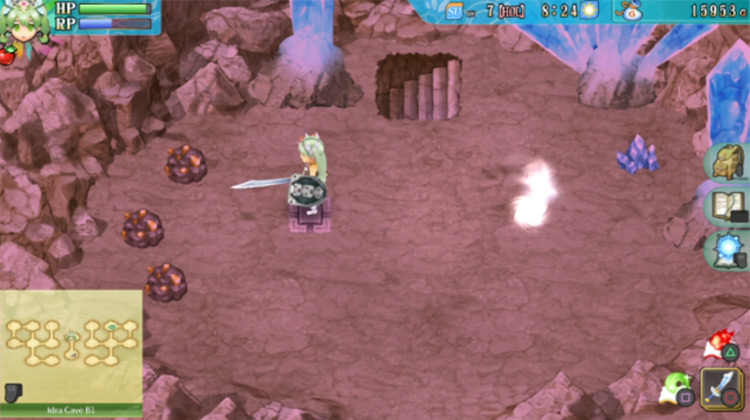
You’ll then find yourself in a small area with some minerals and a staircase to a lower floor.
When you head down the stairs, a short cutscene will play out.
A few Sechs soldiers will appear, then they’ll go through the path in the north.
When the cutscene ends, you’ll be free to roam this room.
A journal will be available for you to use in the upper left corner of this area. And two portals will also appear on the east and the west ends of the room.
You’ll need to clear the areas on both the east and the west areas of the map to get rid of the green pillar blocking the path in the north.
Clearing the Area in the East
Go towards the portal on the east end of the room with the green pillar.
When you go through, you’ll appear on a short path.
Go all the way through the path to the east.
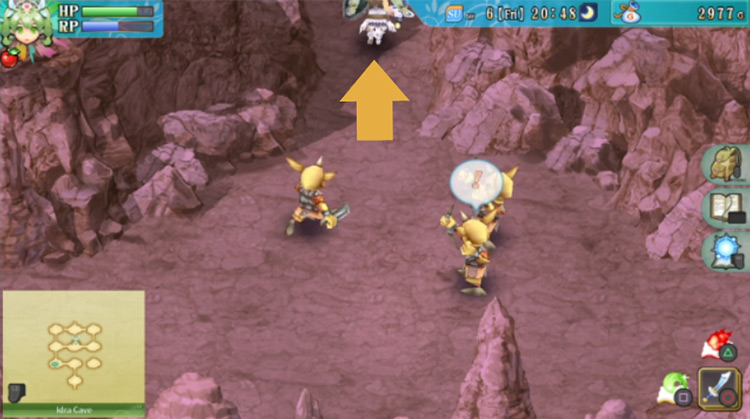
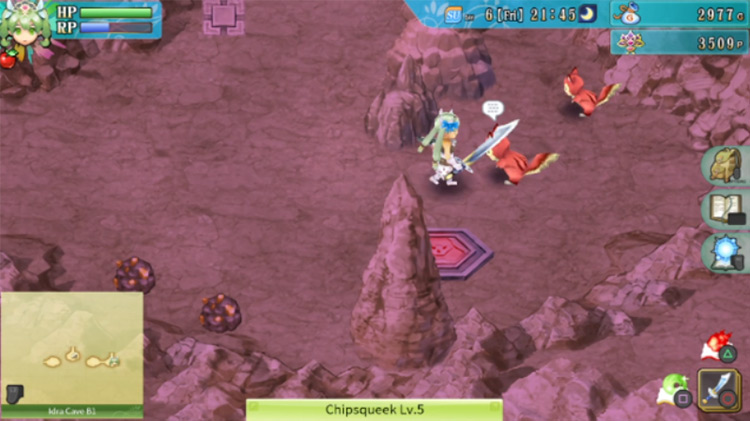
When you get to the next area, you’ll see a red pillar with Chipsqueeks trapped behind it.
To free the Chipsqueeks, simply step on the button on the upper left corner of the room.
When you do this, the red pillar blocking the way will fall underground and your path will be clear.
Speak to the Chipsqueeks because they’ll each give you an item as thanks for freeing them.
When you’re ready, head up north from here.
The next area you’ll enter is an intersection.
Barriers will be blocking every exit and geysers will be spouting out flames in a circle around the room. You’ll need to carefully clear the room in order to dispel the barriers.
Once you’re done clearing the room, head up north to the next location.
Next you’ll arrive in a room with a small pond.
A barrier will also be blocking the path on the east.
Clear the room to dispel the barrier, then go through the path on the east.
When you get to the next room, the path you just walked through will disappear again.
You’ll also find a red pillar blocking the way to a treasure chest along the east edge of the room.
To get rid of the red pillar blocking the way, you need to press and hold down the button on the upper left corner of the room by placing an item on top of it.
You can’t simply stand on this button because the pillar will just come back up as soon as you step off the button.
To ensure that the pillar stays underground, you can put any item on the button to push it down.
After that, open the chest to find an Orange Ribbon accessory.
Make sure to pick your item back up off the ground when you’re done with the treasure chest.
When you’re done with this room, head south.
As soon as you get to the next area, the path behind you will disappear yet again. You’ll also find a blue switch on the right side of the room.
Go ahead and push the blue switch.
When you’re done, head for the white portal below the blue switch.
This will take you to the opposite side of the room. From here, head west.
You’ll then be back in the room with the circle of geysers. This time, you need to head west.
The next room has a button on the ground right in the center.
When you press the button, you’ll get ambushed by a group of monsters. Don’t run away though!
When you defeat all the monsters, a treasure chest will appear. In this chest you’ll find a Sapphire Rod.
When you’re ready with that, head north.
The blue pillar here should be underground now because you should have already pushed the blue switch at this point.

A green switch will be in the center of the next room.
When you’ve pushed it, head for the portal directly above it. You’ll end up in the lobby with the two portals where you initially started – and now we can head through the western-side portal.

Clearing the Area in the West
Next up, you’ll need to head for the portal on the western side of the room.
When you go through the west portal, you’ll find yourself on a short stretch where you’ll need to head all the way to the west.
When you get to the next area, you’ll see two Woolies trapped behind a red pillar. Pushing the red switch above should free them.
Interact with the Woolies once you’ve freed them. They’ll give you fur as thanks for your help.
Then, head up north.
In the next room, you’ll see a pink pillar on your right.
Barriers will also be blocking your way forward.
Clear the room in order to dispel the barriers. Once the barriers are gone, you’ll need to head up north.

When you get to the next area, the path you just crossed will disappear.
You’ll also need to dispel the barrier, so clear the area.
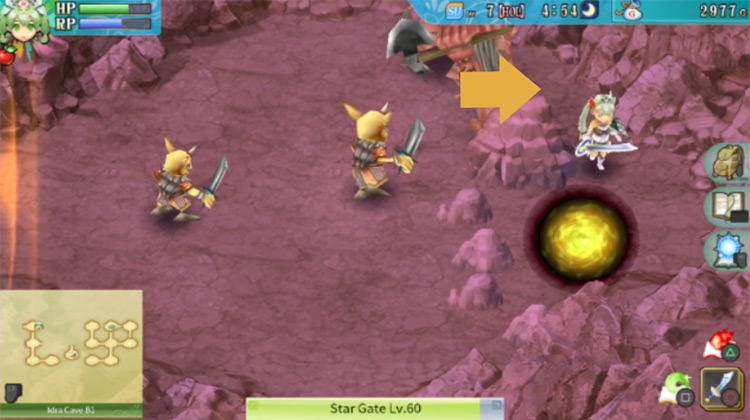
To get to the Star Gate on the right side of the room, just pass through the small gap in between the big boulder and the wall along the west edge.
When you’re ready, exit the room by heading west.
The next area you’ll end up in is enveloped in a pink fog. Everything in the haze will be inflicted with the poisoned debuff.
You’ll want to spend as little time here as possible.
So quickly head for the chest on the left side of the room. You’ll find 12,600G inside!
After that, head for the path along the south edge of the room and leave towards the south.

Again, the path behind you will disappear once you get to the next room.
The pink switch you need to push for the pink pillar will be in this room. A barrier will also be blocking your exit on the east.
So first, clear the monsters in the room to get rid of the barrier.
Once you’ve dealt with the monsters, push the pink switch. Watch out for the carnivorous plants around it when you head for the switch.
After you’ve pushed the switch, head for the exit on the east.
When you reach the next room, you will have circled back to the room with the pink pillar.
But now it should be no longer blocking your path to the east.
So from here, head through that path where the pink pillar is lowered into the ground.
In the next room, you’ll see a path in the north that must have been blocked with a green pillar.
If you pushed the green switch in the previous area, this pillar should not be blocking your way either.
Head through that path in the north when you’re ready.
In the next room you’ll find a yellow switch right in the center.
Push this switch, then go through the portal directly above it.
When you take the portal, you’ll be transported to the lobby with the journal and the other two portals.
Now the green pillar will no longer be blocking your way to the north. Hurrah!
So head north when you’re ready.
Clearing the Purple Pillars & Purple Switches
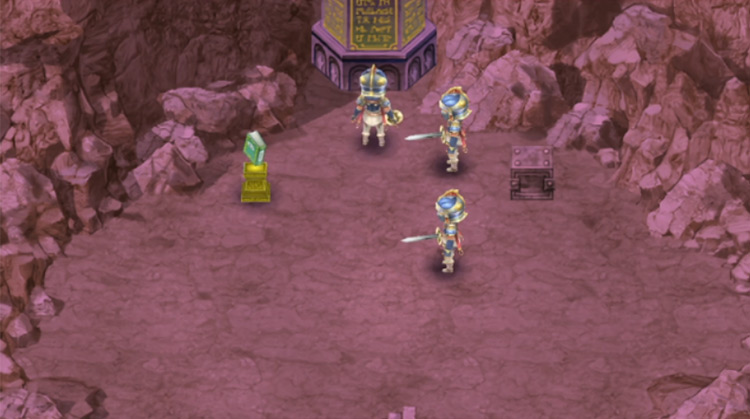
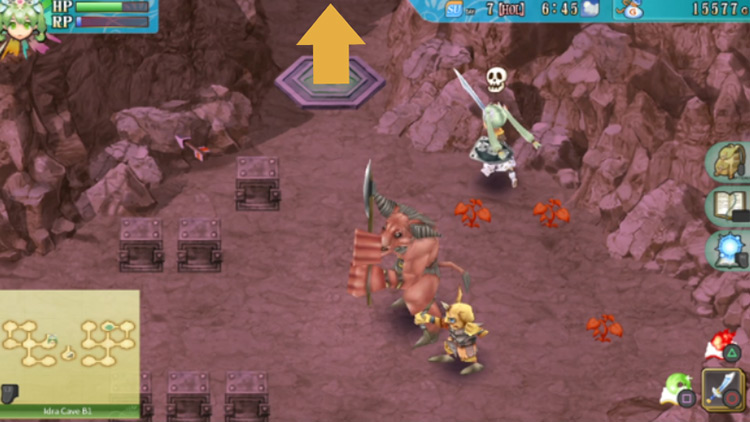
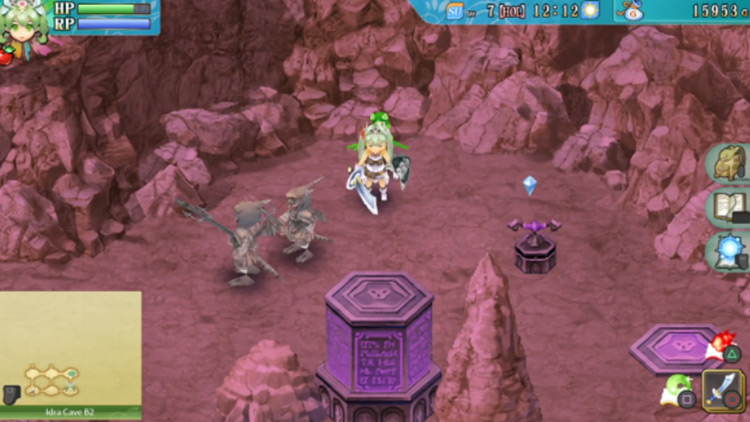
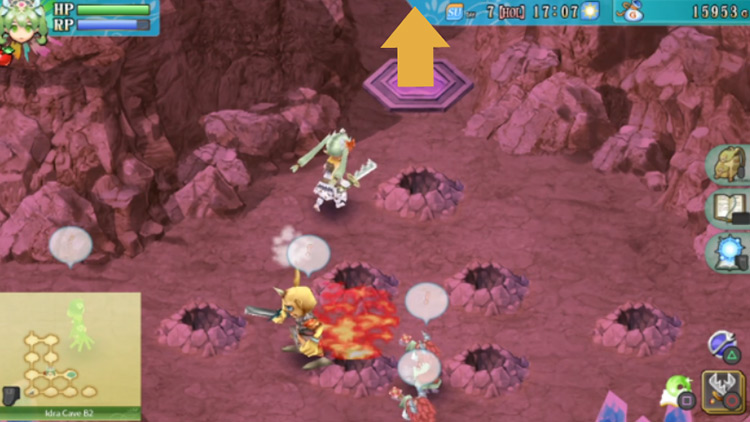
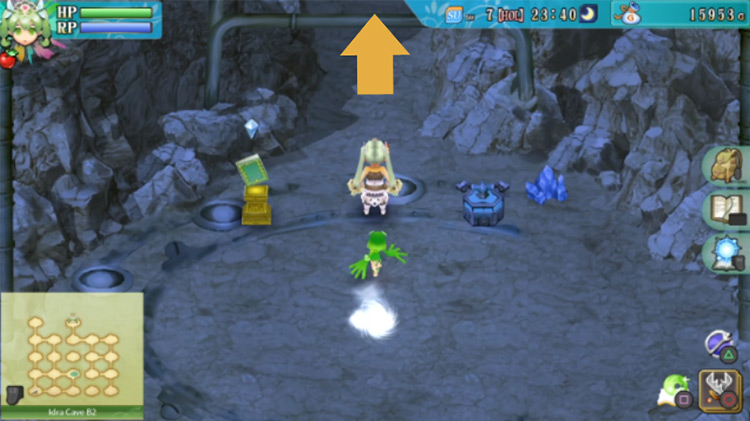
Once you’re through, you’ll reach a room with a staircase heading to a lower level and a button.
Press the button to activate a portal that will teleport you all the way back to the entrance (but don’t go through the portal – this is just here if you need it).
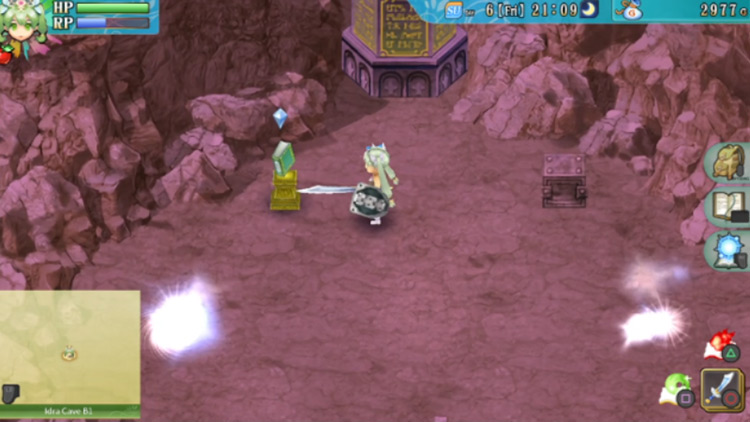
After that, head down the stairs when you’re ready.
Downstairs you’ll find another journal that you can use to save your game.
And from here, you’ll need to head north.

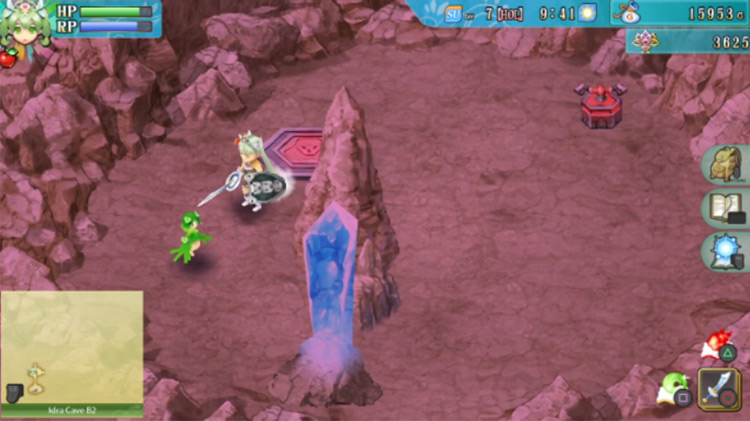
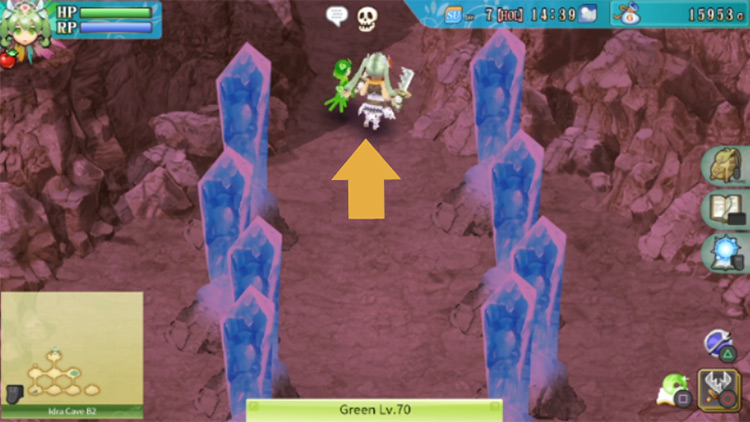
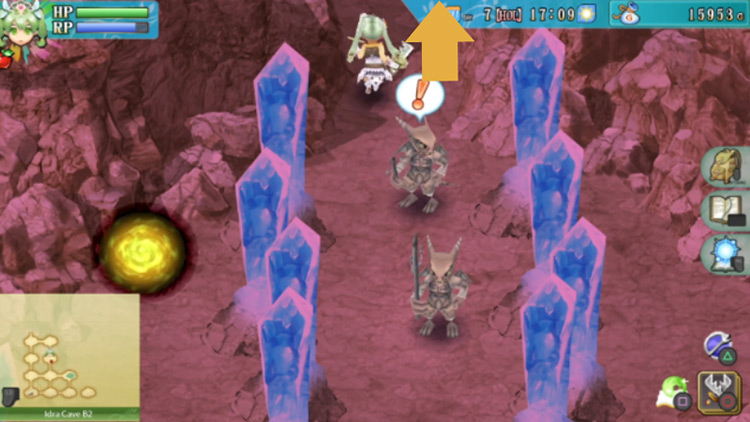
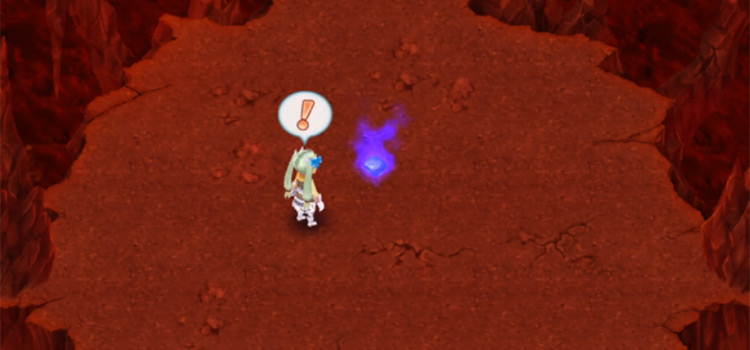
In the next room, a trapped Green will be calling out to you from the left side of the room.
You’ll need to get rid of the red pillar blocking its way.
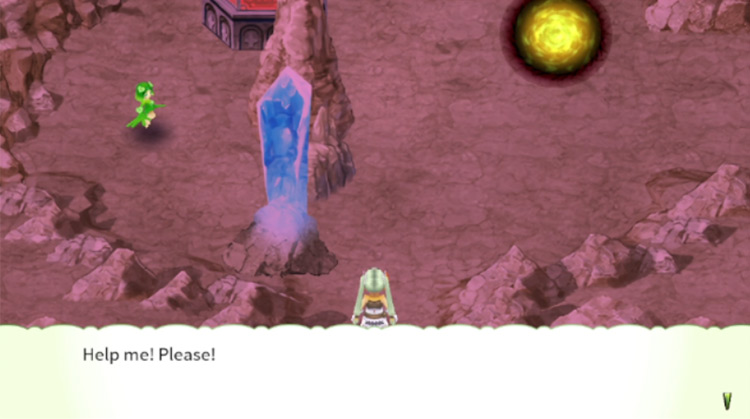
There’s a red switch you need to push to deal with the red pillar.
You can find it in the upper right corner of the room. Push it to free the Green.

Once the Green is free, speak to it.
If you have a monster barn with free space, it can join your party as a tamed creature. This Green is a great addition to your team because it deals a good amount of damage to the monsters in this part of the game.
Once you’re ready, you can head through the path on the east.
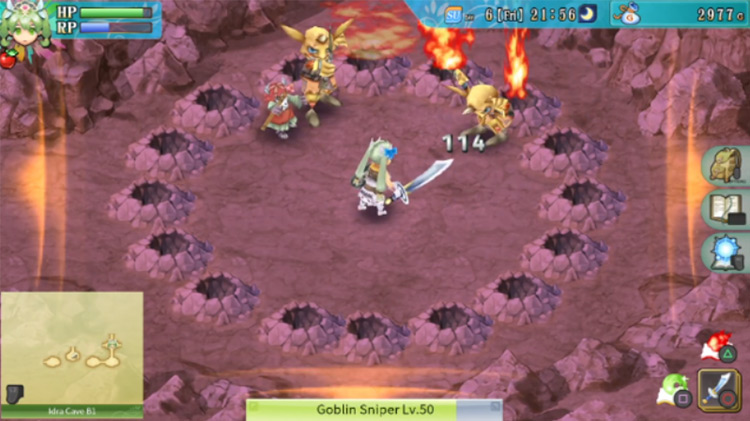
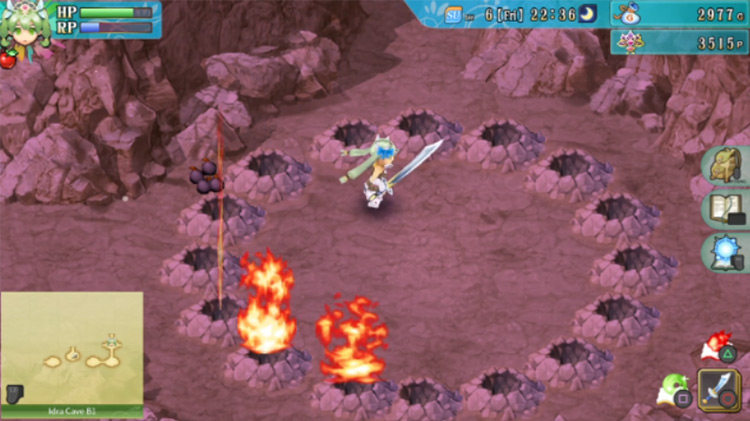
In the next room you’ll find a grid of geysers across the ground. Barriers will also block the paths forward.
You need to carefully defeat all the monsters in the room to dispel the barriers.
As soon as you cross to the next room, the path behind you will disappear.
You’ll also be stuck behind a wall of different rocks, obstructing the path below.
Press the button on the right to get rid of the red pillar below you.
Make sure to also open the treasure chest on the left. You’ll find some Mystery Potions inside.
When you’re done, you’ll need to work on dispelling the barrier that’s blocking the exit on the west side of the room. To do that, just clear the area of all the monsters.

When the barrier is gone, you can proceed west.
You’ll then find yourself back in the lobby of this floor.
You need to get back to the intersection you were in earlier. To get there, head north from the lobby.

In the next room, head east.
You should then arrive at the intersection.
From here, you need to take the exit on the east.

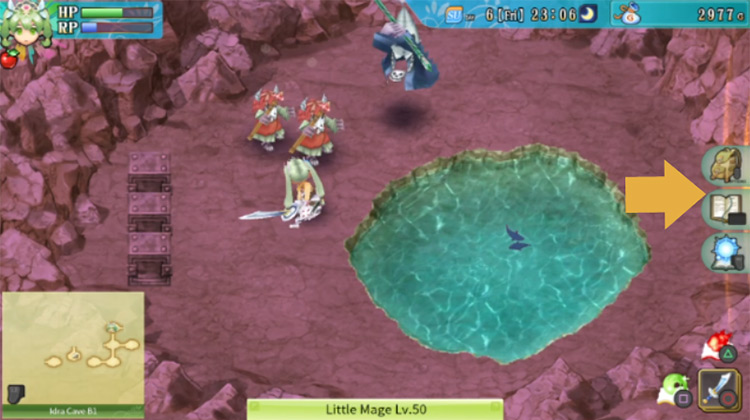
You’ll then find yourself in another room with a small pond.
From here, head south.
When you get to the next area, the path you just crossed will disappear again. Also there will be a puzzle using the two pillars in the room.
Here’s how to solve it:
First, push the purple switch on the right corner of the room. When you push this, the purple pillar in the south will go down.
This will give you access to the treasure chest right below it. Open the chest to receive a Wind Edge.
After that, push the same switch again so that the purple pillar on the right side of the room goes down.
This pillar is actually blocking a hidden path with a bit of treasure.
Go towards the wall on the east to enter the hidden path.
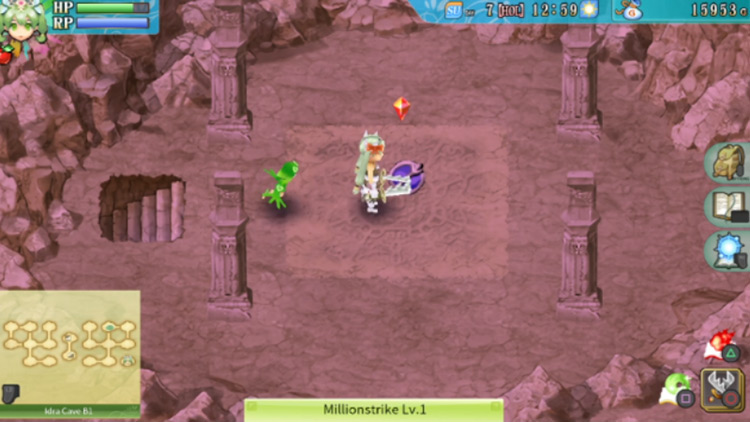
When you go through the hidden path, you’ll find yourself along a short stretch with a staircase leading upstairs at the very end.
Head up the stairs.

When you get upstairs, you’ll find a treasure chest with Millionstrike inside. That’s all we can get here though, so go back downstairs when you’re done here.
After that, you’ll need to return to the previous room by heading west.
When you get to the room with the two purple pillars again, push the switch yet again.
You’ll need to do that to get rid of a purple pillar in another room on this floor.
So after that, head west when you’ve pushed the switch down.
Next, you’ll end up in one of the previous rooms you’ve visited.
Head all the way west here.

Next you’ll need to head for the path in the east.

You’ll then make it back to the intersection with the multiple geysers on the ground. This time, the purple pillar will no longer be blocking your path heading north.
Go through that path to the north get to the next area.

Finding the Boss Room
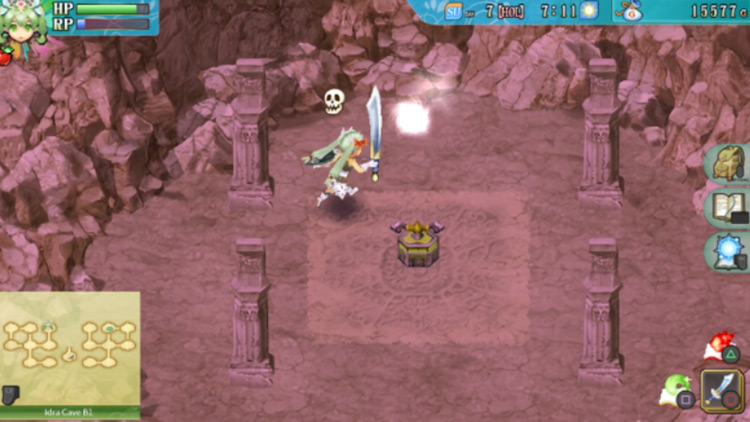
In the next room, you’ll find crystal pillars forming two walls.
You’ll also need to clear the room of all the enemies to dispel the barrier blocking your way in the north.
You can reach the Star Gate on the right side of the room by passing through this gap in the crystal wall.

When you’ve dealt with the barrier, you can proceed through the path in the north.
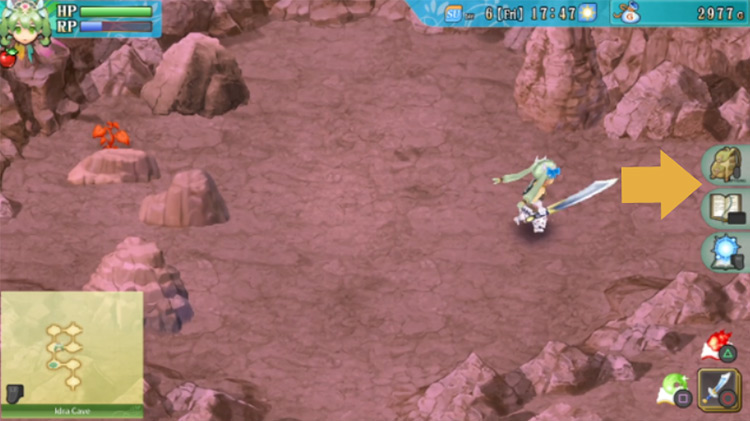
When you get to the next room, head west.
When you get to the next room, you’ll see crystal pillars in each corner.
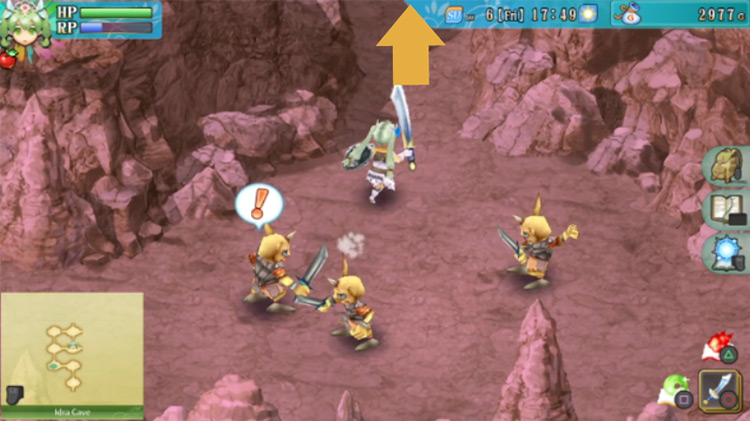
You’ll need to head south from here. A barrier will be blocking your way, so clear all the enemies in the area and then head south.
When you get to the next room, you’ll see a button in the lower right corner of the room.
But a wall of rocks will be blocking your way to it, so you’ll need to throw an item that’ll push the button down.

Once the button has been pushed, a treasure chest will appear by the columns on the left side of the room.
Open the chest to find a Double Sonic spell inside.
When you’re done, you’ll need to get back to the room in the north.
Unfortunately, the path above you is one of those frustrating paths that disappears when you go through it.
So you’ll need to circle back by first heading south.
Surprise! You’re back in the room with the red pillar again.
Go to the east to get to the intersection with the geysers.

At the intersection, head north again past the purple pillar that should still be in the ground.
Next, you’ll arrive in the room with the crystal pillar walls again. Head north here.
In the next room, head west.
Then you’ll finally make it back to the room with the crystal pillars in each corner.
Head north from here.
There’s a portal in the center of the next room. You’ll need to go through this portal to get to the next area.

When you go through the portal, you’ll be transported into a room in the southeast corner of Idra Cave B2.
From here, head north.

Once you get to the other side, the path you just crossed will disappear.
There’s also a red pillar in this room as well. But you’ll be able to deal with that later.
First, you need to dispel the barrier in this room so you can head west. Defeat all the monsters in the room to destroy the barrier.
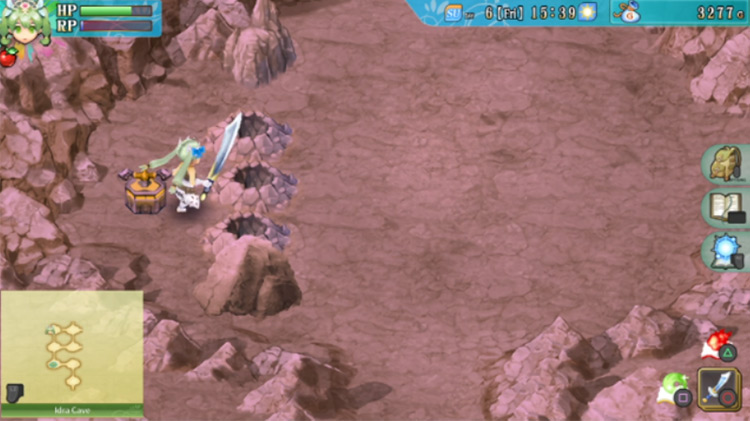
The next room has a bunch of minerals you can mine scattered around. There’s also a treasure chest on the left side of the room.
You’ll need to break the rocks blocking the way to it, so get your hammer out to smash the rocks.
Then open the chest to find Earth Spike inside.

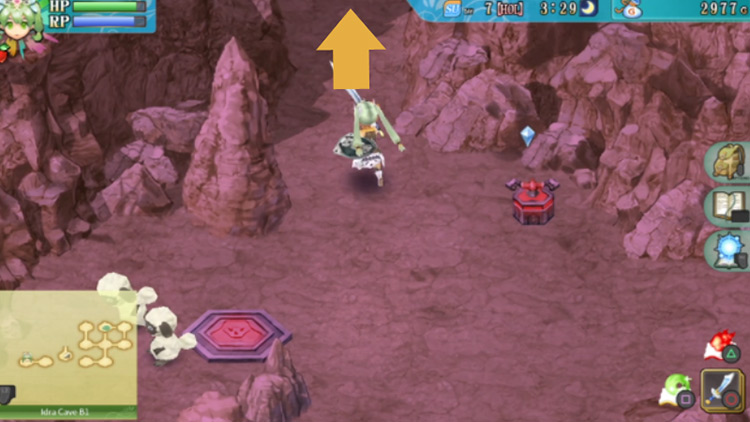
When you’re done here, head north.
Next, you’ll be in an area where a wall of boulders cuts across the room. From here, just head east.
When you get to the east, the path you just crossed will disappear.
There’s also a red pillar in this next room with a button you can press to get rid of it. Leave an item on the button to keep it pushed down, then go through the gap that the red pillar was blocking.

After that, you’ll want to head south so you can get to the previous room that also had a red pillar.
When you enter the room, the path behind you will disappear again.
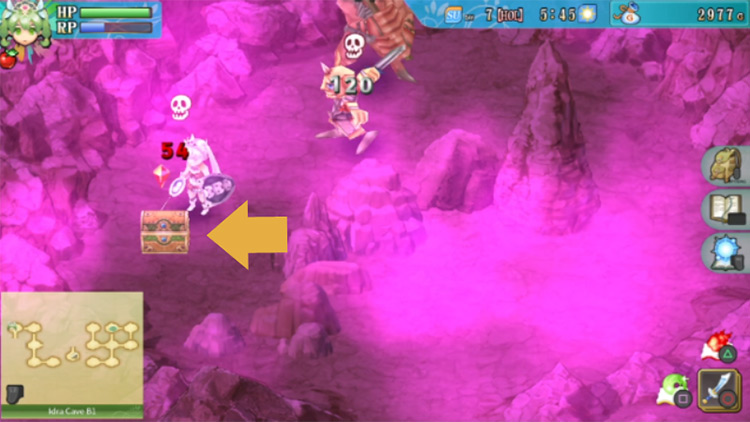
Step on the button on the left-hand side to get rid of the red pillar on your right. You’ll find a treasure chest that was hidden behind the red pillar here. Open it to find a Choco Cookie.
Now you’re going to have to circle all the way back to where you came from, so head west here.

Next, head north.
Next up, go east.
Once you’re back in the room with the red pillar in the middle, take the path heading north.
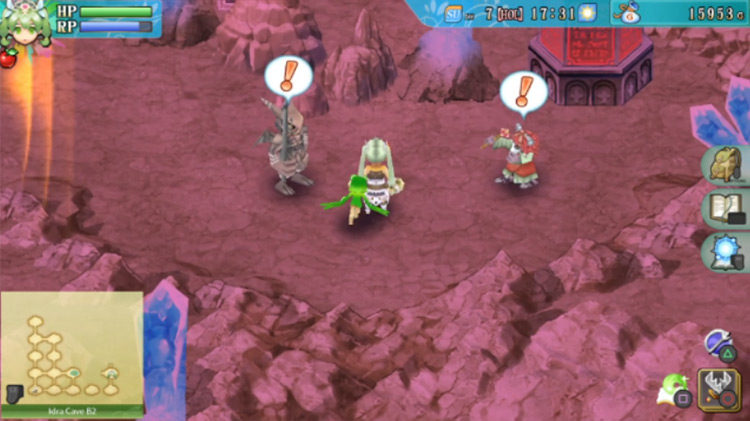
The next room has a bunch of crates and mobs.
The crates along the right side of the room explode, so make sure to dash away when you hit them.
The crates in the north are safe to break open.
A barrier will also be blocking your path on the west, so defeat all the enemies here to remove the barrier.
When you’re done clearing the room, head west.
In the next room, you’ll see pipes in the north and what looks like metal flooring covered in dirt.
Barriers will also be blocking your paths on the south and on the west.
Defeat all the mobs, then head south first.

You’ll find yourself in the upper section of the room with the boulders cutting across it. Don’t go through the portal here. Instead, head for a path hidden on the west.
In this secret room, there’s a chest that you can open to find a Gold Bracelet.
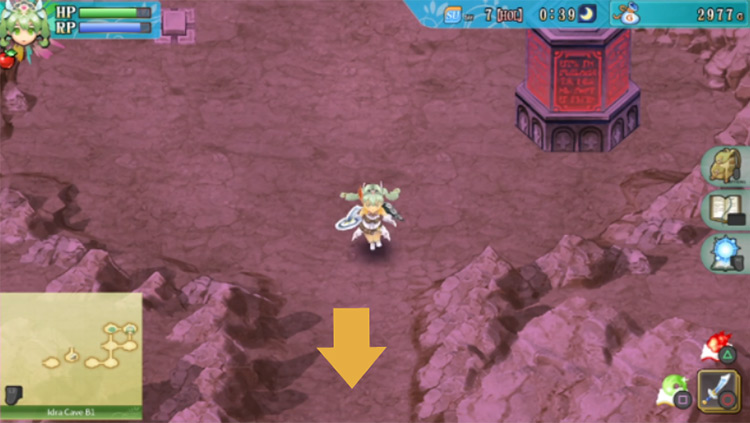
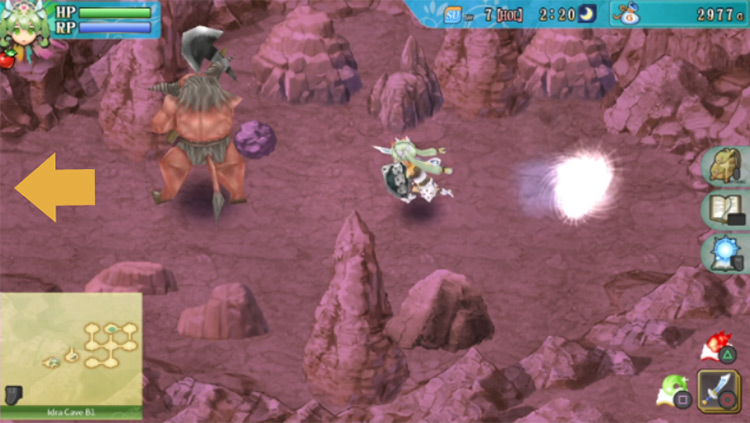
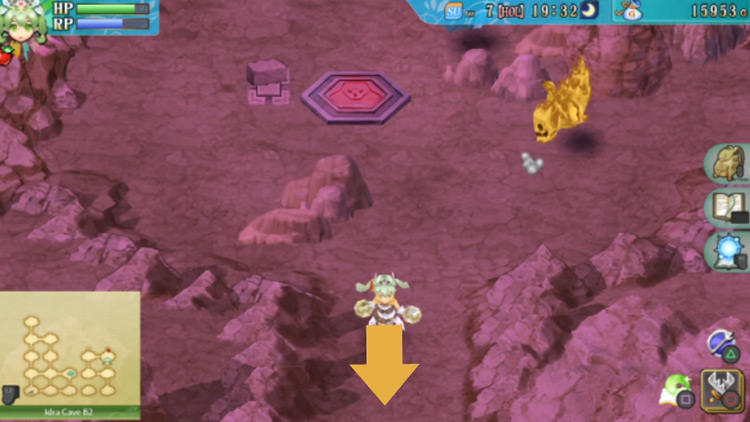
From here, you need to return all the way to the room with the pipes and metal flooring.
Just to save time & make this easier in case you’ve forgotten, your path back can be seen on the map below (with arrows included):
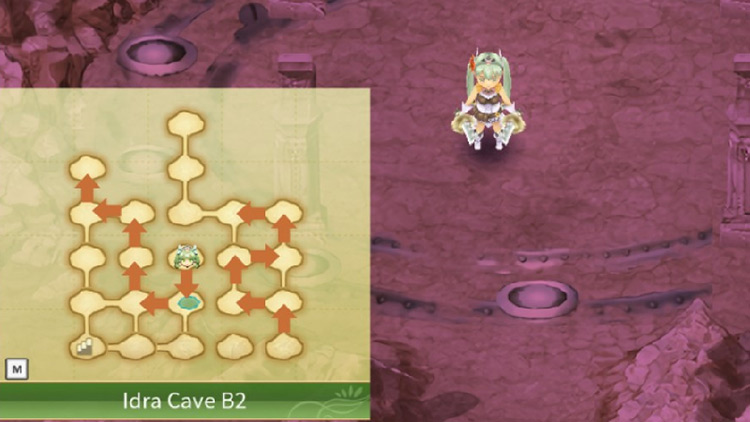
Once you get back to that room, head west.
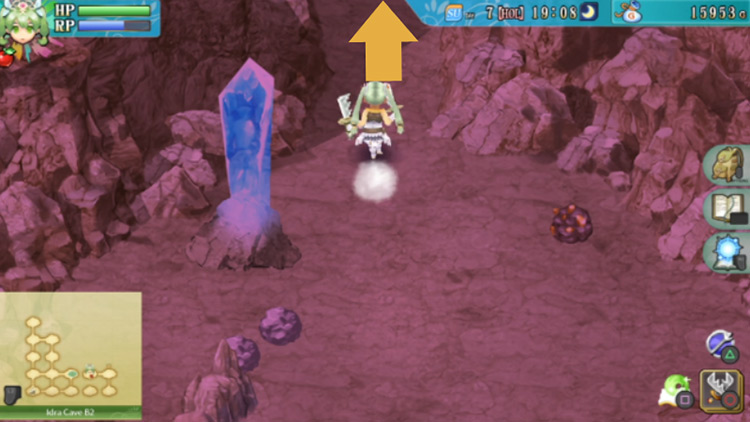
In the next room, a barrier will be blocking your path in the north.
Defeat all the monsters in the room to dispel the barrier.
After you’ve cleared the area, head north.
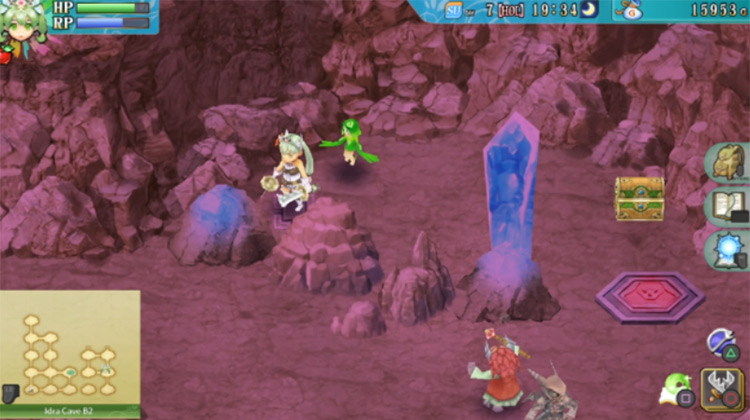
When you enter the next room, you’ll see a blue switch and a journal you can use to save your progress.
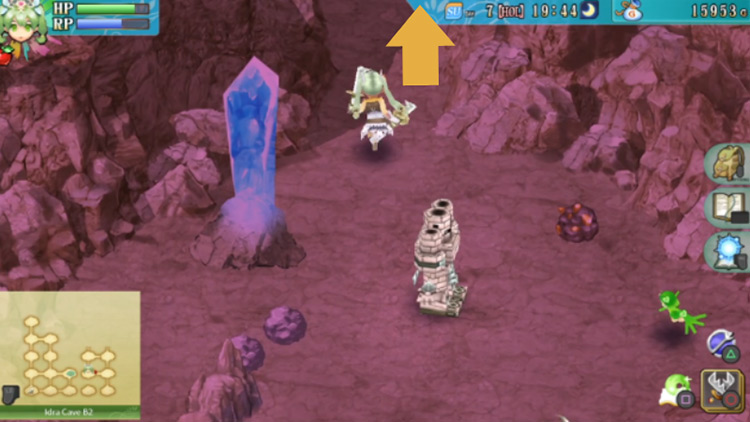
Push the blue switch for a portal to appear in the center of the room.
This portal can take you all the way back to the entrance – but don’t go through it just yet. Because we have a boss to defeat.

The boss will be waiting for you in the room up ahead in the north. Make sure to save your game and restock on healing items before heading in!
When you’re ready, go through the path in the north.
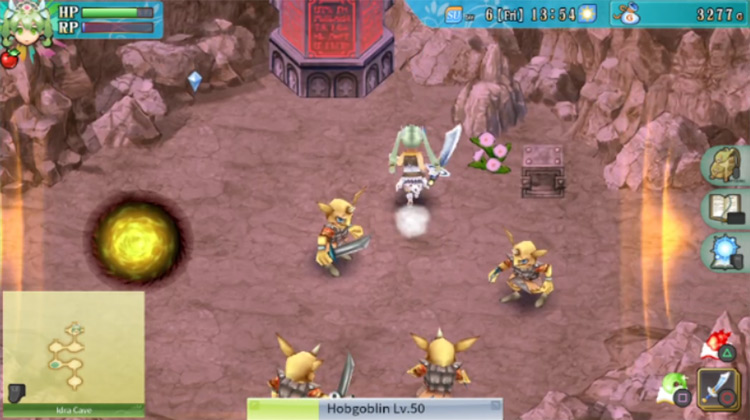
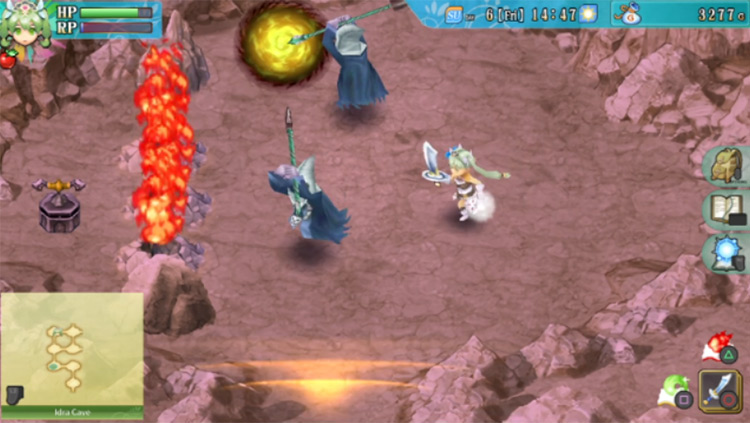
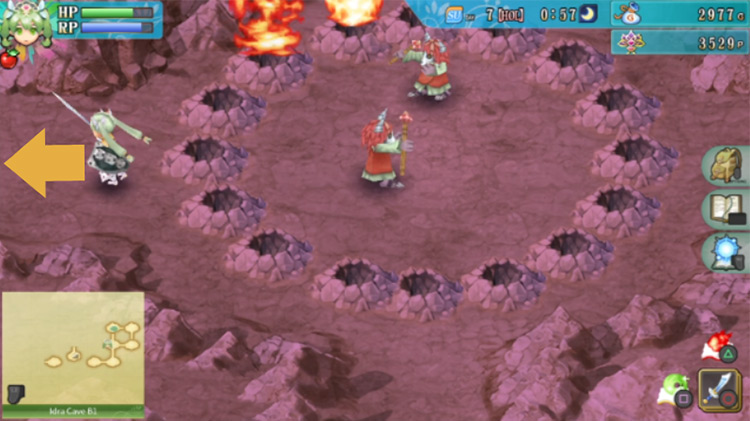
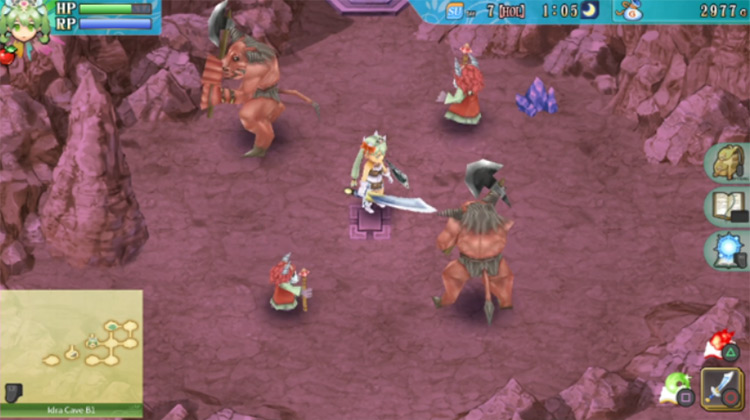
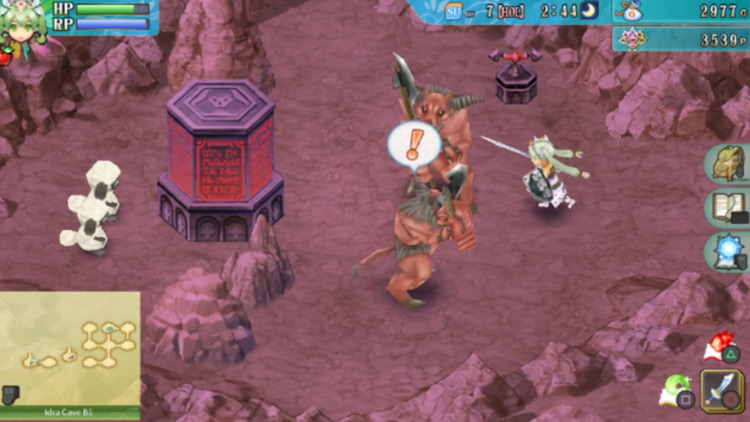
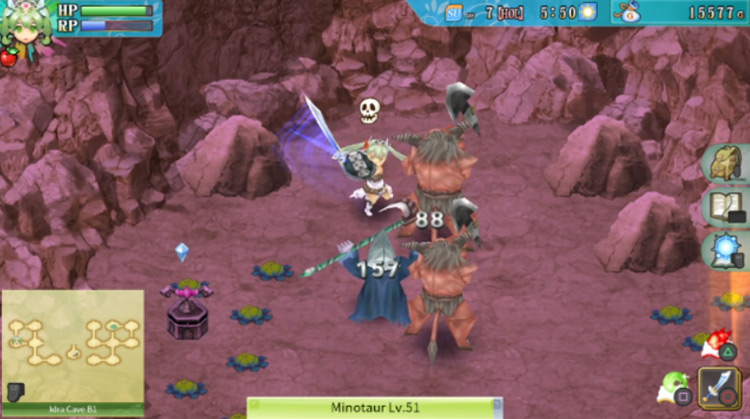
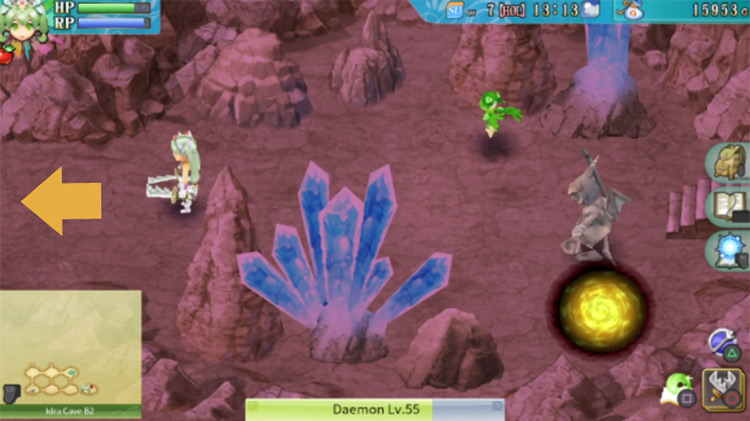
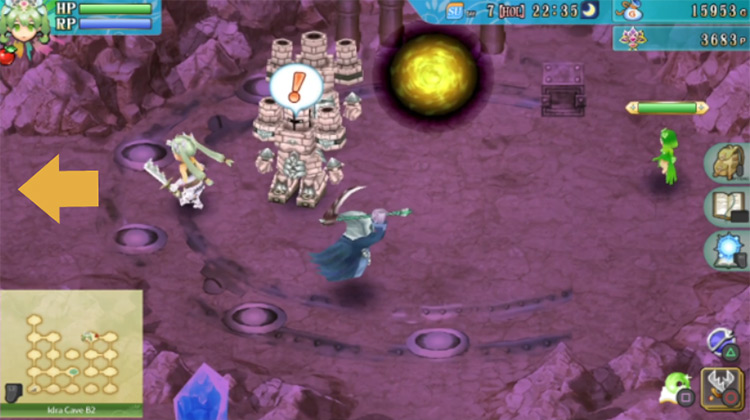
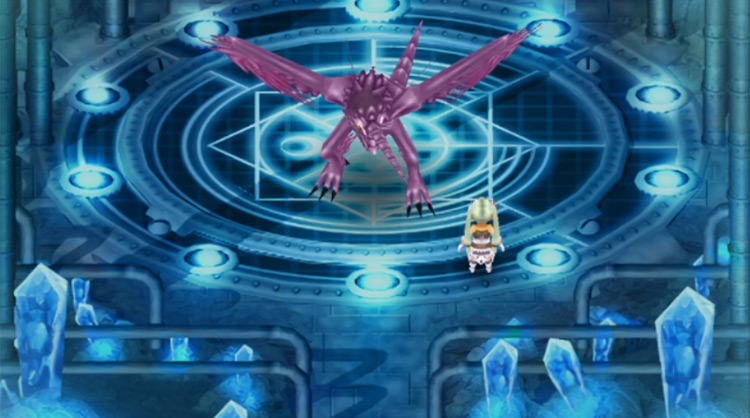
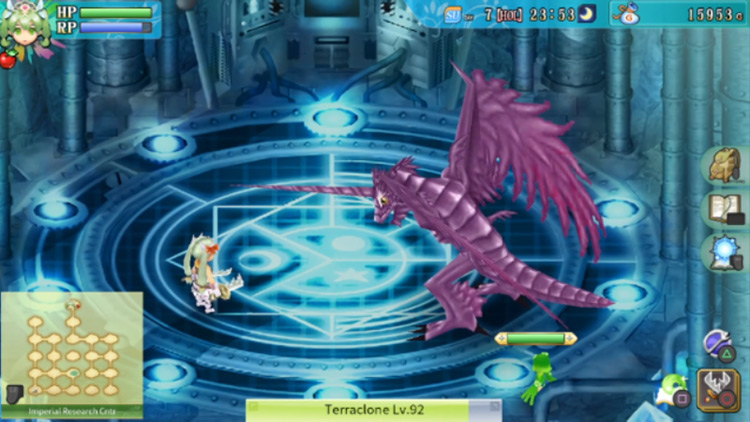
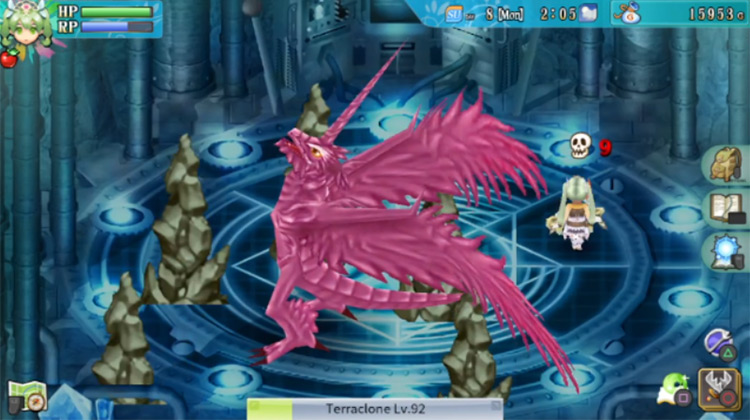
When you enter the boss area, a cutscene will play out. You’ll eventually be left by all the Sechs in the room to face the fiery boss: Terraclone.

Boss Fight: How To Beat Terraclone
Terraclone performs numerous elemental attacks during this fight. Some of these attacks inflict paralysis and poison on its victims, so make sure to have items to counter those debuffs.
Phase 1: Terraclone Normal
| Terraclone’s Normal Phase | |
|---|---|
| Attacks |
|
| Fighting Tips |
|
Phase 2: Terraclone Enraged
| Terraclone’s Enraged Phase | |
|---|---|
| Attacks |
|
| Fighting Tips |
|
Chapter Epilogue
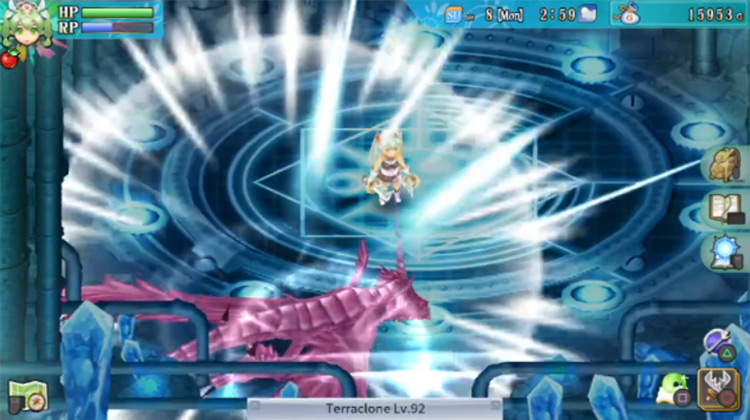
After defeating Terraclone, Arthur will arrive to greet you.

Watch the cutscene to see the ending of this chapter.
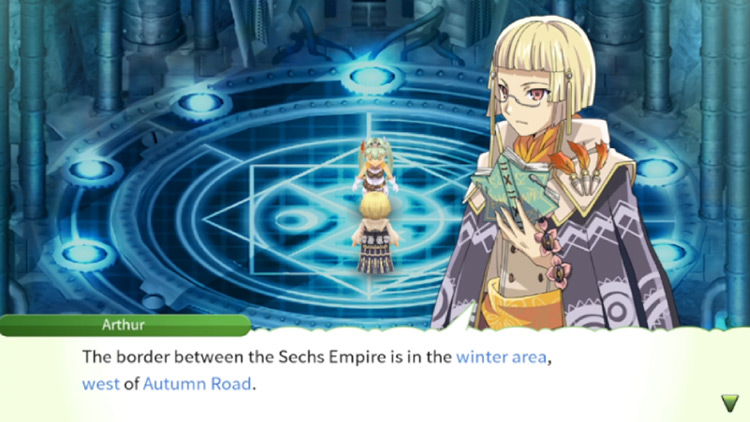
As the chapter concludes, you’ll be tasked to chase after the Sechs.
You’ll need to head to the Sechs Empire for this. Arthur will give you directions on how to find it.
With that, you’re done with this chapter and you’ve cleared Idra Cave.
Next: Maya Road: Rune Factory 4 Walkthrough (Part 10)

-
Rune Factory 4
- Idra Cave: Rune Factory 4 Walkthrough (Part 9)
Related Posts:
 Maya Road: Rune Factory 4 Walkthrough (Part 10)
 Yokmir Cave: Rune Factory 4 Walkthrough (Part 5)
 The Delirium Lava Ruins: Rune Factory 4 Walkthrough (Part 7)
 The Water Ruins: Rune Factory 4 Walkthrough (Part 3)
 How To Get To Idra Cave in Rune Factory 4 (Location Guide)
 Obsidian Mansion: Rune Factory 4 Walkthrough (Part 4)
 The Rune Spheres & Chimera: Rune Factory 4 Walkthrough (Part 6)
 Yokmir Forest: Rune Factory 4 Walkthrough (Part 2)