The prologue serves as a tutorial, so the fights here won’t be much of a challenge.
In fact, the entire game does an excellent job at introducing new enemies and allowing you to learn their attack patterns before ramping up the challenge later.
Note: You can skip this part by exiting to the main menu and then continuing the game. The auto-save function takes you directly to the Bastion instead of the prologue. You’ll miss out on getting some of the items, but you can buy them from the Lost-and-Found later.
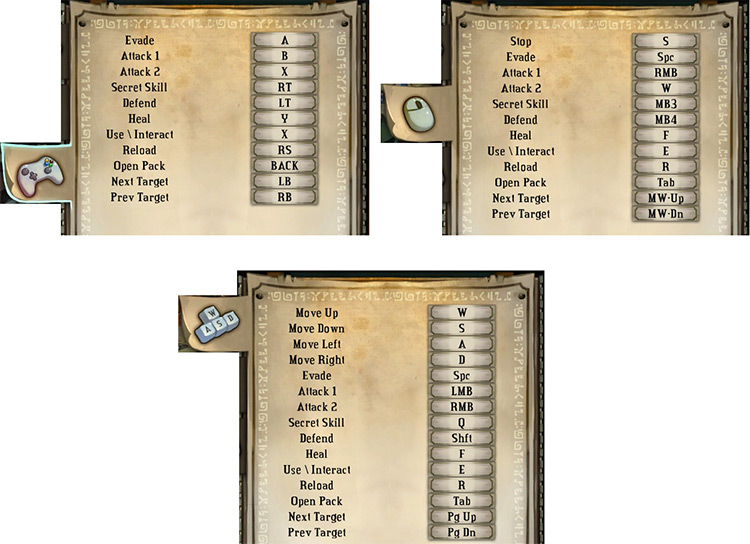
You should also setup your control scheme in the settings:
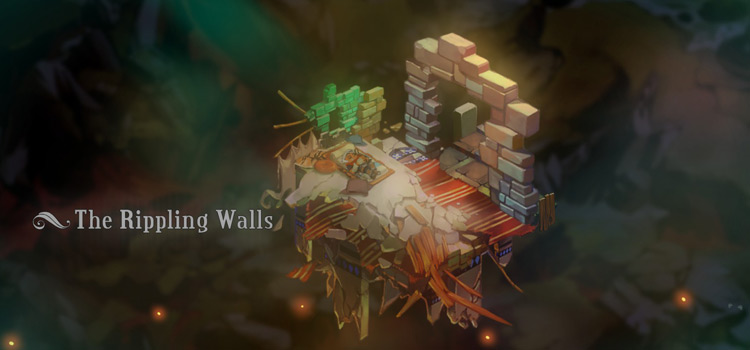
Area 1: The Rippling Walls
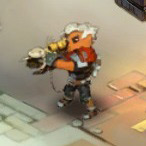
After starting a new game, you’ll be lying asleep on the floating debris of a ruined building. The land has been ravaged by a mysterious Calamity, and it seems like you’re the only survivor.
Step 1: Press any button to wake up. Step outside the door. Parts of the environment will rise up to form a path. Note that falling off the level will damage you.
Proceed forward through the only corridor. On the third island block, you’ll find your first weapon. Grab it.
Weapon: Cael Hammer
The Hammer sets the benchmark for all other weapons that follow. It can dish out high damage per swing. It’s also the only one that doesn’t have a ranged attack.
You can attack in a 2-hit pattern, alternating between an overhead swing and an uppercut. A finisher slam happens only when you’re extremely close to an enemy.
If you hold the move button while mashing the attack button, you’ll repeatedly do a quick side swing instead.
Later in the game, you can imbue your swings with status inflictions, such as stun, knockback, and armor penetration.
Destroy the market stall next to it to get some fragments. This is the currency of the game, which you’ll use to upgrade weapons and buy items. You can find more fragments hidden inside man-made objects like crates.
You’ll also now be able to do a roll using the evade button.
This lets you dodge or cancel your attack animations. Rolling through enemies deals a bit of damage to them, while you pass through unharmed.
Step 2: Continue forward, bash any rubble along the way, and climb the stairs.
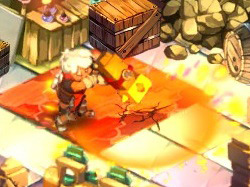
You’ll encounter your first enemy — a Gasfella. Whack this foe.
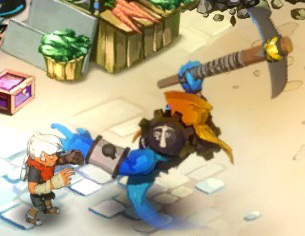
Enemy: Gasfella
These hooded thugs will raise their pickaxe high before swinging it down on you.
You’ll soon meet other Gasfellas of various sizes. They mostly share the same attack pattern, but differ in attack speed.
Head south to find a cluster of fragments. You may also smash the stalls, barrels, and boxes in this section for some pocket change.
Once you’re satisfied, head back and go up the next set of stairs to find another weapon.
Weapon: Fang Repeater
The Repeater may not be as powerful as the Hammer, but it can rapidly shoot out 8 bolts per clip. You can’t move while firing however.
You can empty a clip in less than 1.5 seconds, while reloading takes 3 seconds.
Note: All ranged weapons have unlimited ammo.
Technique: Animation Cancel
Now that you have two weapons, you should learn about “animation cancels”. This technique is best used against bosses that have a limited vulnerability window.
You can cancel the Hammer’s attack animation by immediately firing the Repeater right after a swing. This lets you deal damage faster.
You won’t feel the difference now, but it’ll become more significant as you upgrade your weapons. Some weapon pairs are also better at this than others.
For the reload animation, rolling cancels it but doesn’t affect the actual process. You’ll still end up with a fully loaded weapon.
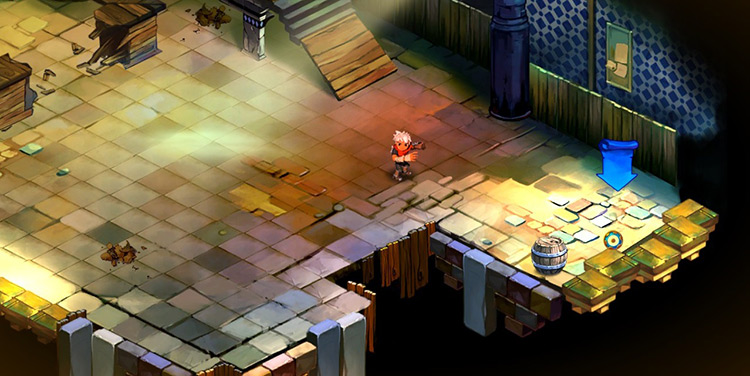
Step 3: Smash or blast your way through the debris, then make your way up the stairs. There you’ll find a fountain. Interact with it to gain three health tonics. You can use one of the tonics to recover your health.
And you can interact with the fountain again to refill your tonics.
After drinking, a bunch of Squirts will unearth around you. Clear them out from the area.
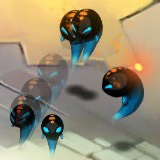
Enemy: Squirt
These little critters attack by bracing for a second before tackling you. They’re pretty squishy and can die in one or two hits.
However, you’ll rarely find a Squirt alone. They usually move in groups so that they can overwhelm you with numbers.
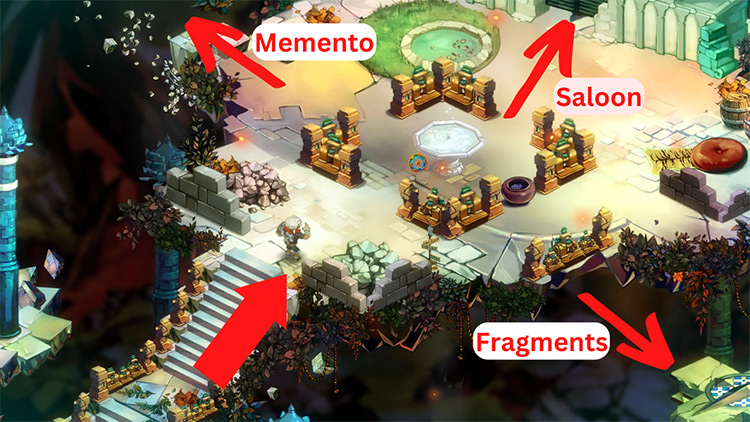
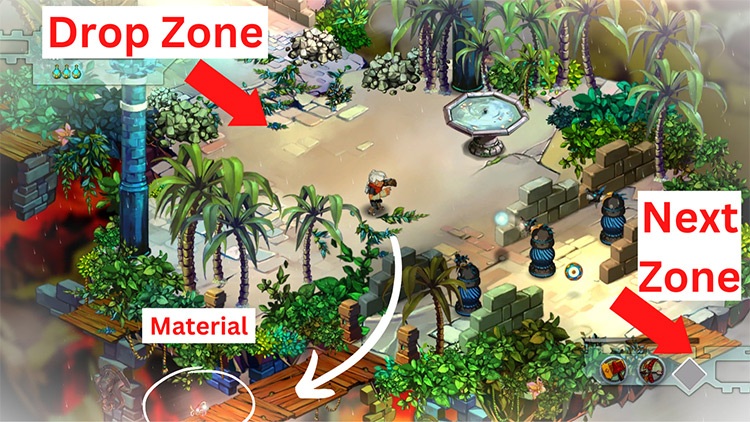
Step 4: You can explore your surroundings before proceeding. The fountain sits at a crossroads. The right alcove contains a handful of fragments.
The path to the left has a memento — the Crystal Barrette.
Mementos are items that can reveal the lore of the game. Open your inventory to examine it. You may also notice that you’re already in possession of one other memento — the City Crest.
Tip: There’s an achievement for finding all 15 mementos. If you miss getting one from a level, you can buy them from the Bastion’s Lost-and-Found.
Now, go inside the Saloon near the fountain.
Area 2: The Sole Regret
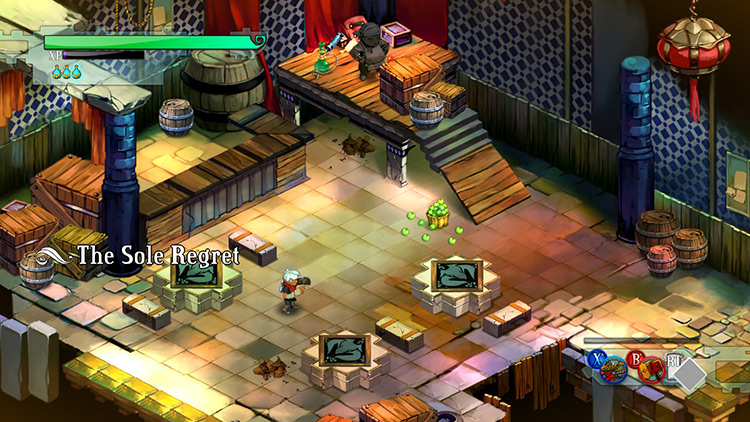
Inside, you’ll see a bucket full of green apples. Picking them up restores your health.
On a platform above the apples is the ashen husk of Rondy the Bartender. You can dust him or leave him be. The Narrator will make a comment if you do the former.
Step 1: Your Shield will drop down to the center of the Saloon a few seconds after entering. Pick it up.
Equipment: Bullhead Shield
Your trusty Shield can block all frontal attacks. Projectiles will be deflected to random directions and can hit enemies.
If you block an attack right before it hits you, you’ll do a counter-block. This reflects damage back to your assailant — sometimes killing them outright.
Counter-blocked projectiles will home back to their source, but they can also hit foes who step into their reverse trajectory.
The Shield will always be equipped on you throughout the game. It can’t be upgraded, but it does have Secret Skills and buffs from Spirits.
A Security Turret will appear behind the bar counter. You can practice your counter-blocks with it, or you can bust through the bar to deal with it manually.
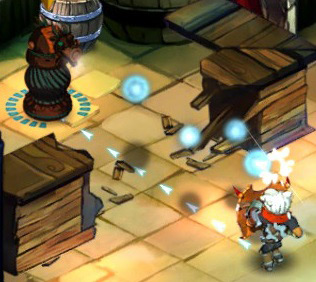
Enemy: Security Turret
Turrets are stationary devices that shoot energy orbs at you. They come in various models, which determines their attack pattern.
You’ll encounter three variants in this level:
- One that shoots slow individual orbs
- Another which fires a volley of orbs
- A third that bursts out a spread of orbs
Step 2: A variety of Squirts, Gasfellas, and Turrets will then start appearing in waves. Some will drop in skull-marked packages, which you can smash before they break out.
The final wave includes a bigger and faster Gasfella.
After defeating them, the Narrator will mention finding a way out. Move to the rightmost corner of the Saloon and jump out of the window.
Area 3: Wharf District
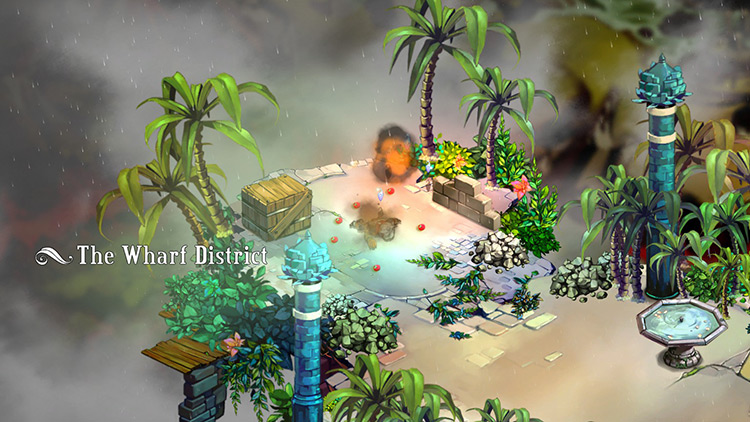
It’s a long way down from the window, and Kid crashes face down on a crate containing the Breaker’s Bow.
There’s a fountain nearby in case you’re low on health from the bar brawl.
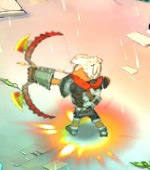
Weapon: Breaker’s Bow
The Bow’s the first weapon that allows you to do a Power Shot.
Power Shots penetrate through enemies and deal higher damage than normal. However, it’s slower than a Hammer swing.
To do it, hold the attack button to draw the bow. Let loose at the moment the Kid flashes white.
Step 1: Press any button to stand up, then pick up the Bow.
Just ahead, a row of Turrets lurk behind a wall that blocks your path. You can practice your Bow on them, or you can just smash through and dismantle them in melee.
On the small jetty southwest of the Turrets, you’ll find an item. This “Something Stringy” is an upgrade material for the Bow. You currently don’t have the means to do that yet, so proceed southeast.
Step 2: You’ll be walking on a wooden wharf guarded by Turrets at every corner.
You don’t need to destroy them, but it does make your passage much easier. Alternatively, you can practice weaving through the bullet hell that they create.
Step 3: You’ll reach a scroll that teaches you your first Secret Skill. These are powerful moves that consume one black tonic. Squirts will conveniently sprout nearby to let you test out your new skill.
You already have three black tonics on you, but if you run out, there’s one in the jetty southeast of your current position.
Secret Skill: Whirl Wind (Cael Hammer)
Using this spins you like a top with your Hammer out, damaging any surrounding enemies. It’s great for clearing a crowd. You have a bit of momentum while spinning; this can make it hard to control the Kid.
Step 4: Move on up northeast. Ahead will be another school of Squirts and a pair of Turrets guarding a gate. Snipe down the Turrets, and the gate will open.
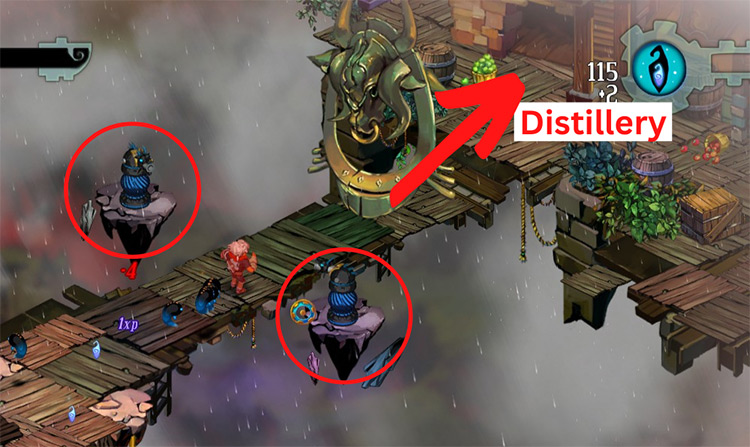
Beyond the gate are two buildings: a Distillery and an Arsenal.
Enter one after the other to tinker with their benefits. The Arsenal lets you change your weapon load out. It also comes with two new Secret Skills:
Secret Skill: Bolt Burst (Fang Repeater)
You do a spin while shooting out a flurry of bolts in all directions. This does less damage than the Whirl Wind, but its range covers your entire screen and beyond.
Secret Skill: Dancing Shot (Breaker’s Bow)
You lose an arrow that bounces from target to target. Its range and damage are significant. One shot can clear a whole room.
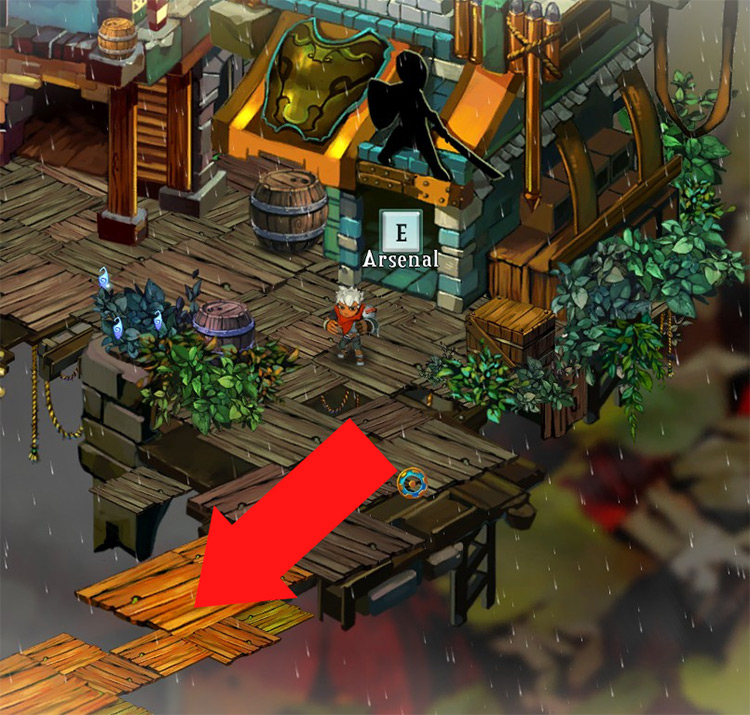
The Distillery contains alcoholic Spirits. They give you passive buffs for as long as they’re selected.
You currently only have one Spirit slot; but you gain more when you level up.
For now, there are three spirits available to you:
| Spirit | Buff |
|---|---|
| Squirt Cider | +10 Max health |
| Dreadrum | +10 Critical hit chance when at full health |
| Fetching Fizz | Extends the radius at which you absorb stray fragments |
Step 5: Once you’re all set, proceed down the next path. A swarm of Squirts will once again volunteer as targets for your new Skills. Experiment on them and move on.
Step 6: The next block features a couple of corn bins. These spit out Squirts in intervals.
Prioritize destroying them first to avoid getting overwhelmed.
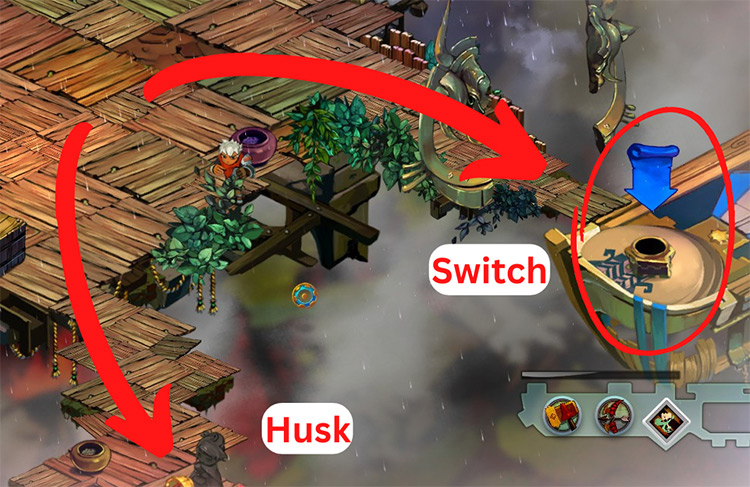
There are also some boxes in the south. Behind them, you’ll find the ashen husk of Maude the Tutor. Dust him to prompt a comment from the Narrator.
The gate to the east leads to a docked ferry barge. A Gasfella will appear on top of it. Crush him, and then press the ferry’s switch to activate it.
While you’re being carried across, some Turrets will pop up and try to gun you down. Squirts will also attempt to board you near the end of the ride.
Step 7: You’ll dock beside a flight of stairs with a couple of Gasfellas waiting up top. Break through the rubble to reach them and smash them.
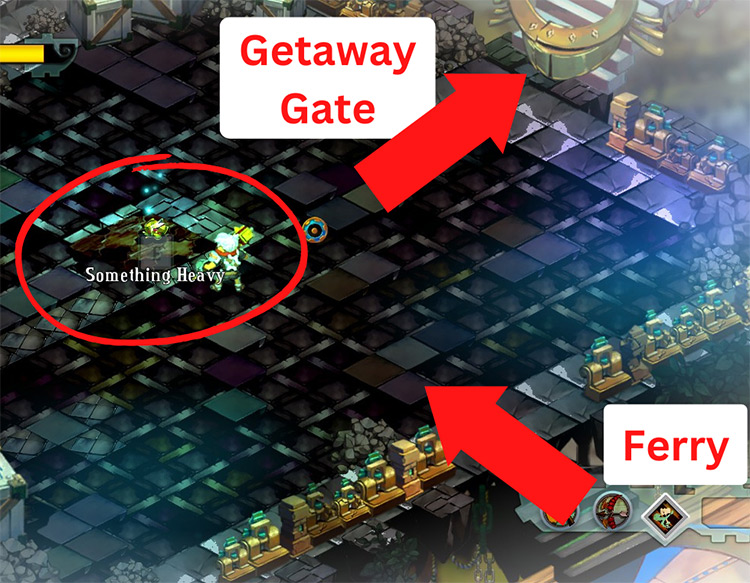
Pick up the “Something Heavy” at the center of this block. It’s an upgrade material for the Hammer. Doing this triggers the final battle.
You’ll face two Scumbags plus a large Gasfella. The Gasfella can break the ground you’re standing on, and you’ll also be thrown to the air if they hit you.
Lastly, there will be a pair of Squirt corn bins to further complicate this battle.
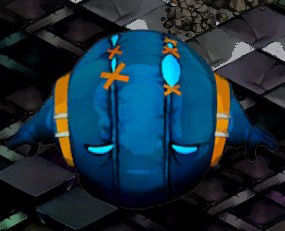
Enemy: Scumbags
Scumbags are huge, balloon-like whales that shrink when hit.
They’ll lob blue goo at you, which can leave a puddle on the ground. Getting hit or crossing that puddle can slow you down.
Step 8: Once you beat all of them, fragments will rain down on you as your reward. Collect them, and bust open those crates in the corners for a few more fragments.
Step 9: Proceed through the gate to the northeast. There you’ll find a Core.
Be ready to sprint, because grabbing it will destabilize this level and cause the floor to crumble. If you fall down the path, you’ll be taken directly to the Bastion.
However, there’s an achievement for safely reaching the end of this level. What you need to do is just ignore everyone in your path.
Roll through everything.
Don’t even try to get those tonics on the side roads.
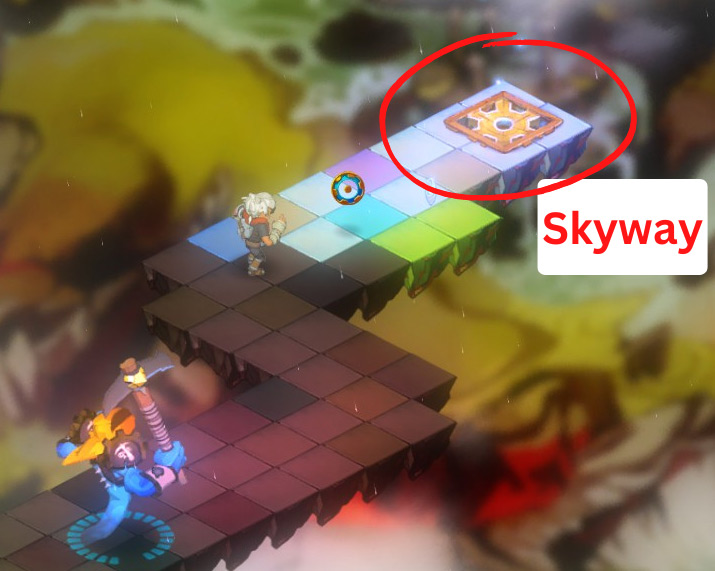
You’ll reach the Skyway at the end. There’s also a handful of fragments leading up to it.
Activate the Skyway to be whisked away to the Bastion.
Home: The Bastion
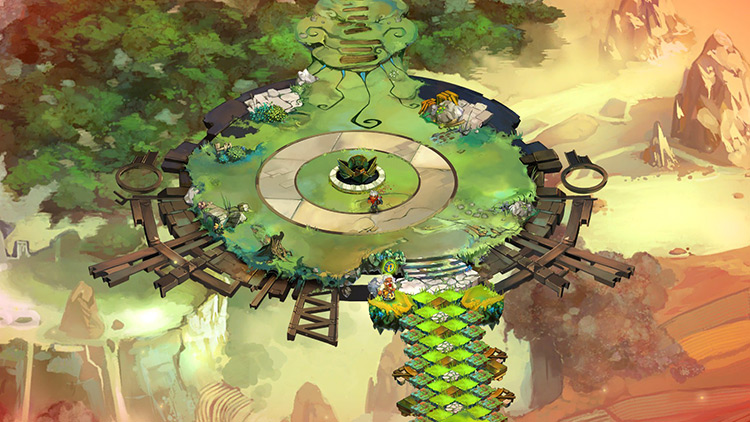
Once again, Kid will fall flat on his face as he lands on a prairie.
Get up and walk up north. You’ll meet the Narrator/Stranger. He welcomes you to the Bastion.
You can talk to him about the mementos you’ve found. He’ll tell you to place the Core into the Monument ahead.
Do as he says, and you’ll restore the western half of the Bastion. There will also be a building foundation on one of the vacant slots. You can build either a Distillery or an Arsenal on top of it.
Choose what you prefer. You’ll have another chance later for the other building.
Building: Distillery
Building the Distillery unlocks more Spirits. You’ll also likely have leveled up, which unlocks a slot for a second Spirit.
| Spirit | Buff |
|---|---|
| Hearty Punch | +1 Life and damage surrounding foes if defeated |
| Werewhiskey | +100% Critical hit chance when below 33% health |
| Cinderbrick Stout | +33% Speed while defending with the Shield |
Building: Arsenal
Picking the Arsenal unlocks one new Secret Skill:
Secret Skill: Mirror Shield (Bullhead Shield)
You’ll spin around for 3 seconds and automatically counter-block attacks for a short time. This is best used against fast-hitting enemies, so you can reflect their damage in full.
When you’re ready, proceed to the Skyway at the northern tip of the Bastion.
You’ll be able to choose between two new levels:
- The Breaker Barracks is an optional challenge for the Bow.
- The Workmen Ward contains a Core and will be the next story level.
You could attempt the Breaker Barracks now, but it’s better to go to the Workmen Ward first. It has a Forge, where you’ll be able to upgrade your Bow to make the Breaker Barracks’ challenge easier.
-
Bastion
- The Rippling Walls & The Wharf District: Bastion Walkthrough Prologue
Related Posts:
 The Tazal Terminals: Bastion Walkthrough Part 17
 Point Lemaign: Bastion Walkthrough Part 11
 Langston River and Prosper Bluff: Bastion Walkthrough Part 7
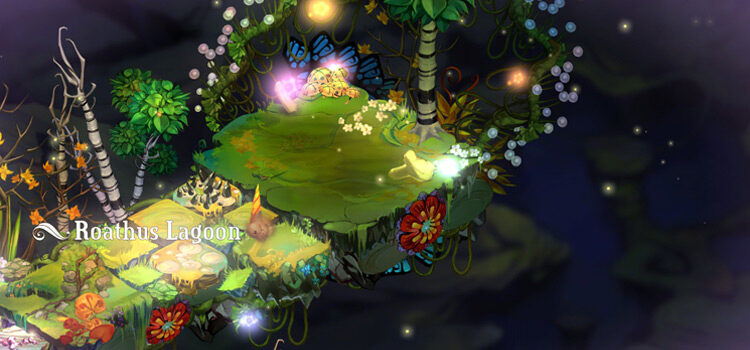 Roathus Lagoon: Bastion Walkthrough Part 10
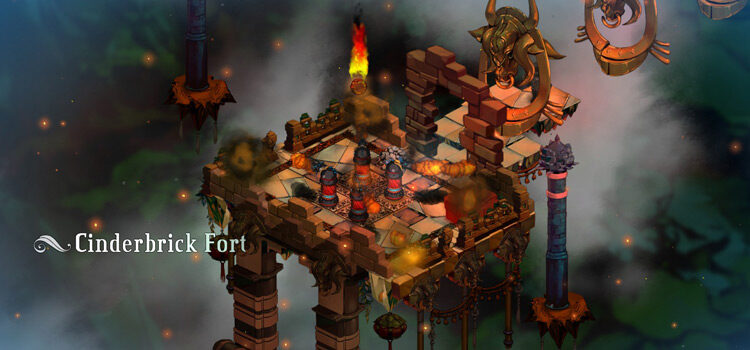 Cinderbrick Fort: Bastion Walkthrough Part 6
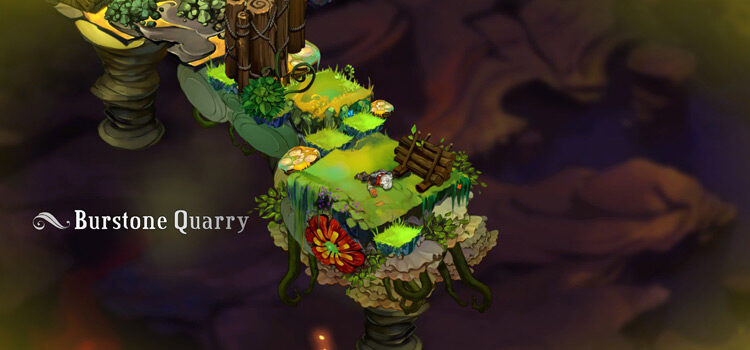 Burstone Quarry: Bastion Walkthrough Part 14
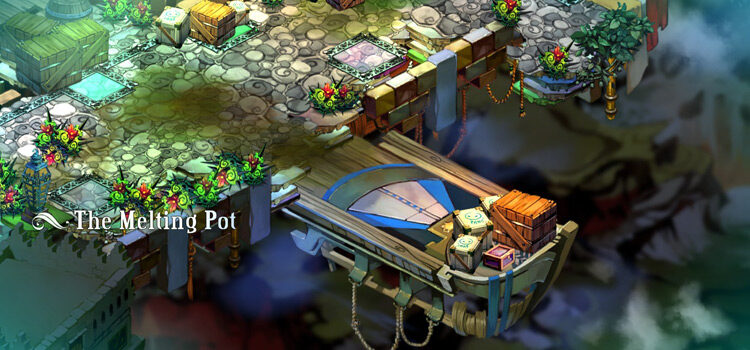 The Melting Pot: Bastion Walkthrough Part 3
 Jawson Bog: Bastion Walkthrough Part 9