| Flotsam Shores | |
|---|---|
| Unlocked By | Rock Destroyer Boat Improvement |
| Coordinates | X: 109, Y: -107 |
| Spirits to Recruit | None |
| Resources |
|
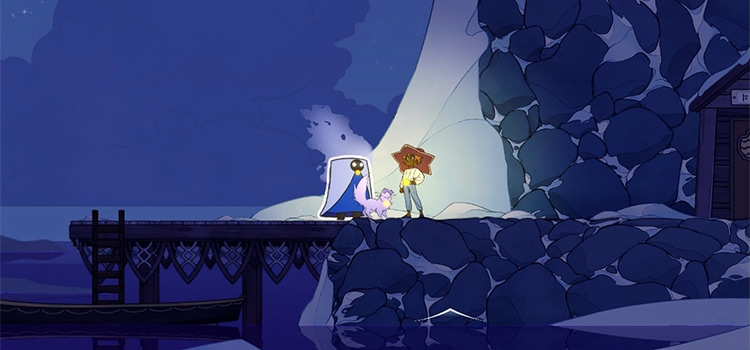
Flotsam Shores is a shipping container island in the industrial district of the game’s Oxbury Region. It features some resources and rare chests, but it requires the Rock Destroyer boat improvement to reach.
How To Unlock
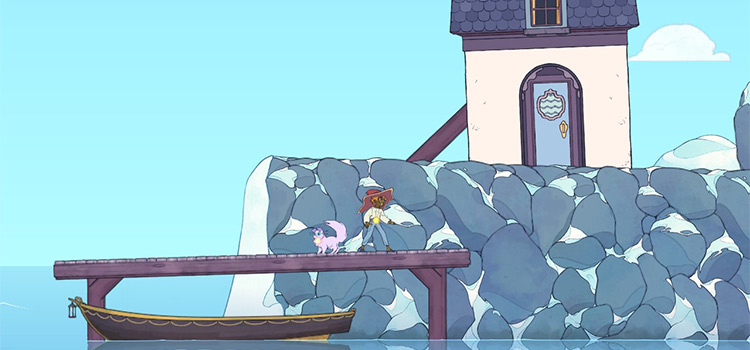
You’ll need to make sure you first purchase the Rock Destroyer upgrade to reach this island. If you already have it then you’re all set, otherwise travel to Albert’s Shipyard.
This upgrade should be under the boat improvements tab, and it requires these materials:
- 10 Aluminum Ingots
- 8 Marbles
- 6 Fireglows
- 2 Spirit Flowers
- 1,700 Glims
To speed up the process of gathering these materials you can visit our full guide on all boat improvements to learn where to get each one.
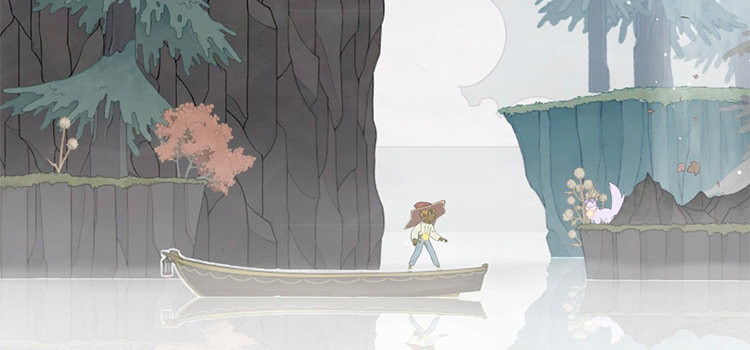
After getting the upgrade, your boat will be able to break through the rock barrier and sail towards Flotsam Shores near the bottom right of the map below the location of the Everdoor.
What To Find
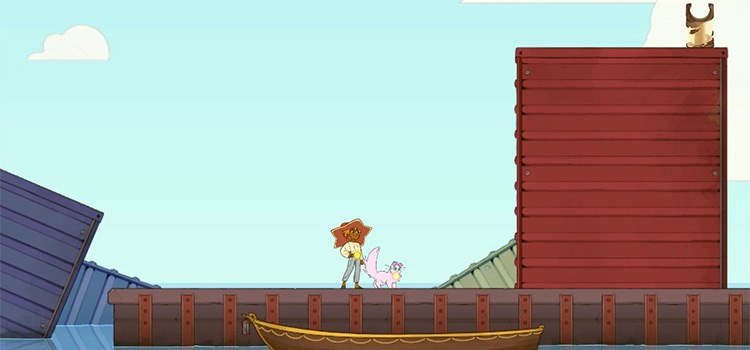
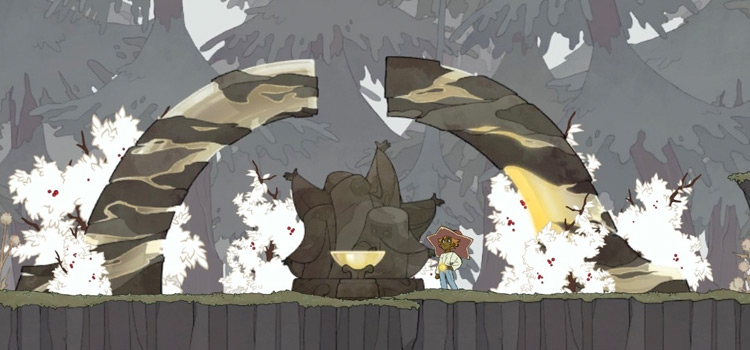
Upon arriving, you’ll find that the island is mostly made up of floating shipping containers.
Inside these containers are mineable resources including copper, limestone, coal and zinc nodes.
Flotsam Shores Chests
Other than the resources, the shipping containers on the island also contain 6 hidden chests and treasures.
But before you can find all of them you will need these abilities:
If you already have these abilities unlocked then here’s how you can get all of the chests:
Chest #1
Contains:
- 1 Citrine
- 1 Flounder
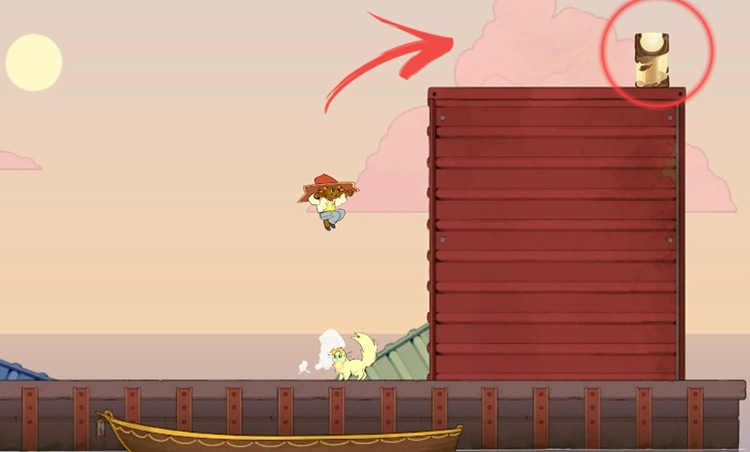
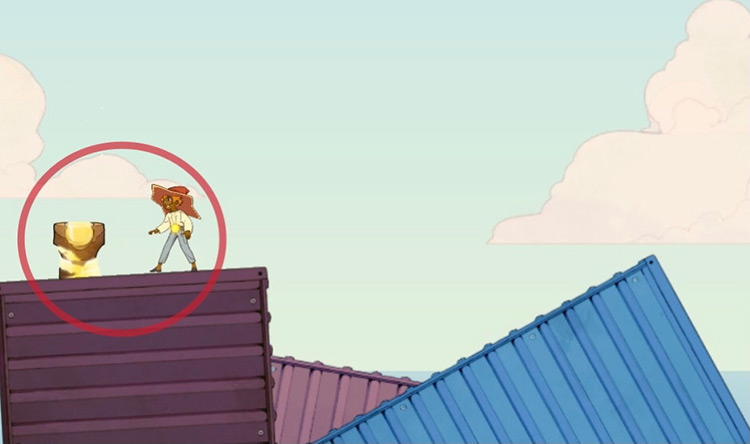
From the island’s starting point, double jump and dash your way towards the top of the red container with the treasure chest. It should be visible very quickly.
Chest #2
Contains:
- 1 Amethyst
- 1 Anchovy
- 1 Sockeye Salmon
Step 1: From the last chest’s location on the big red container, dash towards your left to reach the top of the mustard-colored container platform.

Step 2: Once you’re on that platform, dash to your left again.
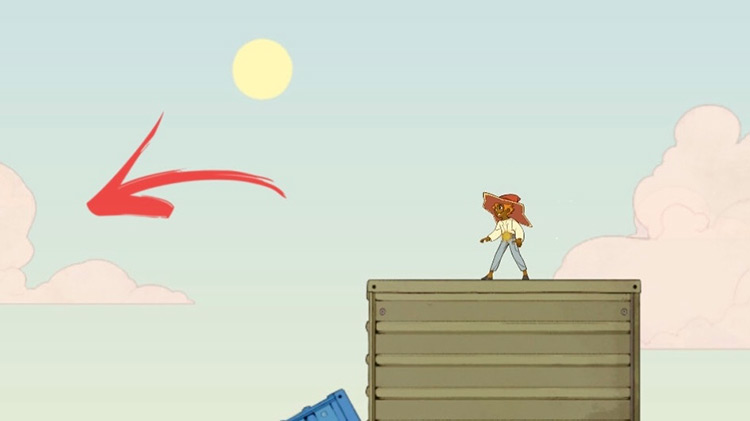
Step 3: Land on the slightly askew light purple container and that’s where you’ll find the next chest.
Chest #3
Contains:
- 2 Lobsters
- 1 Crystal Chandelier
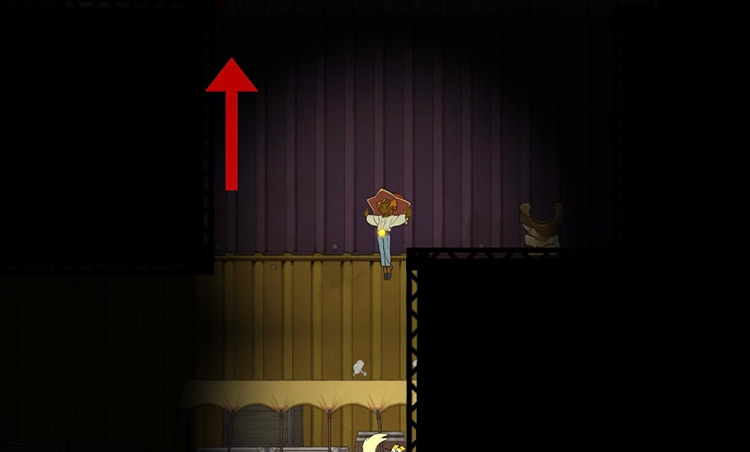
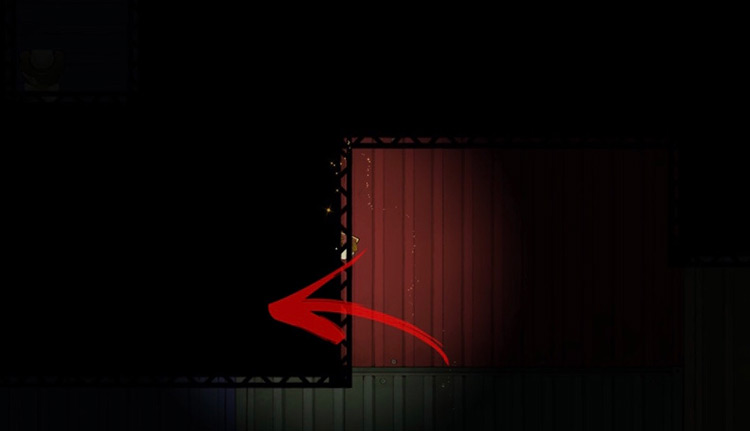
Step 1: Head back to the red container that had Chest #1, then dash to your right.
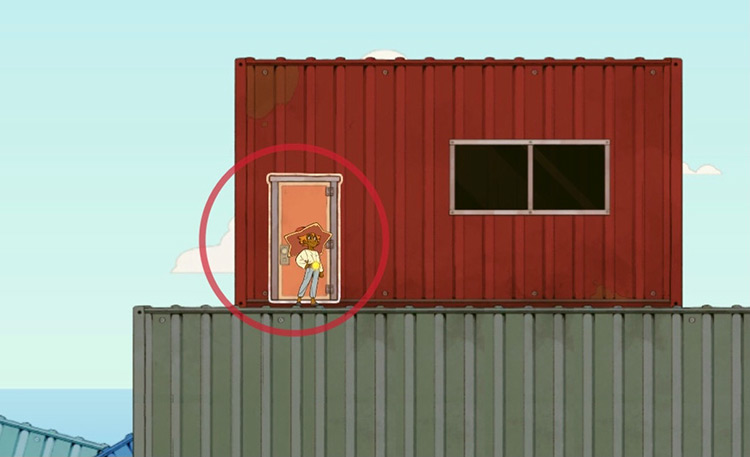
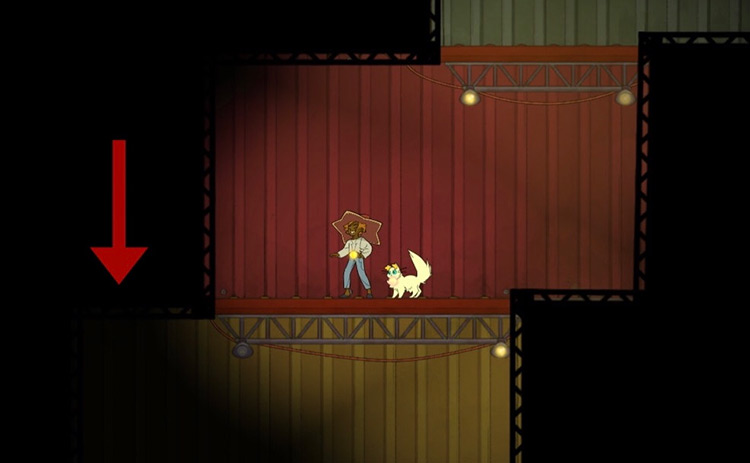
Step 2: Land on the large grey container platform and enter the red container with the door.
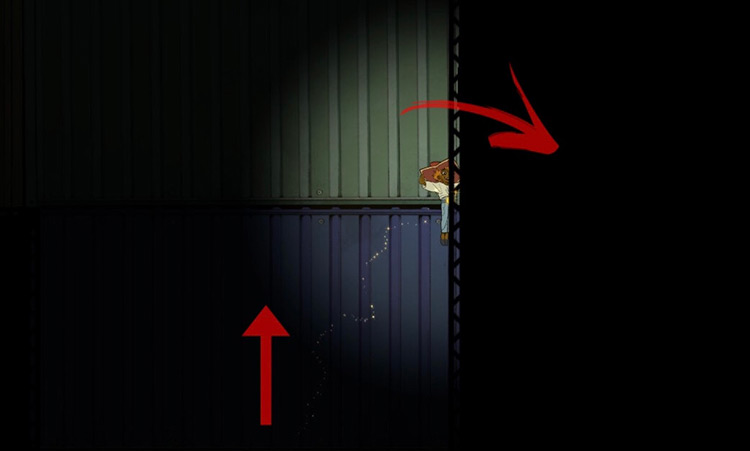
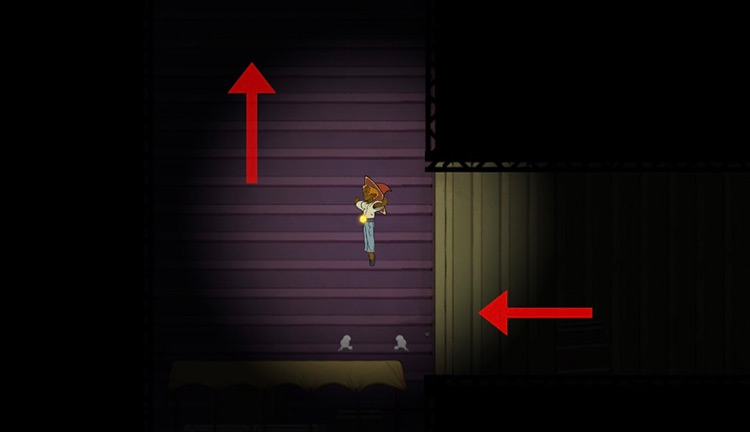
Step 3: Once inside, go down the ladder.
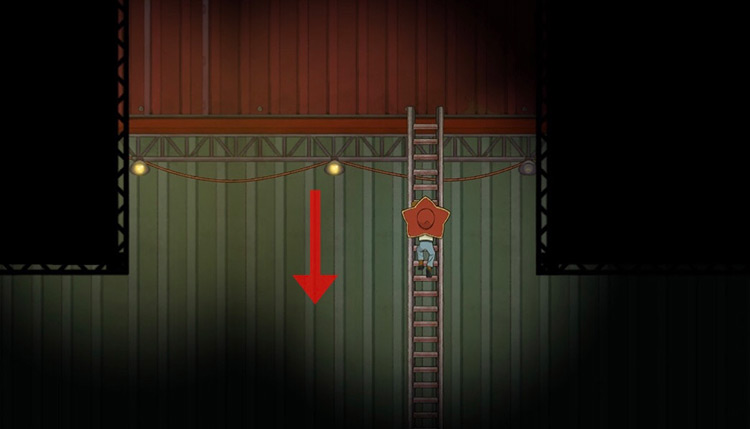
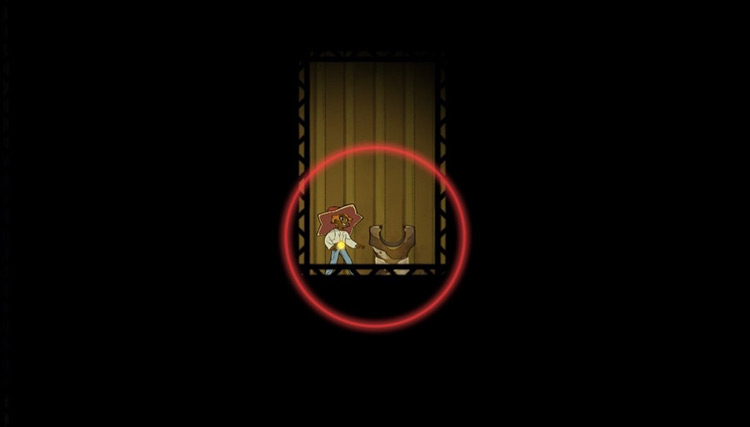
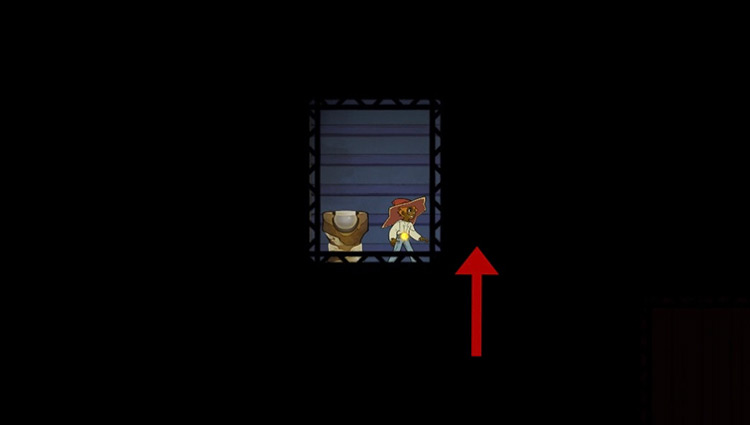
Step 4: Keep dropping down for a few more levels until you find two spirits standing around.
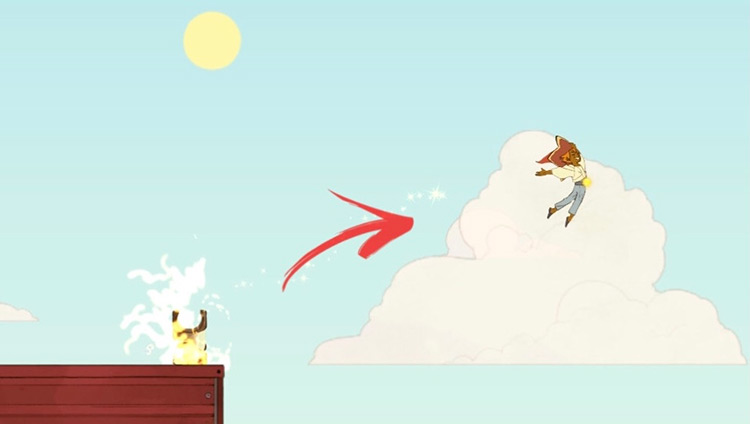
Step 5: From the spirits, walk to your right to find a yellow bouncy platform.
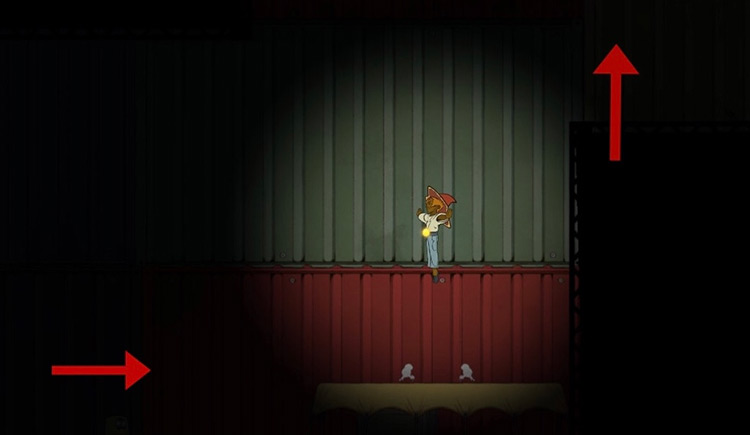
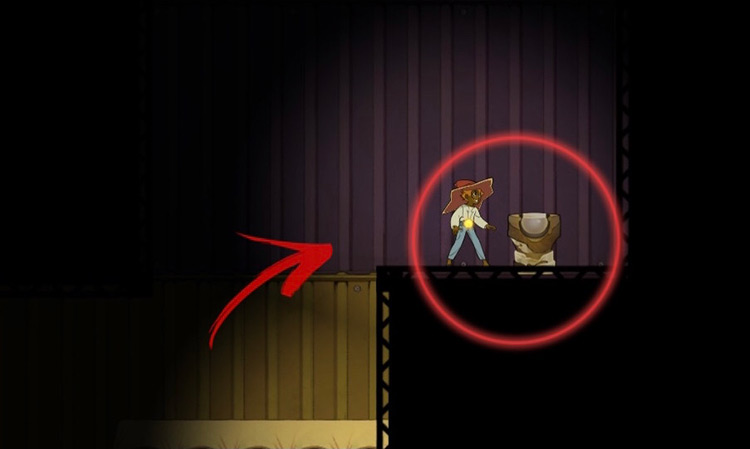
Step 6: Bounce up on the yellow canopy to reach the next platform to your right, and continue walking until you find the next bouncy platform.
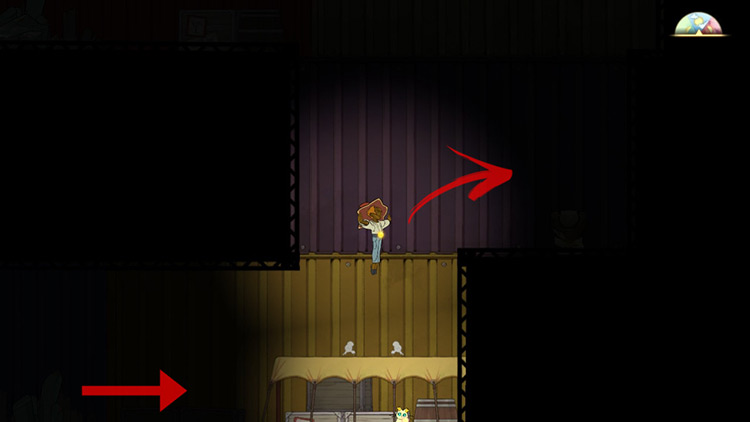
Step 7: Use the next platform to bounce up and reach the treasure chest right beside it.
Chest #4
Contains:
- 1 Char
- 1 Citrine
- 1 Mackerel
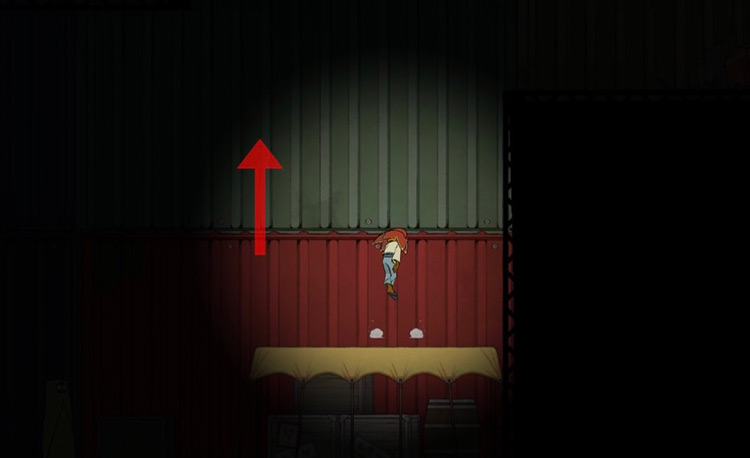
Step 1: Go back to the final bouncy platform near Chest #3 (if you’re not sure where that’s located just follow the Chest #3 directions above).
Step 2: Keep bouncing on this platform until you reach the level where there’s a blue container.
Then from the blue containers, dash to your right to find a hidden passage where the treasure chest is located.
Chest #5
Contains:
- 1 Cuttlefish
- 1 Cobia
- 1 Opal
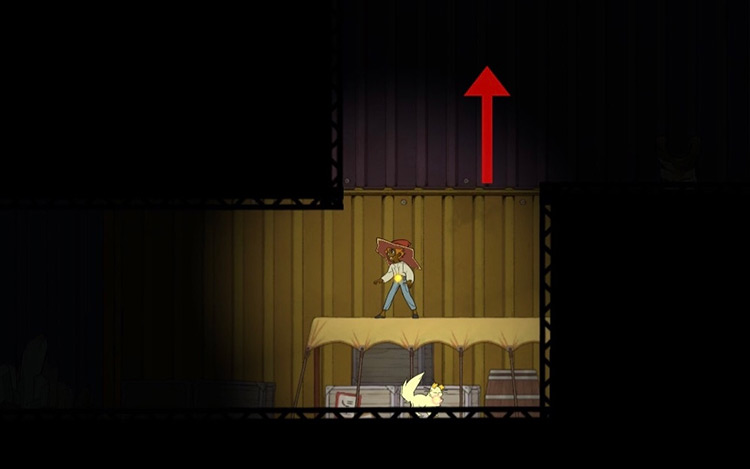
Step 1: Go back to the first bouncy platform from Chest #3, the one with the two spirits beside it.
If you’re not sure how to get here then just follow the Chest #3 directions above until you reach the first bouncy platform.
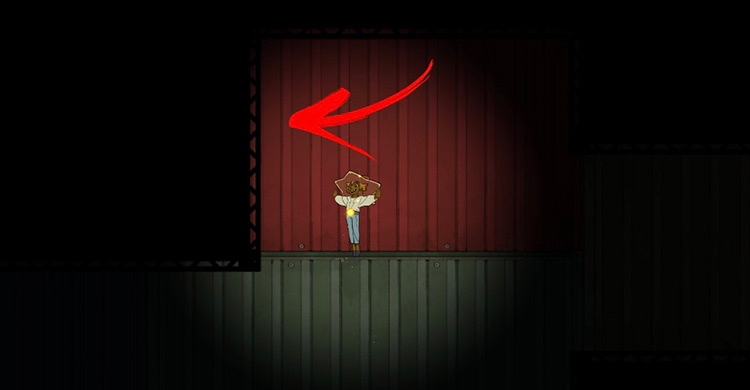
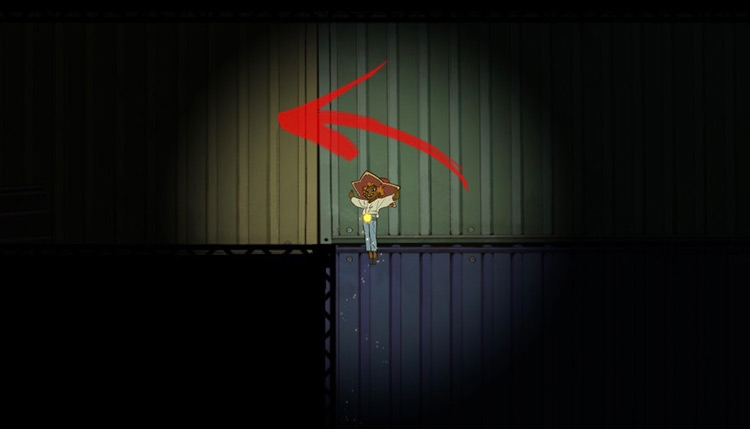
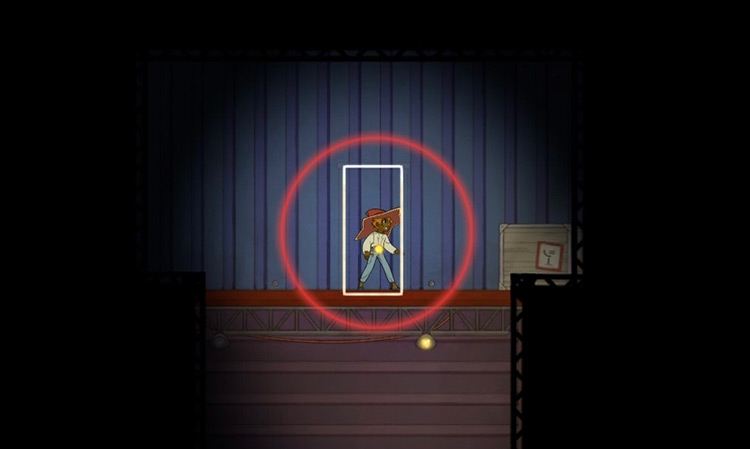
Step 2: Bounce high enough until you can reach the shadowy “ceiling” of this area. Then move left to find another hidden passage in the shadows.
Step 3: Walk to the left here, then double jump above you to find the treasure chest.
Chest #6
Contains:
- 1 Mahi-Mahi
- 1 Large Glim Bottle
Step 1: Head to the second bouncy platform that we reached near Chest #3. If you’re not sure how to get here then just follow the directions from Chest #3 above.
Step 2: Bounce on this canopy until you reach the top landing on the left side.
Step 3: Once on the landing, walk left until you find another bouncy platform.
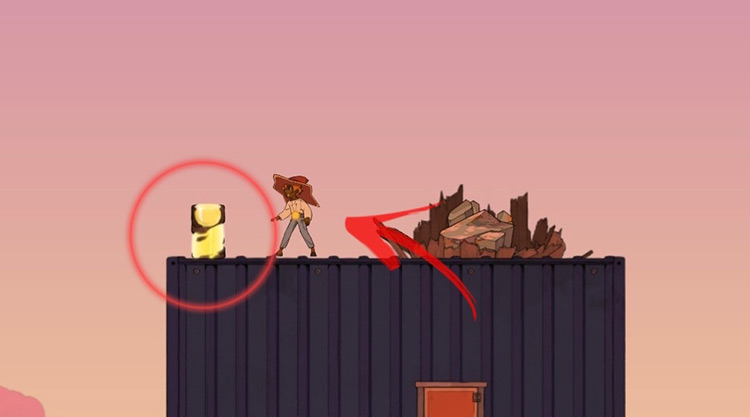
Step 4: Bounce all the way to the top here and then exit via the door you’ll find in a blue crate container.
Step 5: Once outside, simply double jump to the roof of this container to find the last chest.
-
Spiritfarer
- Flotsam Shores Location Guide + All Chests (Spiritfarer)
Related Posts:
 Kalstein Mines Location + All Chests (Spiritfarer)
 Hoseki Quarry Location Guide + All Chests (Spiritfarer)
 Old-Central District Location Guide + All Chests (Spiritfarer)
 Mount Toroyama Location + All Chests (Spiritfarer)
 Oxbury Location Guide + All Chests (Spiritfarer)
 Crow’s End Inc. Location Guide + All Chests (Spiritfarer)
 Nordsee Pier Location Guide + All Chests (Spiritfarer)
 How To Unlock the Dash Ability in Spiritfarer