| Kalstein Mines | |
|---|---|
| Unlocked By | Icebreaker Boat Improvement |
| Coordinates | X: -99, Y: 117 |
| Spirits to Recruit | None |
| Resources |
|
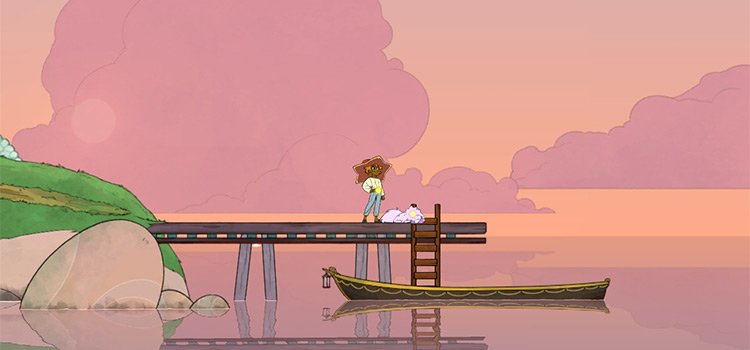
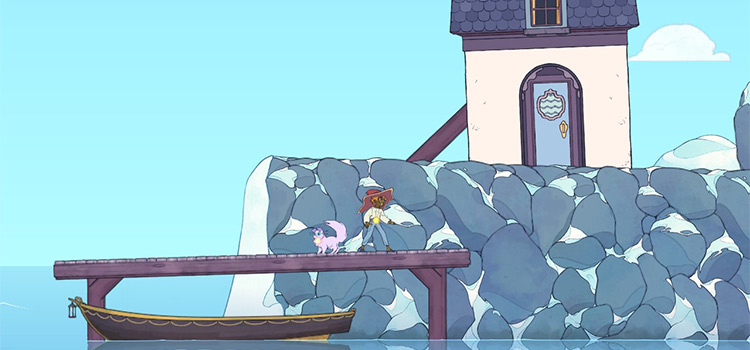
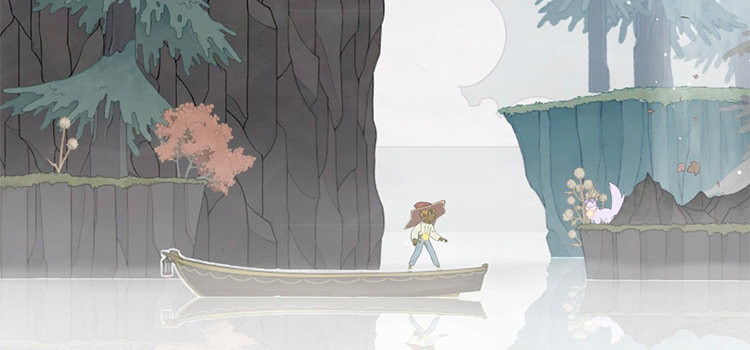
Kalstein Mines is an island found in Spiritfarer’s Hummingberg Region. But to reach this island you’ll need the Icebreaker boat improvement from Albert’s Shipyard.
TABLE OF CONTENTS
How To Unlock
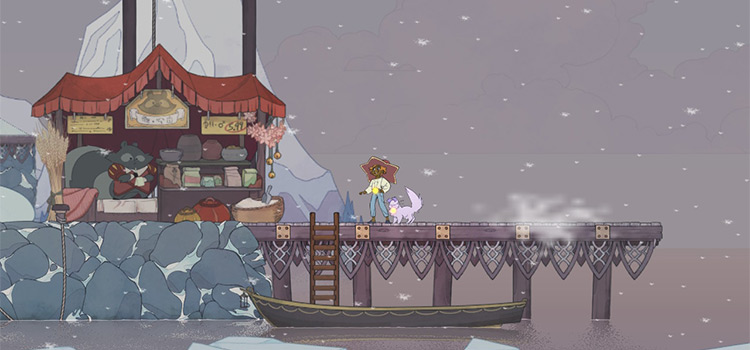
Start by heading towards Albert’s Shipyard and purchasing the Icebreaker Boat Improvement from him.
This upgrade requires:
- 10 Iron Ingots
- 12 Oak Planks
- 18 Linen Fabrics
- 1 Spirit Flower
- 5 Slates
- 800 Glims
You may check out our list of all boat improvements for a more thorough breakdown of how to get these in-game items.
Afterwards, your boat should be able to break through the ice barrier blocking the region.
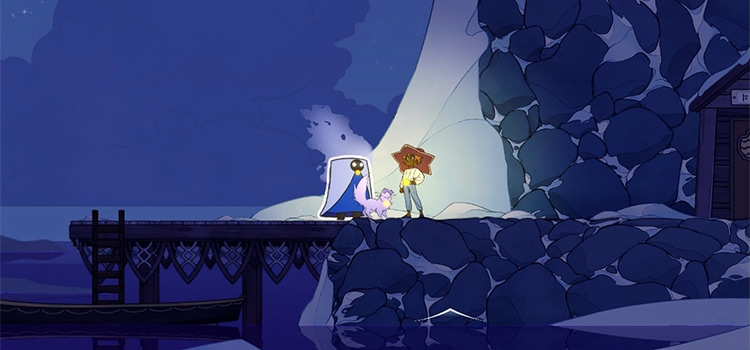
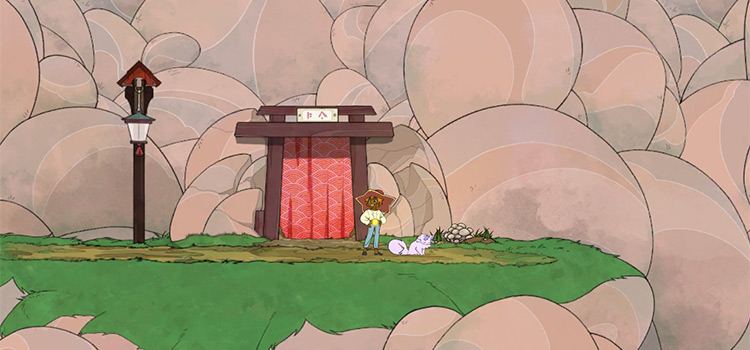
Accessing the Mines
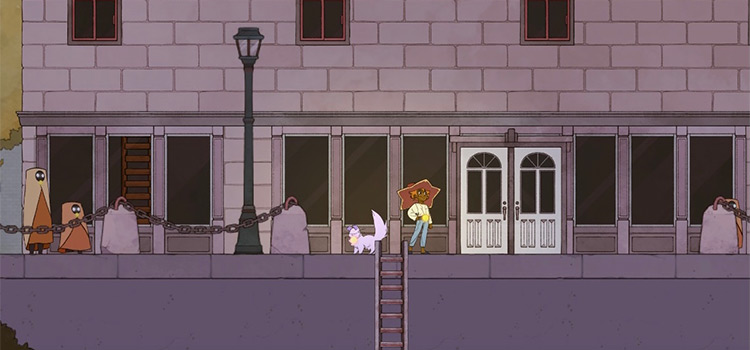
Once you’re on the island, you’ll be stopped by a guard outside. He will tell you that entering requires skill, and the key for the mines is only given to those who have passed the “Training Wheels” Shenanigans.
It requires these abilities:
If you already have these abilities then you can enter. If not, then you can check our guides linked above on how to get each of Stella’s abilities.
Once you do get inside the mines, you’ll find mining spots for Coal and Marble, all of which can help you stock up on materials.
Kalstein Mines Chests
Kalstein Mines is one of the trickier areas to navigate in Spiritfarer. So here are some tips to make sure you don’t get lost inside:
- Arrows indicate that the passage is one-way.
- You can find hidden passages by looking at ropes that go into the wall.
- Gold lines mean there’s a zipline.
- Green lines mean there’s an air draft.
- Purple lines mean that you need to use Dash to clear the gap.
Taking note of these tips will make sure you find your way around all of the mine’s secrets.
And here’s how to find all of the chests inside:
Chest #1
Contains:
- 1 Metal Rope
- 1 Crystal Chandelier
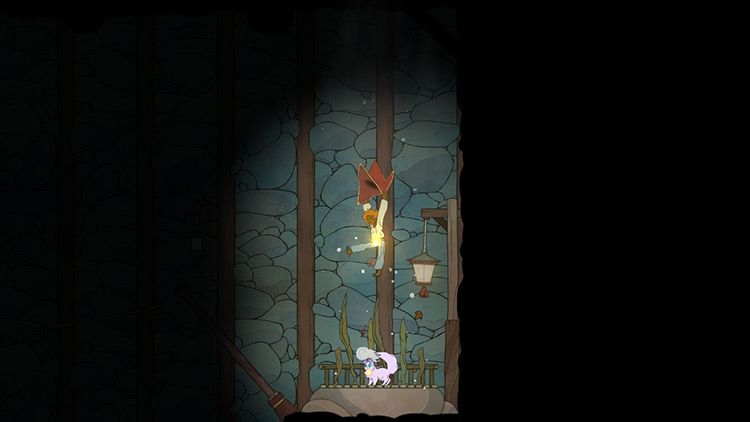
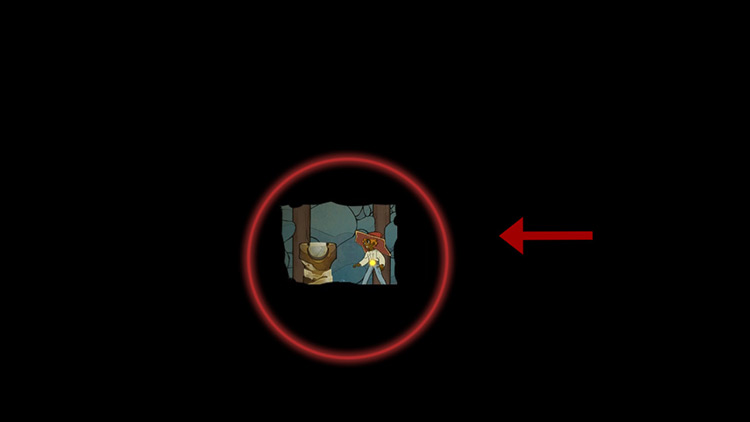
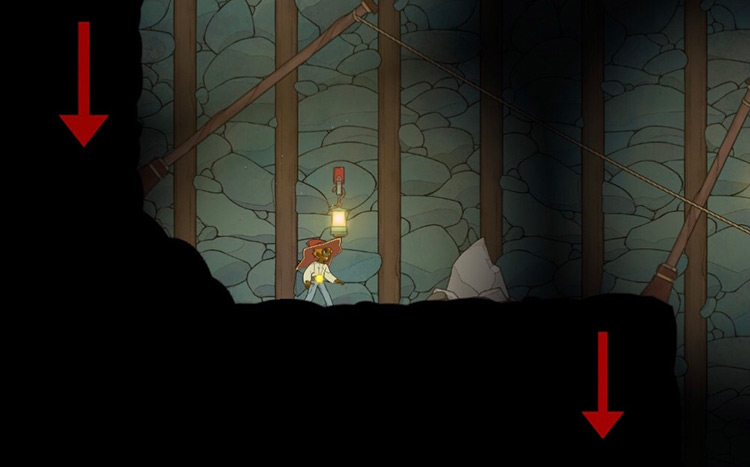
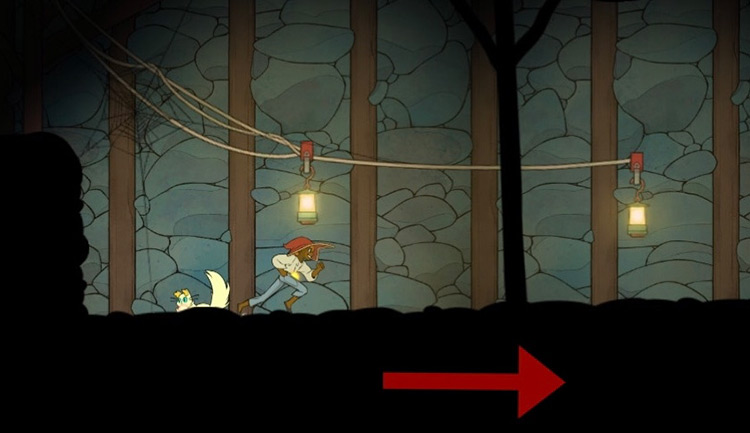
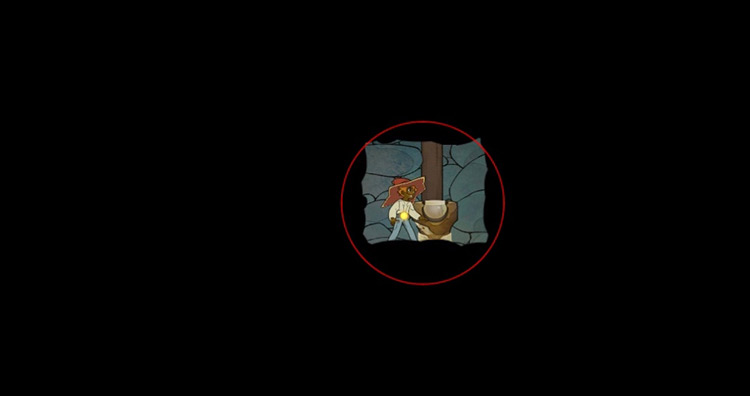
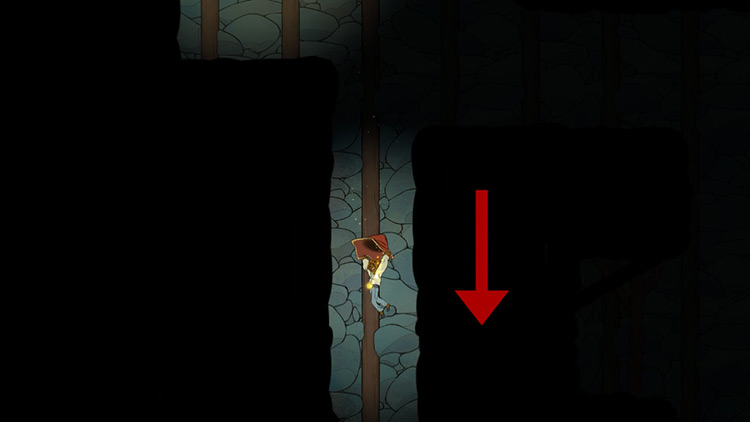
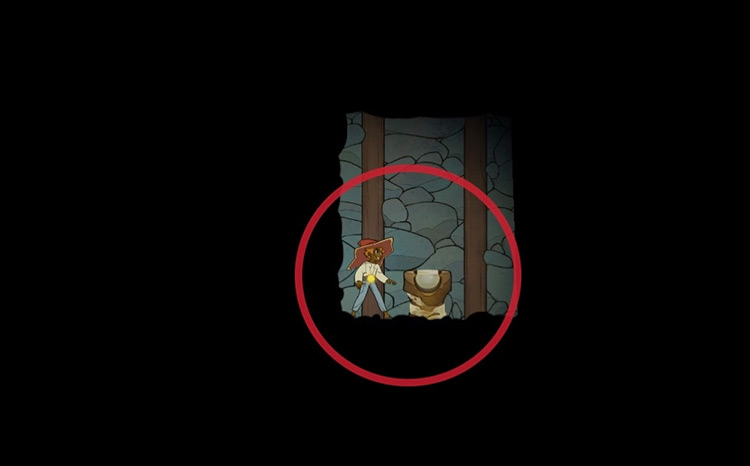
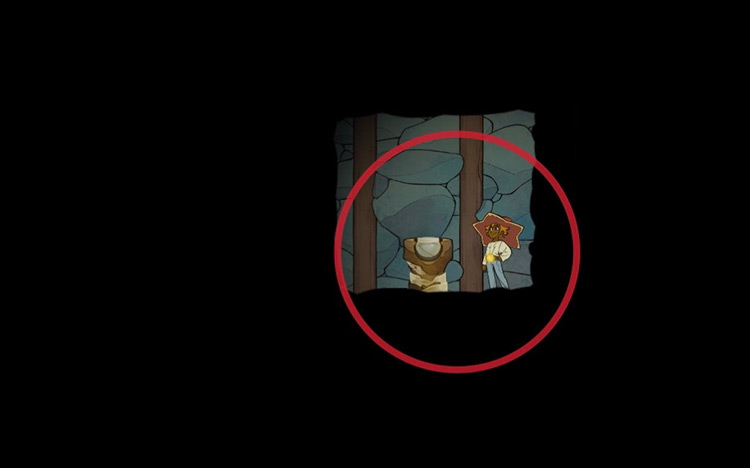
Step 1: At the start of the mine, there’s a slope that ends in a drop. Instead of sliding down the slope, slowly glide down instead.

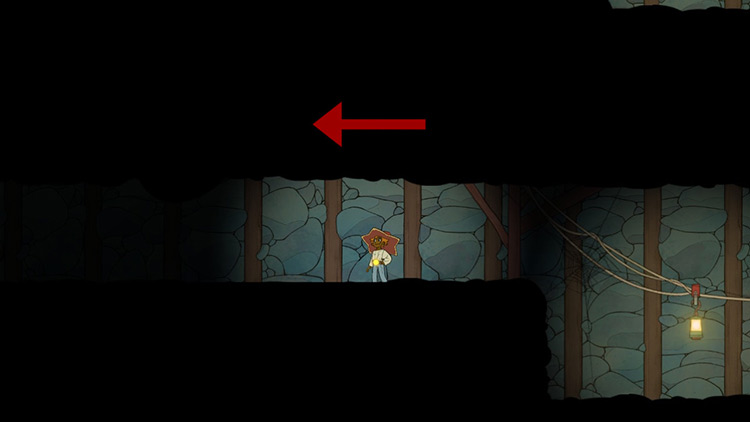
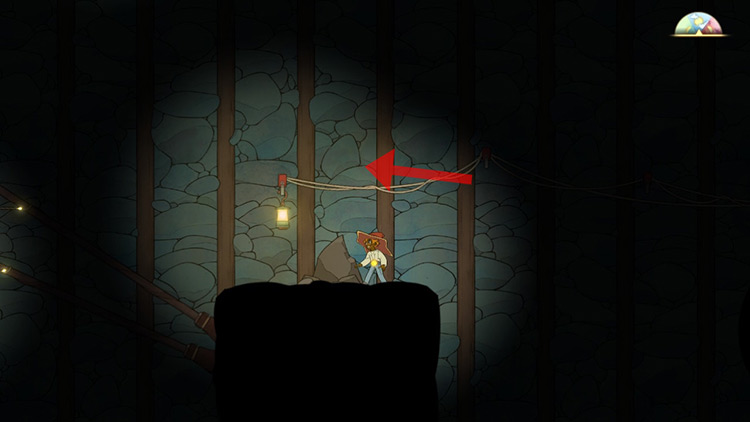
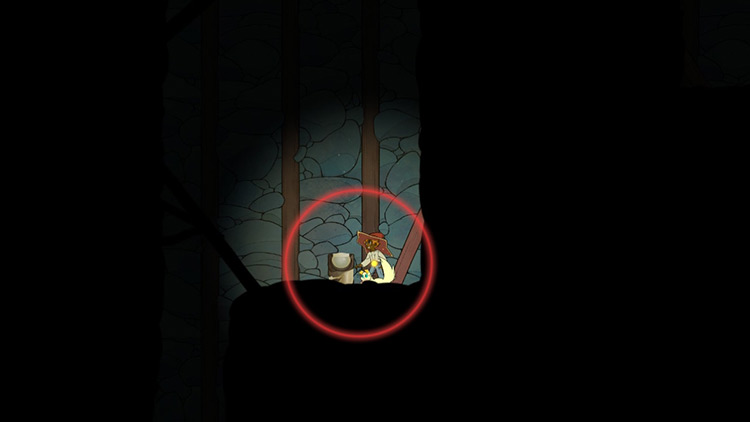
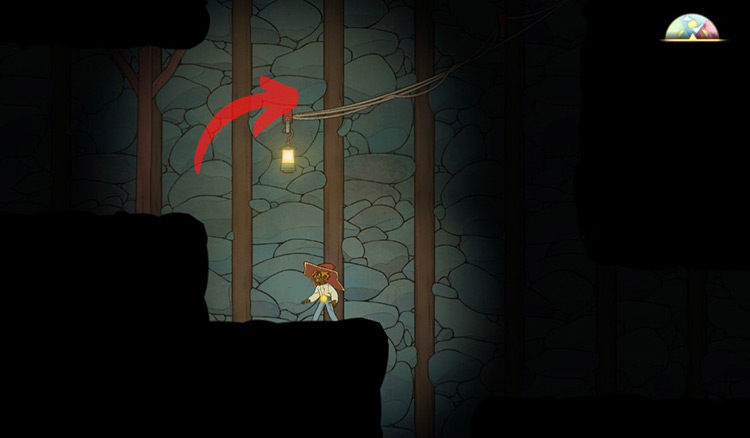
Step 2: Once you reach the drop, look for some wires that go left into the wall.
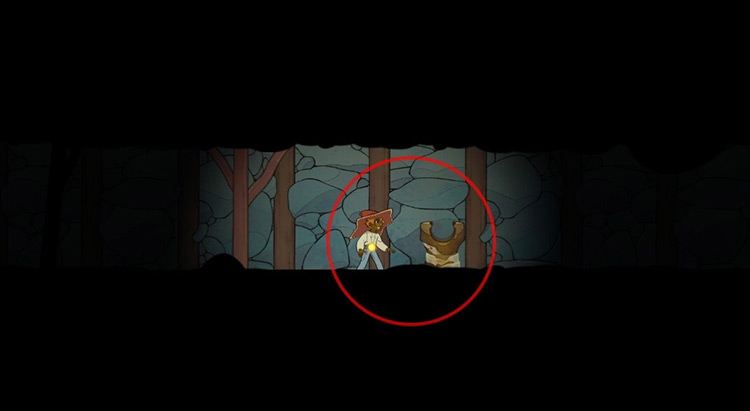
Step 3: Follow the wall left to find a hidden passage with a treasure chest at the end.
Chest #2
Contains:
- 1 Metal Rope
- 1 Hematite
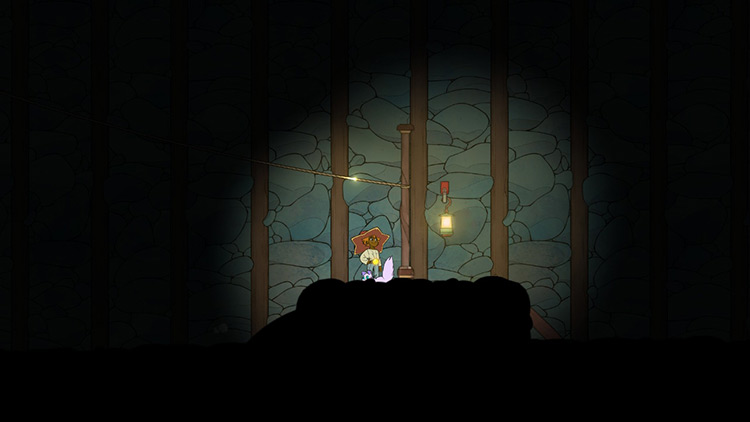
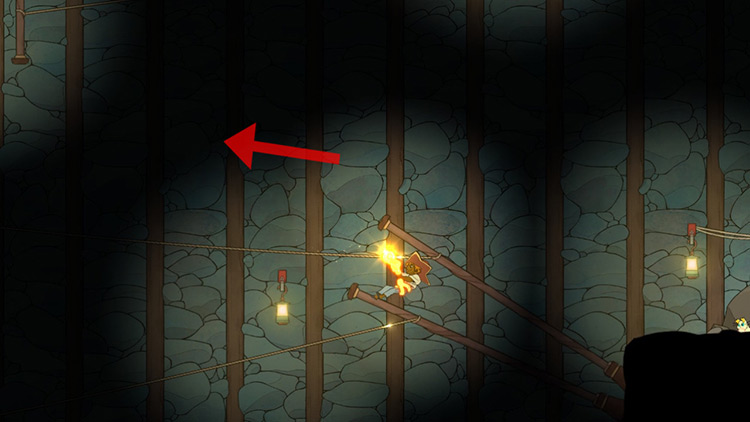
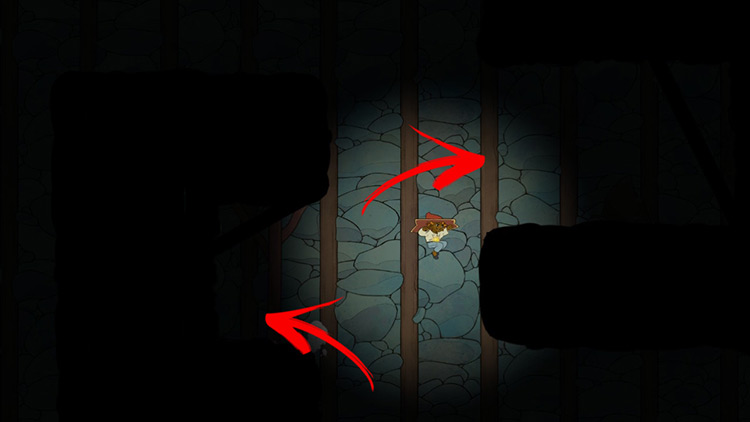
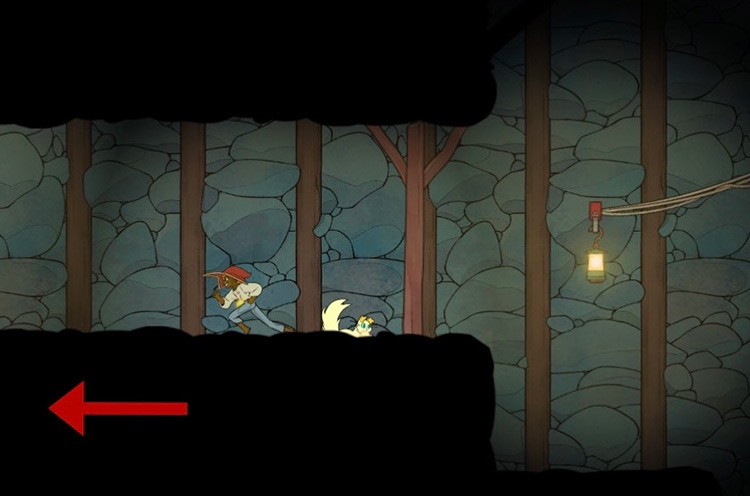
Step 1: From the first chest, head back out the hidden passage and drop down below.
Step 2: Walk a bit to the right and drop down again to the bottom floor.
Step 3: Now head into the passage on your left and you will find the treasure chest at the end.
Note: Next to this treasure chest is a ladder that you can use to go back up the entrance.
Chest #3
Contains:
- 5 Maple Syrups
- 1 Amethyst
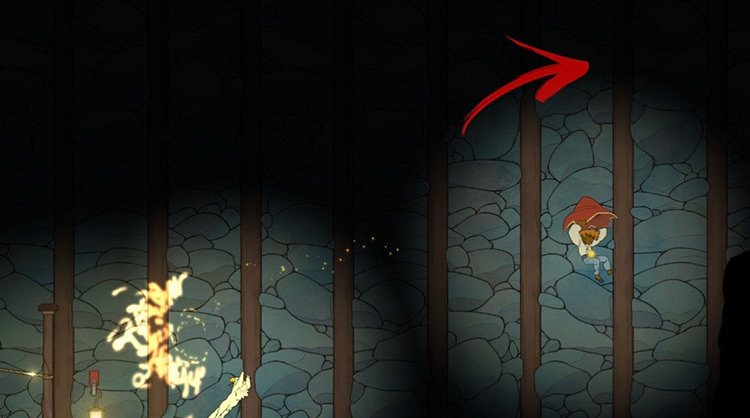
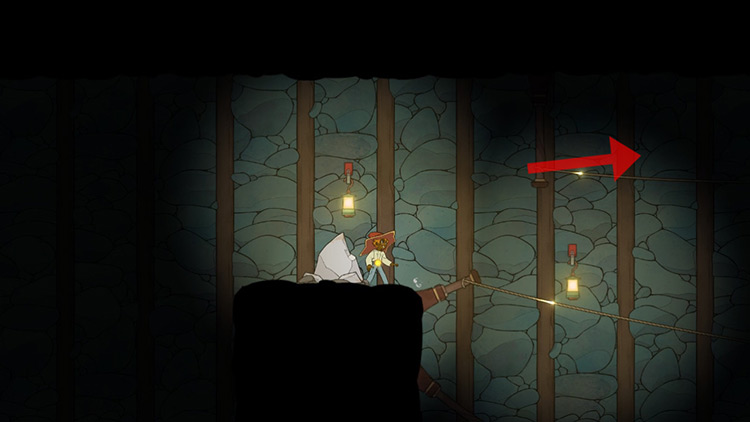
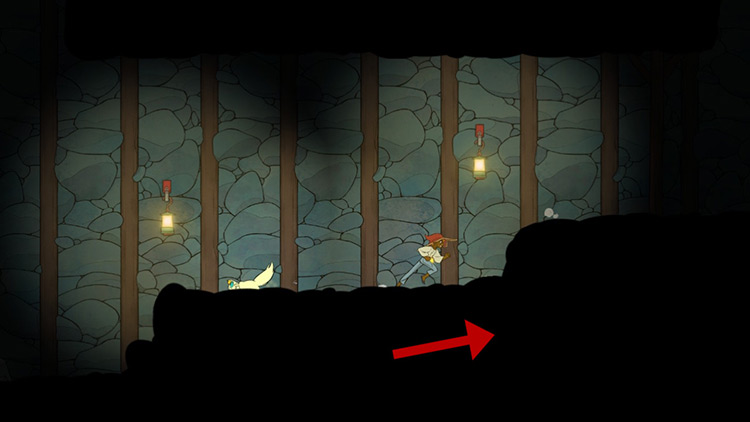
Step 1: From the last chest, head back out and continue walking right.
Step 2: Once you find a high ledge, use your double jump and dash to climb it.
Step 3: Continue right and climb the next low ledge. Then climb the next ledge with the coal node on it to your left.
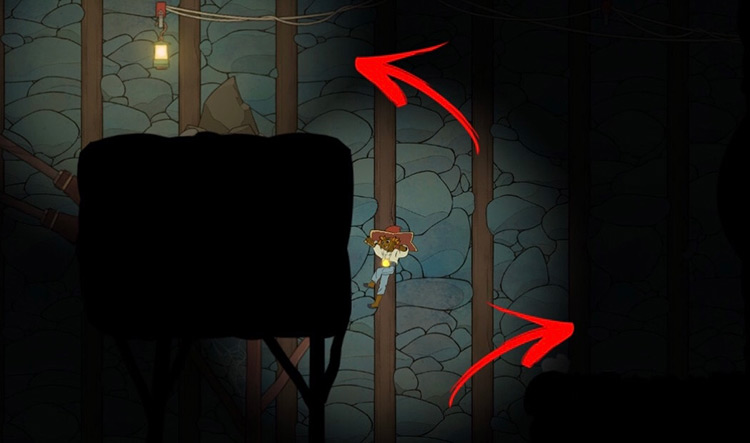
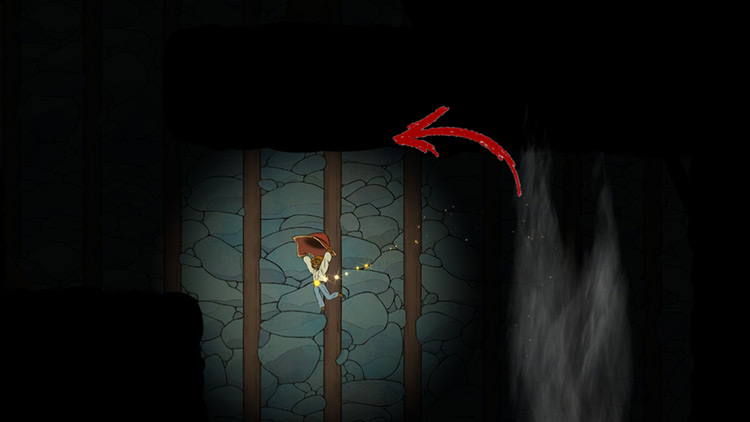
Step 4: Once you’re on the ledge with the coal, look to your right and double jump into the wall where the wire is going through.
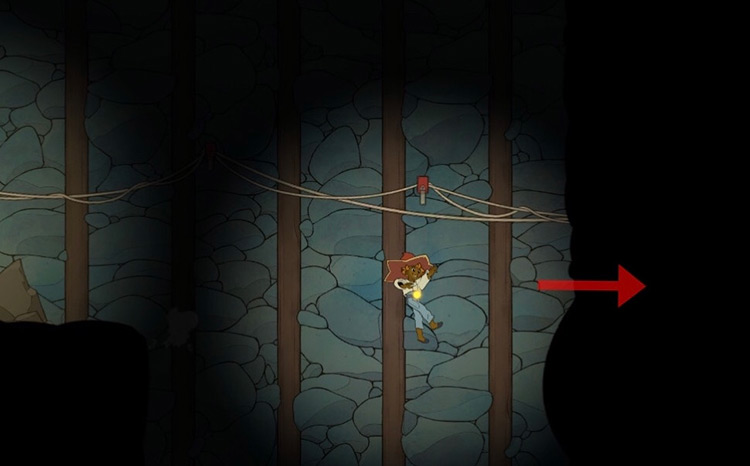
Step 5: Keep walking right inside this nook until you find the treasure chest.
Chest #4
Contains:
- 1 Sunflower Seed
- 1 Pear Seed
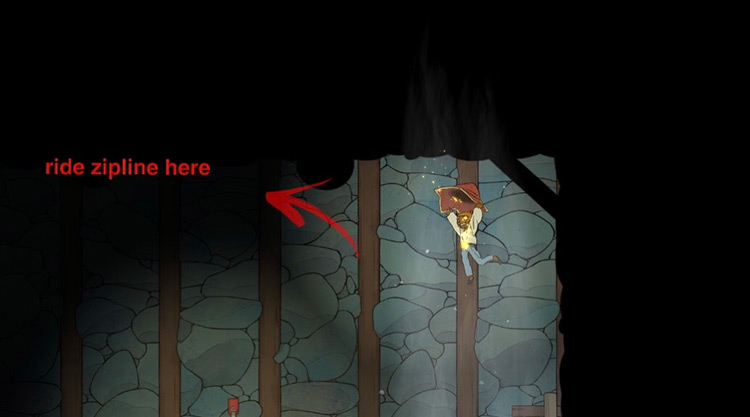
Step 1: From the last treasure chest, head back out and land on the previous ledge with the coal deposit.
Step 2: Once on this ledge, jump to your left and ride the zipline all the way to another ledge with a marble mining node.
Step 3: From this ledge, face right again and jump onto the upper zipline, riding it all the way to another clearing with a giant fan that provides an updraft.
Step 4: Use the updraft to glide to the ceiling. Then glide to your left to catch another zipline.
Step 5: You will land on a clearing with two ladders. Climb both of them.

Step 6: At the top of the ladders, continue walking to your right.
Step 7: You will find another fan providing an updraft here. Use it to glide to the top-left ledge.
Step 8: Climb the succeeding ledges, alternating between left and right.
Step 9: At the top you will find a narrow drop – jump down.
Step 10: You’ll find the treasure chest below.
Chest #5
Contains:
- 1 Metal Rope
- 1 Opal
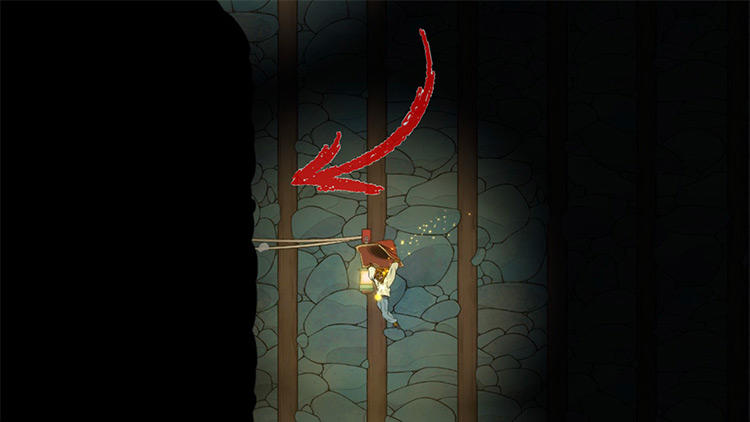
Step 1: Head back to the top of the narrow ledge where you jumped from to get Chest #4 above.
Step 2: From the top of the ledge, double jump and dash to your top-right, following the wire going into the wall.
Step 3: You’ll find yourself in a hidden passage with a treasure chest at the end.
Chest #6
Contains:
- 2 Diamonds
- 1 Fancy Vase
Step 1: From the hidden passage with Chest #5, head back out the ledge you just jumped from.
Step 2: Keep walking left until you find a slope with a zipline going down.
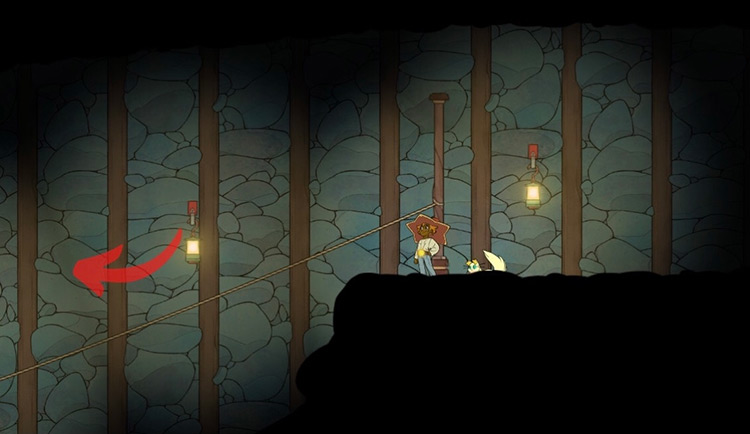
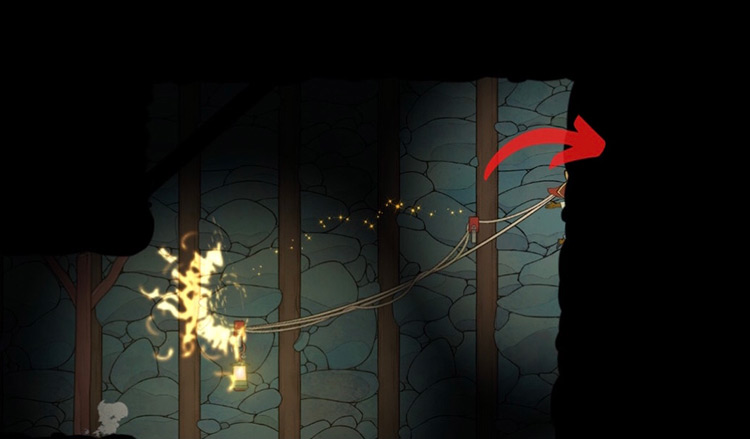
Step 3: Ride the zipline down, and once you reach the halfway point jump up and dash towards the wall with the wires to find the last hidden passage.
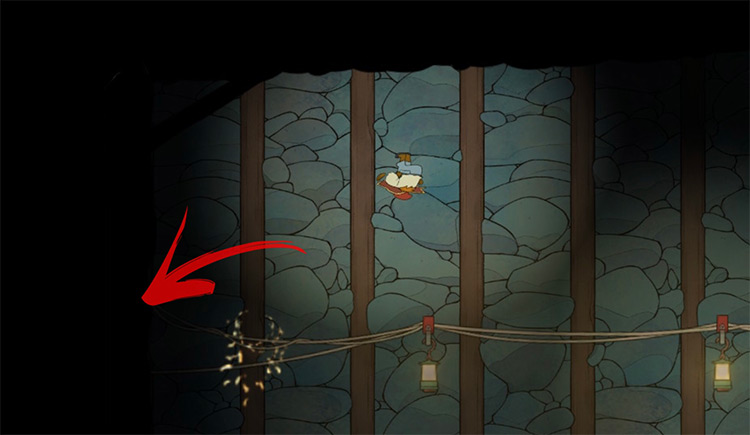
Step 4: The last treasure chest is hidden at the end of this hidden passage.
-
Spiritfarer
- Kalstein Mines Location + All Chests (Spiritfarer)
Related Posts:
 Mount Toroyama Location + All Chests (Spiritfarer)
 Hoseki Quarry Location Guide + All Chests (Spiritfarer)
 Old-Central District Location Guide + All Chests (Spiritfarer)
 Flotsam Shores Location Guide + All Chests (Spiritfarer)
 Edgeborough Lane Location Guide + All Chests (Spiritfarer)
 Nordsee Pier Location Guide + All Chests (Spiritfarer)
 Crow’s End Inc. Location Guide + All Chests (Spiritfarer)
 Nordweiler Location Guide + All Chests (Spiritfarer)