| Greymist Peaks | |
|---|---|
| Unlocked By | Mist Cleaner 1000 Boat Improvement |
| Coordinates | X: 216, Y: 96 |
| Spirits to Recruit | None |
| Resources |
|
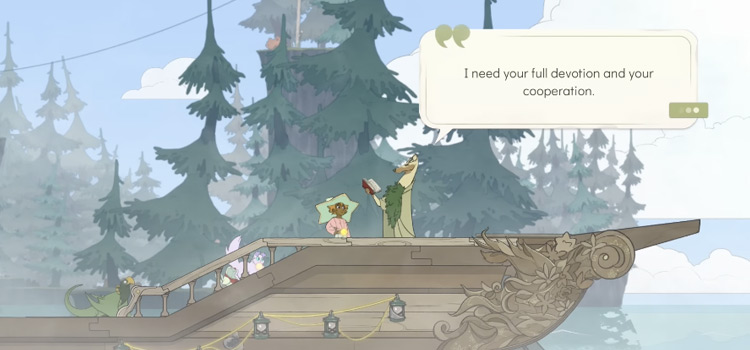
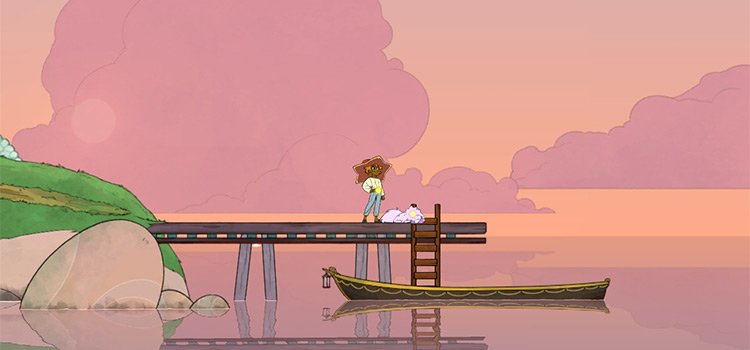
Greymist Peaks is the biggest island in the north-eastern side of the Spiritfarer’ Crow’s End region. It contains the Dash ability shrine and a lost shrine.
But to reach this area you’ll need the Mist Cleaner 1000 upgrade.
TABLE OF CONTENTS
How To Unlock
Start by sailing towards Albert’s Shipyard (X: 61, Y: 64) near the middle of the map. Once there, look for the Mist Cleaner 1000 upgrade under the boat improvements tab.
Note that you’ll need to unlock the upgrades before it becomes available for purchase.
Here’s a list of all the materials you’ll need for this specific upgrade:
- 8 Silver Ores
- 22 Silk Fabrics
- 8 Bottled Ectoplasms
- 6 Crystal Glass Sheets
- 3 Spirit Flowers
- 3,000 Glims
We also have more details in our Boat Improvement Guide Section. There, you can find a thorough breakdown of where and how to get each item.
After getting the upgrade, you will be free to visit Greymist Peaks and the rest of the Crow’s End region.
What To Find
There are no resources in Greymist Peaks, but it still holds a few secrets.
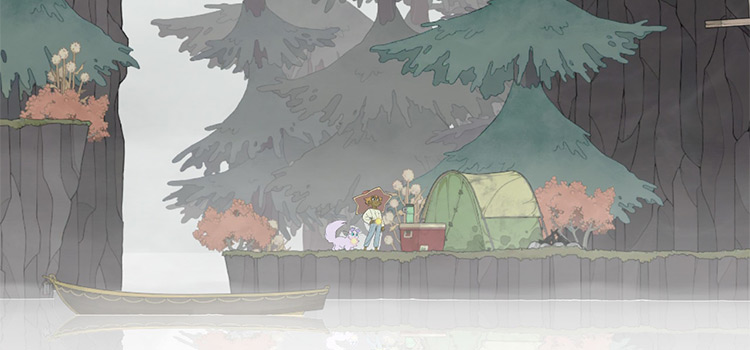
It’s also the place where the spirit duo Bruce & Mickey will take you during their “Camping in a Cadillac” request. Just visit the island, talk to them there, and get back on the boat to finish the request.
But beyond that, we’ll cover details on the ability shrines below.
Raccoon Inc. Shop
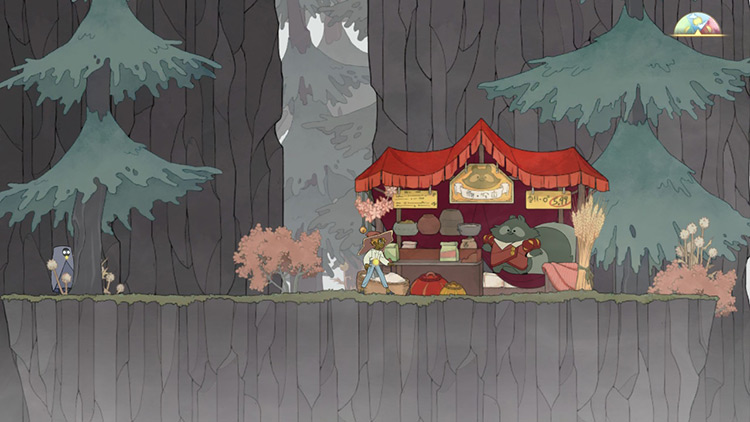
Just left of the starting point you’ll find a Raccoon Inc. shop location on this island.
This particular branch sells the following items:
| Item | Cost |
|---|---|
| Tomato Seed | 200 Glims |
| Onion Seed | 250 Glims |
| Garlic Seed | 180 Glims |
| Peach Seed | 8000 Glims |
Finding the Ability Shrine
Unlike the previous ability shrines that are easy to find, reaching the shrine in Greymist Peaks is a bit trickier. We’ll show you a step-by-step walkthrough on where to find it.
Just note that this requires you to have the double jump, glide, and zipline abilities.
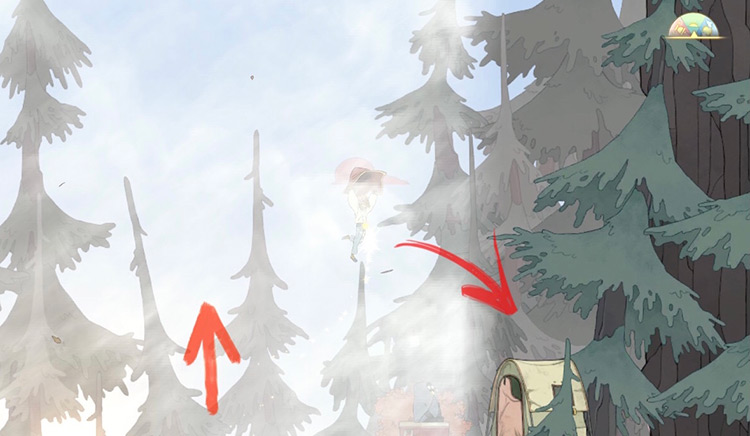
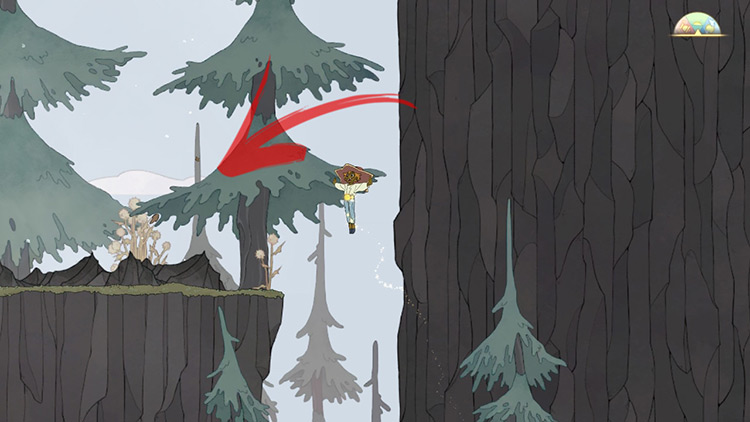
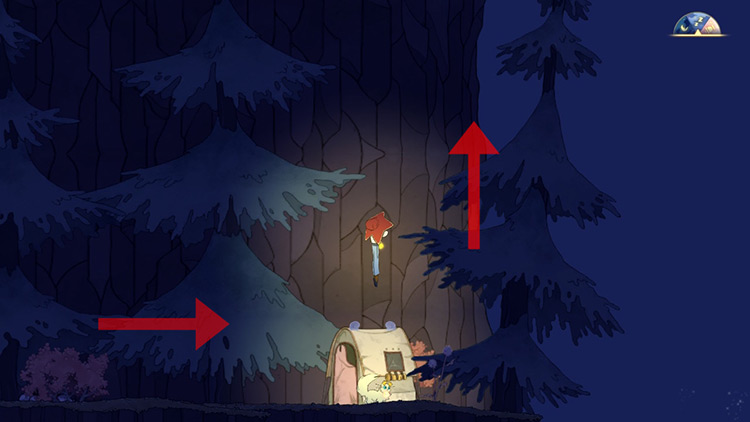
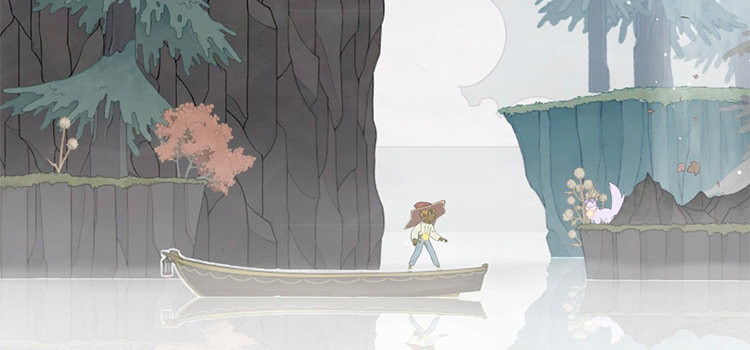
Step 1: From the starting point on Greymist Peaks, head left past the Raccoon Shop and jump on the islets until you find a big geyser.
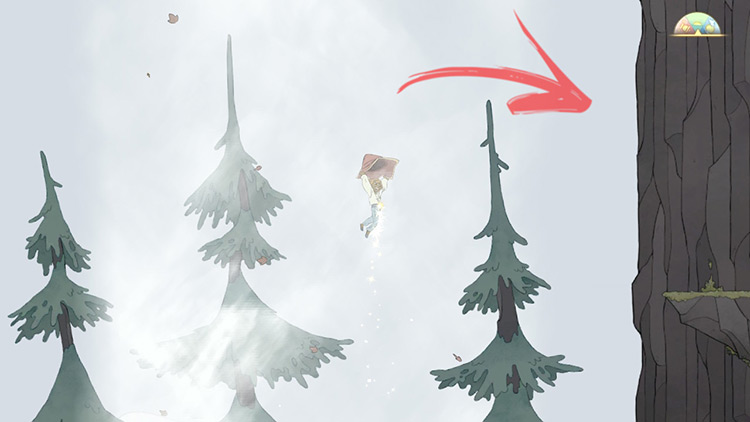
Step 2: Use the updraft from the geyser to glide up in the air until you reach the right cliffside with the tent and spirit.
Step 3 (Optional): This step is optional, but should you only manage to glide to the lower left cliffside, there’s a zipline there you can use to reach the right cliffside.
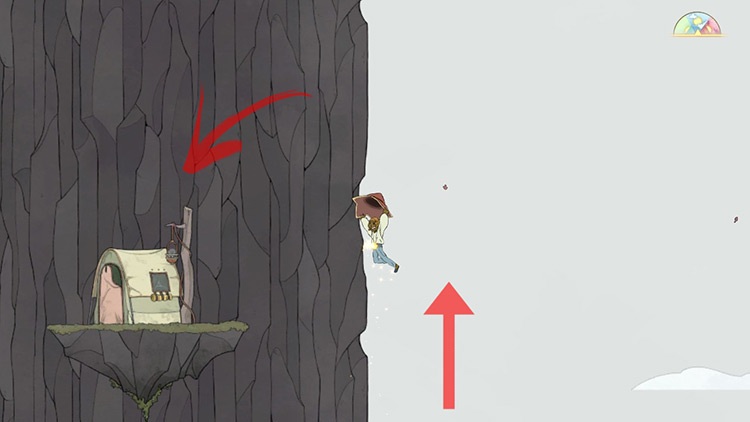
Step 4: Once you’re on the right cliffside, jump on top of the tent and bounce up until you reach maximum height. Then slowly glide towards the left until you find a small platform. The geyser updraft can also carry you towards it.
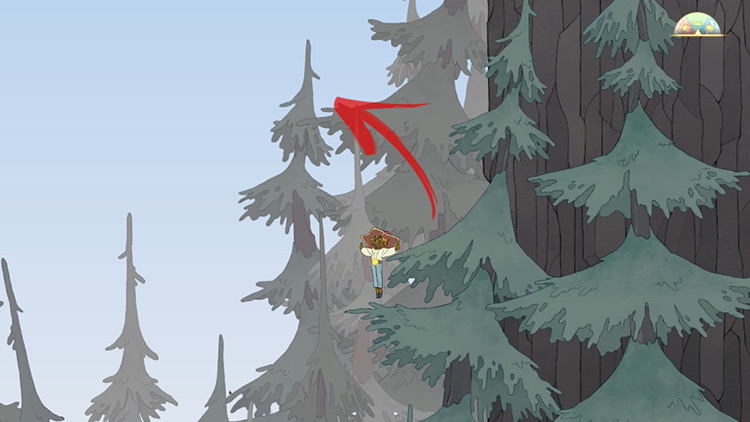

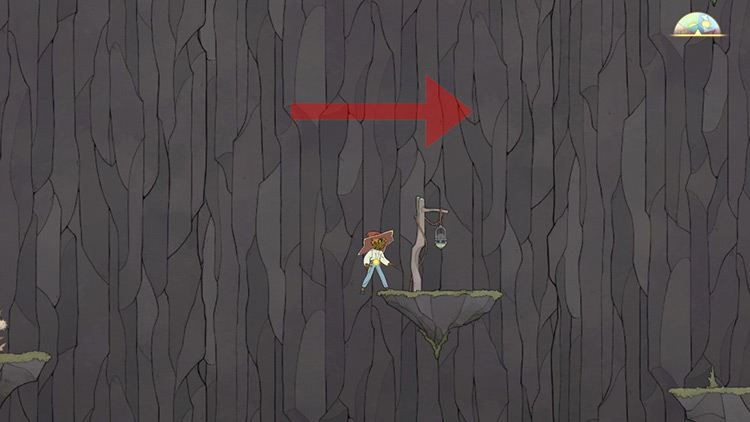
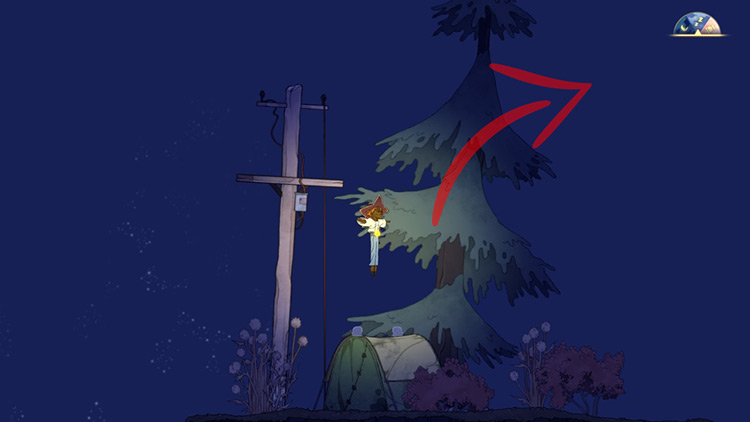
Step 5: Jump onto the next small platform with the light post, then jump onto the next one with the tent.
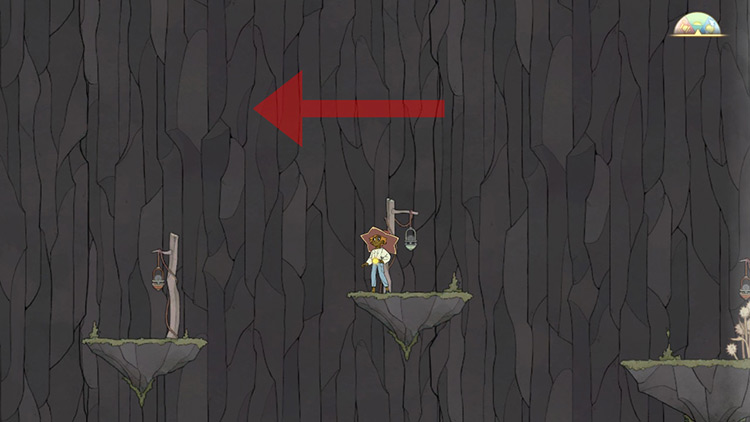
Step 6: Then use the nearby tent to bounce left onto the next platform above, where you’ll find another geyser.
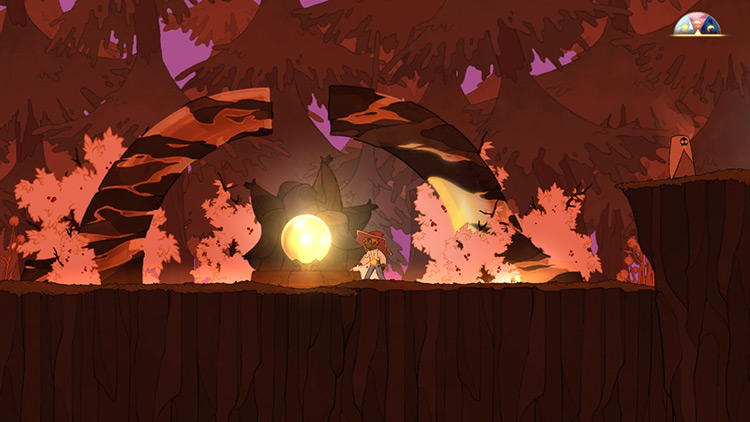
Step 7: Use the geyser’s updraft to reach the next platform on top towards the right
Step 8: From here, double jump onto the smaller platforms on your right to find the cliffside with the last geyser.
Step 9: Ride this last geyser up towards the topmost platform with another tent.
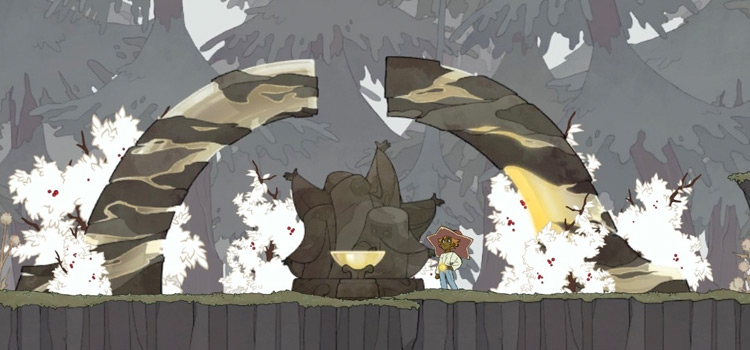
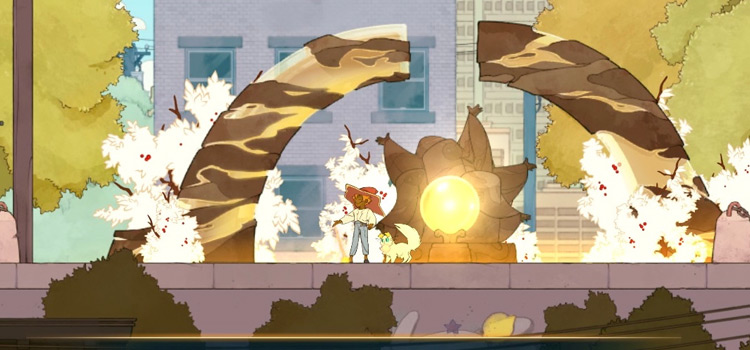
Step 10: Finally, bounce on this tent to reach the topmost cliffside. From here, simply walk left to reveal the Ability Shrine where you can get the Dash ability.

Finding the Greymist Peaks Hidden Shrine
Note: This shrine is only reachable from the ability shrine above, and only if you’ve unlocked the Dash ability there.
But if you already have Dash then just head to the regular Ability Shrine (detailed above) since that will be our starting point for this tutorial.
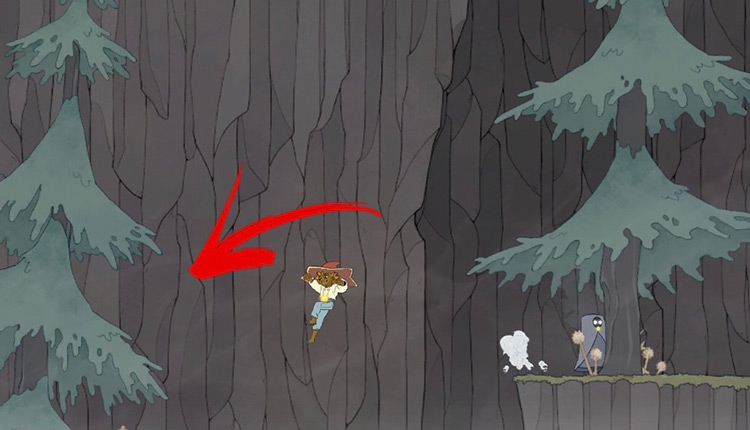
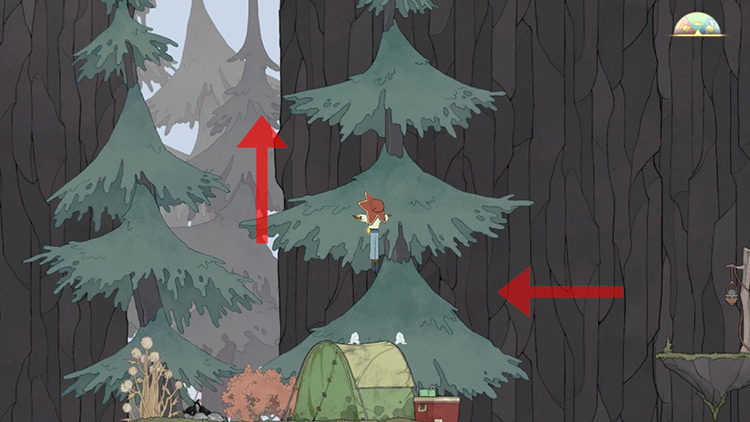
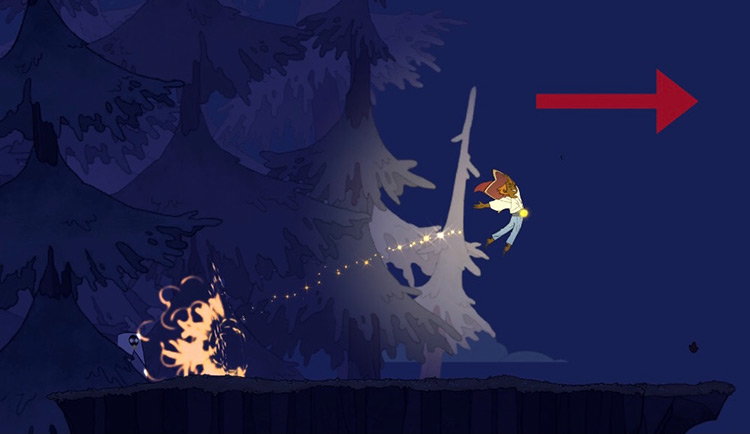
Step 1: From the first shrine, go right and glide towards the next platform with two trees. You can use the updraft from the geyser to carry you over.
Step 2: Continue right and dash (or double jump) to reach the next platform with a tent.
Step 3: Bounce on the tent, then dash right to reach the last cliffside with plenty of trees.
Step 4: Going near the trees will reveal the hidden shrine.
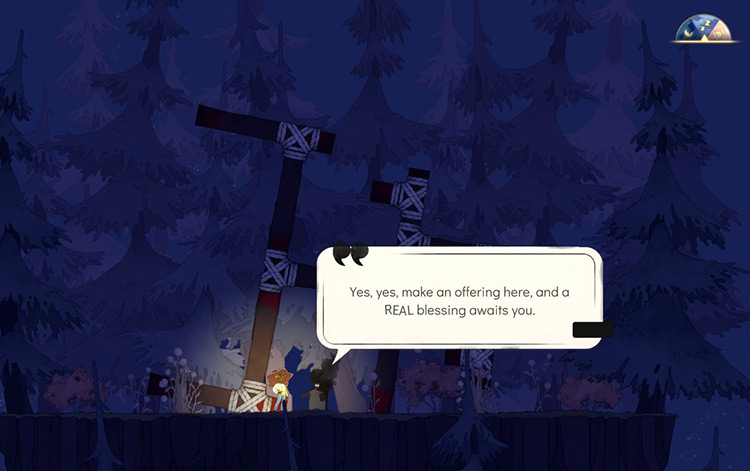
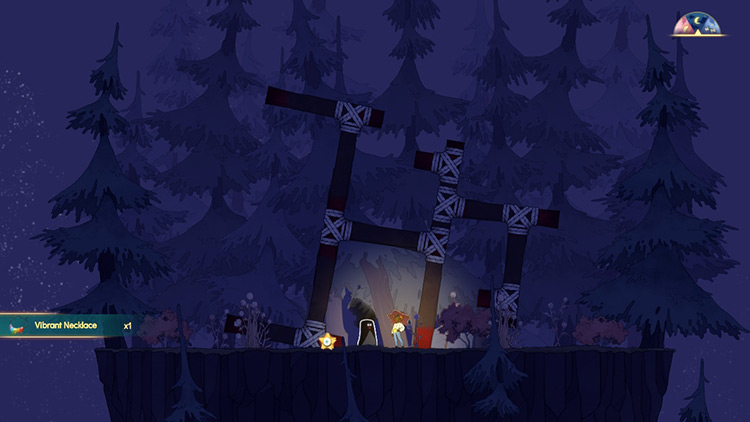
Step 5: Talk to the spirit here and offer an obol. Since nothing will happen, the spirit will get embarrassed and apologize, before giving you two obols along with a necklace.
From here, you can glide your way left to reach the platform with the tent. Then simply drop straight down to the island’s starting point.
-
Spiritfarer
- Greymist Peaks Location Guide + Both Shrines (Spiritfarer)
Related Posts:
 How To Unlock the Dash Ability in Spiritfarer
 Crow’s End Inc. Location Guide + All Chests (Spiritfarer)
 Elena Questline Walkthrough + Spirit Guide (Spiritfarer)
 Beverly Questline Walkthrough + Spirit Guide (Spiritfarer)
 Furogawa Location Guide + All Chests (Spiritfarer)
 Southpoint Docks Location Guide + All Chests (Spiritfarer)
 Mount Toroyama Location + All Chests (Spiritfarer)
 How To Unlock the Bounce Ability in Spiritfarer